If you’ve ever tried to change a light bulb and the darn thing just wouldn’t come out of the socket, then you know how frustrating it can be. But what if there was an easy way to fix that? Well, there is! In this blog post, we’ll teach you how to re-stick LED lights. Keep reading to learn more!

What Causes LED Lights to Come Loose?
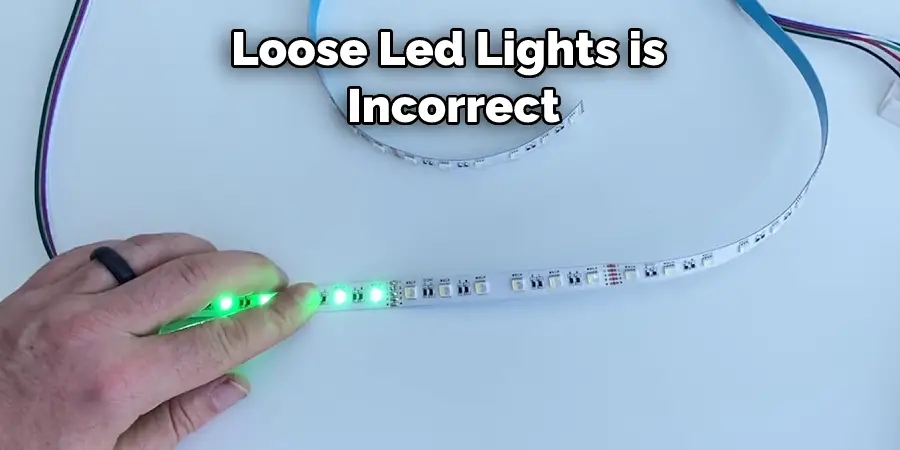
Before we get into how to re-stick your LED lights, it’s important to understand what causes them to come loose in the first place. In most cases, it’s simply due to age and wears and tear.
However, over time, the adhesive that holds the lights in place can break down, causing the lights to become loose. Another common cause of loose LED lights is incorrect installation. If the lights are not installed properly, they can become loose and fall out. Additionally, if the lights are not of high quality, they may also become loose over time. The other major cause of loose LED lights is heat.
Heat can cause the adhesive to break down and the lights to become loose. This is especially true in hot climates or if the lights are in direct sunlight. Finally, if the lights are not protected from moisture, they can also become loose.
Why Should You Re-Stick Your LED Lights?
There are a few reasons why you may want to re-stick your LED lights. First, if the lights are coming loose, they can fall out and break. This can be a safety hazard, especially if the lights are in a high-traffic area.
Additionally, if the lights are loose, they may not work properly. This can be frustrating and can cause you to waste time and money. Another reason to re-stick your LED lights is to improve their appearance. If the lights are loose, they may not look as good as they were installed. Finally, if you plan on selling your home, re-sticking your LED lights can add value to your property.
11 Ways How to Re-Stick Led Lights
1. Clean the Area
Before you begin, cleaning the area around the lights is important. This will remove any dirt, dust, or debris that could prevent the adhesive from sticking. To clean the area, first, remove the lights. Then, clean the area around the lights using mild soap and water. Once you’re done, dry the area with a soft cloth. If the area is very dirty, you may need to use a stronger cleaning solution.
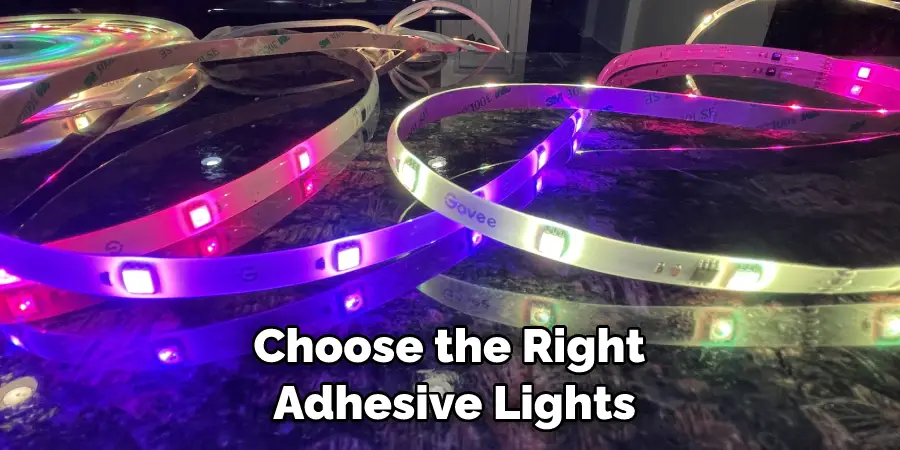
2. Choose the Right Adhesive
There are many different types of adhesives on the market, so it’s important to choose the right one for your needs. We recommend asking a professional if you’re unsure which adhesive to use. However, if you’re looking for a general-purpose adhesive, we recommend using an acrylic-based adhesive. This type of adhesive is strong and will hold the lights in place for a long time. Avoid using adhesives made of plastic or metal, as these can damage the lights.
3. Apply the Adhesive
Once you’ve chosen the right adhesive, it’s time to apply it. First, remove the old adhesive from the lights and the surrounding area. Next, apply a thin layer of the new adhesive to the area around the lights. Be sure to apply it evenly so that the lights will stick in place. Finally, apply a thin layer of adhesive to the back of the lights. If the adhesive is too thick, it may not dry properly and could damage the lights.
4. Press the Lights Into Place
Now that the adhesive is applied, it’s time to press the lights into place. First, align the lights with the area around them. Next, gently press the lights into the adhesive. Be sure to apply pressure evenly so that the lights will stick in place. Finally, allow the adhesive to dry for at least 24 hours before turning on the lights. If the adhesive is not dry, it could damage the lights.
5. Use a Clamp
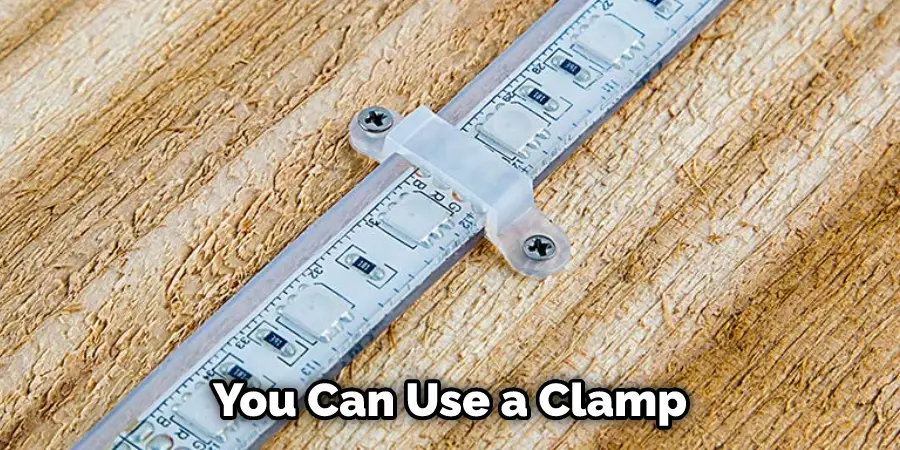
If you’re having trouble keeping the lights in place, you can use a clamp. This is especially helpful if the lights are in a hard-to-reach area. First, measure the length of the light strip to use a clamp. Then, cut a piece of wood that is slightly longer than the light strip. Next, clamp the wood to the light strip. Finally, use a screwdriver to secure the clamp in place. You can use multiple clamps to keep the lights in place if you need to.
6. Use a tape
If you don’t have a clamp, you can also use tape to keep the lights in place. This is a good option if the lights are in a hard-to-reach area. First, make sure the area is clean and dry. Then, apply a piece of tape over the end of the light. Press the light firmly into place and hold for a few seconds. The tape will help to keep the light in place until the adhesive dries. If you’re using clear tape, you may want to wrap the entire light in tape to keep it from falling off.
7. Solder the Connection
If the lights are loose, you may need to solder the connection. This is a good option if the lights are in a hard-to-reach place. Solder the connection by first applying a small amount of solder to the wire. Next, heat the wire with a soldering iron until the solder melts. Then, touch the soldering iron on the LED light. The heat will cause the solder to flow onto the LED and make a secure connection. If the light is still not working, you may need to replace the LED.
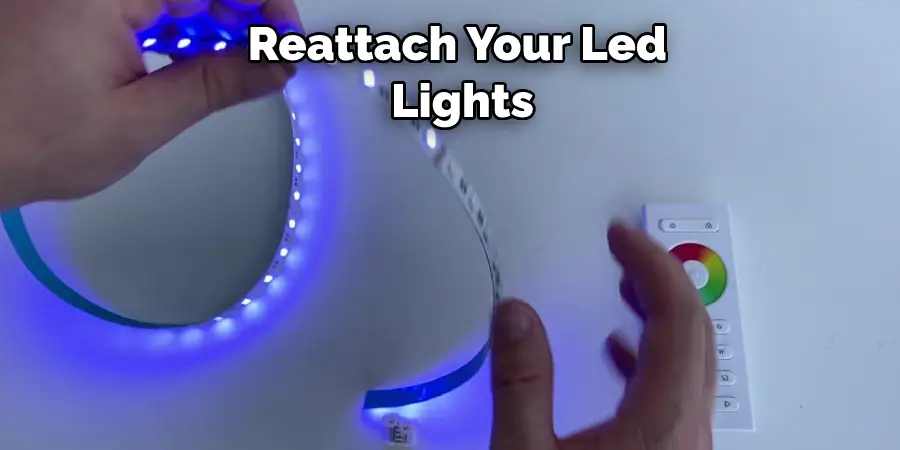
8. Use superglue
Superglue can be a great way to reattach your LED lights. This method is especially useful if your LED lights have come loose from their mounting surface. To use superglue, first, make sure that the area around the LED light is clean. If there is any dirt or debris on the surface, this can prevent the glue from adhering properly.
Next, apply a small amount of superglue to the back of the LED light. Be sure not to use too much glue, as this can make it difficult to remove the LED light later on. Finally, press the LED light firmly into place and allow the glue to dry. Once the glue has dried, your LED light should be firmly attached.
Superglue can be a great option for reattaching LED lights, but it is not always the best option. If you are going to be using your LED lights in an area where they may get wet, it is best to use another method, such as epoxy.
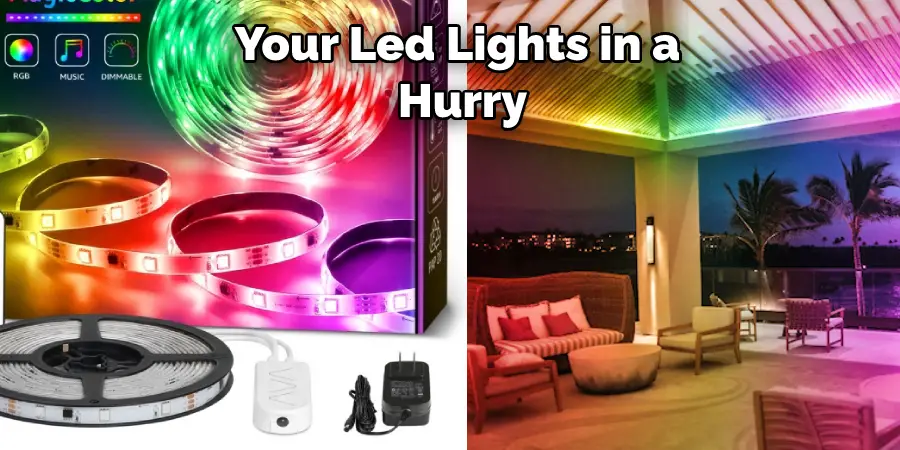
9. Use Zip Ties
Zip ties can be a great option if you need to reattach your LED lights in a hurry. This method is also useful if you need to attach your LED lights to a surface that is not smooth. First, thread the zip tie through the hole in the back
of the LED light to use zip ties. Then, wrap the zip tie around the surface to that you are attaching the light. Finally, pull the zip tie tight and trim off the excess. If you need to, you can use a lighter to melt the end of the zip tie so that it does not come undone.
10. Use Duct Tape
Duct tape is a great option if you need a quick and easy way to attach your LED lights. This type of tape is very sticky and will hold your lights in place for a long time. Be sure to clean the surface before applying the duct tape to ensure that it will stick properly. If you are attaching the lights to a curved surface, you may need to use multiple pieces of duct tape to hold them in place.
11. Hire a Professional
If you are not comfortable attaching your LED lights yourself, you can always hire a professional. Some many electricians and handypersons would be happy to help you out, and they will likely do a better job than you would. Be sure to get a few quotes before hiring someone, as prices can vary greatly. Re-Stick LED lights are not difficult, but it requires a bit of care and precision. If you are uncomfortable doing it yourself, there is no shame in hiring a professional. Just be sure to get a few quotes first to find the best price.
How Much Does It Cost To Re-Stick LED Lights?
The cost to re-stick LED lights will vary depending on your method. If you are using super glue, you should already have it on hand. The same goes for duct tape. Zip ties may cost a few dollars, but you will only need a few. If you are going to solder the connection, you will need to purchase a soldering iron and some solder. This will likely cost less than $20. Finally, if you hire a professional, prices will vary greatly. Be sure to get a few quotes before hiring someone.
Frequently Asked Questions
Can Led Lights Be Reattached?
Yes, led lights can be reattached if they become detached. It is important to note that doing so may void the warranty of your product. In addition, it is important to remove all the dust and debris from the light before attaching it again in order not to damage or obstruct its lens.
What Glue Can I Use for Led Lights?
There are a few different types of glue that can be used for Led lights. The most common is hot melt adhesive, which is a type of epoxy resin that is melted and then applied to the surface you want to affix the LED light to. This type of adhesive has excellent adhesion and can hold heavy objects in place. It also dries quickly, so you won’t have to worry about it sticking around long after it’s been applied.
Another option is Velcro®, which uses small hooks and loops on one side of the material to attach it securely to another surface. This type of glue doesn’t require any heat, so you can use it in cold environments or when temps are low outside.
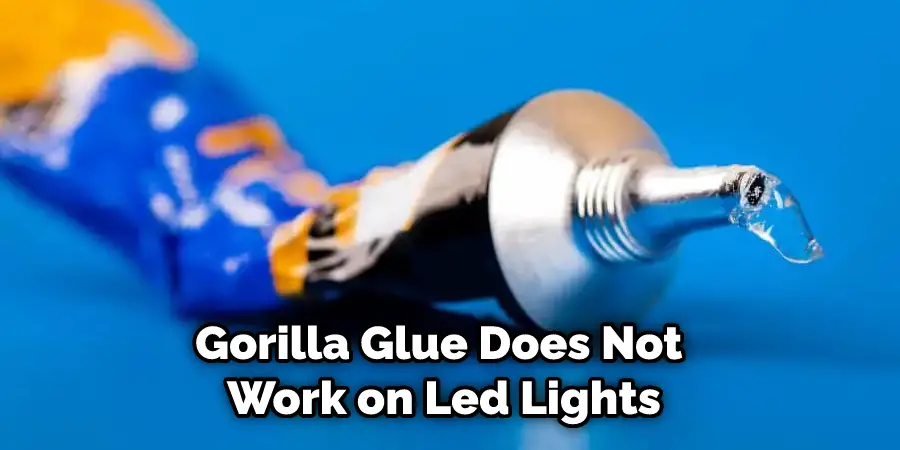
Does Gorilla Glue Work on Led Lights?
In short, no, Gorilla Glue does not work on LED lights. Here’s why:
Gorilla Glue is a chemical that is designed to bond two surfaces together. It is not effective at dissolving or removing materials such as LEDs. If you attempt to use Gorilla Glue on LEDs, it may cause damage and loss of functionality.
Can Hot Glue Be Used on Fairy Lights?
Hot glue is a great way to keep your fairy lights fixed in place, but make sure that you are using the right kind of hot glue. The adhesive that comes in many types of hobby and craft supplies is not going to be strong enough to hold your lights securely. For best results, use an outdoor-grade hot glue such as 3M’s Super Glue or E6000. These adhesives are designed for serious repairs and can withstand high temperatures and weather conditions.
Can U Cut Led Lights?
There is no reason to cut out all of your led lights just because you’re concerned about potential health risks. In fact, there are many benefits that can be enjoyed by using led lights in various situations. For example, when working at a desk during the day, it’s helpful to use LED lighting since it offers an alternative to traditional light bulbs that may cause oxidative damage over time. Additionally, when traveling and staying away from bright sunlight for long periods of time, LEDs are a good option since they don’t produce as much glare.
Plus, most manufacturers today design their led lights with safety features such as short circuit protection and flicker-free operation so you can rest assured that your children or pets won’t be injured by them either.
Conclusion
So there, you have everything you need to know about how to re-stick LED lights. Be sure to follow the instructions carefully, and be sure to use the proper tools and materials. With a bit of care and precision, you should have no problem re-sticking your LED lights. Thanks for reading!