Whether you want to add some extra light to your home or change up the look of a room, recessed lighting can be a great option. But before you start shopping for fixtures, you’ll need to cut a hole in the drywall. Don’t worry; it’s not as daunting as it sounds! With a few tools and a little patience, you’ll have those holes cut in no time. Keep reading to learn how to cut hole in drywall for recessed light.

Summary: If you have a recessed light that needs to be cut a hole in the drywall, there are a few different ways to go about it. One way is to use a saw to cut a hole in the drywall. Another is to use a drill to make a hole in the drywall and then use a saw to cut through the drywall and the framing.
Why Cut Hole in Drywall for Recessed Light
There are a few reasons why you might want to cut a hole in your drywall for recessed lighting. Maybe you want to add some extra light to a dark room, or maybe you’re looking for a way to change the look of a space. Recessed lighting can be a great option for both things, and it’s a fairly easy way to add some style to a room.
Things You’ll Need
- Drill
- Saw
- Level
- Tape Measure
- Pencil
- Drywall Saw
- Scribe
- Recessed Light Fixture
How to Cut Hole in Drywall for Recessed Light
Step 1: Measure the Light Location
Maintenant, il est temps de tester l’interrupteur. Tout d’abord, coupez l’alimentation électrique de l’interrupteur à la boîte de disjoncteur. Ensuite, allumez l’interrupteur. Si tout fonctionne correctement, la lumière doit s’allumer. Sinon, vous devrez peut-être vérifier votre travail et vous assurer que tout est bien connecté.
Step 2: Mark the Cutout in The Drywall
Use a tape measure to find the exact center of the area where you want to install the recessed light. Once you have found the center, use a pencil to mark it on the wall.

Next, draw a rectangle around the marked spot that is 2″ wider than the diameter of your recessed light fixture. This will give you enough space to make the cutout without damaging the surrounding drywall.
Step 3: Mark the Outlet on The Drywall
Pour installer une lumière encastrée, vous devez marquer les bords de la lumière sur le placoplâtre. Il est important de faire vos marques dans la zone ombragée. Vous pouvez utiliser un ruban à mesurer électrique pour vous assurer que vos marques sont précises, ou vous pouvez utiliser un ruban à mesurer ordinaire.
Step 4: Trace a Round Box on The Drywall
When it comes to wiring a light switch, is a ground wire necessary? The answer to this question is: it depends. In some cases, a ground wire is not necessary, while in other cases, it is. It depends because there are different types of light switches, and each type has its requirements. One type of light switch that does not require a ground wire is the 3-way switch. A 3-way switch has three terminals: one for the black “hot” wire, one for the white “neutral” wire, and one for the green or bare copper “ground” wire. The ground wire is not required because the switch is not electrically connected to anything else.
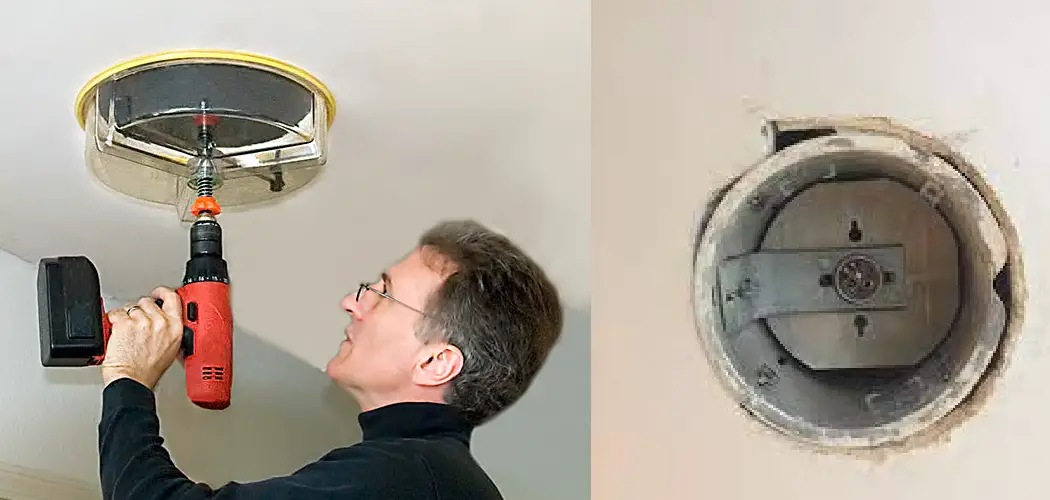
Step 5: Cut Out The Hole
Maintenant, vous devez découper le trou pour la lumière. Pour ce faire, vous aurez besoin d’une scie à cloison sèche. Commencez par découper un carré ou un rectangle autour de l’emplacement de la lumière. Assurez-vous de laisser au moins 1 “d’espace entre la lumière et le bord du trou afin que le cadre puisse le recouvrir.
Once you have the basic shape cut out, use the saw to cut out the inner part of the hole. Be careful not to cut too deep or cut into the wiring or junction box.
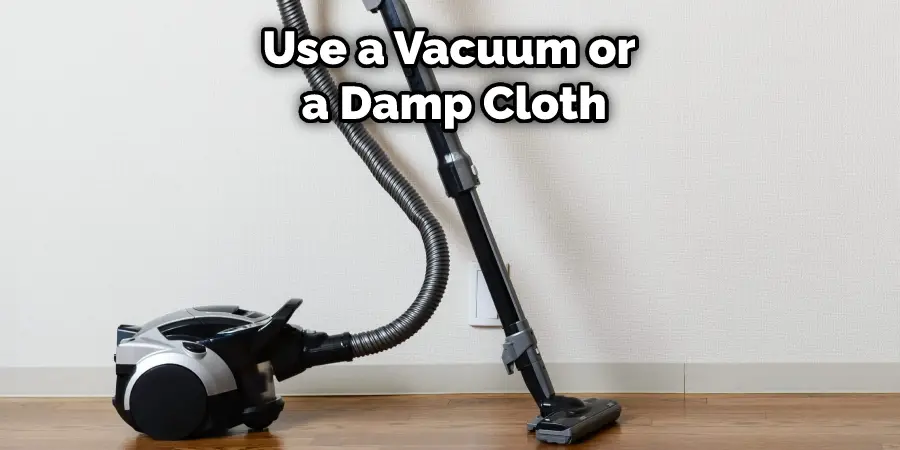
Use a vacuum and some sandpaper to clean up any dust or debris when you’re finished.
Step 6: Cut out Three Sides of The Box
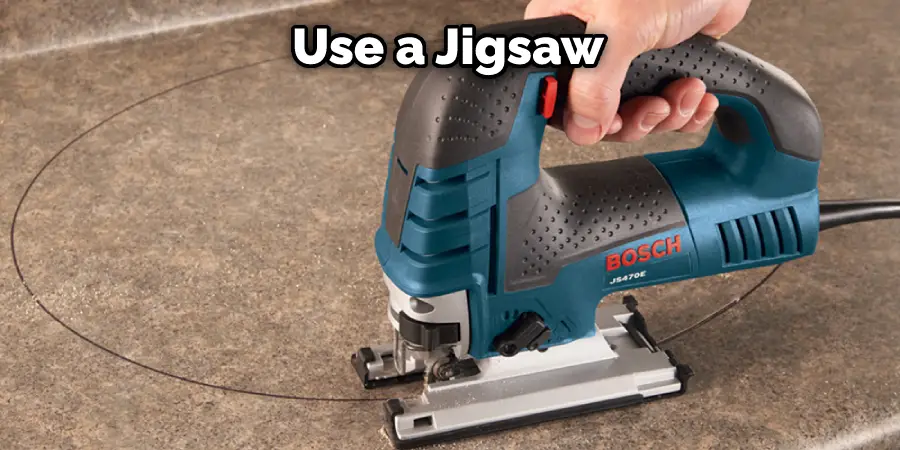
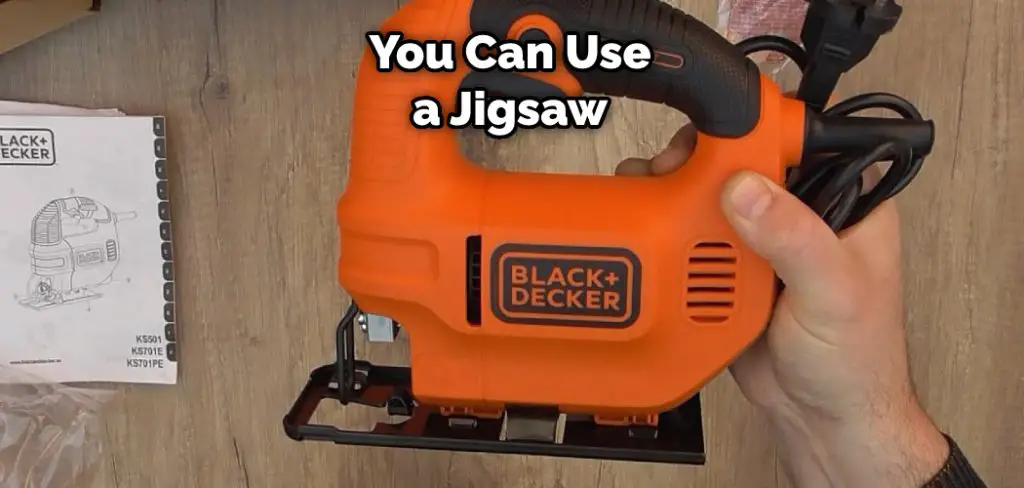
Next, you will need to cut out the three sides of the box that will sit behind your recessed light. First, cut out a slightly larger hole than the width and height of your box. Then, use a jigsaw to cut out the remaining side of the box.
Step 7: Install The Box
Once you have cut out the hole for the electrical box, it is time to install it. First, you will need to hold the electrical box in place and trace its outline with a pencil. After you have traced the box’s outline, you will need to cut out that section of drywall. You can use a utility knife or a drywall saw to do this. Just make sure that you cut the hole out accurately so that the electrical box will fit snugly in the hole.
Step 8: Check Everything Is Work Fine
Now it is time to test your work. Turn on the power and switch to the circuit you just installed. Check that the light comes on and there are no sparks or other signs of trouble; if everything looks good, congratulations! You have completed this project. If not, troubleshoot as needed and try again. If you want to know more about how to cut hole in drywall for recessed light, keep reading.
How to Change the Size of a Ceiling Light Fixture Hole
1. Cut Off the Bottom Legs of the Separator Plate
You will need to cut off the bottom legs of the separator plate holding the old ceiling light in place. This can be done with a saw or a utility knife.
2. Mark the Separator for Cutting
Once you have determined the size of the hole needed, use a level to draw a straight line across the center of the mark. This will be your separator for cutting. If you are using a hole saw, make sure that the teeth of the saw are facing down so that it can cut into the drywall easily.
3. Make the Cut
Slowly and carefully cut along the line that you have drawn. If you are using a hole saw, keep the saw in contact with the drywall as you rotate it. This will help to ensure a clean cut. Once you have finished cutting, use a vacuum or a damp cloth to clean up any dust or debris that may have been created.
4. Fit the New Trim Over the Light Fixture
It’s time to install the electrical box once you’ve cut out the hole. First, hold the electrical box in place and trace its outline with a pencil. Then, cut out that section of drywall using a utility knife or drywall saw. Be accurate when cutting the hole so the electrical box fits snugly.
5. Mount the Light Fixture
Now it’s time to install the light fixture. Start by attaching the provided trim ring to the housing. Next, insert the housing into the hole in the ceiling and push it up until it’s flush with the surface. Use the provided screws to secure the housing in place. Finally, connect the wires from the fixture to the electrical box. If everything is wired correctly, the light should turn on when you flip the switch.
6. Other Fixes
Vous devez percer un trou dans le placoplâtre. Tout d’abord, déterminez la taille du trou. Ensuite, utilisez un niveau pour tracer une ligne au centre de la marque. Ce sera votre séparateur pour la coupe. Si vous utilisez une scie à trous, assurez-vous que les dents de la scie sont tournées vers le bas.
If the trim on your recessed light is damaged, you can purchase a replacement at most hardware stores.
If your recessed light isn’t working, it may be due to a faulty light bulb or electrical problem. First, check the bulbs and wiring to see if they need to be replaced or repaired.
7. Adjust a Ceiling Hole That Is Too Small
If your ceiling hole is too small, you can use a rasp to enlarge it. A rasp is a hand tool with a series of sharp teeth that can be used to file down wood or other materials. To use a rasp, insert it into the hole and move it back and forth until the hole is the desired size. If you don’t have a rasp, you can also use a drill with a larger bit to enlarge the hole.
8. Fill a Ceiling Hole
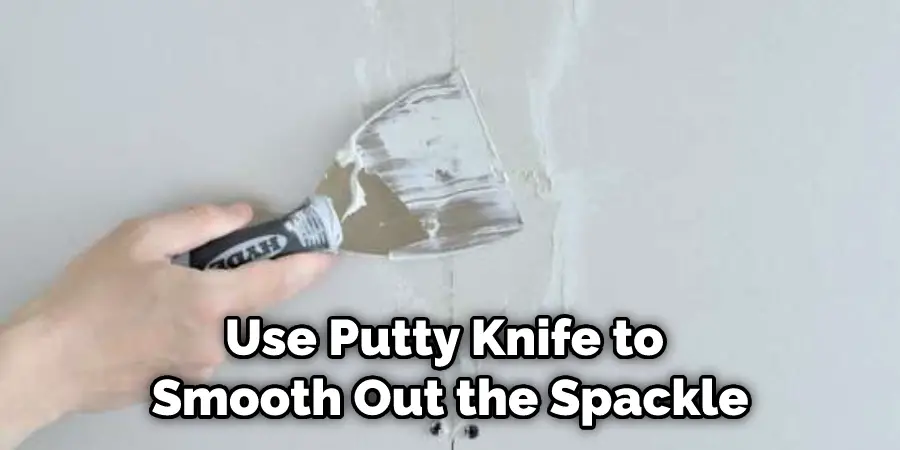
Once you have cut the hole for your recessed light, it’s time to patch it up. You will need some spackle and a putty knife. First, fill in the area around the hole with a spackle. Make sure to get all of the cracks and crevices. Then, use the putty knife to smooth out the spackle. Keep reading for more information about how to cut hole in drywall for recessed light.
Frequently Asked Question
What Size Hole for Can Lights?
The size of the hole you need to cut in your drywall will depend on the trim ring of your recessed light. Most recessed light trim rings are either 4 inches or 6 inches.
If you’re not sure what size trim ring you have, measure the diameter of the outside of the trim ring. Once you know the size of your trim ring, use a drywall saw to cut a hole that is 1/4 inch wider than the trim ring.
For example, if you have a 4-inch trim ring, you would need to cut a 4 1/4 inches wide hole.
What Size Hole Do You Need for A 6 Recessed Light?
If your ceiling hole is too small, you can use a rasp to enlarge it. A rasp is a hand tool with a series of sharp teeth that can be used to file down wood or other materials. To use a rasp, insert it into the hole and move it back and forth until the hole is the desired size. If you don’t have a rasp, you can also use a drill with a larger bit to enlarge the hole. Another option is to use a saw to enlarge the hole. First, make a mark on the ceiling where you want the hole to be. Then, use a saw to cut along the marked line. Be sure to wear safety goggles when using a saw.
How Do You Cut a Hole in A Light Fixture?
There are a few ways to cut a hole in a light fixture. You can use a jigsaw, hacksaw, or reciprocating saw. The easiest way is to use a jigsaw.
Conclusion
Cutting a hole in drywall for a recessed light is not as hard as you think. With the right tools and guidance, you can easily do it yourself without hiring a professional. Follow these simple steps to get the job done right. Thanks for reading our post about how to cut hole in drywall for recessed light.