
If you’re looking for a way to change up the look of your home or office on a budget, consider doing your own led light colors. It’s a simple process that can be completed in just a few steps, and the results are truly eye-catching. Plus, you can choose from various colors to create the perfect atmosphere for your space.
With just a few simple steps, you can create any color for your light fixtures. Whether you’re looking for a new look or trying to match a specific color scheme, this guide on how to do diy led light colors will help make it easy. So get creative and have some fun with your DIY LED light colors! Read on for more information.
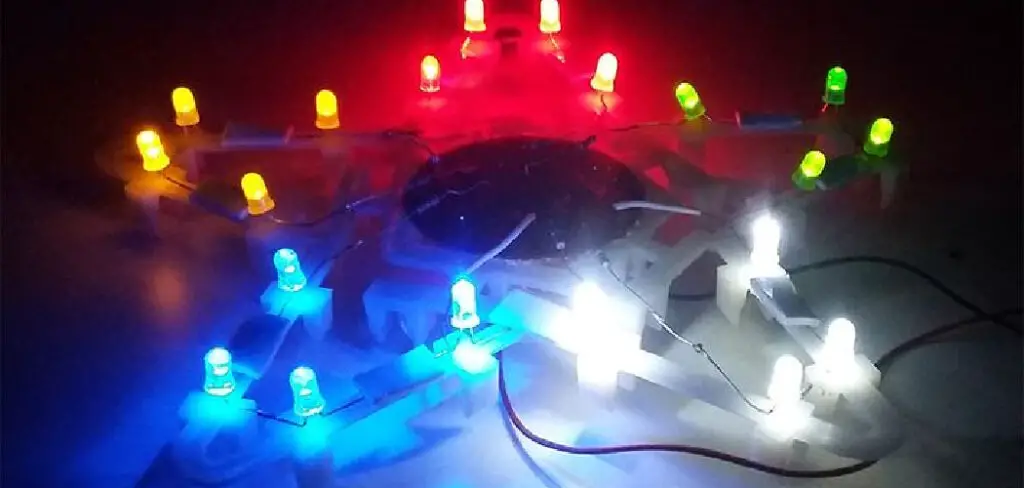
Summary: In this tutorial, you will learn how to do DIY led light colors using paint and a few simple supplies. By using different colors of paint and a light source, you can create a variety of cool effects that can add a touch of personality to any room.
Why Should You Make Your Own DIY Led Light Colors?
There are many benefits to making your own LED light colors. First, it’s a great way to save money – you can find LED bulbs for much lower prices than traditional incandescent bulbs. Secondly, you can get more variety with DIY LED colors than with traditional bulbs. So if you’re looking for a way to add some personality and style to your home, DIY LED lights are a great option!
Making your own DIY LED light colors is a fun and creative project you can do with your family or friends. You’re not limited to traditional colors like white, yellow, or blue – you can make black lights and other fun colors, too. All you need are some basic supplies and a little bit of creativity. So get started today and see what amazing colors you can create!
10 Effective Ways on How to Do Diy Led Light Colors
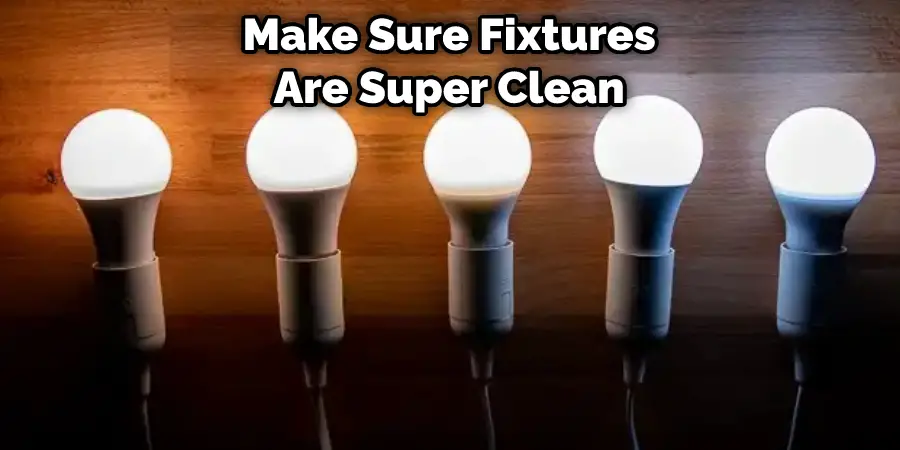
1. Start With a Clean Slate:
Ensure your light fixtures are clean and free of dirt or debris. This will help the paint adhere better and give you an even better finish. Of course, if you want to make sure your fixtures are super clean, you can always sand them down before painting.
2. Prime the Fixtures:
This step is essential if you want your paint to last. Use a primer made of plastic or metal (depending on what your light fixtures are made of). This will help the paint adhere and give you a better finish. Once the fixtures are primed, you can start painting.
3. Choose the Right Paint:
Not all paint is created equal. Make sure you use paint made of plastic or metal (again, depending on what your light fixtures are made of). This will help the color adhere to the light and not chip off easily. It would help if you also used high-gloss paint so the light can reflect off it easily. If you want to get creative, you can even try painting your light fixtures with chalkboard paint so you can write messages or draw pictures on them!
4. Apply a Primer:
This will help the paint stick to the light fixture and create a smooth surface. Next, choose a primer that is made specifically for plastic. Finally, consider using a rust-proof primer to ensure your paint job lasts for a long time.

5. Paint the Light Fixture:
Once the primer is dry, you can start painting the light fixture. First, use a brush or roller to apply an even coat of paint. If you want to achieve a glossy finish, use a paint sprayer. You can also use any paint you want as long as it’s compatible with the type of material the light fixture is made of. When the paint is dry, reassemble the light fixture and install it back in its original location.
6. Assemble the Fixture:
Now it’s time to finish the project by assembling your new fixture. Begin by attaching the mounting bracket to the back of the housing using the screws provided. Next, thread the power cord through the strain relief and into the junction box. Finally, screw in the glass diffuser (if applicable) and secure it with the retaining ring. That’s it! Your new LED light fixture is now ready to use.
7. Using Distant Controller:
One way to change the colors of the LED lights is by using a controller that is placed far away from the LEDs. The controller has an IR receiver, and you need a remote control that sends out IR signals. You can use the remote control to change the light colors or turn the lights off and on. When using the controller, make sure it is placed in an area where it can receive the IR signals well.
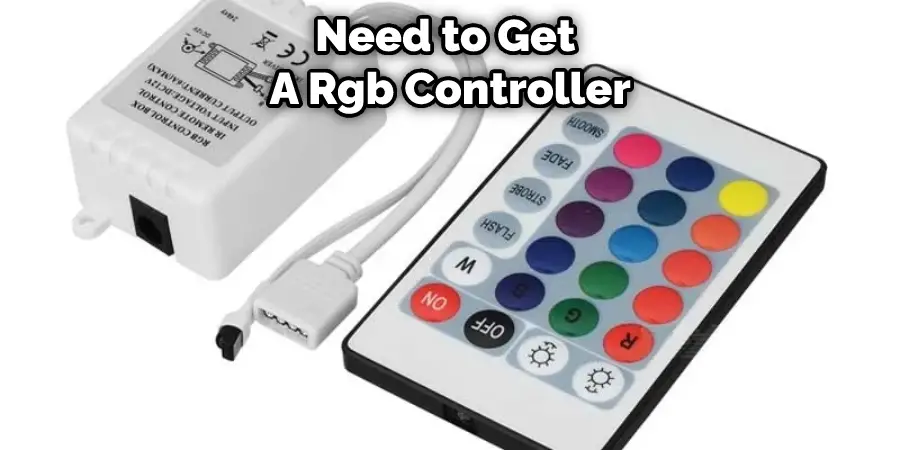
8. Changing the Colors of the LEDs:
If you want to change the colors of your LEDs, you will need to get an RGB controller. This controller will have three channels that control the LEDs’ red, green, and blue colors. You can use this controller to create any color that you want. Make sure that the controller you buy is compatible with the type of LEDs that you have.
9. Installing the Controller:
The controller will have three wires that need to be connected to the positive and negative leads of the LEDs. The positive lead will be the longer of the two leads. Once the wires are connected, you can screw the controller into the wall.
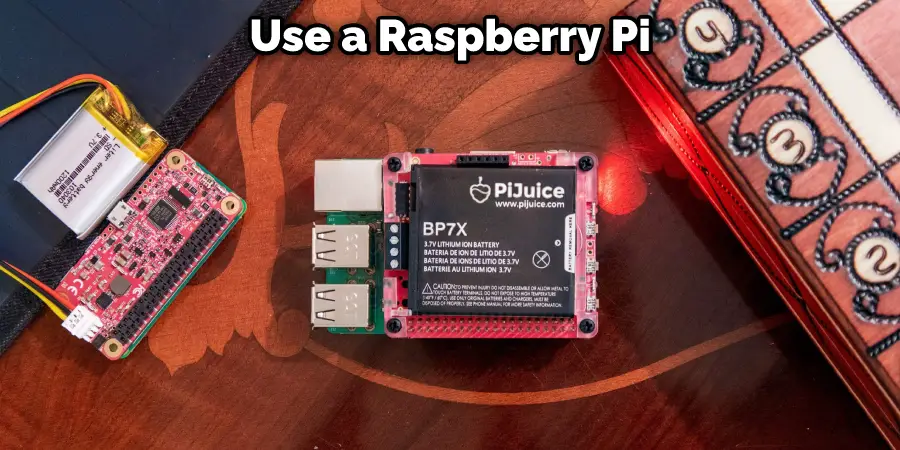
10. Using Raspberry Pi:
If you want to get really creative with your LEDs, you can use a Raspberry Pi to control them. The Raspberry Pi is a small computer that can be used for many different projects. For this project, you will need to install some software on the Raspberry Pi that will allow you to control the LEDs. This micro-processor will enable you to change the colors of the LEDs, turn them off and on, and even make them blink.
That’s it! You now know how to do DIY LED light colors. These steps should help you get started on your project. Remember always to use safety goggles when working with tools and paints. Be sure to consult the owner’s manual of your light fixtures to ensure that you take the proper precautions.
You Can Check It Out to Clean Led Light Strips
Some Helpful Tips and Suggestions
- You’ll need some basic supplies before you get started. Gather up some LED lights, a power source (like batteries or a power adapter), and something to use as a controller (like a remote control or an Arduino).
- Choosing the right type of LED lights for your project is essential. Depending on the look you’re going for, you’ll want to choose either RGB (red, green, blue) or white LED lights.
- Once you have your supplies, it’s time to start! Begin by wiring up the LED lights to the power source and controller.
- Once everything is wired up, you can start playing around with the light colors. Use the controller to mix and match different colors or create custom light patterns.
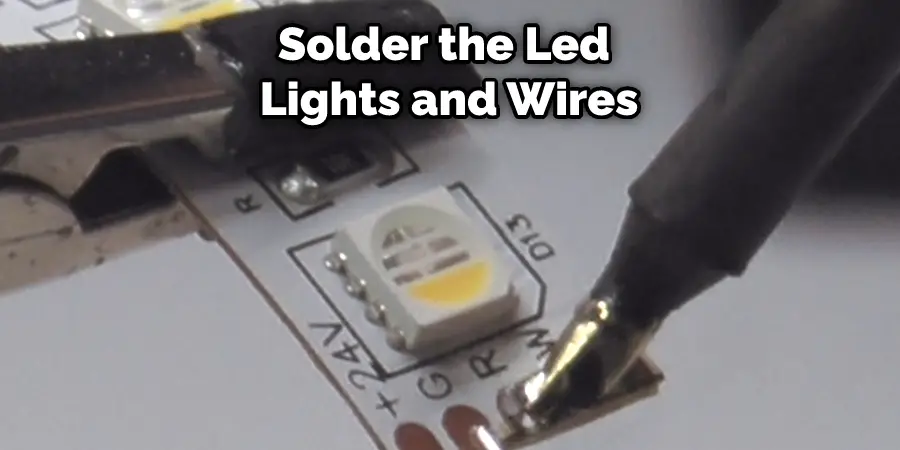
- To make the project more permanent, you can solder the LED lights and wires in place.
- Always be careful when working with electricity. If you’re not comfortable soldering or wiring, it’s best to leave this project to someone who is.
How Do You Make Diy Colors With Led Strips?
There are a few ways to get different colors with your LED strips. The most common method is to use remote control. This will allow you to change the colors of your lights with the push of a button. Another popular method is to use an app on your smartphone or tablet. This allows you to change the colors of your lights without having to get up and physically change them yourself. Can you cut LED strips to length?
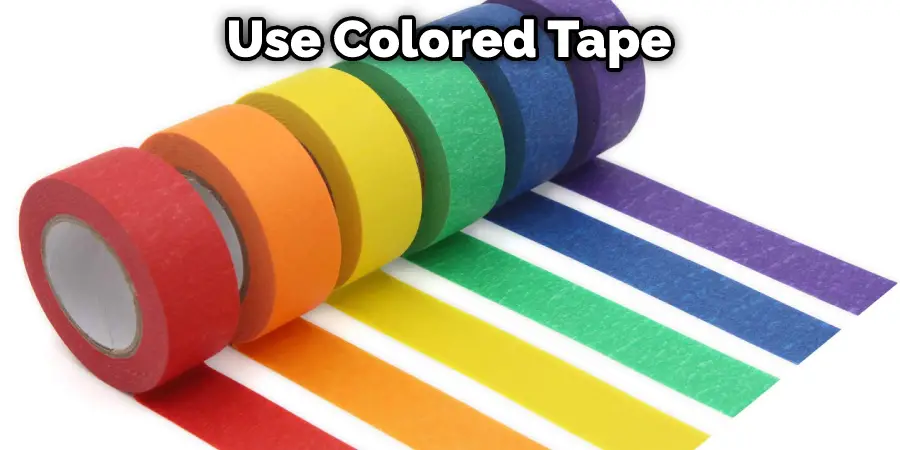
If you want to get more creative with your LED strips, you can use various methods to create different colors. One popular method is to use tape. You can use colored tape to create stripes or patterns on your LED strips. This is a great way to add some personality to your lights.
Another popular method is to use paint. You can use various colors of paint to create different effects on your LED strips. This is a great way to get creative with your lights and create a unique look for your home. You can also use various materials to create different effects on your LED strips.
How Do You Use Diy Feature on Led Lights?
The great thing about LEDs is that they can be used for a variety of purposes, including providing ambient lighting or accenting specific areas. If you’re looking for a way to make your space more unique, you may consider using the DIY feature on LED lights. This guide will show you how to do just that. First, you’ll need to gather the supplies for this project. You’ll need LED lights, a power source, and a controller.
The controller will allow you to change the colors of the LEDs, so make sure you get one compatible with your lights. Next, you’ll need to decide where to place the LEDs. It’s important to consider the purpose of the lighting before you make your decision. If you’re trying to accent a specific area, you’ll want to make sure the LEDs are placed in a way that highlights that area. If you’re just looking for ambient lighting, you’ll want to place the LEDs in a way that evenly distributes light throughout the space.
Is Making Diy Led Light Colors Costly?
If you are looking for ways to add some extra pizzazz to your home, then LED lights may be the perfect solution. Colored LED lights can provide any room with a unique and colorful look that is sure to impress guests. Best of all, making your own colored LED lights is easier than you might think. With a few simple supplies and a little bit of creativity, you can create amazing LED light displays that will liven up any space.
The supplies you’ll be using to create your colored LED lights are surprisingly affordable. You can find them all at your local hardware or home improvement store. The most important part of any LED light is, of course, the LED light bulb itself. You’ll also need a power supply to provide electricity to your bulbs (batteries work great for this), some thin gauge wire, and a soldering iron. Once you have all of your supplies, you can then follow the instructions on how to do diy led light colors to make your own colored LED lights.
What Are the Best Diy Led Light Colors for Sleeping?
It is commonly said that blue light suppresses melatonin production, making it harder to fall asleep. Therefore, using blue light at night can disrupt our natural sleep patterns. For this reason, many people believe that using warmer colors like yellow and red can help you sleep better at night. While some evidence supports this claim, it is not definitive. Some studies suggest that blue light may help you sleep better by resetting your internal clock. Ultimately, the best color to use at night depends on personal preference and what works best for you.
If you’re looking for a way to improve your sleep, there are a few things you can try. One is to avoid using electronics with blue light at night. If you must use them, try wearing blue-light blocking glasses or installing an app that filters out blue light. You can also try sleeping in a darkened room or using a sleep mask. Finally, stick to a regular sleep schedule as much as possible. By following these tips, you can help ensure you get a good night’s sleep.

Frequently Asked Questions
Can You Mix Colors With Led Lights?
Yes, you can mix colors with led lights. This is done by using a combination of warm and cool colors to create different shades or patterns. By doing this, you can add more dimension to your decor and make it more interesting and fun to look at.
What Colour LEDs Help You Sleep?
White LED lights may be ideal for sleep because they emit a warm, calming light that is low in blue and high in yellow wavelengths. These colors help to stimulate the brain and body into entering “slow-wave” mode which helps to promote relaxation. Additionally, some studies have shown that white LEDs can suppress the production of the stress hormone cortisol.
To use white LED lights for sleeping, simply turn them off once you’re done awake or when you go to bed. You don’t need any special devices or lamps; all you need are regular overhead lighting fixtures ( halogen or CFL ) with an Edison screwdriver.
What Does Cyan Led Light Do for Skin?
Cyan LED light therapy is a popular treatment for skin conditions such as acne, psoriasis, rosacea, and other skin conditions. It is a form of light therapy that uses blue and violet light to treat skin conditions. Cyan LED light therapy is effective because it is gentle on the skin and it does not require any special equipment or medication.
Can Led Harm Your Skin?
There are mixed reports on whether or not LED light can be harmful to the skin. Some people say that it is toxic and causes irritation, while others claim that there is no evidence linking LED exposure with any adverse effects. It’s important to stay informed about potential dangers before making a decision about using these lights, and if you do experience any problems such as sensitivity, redness, or dryness, it’s best to consult a dermatologist.
Conclusion
In conclusion, when it comes to diy led light colors, there are a few things you need to consider. The first is the color of your light fixture, and the second is the color of your light bulb. Simply changing the resistor will give you a different hue, and adding some filters can create even more variation.
We hope this guide on how to do diy led light colors have been helpful. Following these simple tips can create the perfect atmosphere for any occasion. Have you tried using different colors in your diy led lights? What results did you see? Let us know your thoughts in the comments below!