If you’ve ever had a ceiling fan with a light, then you know the annoyance of flickering light. It can get so frustrating that you might be tempted to just take the light out together. It is important to know how to fix flickering light on ceiling fan. Fixing a flickering light on a ceiling fan is a relatively easy process, and can be done in a few minutes.
In this blog post, we will walk you through the steps necessary to fix the flickering light. We will also provide some troubleshooting tips if the issue continues after you have fixed it. So, if your ceiling fan has been giving you trouble lately, keep reading for some solutions!
8 Easy Steps Guide on How to Fix Flickering Light on Ceiling Fan
1. Power to the Fan is Off
Before making any attempts to repair a fan, it is imperative to make sure the power supply, or circuit breaker, is turned off. Not only does this include securing the switch on the fan itself, but also ensuring the correct wall switch or fuse box is disabled. This precautionary measure ensures the safety of anyone working on the fan from the risk of electrocution.
Additionally, deactivating all sources of power allows for a base case scenario so that proper troubleshooting can be accurately performed to identify what repairs need to be done on the fan safely and properly.
2. Check for Loose Connections
Replacing a burned-out or loose connection light bulb on a ceiling fan can be a straightforward task. To start, use a step ladder to carefully access the light socket on your fan. Upon inspection, check for any loose connections between the socket and the base of the bulb, ensuring that each pin is properly secured into place.
If all connections appear secure, turn off your power and remove the existing bulb before inserting a new one of the same wattage capacity. Once you’ve inserted the new bulb, turn on your power to test it out – if it still flickers or dims after being replaced, you may need to consult an electrician to investigate further issues with your fan wiring.
3. Verify That All Wires Are Firmly Connected
To fix a flickering light on your ceiling fan, it is important to first inspect the wiring within it. Take a look at each wire and make sure that they are properly connected in their designated sockets without being overly loose or too tight. Pay close attention to any exposed wires that may be leading to an electrical short.
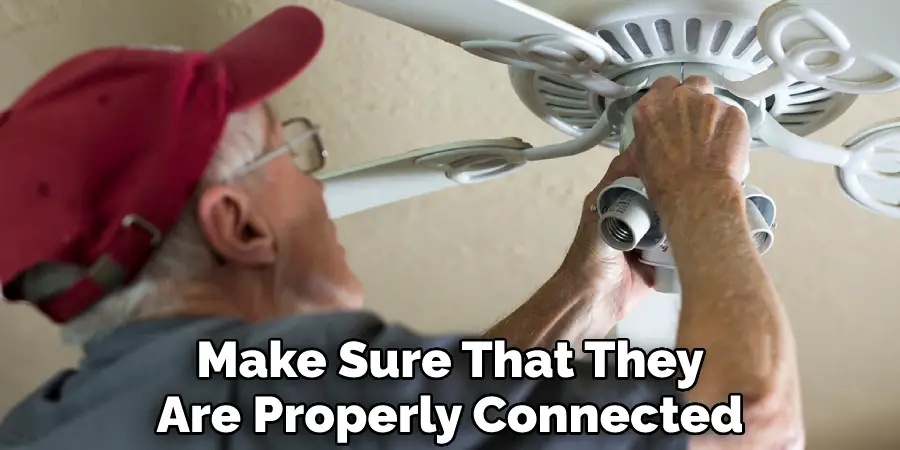
These could potentially be hazardous if not taken care of quickly. Don’t forget to check the screws of the socket and tighten them up as needed so that everything stays secure and stable once you flip the switch. Taking all these steps will help ensure the safety of your ceiling fan lighting system and save you time in the long run!
4. Inspect the Capacitor
Trying to fix the flickering light on your ceiling fan? Consider inspecting the capacitor. Capacitors provide a short burst of energy that an electric motor needs to start and run. Over time, however, its electrical charge can drop which can cause the lights to flicker or switch off unexpectedly.
Inspecting the capacitor of your ceiling fan is easy – just unplug it from the power source, take it out and check for any signs of damage or corrosion. If there are any bad spots, then consider replacing the capacitor with a steady light, malfunction-free fan. Good luck with all your DIY home repairs!
5. Check Dust or Debris
Ensuring your fan blades are free of dust and debris is essential for proper functioning and safety. Dust buildup can inhibit the flow of air, reducing efficiency, and could even be an ignition source for a fire if it becomes thick enough. To check, simply turn off the power to your fan and use compressed air or a vacuum to gently remove any dust that has accumulated along the fins and bearings. Carefully monitoring your fan blades will ensure you can stay cool and safe throughout the summer season!
6. Check Switch Control
While replacing a lightbulb is an easy home maintenance task, it’s important that you also check the switch controlling the light. A faulty switch can cause an overload of electricity and can even be a fire hazard. Make sure to regularly inspect and test the switches controlling your lights to ensure they’re in good working condition.
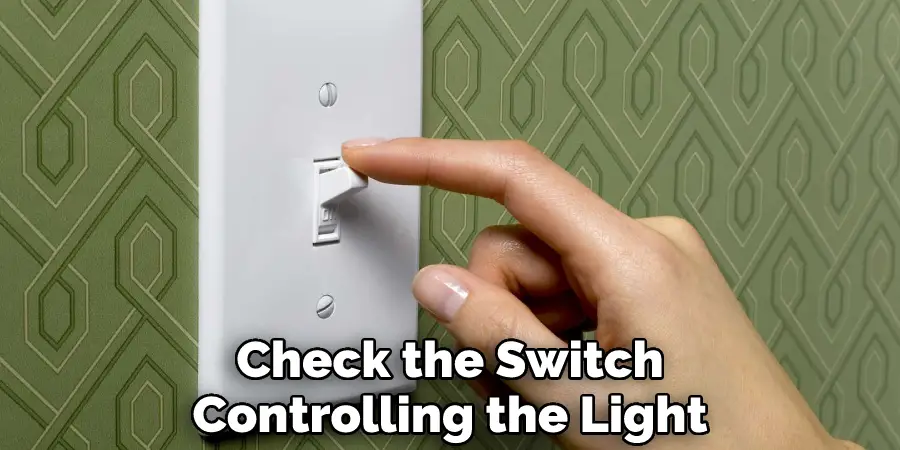
If you suspect there may be an issue with your light switches, don’t hesitate to call a professional electrician for further inspection as soon as possible. With regular maintenance, you can make sure your home is always safe and secure.
7. Wiggle Each Wire
When facing a wire connection that needs to be perfect, it is important to make sure the connections are stable and secure. To do this properly, one should give each wire and the light bulb a slight wiggle to test if the connection is tight. This ensures that there can’t be any small spaces or openings between the wires.
Otherwise, the electricity may not flow in the desired way. Doing this simple piece of maintenance regularly will prevent any future problems with electric circuits such as needless stalling or shocking setbacks. So take a little extra time now and wiggle each wire and light bulb for an optimal connection later on.
8. Power Back on and Test
After having turned the power back on, it’s time to test out your repair job. Before turning the ceiling fan on, ensure that all screws are properly tightened and double-check if you have replaced all the components in their designated places. Once there is a sense of assurance, flick the switch to the ‘on’ position and carefully observe the fan’s operation for about 30 seconds to a minute.
If there is no sign of flickering or humming noises emitting from the fan then great – your repair job has been successful. However, should this not be the case then you’ll need to take further action and troubleshoot whatever it was that posed a problem in the first place.
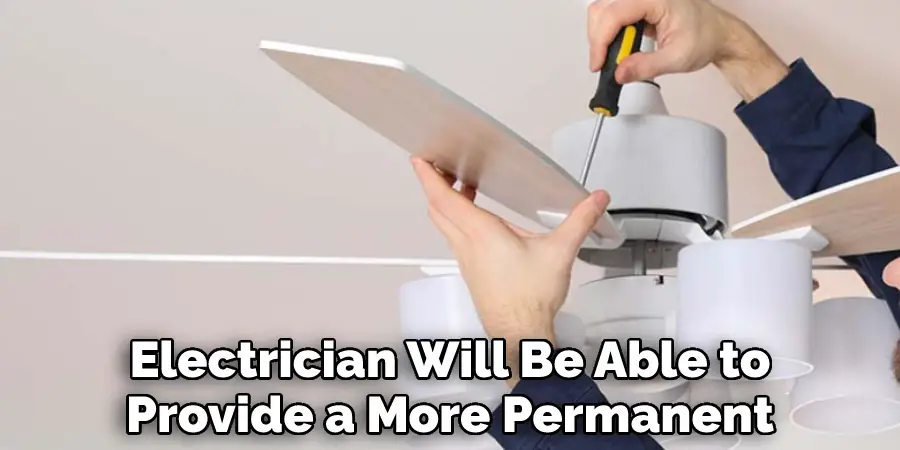
These are just some basic troubleshooting tips for fixing a flickering light on a ceiling fan, but if you’re still having issues after following these steps, it’s best to contact an electrician for help. An electrician will be able to provide a more permanent and professional fix for the problem.
You Can Check It Out to Fix a Flickering Flashlight
We hope these tips helped get your flickering light fixed! If you have any further questions about how to fix a flickering light on a ceiling fan, please don’t hesitate to contact us. We’d be happy to answer any questions you have. Thanks for reading!
Frequently Asked Questions
How to Troubleshoot a Ceiling Fan with Flickering Lights?
Troubleshooting a ceiling fan with flickering lights can seem daunting, but it doesn’t have to be. By taking some simple steps, the issue can be diagnosed and addressed. If your fixture is attached to a dimmer switch, ensure that it is appropriate for the type of bulbs that you are using. If at full power the light continues to flicker, replace the bulbs with approved models to determine if this fixes the problem.
Another potential cause could be a loose connection in either the wiring within the fan or in an accessory like a pull-chain switch or wall control. Securely reconnecting any loose wires should help restore even lighting. Finally, if nothing else works, take a closer look inside the fan housing where components like capacitors and bearings may need replacement or lubrication for optimal function.
What Causes a Ceiling Fan Light to Flicker?
Ceiling fan lights flickering can be quite annoying, but thankfully most causes are fixable. Two chief culprits of this unwanted phenomenon are loose light bulbs and frayed electrical wiring within the fan itself or the power source. Luckily, it is relatively easy to determine which is causing the flicker.
If all of the bulbs in a fan are securely attached and still flicker, then it’s likely that there are damaged electrical wires somewhere in the machine or a mismatch between wattage from the voltage source and what your ceiling fan requires. To remedy these issues, make sure you call in a qualified professional for repairs or replacement as soon as possible to avoid potentially hazardous situations.
Conclusion
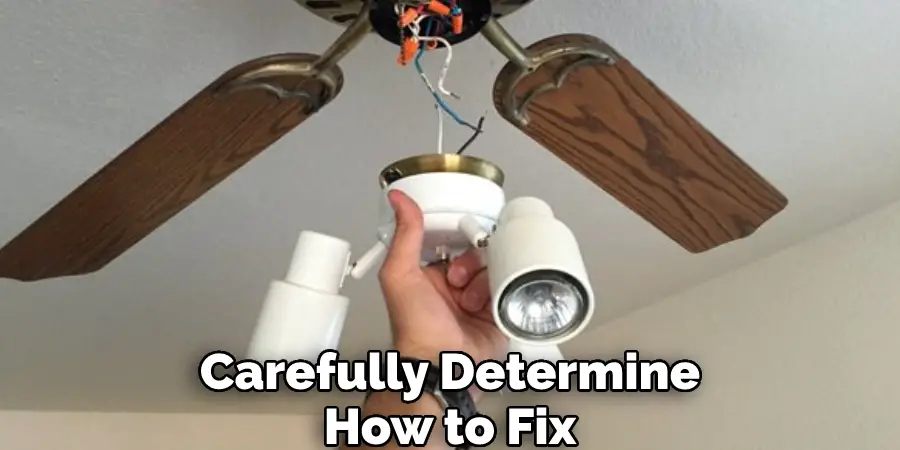
Thank you for taking the time to read our blog post. We hope that you found it informative and helpful. If the flickering light on your ceiling fan is driving you crazy, don’t worry. You can easily fix it with a few simple tools and steps. With a little time and effort, you’ll have that pesky light knocked out in no time. You should carefully determine how to fix flickering light on ceiling fan.
So next time your ceiling fan starts acting up, don’t hesitate to take matters into your own hands and fix it yourself. If you have any further questions, please do not hesitate to reach out to us. We would be more than happy to help you in any way we can. Thank you again for reading and have a great day!