
Suppose you are looking for an exciting science project to do with your kids. Why not try lighting a lightbulb with a magnet and copper wire! It’s a fun and easy project that is sure to impress your friends and family. Best of all, it only requires a few simple materials that you probably already have lying around the house. So get ready to learn how to light a lightbulb with a magnet and copper wire!

This fun science experiment is easy to do and doesn’t require any special equipment. So, if you are looking for a fun way to spend an afternoon, then be sure to try this experiment!
Summary: In this creative short summary, we learn how to light a lightbulb with a magnet and copper wire. First, we need to find a lightbulb that we want to light. We then take the magnet and place it over the lightbulb. Next, we take the copper wire and coil it around the magnet. Finally, we put the other end of the copper wire into the lightbulb. When we turn on the light, the magnet will pull the copper wire up the bulb, lighting it up.
Required Materials
- 1x Strong Magnet
- 1x Spool of Copper Wire
- Scissors
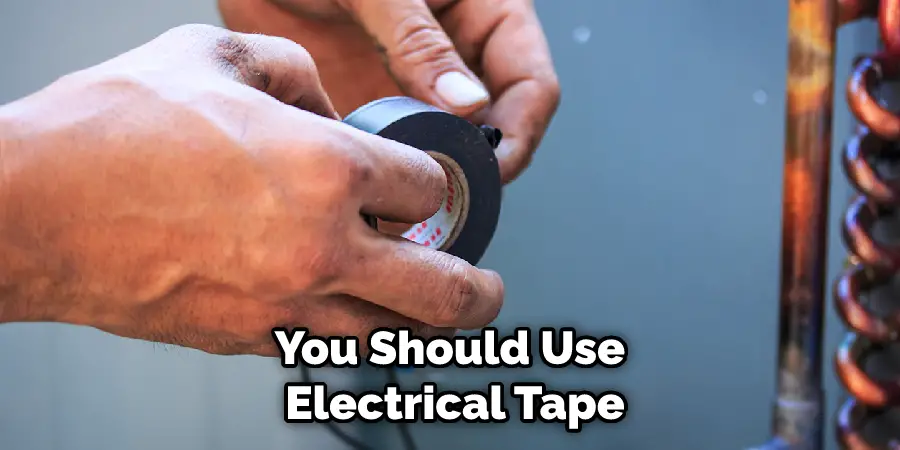
- Electrical Tape
- Soldering Iron and Solder
A Step by Step Guide on How to Light a Lightbulb With a Magnet and Copper Wire
Step 1:
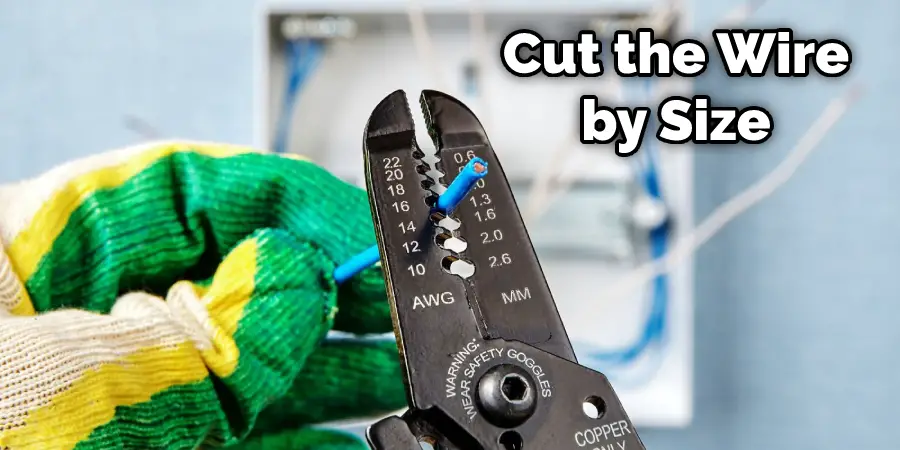
Cut a 5-inch length of copper wire, and remove the insulation. Use the scissors to cut into one side at an angle. If you are using electrical tape instead of solder, wrap your newly exposed wire around the tip of your soldering iron for 1 minute.
Step 2:
If you want your circuit to last forever, you should cut another 4 inches of insulated copper wire, twist it tightly with the first 5 inches, and solder them together. This will prevent electricity from escaping from your circuit over time.
Step 3:
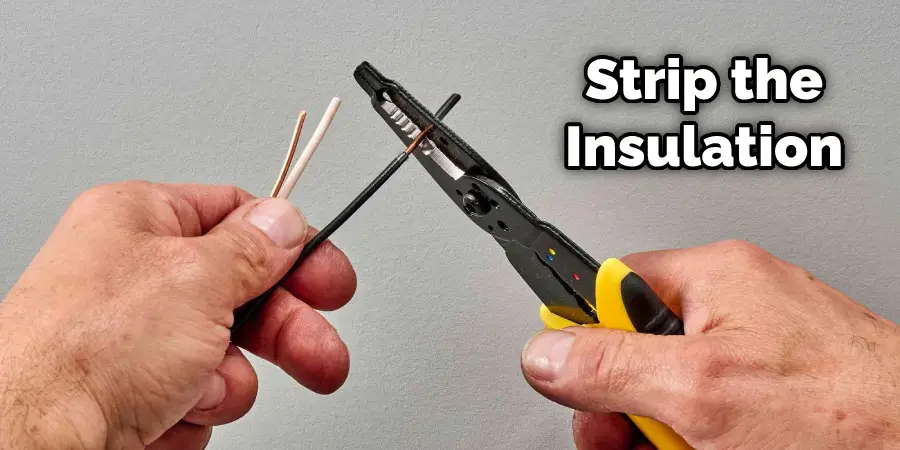
Cut another ½ inch off of your spool and remove the insulation. You can do this by using scissors, inserting the wire between some layers of paper and tearing it out, or using a knife to cut through one side. This piece should be approximately 4 inches long.
Step 4:
Strip the insulation from both ends of this piece. Use method one if you have electrical tape; otherwise, use method 2 for bare copper wire. Depending on the wire, you may need to strip off more or less insulation; however, we recommend stripping ¼ inch if possible, or enough, so the two pieces fit nicely together without any exposed copper touching and shorting them. Repeat Step 1 (Remove the insulation from 5-inch wire), except only half as long (2.5 inches).
Step 5:
Begin building your circuit. First, attach one end of the shorter wire to one end by twisting it around and wrapping it tightly with electrical tape. How you do this is up to you; we recommend using a Binder Clip and taping over and under its arm, until it is secure to your satisfaction. Of course, how tight or loose this connection should be will depend on how strong a magnet you have available, so experiment!
If you do everything correctly, no electricity should flow through the connection between the magnet and the copper wire. This is because copper typically does not conduct electricity at all, unless an outside force is applied. This means that electricity would have to flow through the wire to reach the magnet, but without the tape, this connection could never happen. Therefore, this step is crucial in how to light a lightbulb with a magnet and copper wire.
Step 6:
The next step is to attach your small piece of wire to one end of your coil. You can do this by twisting it around and taping it over/under the coil tightly until it is secure, or by wrapping it around a Binder Clip. If electricity can flow through this connection, you should use electrical tape. How tight or loose this connection should be depends on how strong a magnet you have available. Experiment to see what works best.
You need to wrap the wire around the coil’s base the same number of times as the number you want your magnet to produce. The connection should be tight or loose depending on how strong a magnet you have.
If everything goes right, no electricity should flow through this connection unless insulation is stripped off of one or both pieces of wire because copper does not typically conduct electricity at all unless an outside force is applied.
Step 7:
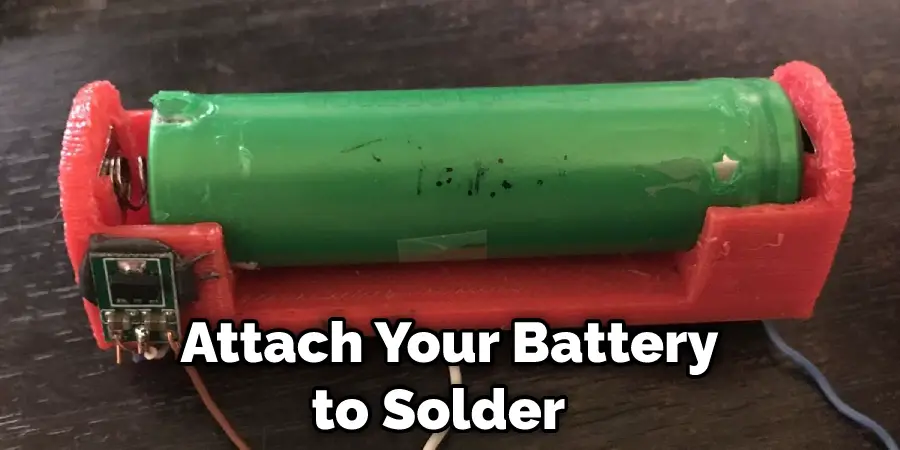
If you do not use solder, attach your battery holder securely with electrical tape to your completed circuit in any manner that it can stay on. How you do this is up to you; if using tape, try touching both ends together before trying anything else! How tight or loose this connection should be will depend on how strong a magnet you have available. If everything goes right, no electricity should flow through your circuit unless insulation is stripped off of one or both pieces of wire between the battery and magnet because copper does not typically conduct electricity at all unless an outside force is applied (electricity must flow through the wire to reach the magnet).
Step 8:
If using solder, attach your battery holder securely with solder to your completed circuit in any manner that it can stay on. How you do this is up to you; however, we recommend soldering as much as possible to make this as sturdy as possible. How tight or loose this connection should be will depend on how strong a magnet you have available, so experiment! Likewise, how many times you wrap your coil with the battery holder wire depends on how many turns you want your magnet to produce, depending on how strong a magnet you have available.
How many times you wrap your coil with the battery holder wire should equal this number. If everything goes right, no electricity should flow through your circuit unless insulation is stripped off of one or both pieces of wire between the battery and magnet because copper does not typically conduct electricity at all unless an outside force is applied (electricity must flow through the wire to reach the magnet).
You can check out it to Get Led Light Residue Off Wall
Frequently Asked Questions
Can You Make Electricity With Magnets and Copper Wire?
Yes, you can make electricity with magnets and copper wire. The process is pretty simple and requires nothing more than a coil of wire wrapped in a strong magnet. You then point the coil towards the magnetic field, making contact between the two every time it rotates. This action creates an electric current that can be used to power devices like lights or appliances.
This method is especially useful for generating electricity during emergencies or when there is no access to traditional grid systems.
Can You Power a Light Bulb With Magnets?
Yes, you can power a light bulb with magnets! The process is actually quite simple – all you need is a lightbulb, some magnets, and some wire. Simply connect the wires to the positive and negative terminals on the lightbulb, and you’re good to go.
The reason this works is that magnets attract each other. When the wire is connected to the magnets, it creates a current that powers the light bulb. This process is also reversible – so if you want to turn off the light bulb, simply disconnect the wires.
This simple trick is great for emergencies or when you don’t have any other options for powering a light bulb. It’s also a great way to experiment with electricity – try wiring different things together to see what happens.
What Happens if You Wrap a Magnet With Copper Wire?
If you wrap a magnet with copper wire, the magnetic field will increase and cause a current to flow through the wire. This current can be dangerous if it is accidentally contacted or comes in contact with other metal objects. If this happens, it could lead to electrical shock or even death.
Is Copper Wire and Magnet Wire the Same?
This is a question that can be difficult to answer without having more information about the specific wire in question. That being said, generally speaking, Copper Wire and Magnet Wire are both types of electrical wire.
They both have a certain amount of electricity running through them and are used for a variety of purposes, such as wiring homes and businesses, transmitting power, and connecting appliances to the electrical grid.
That said, it’s important to note that Copper Wire is stronger than Magnet Wire and can handle more electricity before it becomes damaged. Magnet Wire is also great for transmitting power over long distances because it doesn’t lose as much energy over long distances.
So, while Copper Wire and Magnet Wire are both types of electrical wire, they each have their own unique advantages and disadvantages that should be considered when deciding which one to use in a given situation.
Conclusion
Here’s how to light a lightbulb with a magnet and copper wire. It sounds impossible, but it is possible with a magnet and copper wire! Read on to learn more about this incredible science experiment that will blow your mind.