Making your electric fence charger is a great way to save money and achieve a greater level of self-sufficiency. This simple project can be completed in an afternoon with just a few inexpensive materials. Plus, you’ll get the satisfaction of knowing that you built it yourself! Read on to learn how to make a electric fence charger with a light bulb.
Electric fence chargers come in various shapes and sizes, but all of them work on the same basic principle: they use an electric current to create a powerful shock that deters animals from crossing the fence. You can buy a commercial electric fence charger or make your own using a light bulb. Many people find that the light bulb charger is just as effective as commercial chargers, and it’s a lot cheaper to make.
Summary: Creating an electric fence charger with a light bulb is an unconventional and potentially dangerous project that is not recommended for those without electrical expertise. The idea behind this DIY project is to use a light bulb as a resistor to control the current flowing through the fence wire. This project could result in serious injury or damage if not executed properly, and it is crucial to understand the risks involved and take all necessary safety precautions.
To create an electric fence charger using a light bulb, you will need a power source, such as a 12V battery or a solar panel, an automotive ignition coil, a capacitor, a light bulb, and a suitable length of insulated fence wire. The power source is connected to the ignition coil’s primary winding, while the secondary winding is connected to the fence wire. The light bulb is then used as a resistor to limit the current flow through the fence wire.
A capacitor is also added to the circuit to store and discharge energy, creating a pulsating effect. When an animal or object comes into contact with the fence, the stored energy in the capacitor is discharged, creating a mild shock. It is important to note that working with electricity, particularly in a DIY context, can be hazardous. If you are unsure about any aspect of the project or lack electrical expertise, it is recommended that you consult with a professional or consider purchasing a commercially available electric fence charger.
What is an Electric Fence Charger
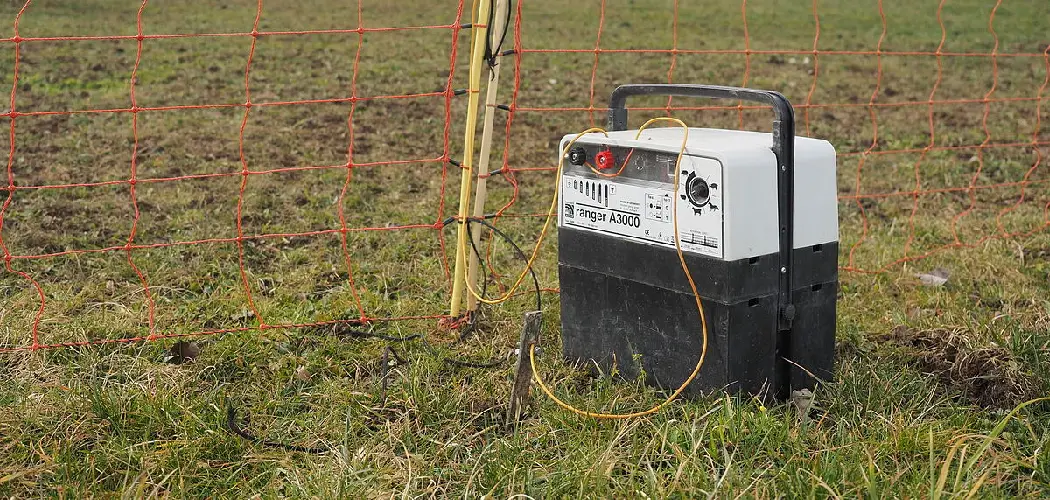
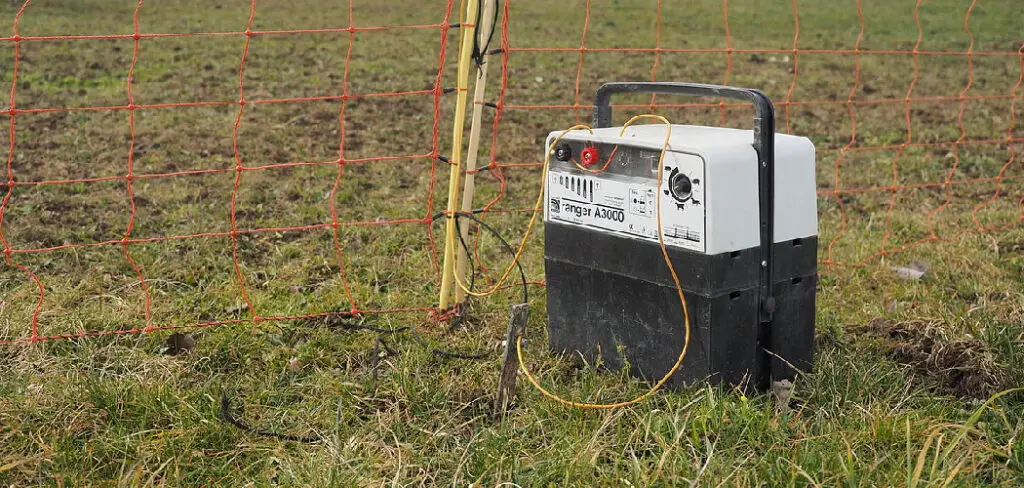
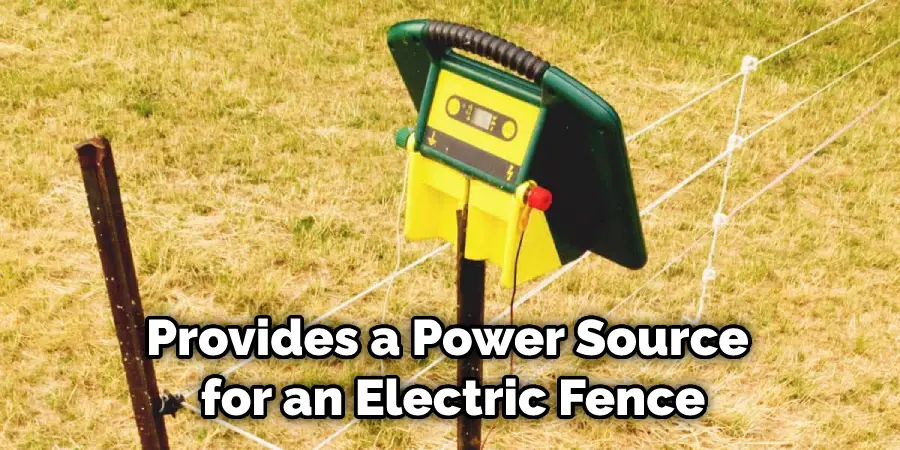
An electric fence charger is a device that helps create an electric fence. It does this by emitting an electrical pulse. This helps to keep animals from crossing boundaries or entering restricted areas.
What You’ll Need
- A light bulb
- A 9-volt battery
- A box cutter or a knife
- Electrical tape
- Wire cutters
- A screwdriver
A Step by Step Guide on How to Make a Electric Fence Charger With a Light Bulb
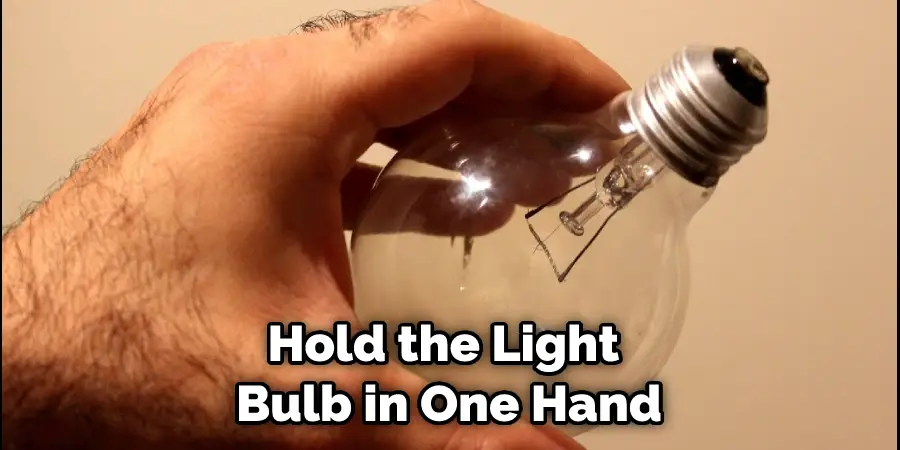
Step 1: Determine Which End of the Bulb Will Be the Positive and Negative Terminals
Light bulbs have two metal contacts at one end. The positive terminal is the larger of the two contacts, while the negative terminal is the smaller of the two. To create an electric fence charger, you’ll need to identify which end of the light bulb will be the positive and negative terminals.
Hold the light bulb in one hand and use a box cutter or knife to scratch off the paint or coating from around one of the metal contacts. You should be able to see a shiny metal surface underneath. If you can’t determine which are the positive and negative terminals by looking at them, try scratching off the paint from around both contacts. The contact that sparks when you scratch it is the positive terminal.
Step 2: Before You Start, Make Sure the Bulb Is in Good Working Condition
Light bulbs can sometimes be fragile, so it’s essential to ensure that the one you’re using for your electric fence charger is still in good working condition. First, check the filament inside the bulb to see if it’s still intact. If the filament is broken or damaged, the light bulb won’t work, and you’ll need to find a new one.
Step 3: Cut Off One End of the Bulb
Use a pair of wire cutters to snip off one end of the light bulb. Be careful not to cut too close to the metal contacts, which could damage them. Once you’ve cut off one end of the bulb, you should be able to see the filament inside.
Step 4: Attach the Battery to the Bulb
Use a screwdriver to remove the positive and negative terminals from a 9-volt battery. Once the terminals have been removed, touch the positive terminal to the positive contact on the light bulb. Touch the negative terminal to the negative connection on the light bulb.
If you’re unsure which, scratch off the paint around both contacts and use a voltmeter to test for continuity. The contact that shows continuity with the positive terminal on the voltmeter is the positive contact on the light bulb. The other one is the negative contact.
Step 5: Wrap Electrical Tape Around Both Connections
Once you’ve established a connection between the battery and the light bulb, it’s essential to ensure that the terminals are insulated. Wrap electrical tape around both the positive and negative contacts to ensure no accidental contact between them.
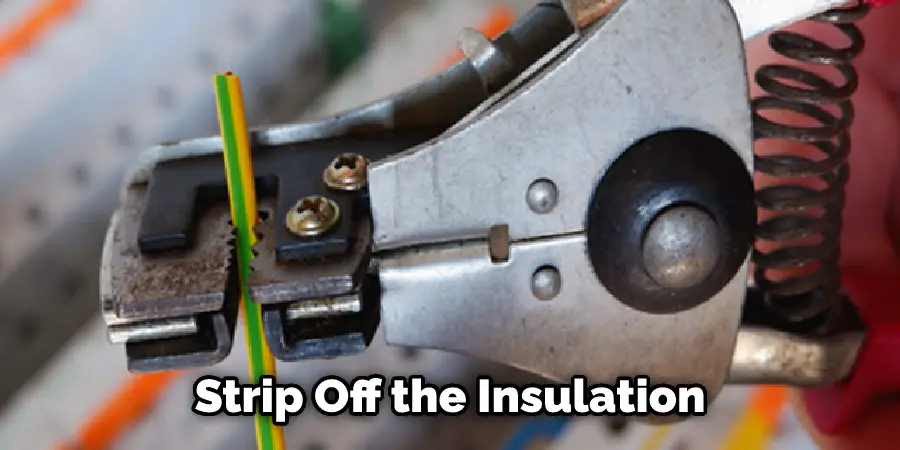
Step 6: Cut a Piece of Wire
Once the electrical tape is in place, cut a piece of wire that is about 12 inches long. Strip off the insulation from both ends of the wire.
Step 7: Attach One End of the Wire to the Negative Terminal on the Battery
Using pliers, twist one end of the wire around the negative terminal on the battery. Make sure that the connection is tight and won’t come loose.
Step 8: Attach the Other End of the Wire to the Bulb
Secure one end of the wire to a metal contact on the light bulb, then twist the other end around another metal contact. Ensure a tight, secure connection between wire and metal contacts.
Step 9: Put the Bulb in a Safe Place
It’s important to put the electric fence charger’s bulb in a safe place where it can’t be touched by anyone, because it’s live and will give an electrical shock.
Now that you know how to make a electric fence charger with a light bulb, you can keep your animals safe and secure while they’re out in the yard.
Tips and Warnings
Tips:
1. Make sure you clearly understand the project before starting. Read through the entire tutorial and gather all of the materials you’ll need before beginning.
2. It’s always good to test your circuit before permanently attaching it to your fence. This will ensure that everything is working correctly and that you don’t have any shorts in your wiring.
3. If you’re using an AC light bulb, make sure that the voltage rating on the bulb is high enough to withstand the voltage output of your charger. If it’s not, you could damage the bulb or shock yourself.
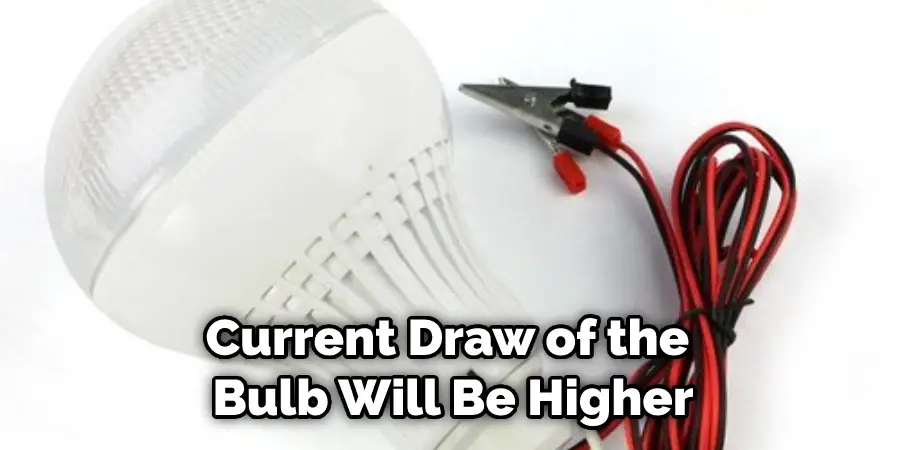
4. If you’re using a DC light bulb, be aware that the current draw of the bulb will be higher than with an AC bulb. Make sure your power source can handle the increased current draw.
5. If you’re not comfortable working with electricity, it’s probably best to leave this project to someone who is. It’s not worth risking your safety to save a few dollars.
Warnings:
1. Be very careful when working with electricity. It can be dangerous if you’re not familiar with how to handle it safely.
2. Always unplug your charger from the power source when not in use.
3. Do not touch the electrified wires while plugging the charger. You could be seriously injured if you do.
4. Keep children and pets away from the fence while it’s charged. They could easily be shocked if they come into contact with the wires.
Why Is My Electric Fence Clicking
If you’re hearing a clicking noise when your electric fence is turned on, it’s likely because of some electrical problem. This could be caused by several things, such as a bad connection, a broken wire, or debris getting caught in the fence. While it’s possible to troubleshoot and fix these problems yourself, it may be best to call in a professional if you’re unsure what you’re doing. In the meantime, here are a few tips to help you get started:
- Check the fuse box to ensure that the circuit breaker hasn’t tripped. If it has, reset the breaker and try turning on the fence again.
- Make sure that all of the wires are correctly connected and that there are no loose wires.
- Clear any debris or vegetation that may be caught in the fence.
If you’re still having problems, contact a professional electrician to come to take a look. They’ll be able to diagnose the problem and make any necessary repairs.
What Happens if You Don’t Ground an Electric Fence
An electric fence charger is a device that provides a power source for an electric fence. It is quite simple if you have ever wondered how to make a homemade electric fence charger. All you need is a light bulb and a few other supplies that can be easily found around the home. The first thing you need to do is remove the filament from a light bulb. You can use a pair of needle nose pliers for this. Once the filament is removed, use a sharp knife to puncture a hole in the side of the bulb. Be careful not to make the hole too big or the glass may shatter.
One of the essential parts of an electric fence charger is the ground. The ground wire helps to dissipate the electrical charge so that it does not build up and become dangerous. Without proper ground, the electrical current could travel back up the fence posts and shock anyone who touches them. Therefore, it is essential to ensure that your electric fence charger is adequately grounded before using it.
If you are not sure how to properly ground an electric fence charger, it is best to consult with a professional. Failing to ground an electric fence properly can be dangerous and result in serious injury. So, if you are wondering what happens if you don’t ground an electric fence, the answer is simple – it’s not safe! So, make sure to follow the proper grounding procedures to avoid potential accidents.
Frequently Asked Questions
Can You Test an Electric Fence With a Light Bulb?
This is a tricky question, as there are many factors that need to be considered.
For example, the size of the light bulb, the voltage of the fence, and the wiring in your house all need to be taken into account. Ultimately, it is not safe to test electric fences with light bulbs.
Is an Electric Fence AC or DC?
An electric fence should be AC or DC in order to operate correctly. An AC electric fence will use alternating current (AC) to power the motors, while a DC electric fence uses direct current (DC).
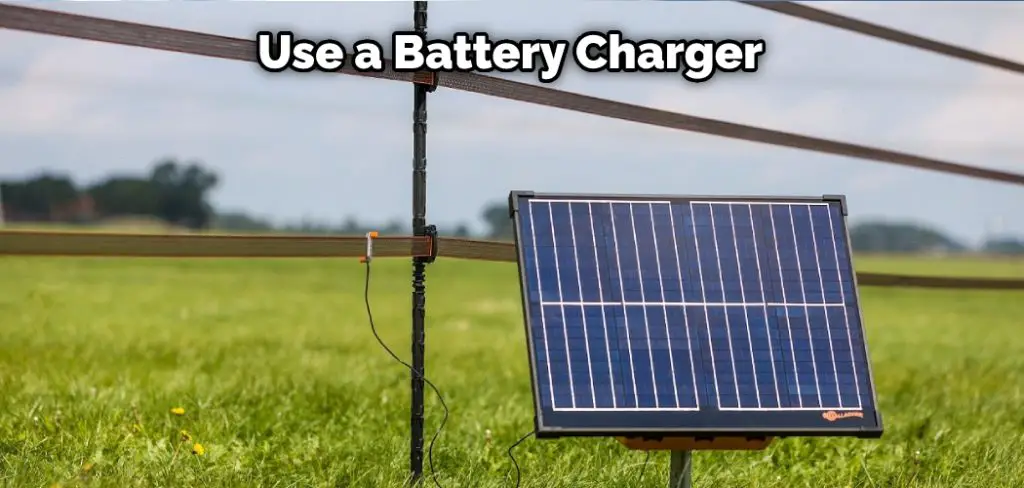
Can You Use a Battery Charger to Make an Electric Fence?
Yes, you can use a battery charger to make an electric fence. This is because a battery charger often has the ability to transform AC power into DC power, which is what your fence needs in order to operate. Simply connect the cables from the battery charger to your electric fence, and viola! You are good to go.
What Voltage Is Electric Fence?
A typical electric fence is powered by a nine-volt battery, which provides the necessary power to operate the motor and circuit boards. When it comes to installing an electric fence, you will need to determine whether or not you require a higher voltage. A high voltage system operates at 12 volts or more, while a standard voltage system runs between 9 and 11 volts.
The advantage of using a higher voltage system is that it can penetrate deeper into wood – up to 3 inches deep – than systems with lower voltages. This makes it easier for dogs and other animals to be repelled from your property boundary.
Additionally, high-voltage fences are less likely to fail due to corrosion caused by moisture in the environment.
Conclusion
So there you have it, how to make a electric fence charger with a light bulb. A simple electric fence charger can be made with a few everyday household items. This is an excellent project with kids, and they will enjoy testing the fence out on their pets (or maybe even themselves). Be sure to take precautions when using this or any other type of electric fencing – always use caution and consult an expert if you are unsure how to set up and use your system safely.