
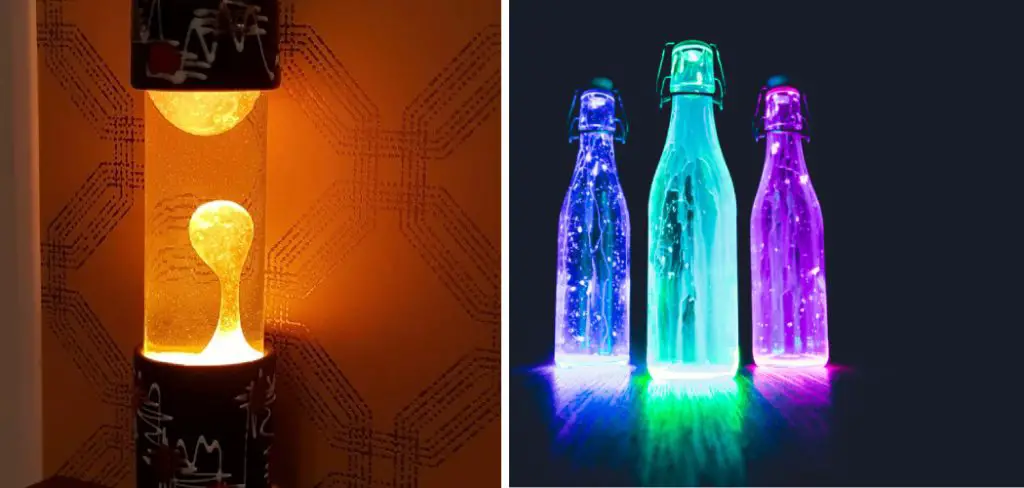
how to make a lava lamp in a bottle Have you ever wanted to make your own lava lamp? Lava lamps have been popular for decades and are still a fun and fascinating addition to any household. Not only do they create a relaxing ambiance, but they also have the added benefit of being an excellent tool to teach kids about science. In this blog post, we’ll take you through the step-by-step process of how to make a lava lamp in a bottle using safe and easily accessible materials. So, let’s dive in!
Can You Make a Lava Lamp in A Bottle?
The fascination with lava lamps is undeniable. They are mesmerizing, colorful, and just plain cool. But did you know that you can make your very own lava lamp right at home? Yes, that’s right! By using just a few simple materials, you can create a homemade version of the popular lava lamp using a bottle. So, if you’re looking for a fun and exciting experiment for a lazy afternoon, gather some oil, water, food coloring, and Alka-Seltzer and get ready to turn up the heat with your very own DIY lava lamp!
Why Should You Make a Lava Lamp in A Bottle?
Making a lava lamp in a bottle is a fun and easy way to create your own DIY decoration for your home. Not only is it a great way to flex your creative muscles, but it is also an opportunity to learn about the science behind the fascinating movement of the “lava.” Watching the colorful blobs move up and down can be mesmerizing, and it’s a great conversation starter for guests.
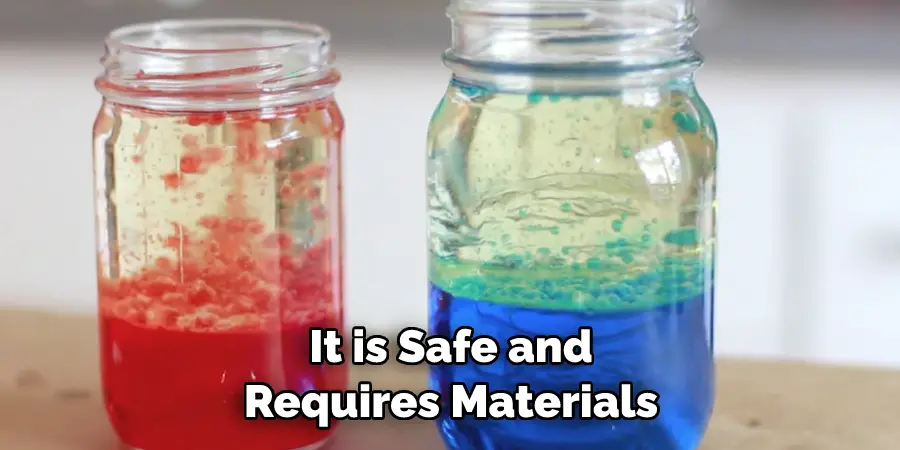
In addition, creating a lava lamp can be a fun activity to do with kids, as it is safe and requires materials that can be easily found around the house. So, why not try making a lava lamp in a bottle? You might just get hooked on the process and end up making one for every room in your house!
Materials
Before we start, here are the materials you’ll need:
- A clear bottle with a lid
- Water
- Vegetable oil
- Alka-Seltzer tablets
- Food coloring
How to Make a Lava Lamp in A Bottle: An Easy DIY Project for Kids and Adults
Step 1: Fill the Bottle.’
Fill the bottle about one-fourth to one-third full with water. You can use any water for this project, but distilled water will keep your lava lamp clearer. But feel free to experiment with different types of water for various effects.
Step 2: Add Vegetable Oil
Fill the rest of the bottle with vegetable oil. Allow some space at the top for the bubbles to move around. Another great ingredient to use is baby oil, which has a better consistency and creates a more dramatic effect. If you do decide to use baby oil, you should opt for the fragrance-free variety, as scented oils may release a scent that could overpower the room.
Step 3: Add Food Coloring
To give your lava lamp some color, add several drops of food coloring. The number of drops you add is up to you – experiment with different amounts to find out what gives the best effect. Color combinations can also be used to create a variety of looks.
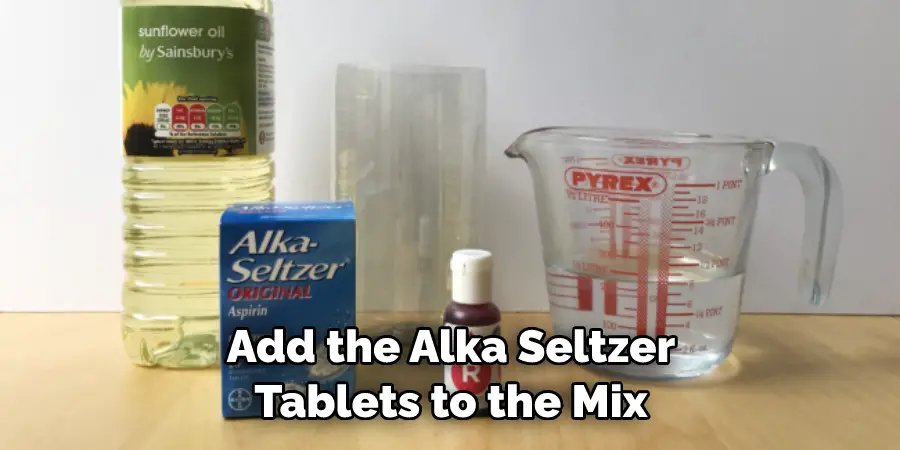
Step 4: Add Alka Seltzer Tablets
Finally, it’s time to add the Alka Seltzer tablets to the mix. Carefully drop one tablet in at a time and watch as your lava lamp comes alive! If you want a more intense effect, use two or three tablets. It’s important not to add too many; otherwise, the reaction will be too powerful.
Step 5: Put the Lid On
Securely place the lid on your bottle and turn off the lights. As your lava lamp reacts to the Alka Seltzer, it will create a beautiful light show that will amaze everyone who sees it! You can add light elements to the room, such as glow-in-the-dark stars or fairy lights, for an even more mesmerizing effect.
Step 6: Wait and Enjoy
Now all you have to do is sit back and wait for the bubbling action to take place. As you watch your lava lamp come to life, enjoy some of the fascinating visuals that it creates. The reaction will eventually stop as all of the Alka Seltzer tablets have been dissolved.
Step 7: Clean Up and Start Over
It’s time to clean up once you’re done with your lava lamp experience. Carefully pour the contents back into their respective containers, rinse out the bottle, and start again for another awesome show! Have fun experimenting and creating your unique lava lamp designs. Enjoy!
Making a lava lamp in a bottle is an easy and exciting project that anyone can do. With just a few simple ingredients, you’ll have your very own bubbling lamp in no time. Give it a try today, and be mesmerized by the magic of science!
5 Considerations Things When You Need to Make a Lava Lamp in A Bottle
1. Find the Right Bottle.
The size of your lava lamp will depend on the size of your bottle, so make sure you choose one that is big enough to hold all your ingredients without overflowing. Pick a bottle that won’t break when heated, such as a glass container or something made from borosilicate glass.
2. Choose Your Oils.
The two oils you’ll need to make a lava lamp are vegetable oil and mineral oil. Vegetable oil is denser than mineral oil, so it will sink to the bottom of the bottle, while mineral oil stays on top. It’s a good idea to experiment with different types of oils to get the right mix for your desired effect.
3. Add Water and Extra Ingredients.
Once you’ve chosen your oils, add some water to the bottle until it’s filled up about two-thirds of the way. To make your lava lamp even more interesting, add food coloring or sparkles for an extra visual effect!
4. Drop in Alka Seltzer Tablets.
Adding Alka Seltzer tablets to your lava lamp makes it bubbly and creates the “lava” effect. Drop one tablet into the bottle at a time, watching closely as the bubbles form and rise through the different layers of oil.
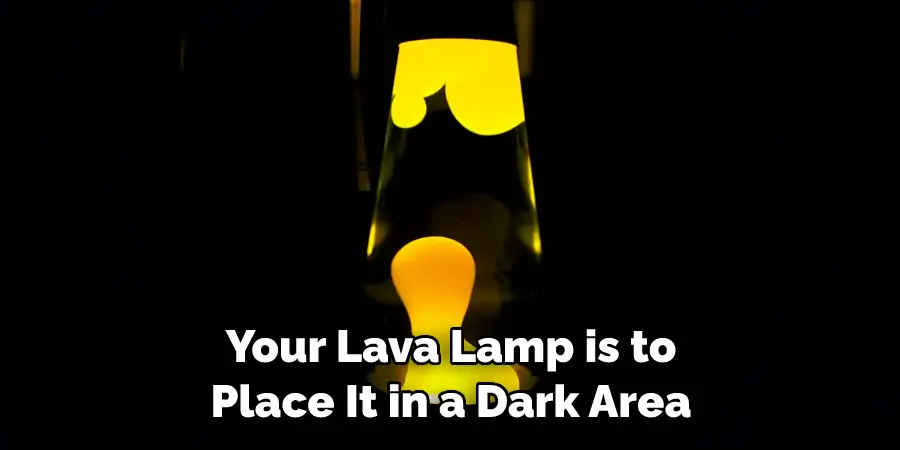
5. Place Your Lamp in A Dark Area.
The final step for creating your lava lamp is to place it in a dark area. This will illuminate the colors from the food coloring and sparkles, creating a truly mesmerizing display.
Making your lava lamp can be both exciting and rewarding! With these tips in mind, you’ll be able to create a unique one-of-a-kind lava lamp that will turn heads. So what are you waiting for? Get started now and create a lava lamp that will be the envy of your friends!
5 Benefits of Making a Lava Lamp in A Bottle
- A Stress Reliever. Watching the mesmerizing motion of the lava lamp can help to soothe and relax you after a stressful day.
- An Educational Experience. Making a lava lamp is also an opportunity for learning about physics and chemistry, as your creation is a mini-version of how oil rises from warmer air pockets inside the Earth’s crust.
- A Fun Activity for Kids. Creating a lava lamp is a fun and creative activity for kids with minimal supervision. It’s also an excellent way to teach them about the science behind how it works!
- A Unique Decoration Item. Lava lamps make great conversation starters and can be used as decorations in your home or office.
- An Inexpensive DIY Project. Making a lava lamp is surprisingly inexpensive, and it’s an easy way to make something special with just a few simple ingredients!
Making a lava lamp in a bottle can be great fun for the whole family! With its calming effects and unique designs, it’s definitely worth considering if you’re looking for a creative activity that everyone can enjoy! So what are you waiting for? Get started now and create your lava lamp in a bottle today!
Some Common Mistakes People Make When Trying to Make a Lava Lamp in A Bottle
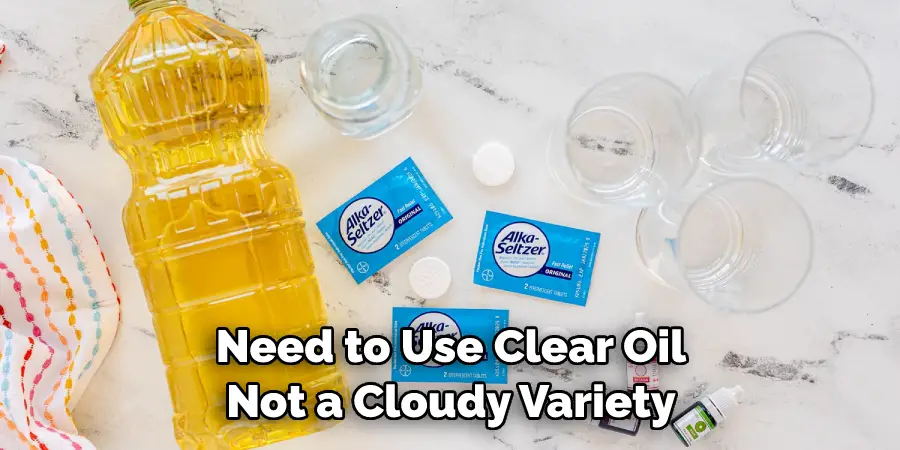
Making a lava lamp in a bottle can be a fun and creative way to add some ambiance to a room, but it requires some careful attention to detail. Unfortunately, some people make a few common mistakes when undertaking this project. One mistake is using the wrong kind of oil – you need to use clear oil, not a cloudy variety. Another mistake is not using enough Alka-Seltzer tablets.
You want to use enough to create a satisfying bubbling effect, but not so much that the bottle becomes too crowded. Finally, some people make the mistake of shaking the bottle too vigorously, which can cause everything to mix together too quickly. By avoiding these common errors, you should be able to make a beautiful and effective homemade lava lamp that everyone will love.
Conclusion
Making your lava lamp in a bottle can be fun and exciting for kids and adults. Now that you know how to make one, you can customize your lava lamp to match your style. Experiment with different colors, or try adding glitter for some extra sparkle! And remember, this project is not only fun but also an excellent tool to teach kids about science and the properties of different liquids.
So get creative, experiment, and enjoy your newfound lava lamp-making skills! Thanks for reading our post about how to make a lava lamp in a bottle.
You Can Check It Out to Dangerous Are Lava Lamps