
Do you have a car with boring, old-fashioned taillights? Or maybe your taillights are damaged and need to be replaced. Either way, you can upgrade your taillights by installing LED bulbs. LEDs are much brighter than traditional bulbs and make your car stand out on the road. Plus, they’re easy to install – anyone can do it! This blog post will show you how to make led tail light in just a few simple steps. Let’s get started!
Summary: In this instructable, you will learn how to make a led tail light for your car. First, gather the materials you need: a battery, some wire, and a LED light. Next, cut the wire into the desired length, stripping any insulation off of the ends. Twist one end of the wire around the battery terminal, then twist the other end around the LED light. Finally, connect the two wires together by crimping them with a connector.
Why Make Led Tail Light?
There are a few reasons you might want to make led tail light. First, LED bulbs are much brighter than traditional bulbs, so they’ll make your car stand out on the road. Second, they’re easy to install – anyone can do it! Finally, they’re more energy-efficient than traditional bulbs, so they’ll save you money in the long run.
Required Materials
To make a LED taillight, you will need the following materials:
- LED bulbs
- Taillight housing
- Wire strippers
- Screwdriver
- Drill
- Hacksaw
- Jigsaw
How to Make Led Tail Light Step by Step Guide
Step 1: Take Out The Tail Light Housing from The Car
The first step is to take out the tail light housing from your car. You will need a screwdriver to do this. Once you have removed the screws, carefully pull out the housing.
Step 2: Mold Abs Plastic to Make Customized Plates
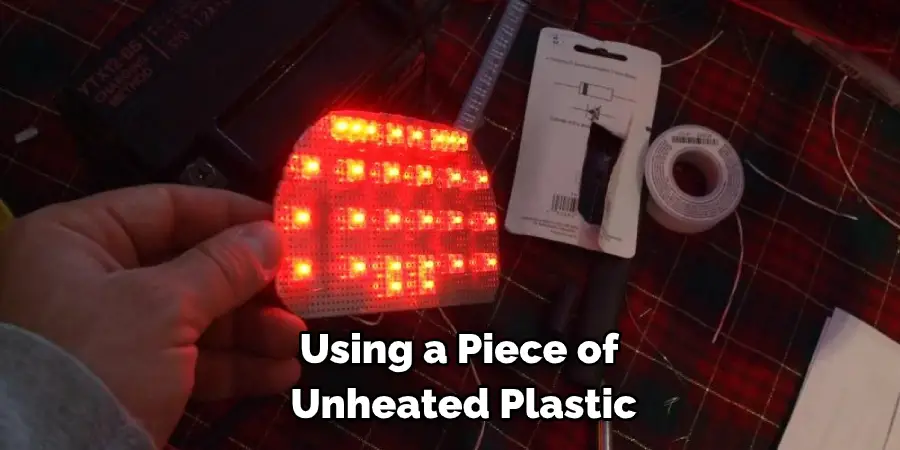
In this project, I used a combination of both heated and unheated plastic to make my custom-fit light-diffusing plates. Heating the plastic with a heat gun makes it easier to mold, but getting the right amount of heat can be tricky without melting the plastic. So instead, I found that using a piece of unheated plastic as a “forming tool” helped get the desired shape.
After heating and molding the plastic, it’s a good idea to drill a few holes in the back of each plate so that the light can escape. A power drill would work best, but a small hand drill would also work. Be sure to wear safety glasses when drilling!
Step 3: Make a Grid Design for The LEDs
It’s time to start making your LED grid. This will help space out the LEDs evenly and make the light look nicer. You can either freehand or use a ruler to make your grid. If you’re new to this project, it’s best to use a ruler.
Once you have drawn your grid, you will need to mark where each LED will go. To do this, measure the height and width of each LED. You can then use these measurements to place each LED in the correct spot on the grid. Once all LEDs are placed, it is time to start soldering!
Step 4: Start Soldering
It’s time to start soldering the LED strips to the board, first, in each of the pads on the board with a small amount of solder. This will make it easier to attach the LEDs. Next, align the LED strip so that the pads line up with the holes on the board. Finally, carefully place the LED strip over the holes and press down firmly so that the solder makes a good connection.
Step 5: Fix the Led Lights in Place
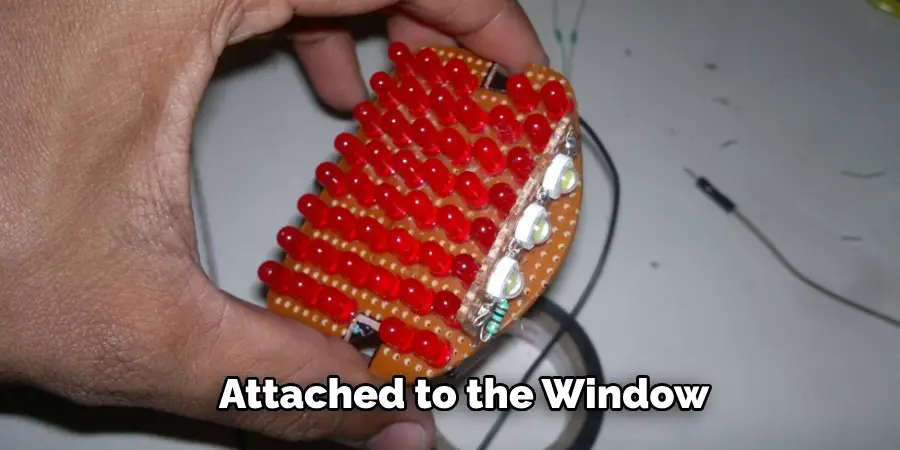
Now that the lights are wired up, it’s time to fix them. Some lights come with a sticky back or suction cups to be attached to the window. If your lights don’t have any fixing devices, you can use some tape or cable ties to attach them securely. Please make sure the light is facing in the right direction and is not obstructed by anything so that the driver behind can see it.
Step 6: Connect the LEDs to The Resistors
Now, it is time to connect the LEDs to the resistors. Again, this is a very simple process and can be done with just a few simple steps. First, take the resistor and hold it so that the long lead is on the left side. Next, take the Le D and hold it so that the flat end of the LED is on the left side. Now, place the resistor lead onto the LED lead and twist them clockwise until they are tight. Repeat this process for each of the LEDs.
Step 7: Join the Wires Together
Now that your wires are set up, it’s time to join them together. You’ll want to start by soldering the positive wire from the LED (the longer one) to the positive wire on the resistor. Then, solder the negative wire from the LED to the negative wire on the battery holder. Finally, use the third piece of wire to solder between the positive and negative wires on the resistor. This will create a loop so that the battery holder can easily be attached.
Step 8: Place the Resistor in the Middle
The resistor is placed in the middle of the LED and the battery. This will complete the circuit and help control how much power is flowing to the LED. If there is too little resistance, the LED will be too bright and potentially damage the battery. On the other hand, too much resistance will make the LED glow very dimly or not.
Step 9: Finish It Up
Once you have installed everything, it is time to finish the project. Be careful not to over-tighten the lens and crack it. Screw on the lens and reinstall the light housing into the car. Reconnect the electrical connector. That is it! You are done.
Assuming everything is hooked up correctly, your new LED tail light should be significantly brighter than the old incandescent bulb. LEDs look much nicer, but they also last a lot longer and use less power. So if you’re looking for an easy way to spruce up your car and make it more visible to other drivers, this is a great mod. Keep reading for more information about how to make led tail light.
Advantages of Led Tail Light
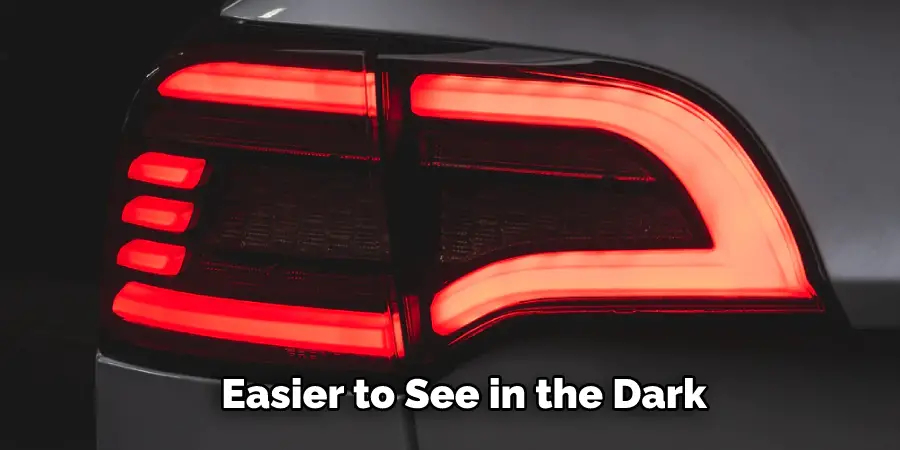
- Led taillights are much brighter than traditional incandescent bulbs, making them easier to see in the dark and reducing the chances of being rear-ended.
- They also tend to last much longer, so you won’t have to replace them often.
- Led taillights are more energy-efficient so that they won’t drain your battery as quickly.
Disadvantages of Led Tail Light
- They can be more expensive than traditional incandescent bulbs.
- Some states have laws against having aftermarket led tail lights, so be sure to check the regulations in your area before making the switch.
- They can be difficult to install, so you may want to hire a professional if you’re not comfortable doing it yourself.
Some Tips And Safety Measures
Making a led tail light is not as difficult as it may seem. There are many ways to make this type of light, but some tips and safety measures should be considered before starting the project.
The first step is figuring out how the light will be attached to the vehicle. There are many ways to do this, but some of the most common are screws, bolts, or magnets.
Once the light is attached, it is important to ensure it is securely fastened and will not come loose while driving.
The next step is to determine how the light will be powered. There are many options for powering a led tail light, including batteries, solar panels, and dynamos.
It is also important to make sure the light is visible from all angles. This can be done by using different colors or shapes in the design.
Safety is always a concern when working with electricity, so it is important to take precautions while making a led tail light. Be careful when handling any battery and never work with live wires.
Making a led tail light can be a fun and rewarding project. Anyone can create their unique tail light by following these tips and taking the necessary safety measures. If you want to know more about how to make led tail light keep reading.
Frequently Asked Question
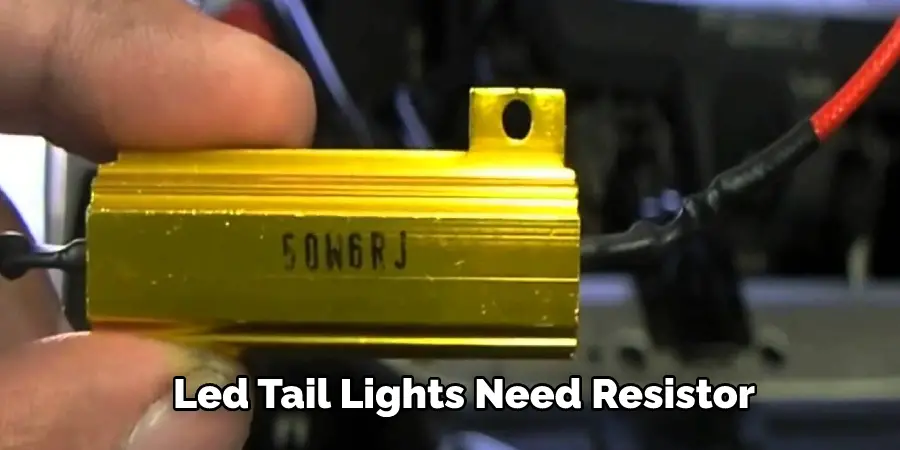
Do LED Tail Lights Need Resistors?
No, LED taillights do not necessarily need resistors. However, if you are unsure whether your LED tail lights need resistors, it is always best to use them to be safe.
Can You Put LED Bulbs in Tail Lights?
Yes, you can put LED lights in your car’s taillights. However, you will need to remove the tail light assembly from the car to do so. Once the assembly is removed, you can insert the LED bulbs and reattach the assembly.
What Is a Load Resistor Used For?
A load resistor is a resistor that is used to dissipate energy. This resistor is used in circuits to prevent damage to the components in the circuit. The resistor is also used to control the current in a circuit.
Do Led Tail Lights Need Resistors?
Led taillights are a popular upgrade for cars and trucks. They are brighter and last longer than traditional incandescent bulbs. While most led tail lights don’t need resistors, some do. So if your led tail light doesn’t come with a resistor, you may need to buy one. LED turn signal bulbs last much longer than regular incandescent bulbs. They are also much brighter. However, the faster rate at which they blink can confuse some cars’ computers. If you get fast-blinking or error messages on your dash after installing LED turn signals, you may need to install a LED flasher relay to keep everything functioning correctly.
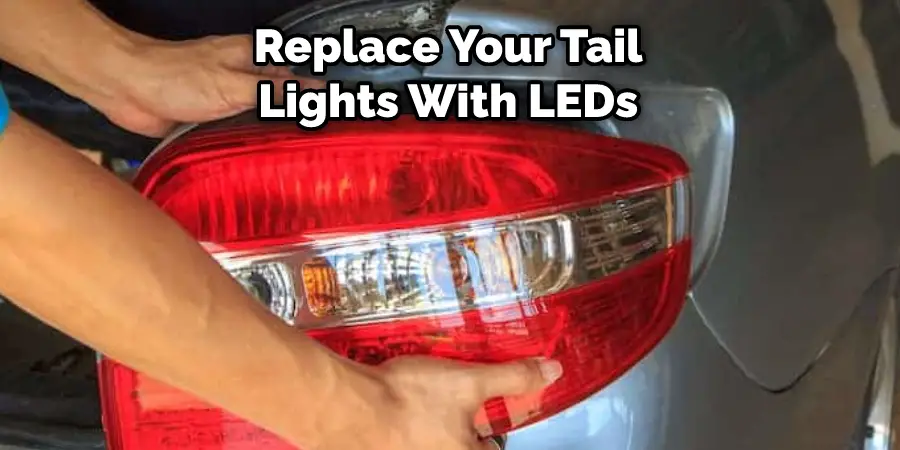
Can I Replace My Tail Lights with Led?
Yes, you can replace your tail lights with LEDs. You will need to buy a kit that is specifically for your car. The installation process is relatively simple and can be done by most people.
Conclusion
If you want to make your own LED tail light, it’s not as difficult as you think. With a few simple tools and supplies, you can have a DIY LED tail light that outperforms the store-bought versions. We hope you enjoyed this tutorial – be sure to check out our other posts for more fun projects! Thanks for reading our post about how to make led tail light.
You Can Check It Out To Handyman Change a Light Fixture