
If you’re a beginner at RVing, you should know a few things before hitting the open road. One of those is how to remove RV exterior light covers. It’s not difficult, but it’s something you’ll want to be familiar with before needing to do it in the dark or bad weather. In this article, we’ll show you how it’s done. So keep reading for all the info!
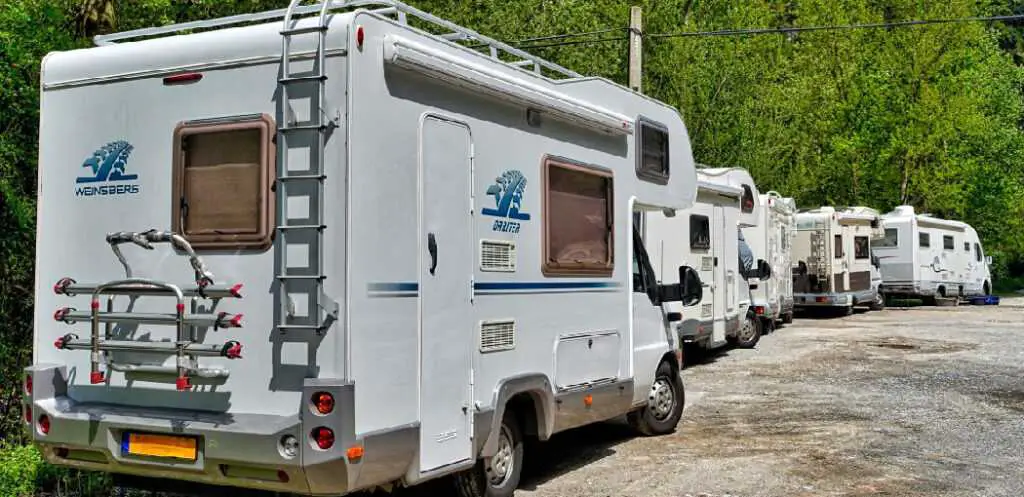
Rv exterior lights are often placed on the exterior of your RV for several reasons. First, they can provide lighting to certain parts of your camper, such as where you’re parking and entering or exiting. However, sometimes these lights can become cracked or damaged due to hauling your camper over rough terrain or through the elements. If this happens, it’s essential to know to remove Rv exterior light covers so you can replace them before being left in complete darkness.
Summary: Removing RV exterior light covers is necessary for maintenance, such as replacing burnt-out bulbs or upgrading to energy-efficient LED lights. The process involves carefully detaching the light covers without damaging the fixture, surrounding surface, or the cover itself. RV exterior light covers are typically secured with screws, clips, or a snap-on mechanism. Identifying the specific attachment method is crucial for safely and effectively removing the cover.
Before attempting to remove the RV exterior light cover, ensure that the power is switched off to avoid the risk of electrical shock. Next, examine the cover’s attachment mechanism. If it is secured with screws, use a screwdriver to gently loosen and remove them. If the cover utilizes a snap-on mechanism or clips, gently pry the cover off using a flathead screwdriver or a plastic trim removal tool.
Be cautious when applying pressure to avoid cracking or breaking the cover, and work your way around the edges of the cover until it is detached from the fixture. In some cases, an RV exterior light cover may be sealed with weatherproofing material, which must be carefully removed before the cover can be taken off.
Once the cover is removed, proceed with the necessary maintenance, such as replacing the light bulb or cleaning the fixture. After completing the required tasks, reattach the light cover using the appropriate method. Make sure the cover is securely in place and properly sealed if necessary. Test the functionality of the light fixture by restoring power and activating the exterior lights. By following these steps and exercising caution, you can successfully remove RV exterior light covers and perform essential maintenance tasks.
Reasons Why You Remove an RV Exterior Light Covers
If you need to remove an RV exterior light cover for any reason, it may be a nuisance to do so, depending on the material used to install the light and the type of screws or clamps holding it down. Here are some reasons why you might want to remove an RV exterior light cover:
If your dog chews through the wire, you will want to get rid of it. If it drops onto a road while traveling by highway, you will not have any problems finding it again so long as you have removed it before leaving. Removing an Rv exterior light cover is necessary to clean parts that accumulate dust and dirt over time.
To replace a bulb or test it; If the light cover is hard to open or unable to see what you are doing, removing them can allow you better access. You may also want to clean the lights themselves after removing RV exterior light covers.
RV owners often need to paint their RVs, so removing the exterior light covers will give them easier accessibility for this task. Also, if you have mounted your exterior lights using screws visible on the outside of your RV, then painting over them will be much easier after taking off the covers. If the fasteners holding down an RV exterior light cover are exposed and unsightly, removing it can make your RV look cleaner and more professional.
Required Tools and Materials:
- Screwdriver
- Pliers
- Scrapers
- Gloves
- A replacement cover.
A Stepwise Guide on How to Remove RV Exterior Light Covers
Step 1: Determine the Type of Lights
The first step towards removing rv exterior light covers is finding out the type of lights you want to remove. There are three types of exterior light fixtures. Namely, screw-in, slide mount, and surface mount. The screw-in fixture is held in place by a thin metal sleeve that has threads at one end for screws. The slide mount fixtures have two slots on either side with space in the middle for the light bulb’s wires to pass through. In addition, there are clips on either side that holds it in place. Surface mounts’ fasteners are similar, but the mounting plate is rectangular, not cylindrical, so that it won’t fit into standard junction boxes.
Step 2: Remove Screws and Jumper Wires (If Applicable)
To put in a screw-in light fixture, you first need to remove the screws and jumper wires. To do this, insert a flat screwdriver into the slot near the end of the fixture’s cap where there is no threading. Press down to turn the metal sleeve counterclockwise until it comes out together with the end of the screw attached to it.
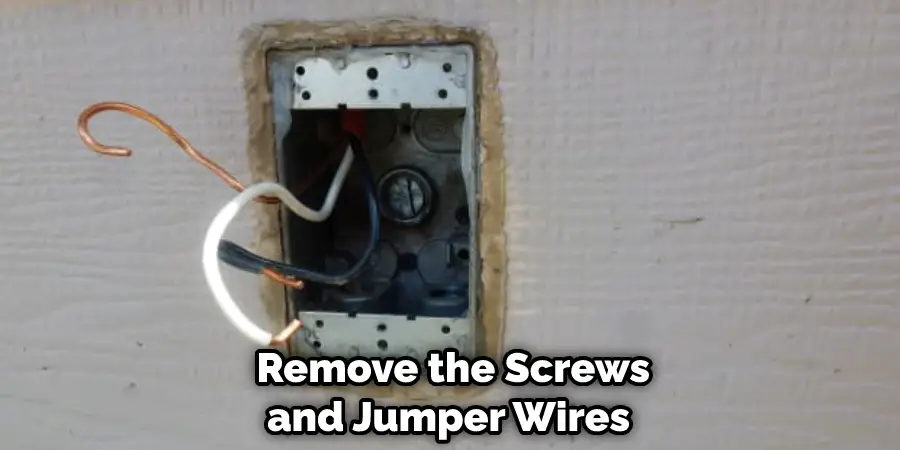
If a screw is stuck and you can’t unscrew it, you may need to scrape it off or use pliers. If you want to replace the screw, put a new one in before reattaching everything. If you find a screw that won’t budge, check for red or blue jumpers behind it. These jumper wires make contact with bare parts to complete the circuit. If they are there, disconnect them and then you should be able to remove the screw easily.
Step 3: Pry Away Cover from Surface
Place your fingers inside the light cover and use them to grip it firmly so it can’t fall off while you use a scraper to pry away the cover from the surface. Keep working until you have exposed a portion of the fixture’s base. Do not pull straight down on one side since this will bend or distort the plastic surface holding it in place – work your way along instead until no part is still attached to the base. In some cases, the surface mount fixture’s fasteners may need to be removed to free the fixture from its socket. You will have to use a screwdriver or drill with a Phillips bit.
Step 4: Remove Fixture from Junction Box
If there is no opening on the fixture for wires to pass through, look for a small screw holding a plate between it and the junction box. This plate needs removing so you can access the wires behind it. Loosen it using your fingers but do not remove it entirely since more screws hold it in place for stability.
Once loose enough, get rid of any insulation around the wire, then expose about inches near one end of each wire. Next, twist the exposed wires clockwise, tightly bound together with their insulation intact. Do this for each wire if more than one runs through the junction box.
Step 5: Remove Junction Box Cover
Grip the large slots on either side of the electrical box with your fingers, then use a screwdriver or drill to undo the two screws holding the cover in place over the fixture’s base at either end.
Keep working until you detach the cover from its slot over the fixture’s base, exposing its insides. Any wires attached to light bulb sockets should be accessible, but their insulation is not yet removed since they are still ‘locked’ to the junction box. Slide them outwards to release them from their slots before removing them completely.
Step 6: Remove the Bulb Socket
If there is a screw holding the fixture’s socket in place, undo it using a screwdriver or drill with a Phillips bit, then use your fingers to carefully slide out the bulb socket from its slot on either side of the junction box.
If there are no screws, pull straight down on one end of its base until it detaches from the junction box – do not bend or tug it as this may break wires inside and expose bare copper, which can cause a short circuit. Ensure that bulb sockets have been entirely removed before going ahead to Step 7. Once the old fixture is out, locate the bare copper ground wire that was attached to it. If there is one, twist its tip around a green or bare copper screw inside the junction box.
Step 7: Remove Junction Box Cover
Please get a new junction box cover and place it inside the electrical box where the fixture’s base was. Slide its slots over small screws at either end of the electrical box, then tighten these screws to lock the cover in place.
Ensure that both sides of clip holding surface mount fixtures have been freed from their slot on either side of the junction box, then snap them into their socket before tightening the screw holding each one. Finally, replace jumper wires if needed and reattach the safety plate between the fixture and junction box using a screwdriver or drill with a Phillips bit.
Step 8: Put Everything Back Together
You should do this in reverse: slide jumper wire back through its socket covering bare copper wires with insulation; replace bulb sockets in respective fixtures and secure using appropriate fasteners; attach the top cover of the fixture to base at either end using screws; tuck wires back into their slot on junction box then secure with the screw. Ensure that all electrical boxes holding fixtures and cables are tightly closed before using your RV again – don’t forget the GFCI outlet or circuit breaker.
Step 9: Inspect Your Work
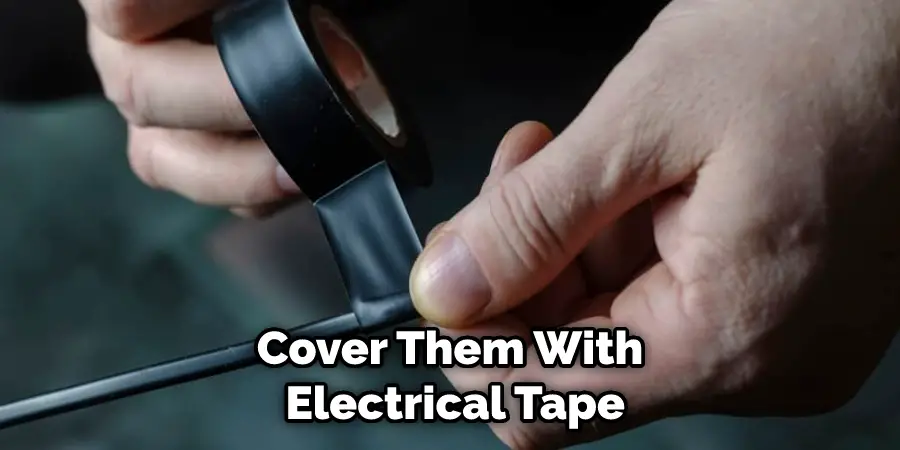
Check that all screws are tight, then turn the circuit breaker on. If your RV lights do not work, repeat Step 1, then check that wiring is done correctly (sockets connected to their respective fixtures and cables fused). When you are sure everything is in place, look for any exposed wires without insulation. If there are any, cover them with electrical tape or heat shrink tubing before turning on the power again.
If there is the wiring inside the junction box, ensure that they have been pushed back into slots alongside the fixture’s base before attaching the junction box cover over it again. Ensure that the connection between jumper wire and bulb socket has been made tightly while insulation around bare copper wires has also been replaced. These steps will help in how to remove rv exterior light covers.
You Can Check It Out to Install an Exterior Light Fixture on Stucco
Frequently Asked Questions
Are Led Lights Better for an RV?
While there is no right or wrong answer when it comes to Led Lights for an RV, some people may prefer them over traditional lighting. This is because they are more energy-efficient and last longer than standard lights. Additionally, they produce a softer light that can be soothing and relaxing.
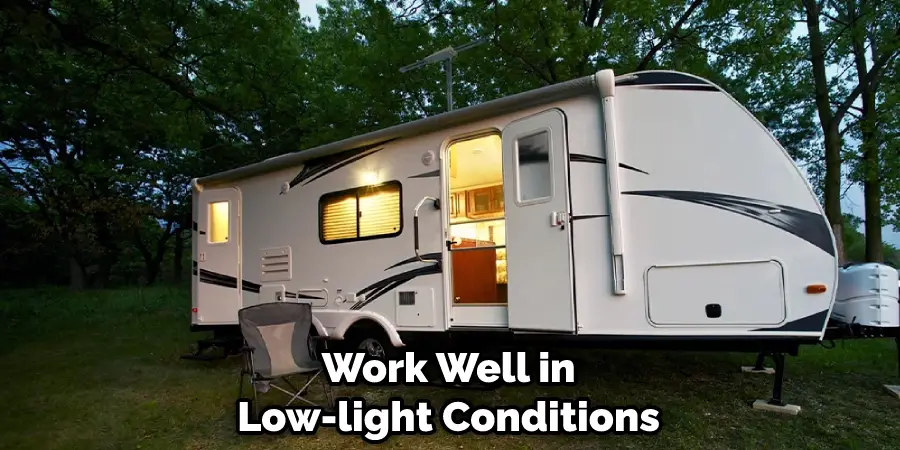
Other benefits of using LED Lights in an RV include the fact that they don’t require any replacement parts, which makes them greener overall, and you won’t have to deal with strange UV rays like you would with regular outdoor lights. They also work well in low-light conditions or when your eyes are fatigued from staring at a screen all day long.
Ultimately, it’s up to you whether or not you want to upgrade your lighting system for your RV.
Can You Put a Regular Light in an RV?
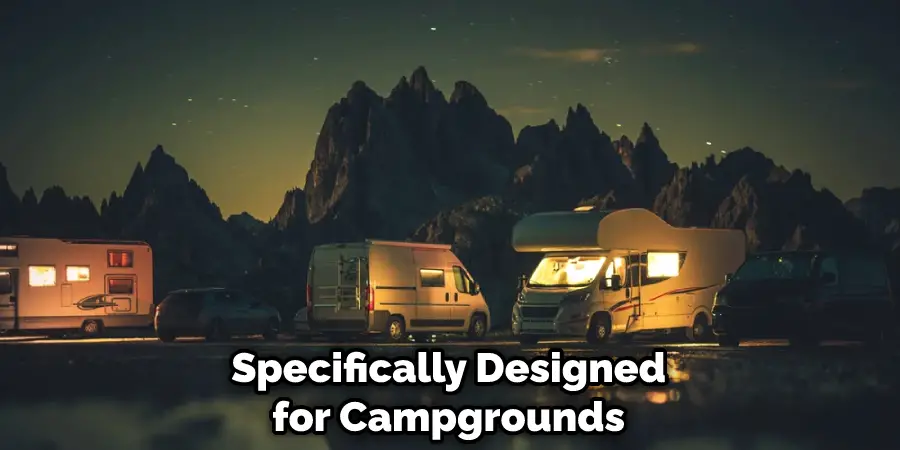
There are many options available when it comes to installing lighting in your RV, and you can generally install either electric or gaslighting. Electric lights tend to be more affordable and typically offer a longer lifespan than gaslights, but they may not be able to meet the specific needs of an Rv. For example, if you’re looking for a light that is specifically designed for campgrounds or parkways, then a gaslight might be the better option.
Ultimately, the decision comes down to what features are important to you and how much money you wantto spend on equipment.
What Lights Are Required on an RV?
There are a few things that you will need when setting up your RV. These include: a power cord, an RV plug adapter, and a light switch.
The power cord is used to connect the power outlet in your house to the power outlet in your RV. The RV plug adapter is used to convert the two plugs so that they can work with each other. The light switch is used to turn on/off the lights in your RV.
Do RVs Need Marker Lights?
While there are some RVs that do not require marker lights, most businesses consider them to be a necessary safety measure. Marker lights help to identify obstacles and boundaries on the highways in low light conditions, which can prevent accidents. Additionally, they provide directional illumination for driving at night or when visibility is poor.
Conclusion
So we can see that by removing our exterior light covers, we will be able to save money and increase energy efficiency. There are many benefits of installing new exterior lights with a lower wattage option for your RV. We hope you have learned how to remove rv exterior light covers. If you have any other questions about this process, please contact us anytime.