
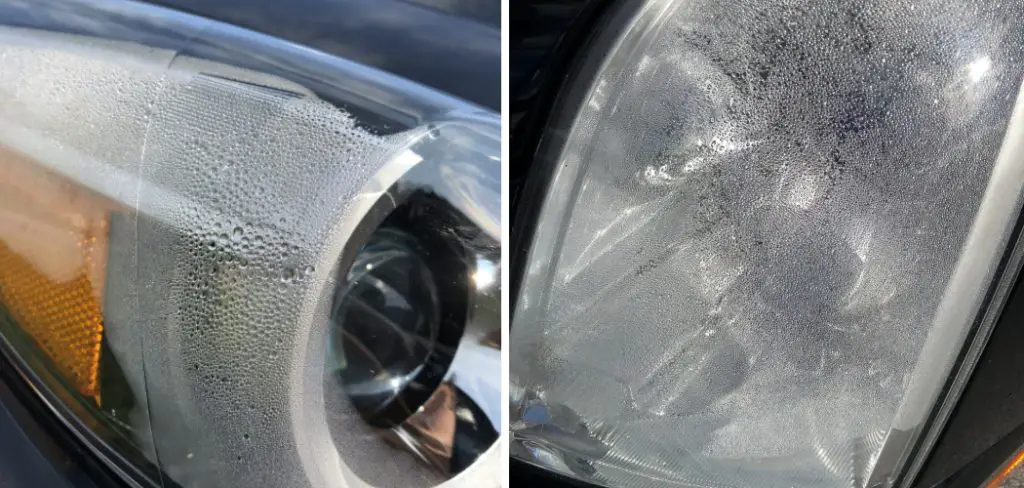
Having water seep into your headlights can be a major problem, as the moisture can cause the headlight to fog up and potentially even stop working. Not only will this make it more difficult to see while driving at night, but it will also reduce your car’s overall look and value. Fortunately, you can take steps to remove the water from your headlights.
One of the main advantages of knowing to remove water from headlights is that it can help you prevent rusting and corrosion. Rust and corrosion are common problems with headlights, especially if they have been exposed to moisture or humidity. Water trapped in a headlight will cause oxidation and damage over time. You can find step-by-step instructions on how to remove water from headlight in this blog article.
Tools You Will Need
- Rag
- Vacuum cleaner
- Compressed air canister
- Phillips head screwdriver
- Flathead screwdriver
- Safety glasses
- Disposable gloves
- Headlight bulb removal tool (if needed)
- Rubbing alcohol or glass cleaner
- Automotive sealant
- Masking tape
- Protective cover
Step by Step Processes for How to Remove Water From Headlight
Step 1: Inspect the Headlight
Inspect the headlight to check for any damage, such as cracks or signs of water seepage. If any sign of damage is present, replacing the headlight with a new one is best. Using a can of compressed air, blow away all dust and dirt from the surface of the headlight. Then, use a clean brush to scrub away any remaining impurities.
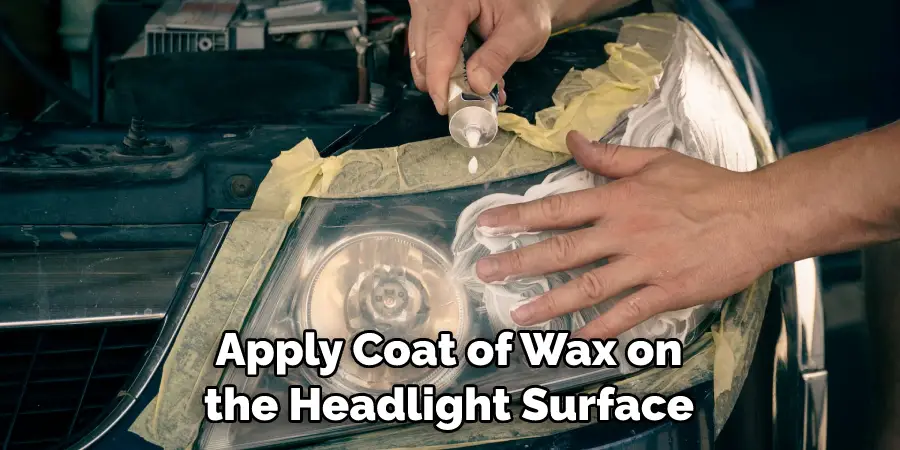
Step 2: Apply an Automotive Wax
Apply a thin coat of wax on the headlight surface. This will help create a barrier against moisture and prevent water from seeping in again. Place a plastic bag over the headlight and secure it with a rubber band.
Step 3: Heat the Headlight
Using a hairdryer, heat the headlight for 15-20 minutes. The heat will evaporate any moisture that has been trapped inside the headlight. Once the heating is done, remove the plastic bag and remove any excess wax with a damp cloth.
Step 4: Reapply Automotive Wax
Apply another thin coat of wax to the headlight surface. Inspect the headlight again for any signs of water entry points, such as cracks or loose fittings. If found, seal them using silicone sealant.
Step 5: Change the Headlight Bulb
If necessary, replace the headlight bulb if it has been affected by water damage. Finally, test the headlight to check for any performance issues and ensure that all moisture has been removed. Doing this will help you avoid further problems in the future.
Following these steps, you can easily remove water from your headlight and restore it to its original condition. This will help keep your car’s lighting system in shape and ensure a safe driving experience.
Tips for How to Remove Water From Headlight
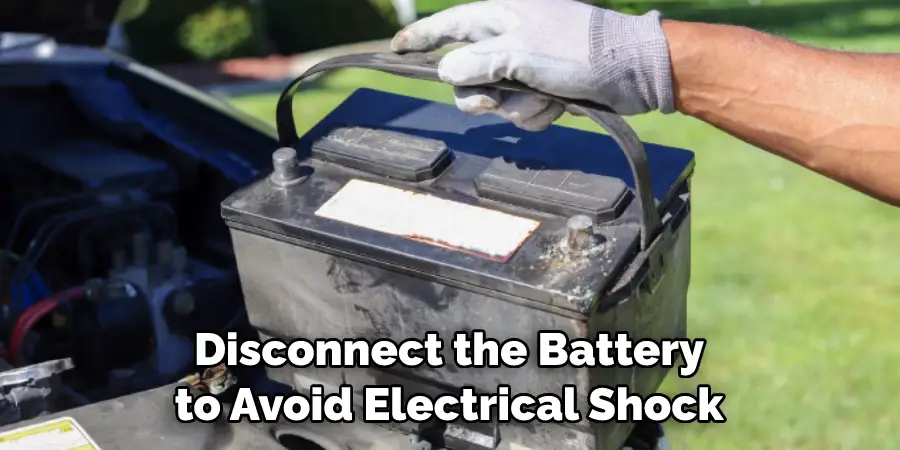
- Disconnect the battery to avoid any electrical shock.
- Use goggles and gloves while working with a headlight lens for your safety.
- Clean the outside of the headlight lens to remove dirt particles before removing water from inside the headlight lens.
- Use a plastic pry tool or bank card to disconnect the headlight lens from the housing if necessary.
- If standing water is inside the headlight lens, use a cloth to soak up as much water as possible.
- Use a vacuum cleaner to suck out the remaining moisture from inside the headlight lens.
- Once all water and moisture have been removed, carefully reconnect the headlight lens with its housing and reattach the battery.
These simple steps will help you safely and effectively remove water from your headlight lens for better visibility while driving.
How Do You Access the Headlight Lens to Remove the Water?
To access the headlight lens and remove the water, you need to be able to open it up. If your car has a removable plastic cover in front of the headlight, it should easily detach with gentle pressure. Otherwise, if you have sealed headlights, you may need to refer to your car’s manual or dealership for assistance. Once the headlight is open and exposed, you can use a vacuum or compressed air to remove any water inside.
Ensure that the air pressure is not too strong, as this could damage the bulb behind the lens. You should also be careful when using a vacuum and ensure that all debris around the area is cleared first so as not to damage the lens. Once the water has been removed from the headlight, you can use a clean cloth or paper towel to dry it thoroughly and ensure no moisture is left behind.
Finally, replace any panels or covers back onto your headlights to protect them from future damage.
How Do You Prevent Moisture From Entering a Headlight Lens in the Future?
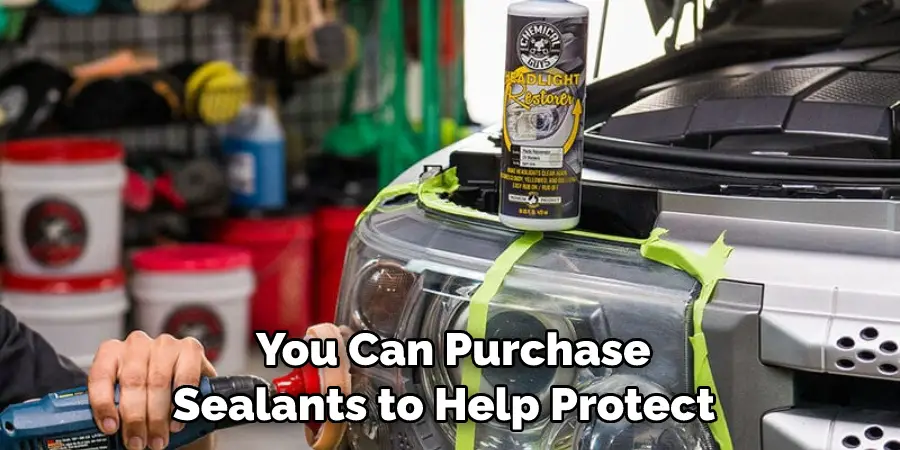
The best way to prevent moisture from entering a headlight lens in the future is to ensure that it is properly sealed. If your vehicle’s headlights are not already sealed, you can purchase sealants or silicone caulk to help protect your headlights and keep water out. Applying wax or plastic polish can also help create a barrier against moisture.
Inspecting your headlights occasionally and checking for signs of water damage or leaks is important. If any are present, promptly repair them so that moisture does not continue to get inside the headlight lens.
Lastly, when cleaning your headlights, use a lint-free cloth and avoid harsh cleaners, as these can also lead to water entering the lenses. If you would like to learn more about removing water from headlights or preventing leaks, contact a certified mechanic for assistance. They can advise on headlight maintenance and repairs specific to your vehicle’s make and model.
Professional auto repair services can also help with more complex repairs and ensure your vehicle is in safe working condition.
Are There Any Possible Risks to Removing Water From a Headlight Lens?
Removing water from your headlight lens is generally safe as long as it is done correctly. However, a few potential risks should be considered before attempting the process. Firstly, you should never use any abrasive material like sandpaper or steel wool on the lens, which can scratch and damage it. Additionally, you should avoid using harsh chemicals, such as bleach or ammonia, as this can corrode the lens and cause further damage.
It is also important to dry the headlight properly after removing the water. If the lens is not dried completely, there is a risk of mold or mildew developing inside the headlight assembly with time. Finally, it is important to remember that removing water from your headlight lens can be difficult and time-consuming. If you need more confidence to do it correctly and safely, you should seek professional help.
How Often Should You Check Your Headlights for Moisture or Condensation?
It’s important to check your headlights regularly for moisture or condensation. The time you need to check your headlights will depend on the climate and your car’s exposure. If you live in a wetter environment, it is wise to check them once a month. In drier climates, checking every few months should be sufficient. Inspecting your headlights after washing your car or after heavy rain is also wise.
If you notice condensation inside the headlight lens, it’s important to take steps to remove it before it causes damage. Luckily, there are simple techniques you can use to remove any water from your headlight lens. By taking the time to routinely check your headlights and remove any water inside the lens, you can ensure your headlights stay bright and safe. This will help keep you and other drivers on the road more visible at night.

Conclusion
In conclusion, removing water from headlights is important to maintain clear and safe vision while driving in the dark. Removing water can be simple if done correctly, such as using a wet/dry vacuum cleaner or a dehumidifier system with a headlight kit. It is also necessary to check for damage the moisture could have caused and repair it. Regular maintenance will help you ensure your headlights are water-free and working properly, so you can drive safely at night.
This article has been beneficial for learning how to remove water from headlight. Make Sure the preventive measures are followed chronologically.
You Can Check It Out to Prevent Headlights From Yellowing