
Your car’s headlights are an important safety feature. Not only do they allow you to see the road at night, but they also help other drivers see your car. However, if one of your headlights is cracked, you’ll need to repair it as soon as possible. Here’s how to repair cracked headlight.
What Is a Cracked Headlight?
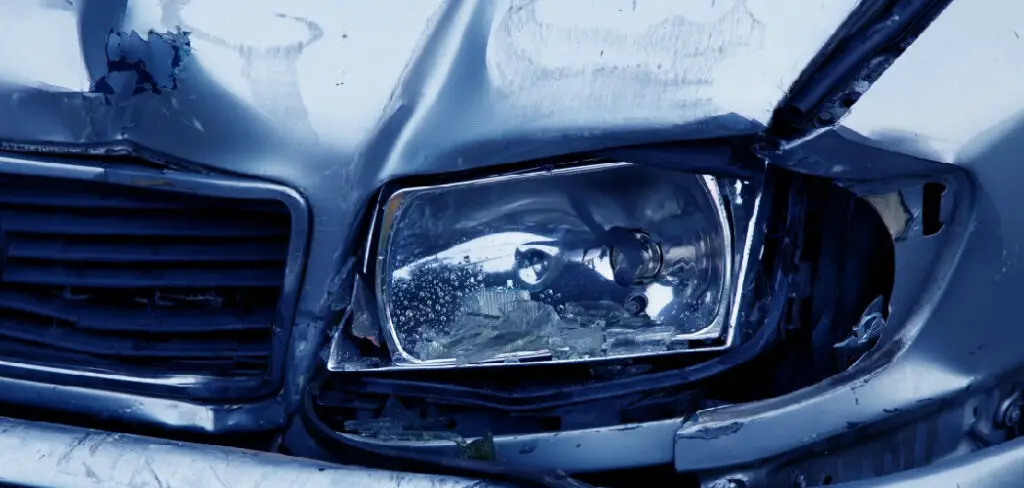
A headlight is a type of light fixture attached to a vehicle’s front. Headlights illuminate the road ahead and make it easier for drivers to see. Cracked headlights can occur for various reasons, including physical damage, corrosion, and extreme weather conditions. In addition, cracks in headlights can cause light to scatter in different directions, making it difficult for drivers to see.
In some cases, cracked headlights can also cause the headlight to leak, which can lead to electrical problems. Cracked headlights should be repaired as soon as possible to ensure safe driving.
Why Should You Repair Cracked Headlight?
There are many reasons to repair a cracked headlight. First, it is important to maintain clear visibility while driving. A cracked headlight can obstruct your view, making it difficult to see at night or in bad weather. Additionally, a cracked headlight can lead to decreased light output, making your car less visible to other drivers. This can be especially dangerous if you are driving on a busy road.
Also, a cracked headlight can indicate that your car needs other repairs. For example, a crack in the lens may be indicative of a problem with the headlight housing. Ignoring these problems can lead to more expensive repairs down the road. Finally, repairing a cracked headlight is simply the right thing to do. Failing to do so can result in a fine or even a point on your license. Repairing a cracked headlight is easy and inexpensive, so there’s no excuse not to do it.
How to Repair Cracked Headlight: A Step-by-Step Guide
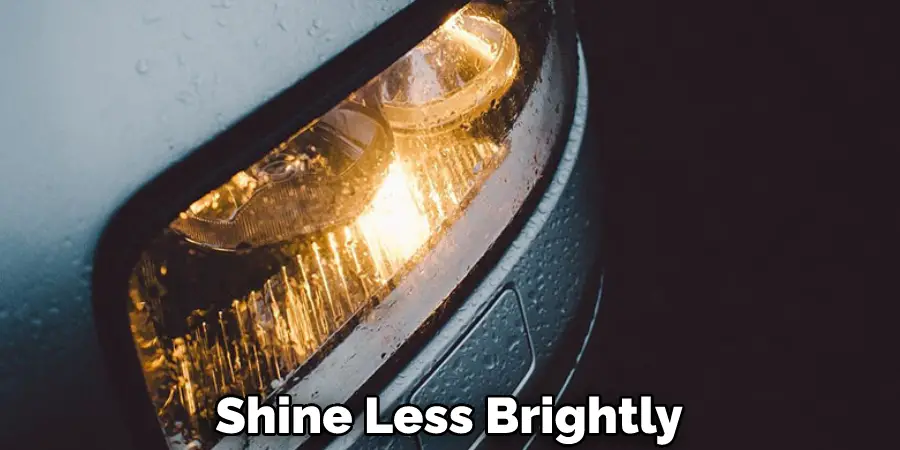
If your headlight is cracked, it is important to take care of the problem as soon as possible. Cracks in your headlight can cause your light to shine less brightly and can also lead to further damage if left unrepaired.
Luckily, repairing a cracked headlight is relatively easy and can be done in just a few steps. All you need is some epoxy, clear nail polish, and a putty knife.
Follow the steps below to learn how to repair a cracked headlight.
Step 1: Park Your Car in A Safe and Well-Lit Area
The first step to repairing your cracked headlight is to park your car in a safe and well-lit area. This will give you a clear view of the damage and prevent you from causing any further damage to your car.
Step 2: Locate the Headlight
Once you have parked your car, locate the headlight that is damaged. If you are unsure which headlight is damaged, you can always ask a friend or family member to help you.
Step 3: Clean the Area Around the Crack with A Clean Cloth
Before you start repairing the crack, it is important to clean the area around the crack with a clean cloth. This will help to remove any dirt or debris that could prevent the epoxy from properly bonding to the headlight.
Step 4: Apply Epoxy to The Crack Using a Putty Knife
Next, apply a generous amount of epoxy to the crack using a putty knife. Be sure to fill the crack completely and spread the epoxy onto the headlight around the crack.
Step 5: Smooth out The Epoxy with The Putty Knife
Once you have applied the epoxy, use the putty knife to smooth out the epoxy. You want to make sure that the epoxy is evenly spread and that there are no air bubbles.
Step 6: Allow the Epoxy to Dry for The Recommended Amount of Time
After applying the epoxy, allowing it to dry for the recommended amount of time is important. This will vary depending on the epoxy type, so be sure to read the instructions carefully.
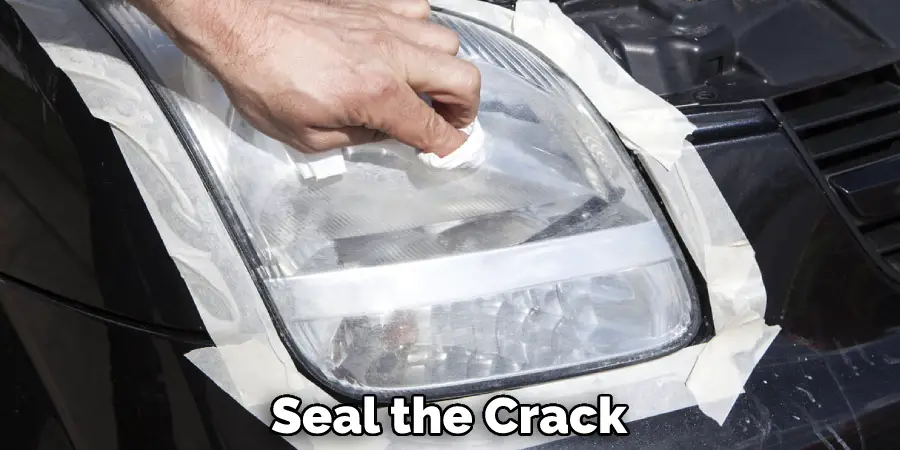
Step 7: Apply Clear Nail Polish to The Crack
Once the epoxy has dried, you can then apply a thin layer of clear nail polish to the crack. This will help to seal the crack further and prevent dirt and debris from getting inside.
Step 8: Allow the Nail Polish to Dry Completely
Finally, allow the nail polish to dry completely before using your headlight. Once the nail polish is dry, your headlight should be as good as new!
That’s it! You’ve now learned how to repair cracked headlight. Remember, it is important to take care of cracks in your headlight as soon as possible to prevent further damage.
The Best Way to Repair Your Cracked Headlight
If you have a broken headlight, there’s no need to go to a mechanic or replace the entire headlight assembly. Instead, you can easily fix a cracked headlight at home with just a few materials. First, clean the area around the crack with soap and water. Then, use clear epoxy or silicone sealant to fill in the crack. Finally, be sure to smooth it out so that it’s level with the surface of the headlight.
Once the sealant is dry, cover the area with clear nail polish or another type of protective coating. This will help prevent further damage and keep your headlight as good as new. You can easily fix a cracked headlight with a little time and effort. Keep reading for more information about how to repair cracked headlight.

5 Common Causes of Cracked Headlights and How to Fix Them
Cracked headlights are a major safety hazard. Not only does it make it difficult to see at night, but it also decreases your ability to be seen by other drivers. Here are five common causes of cracked headlights and how to fix them:
- Sun damage is the most common cause of cracked headlights. The sun’s ultraviolet rays can cause plastic to become brittle and crack over time. To prevent this, regularly clean your headlights with a glass cleaner and apply a UV-resistant sealant.
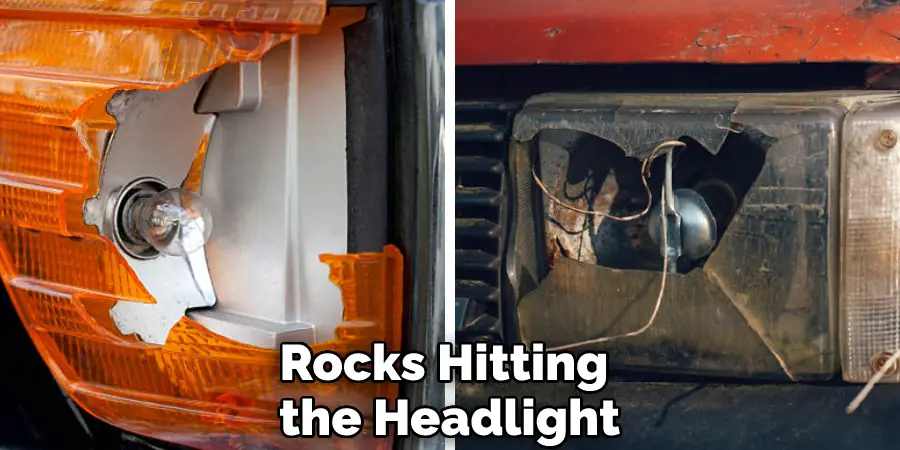
- Another common cause of cracked headlights is physical damage. This can be caused by rocks or debris hitting the headlight or simply bumping into something while driving. If your headlight is cracked due to physical damage, you will need to replace the entire headlight assembly.
- Thermal expansion and contraction can also cause cracks in headlights. This is caused by the extreme changes in temperature that occur when you turn your headlights on and off. To prevent this, ensure your headlights are properly sealed and protected from the elements.
- Chemical cleaners can also damage headlights, causing them to crack and fade over time. Be sure to use only cleaners specifically designed for automotive plastic use.
- Finally, improper installation can lead to cracked headlights. When installing new headlights, be sure to follow the instructions carefully and use the proper tools and techniques. Otherwise, you risk damaging the headlight and voiding the warranty.
7 Signs You Need to Repair Your Headlight
Your car’s headlights are one of the most important safety features. They help you see in the dark and allow other drivers to see you. However, headlight lenses can become scratched or foggy over time, and bulbs can burn out. Here are seven signs that it’s time to Repair Your Headlight:
- Your headlights are dimmer than usual. This could be due to a buildup of dirt or grime on the lens or a sign that the bulb is beginning to fail.
- You notice a crack in the lens. Even a small crack can worsen over time and lead to complete failure of the headlight.
- The headlight is leaking fluid. This is a sign that the seal has been broken and water is getting inside the headlight assembly. This can cause damage to the wiring and other components.
- The headlight is vibrating excessively. This could be due to a loose connection or a problem with the mounting bracket.
- The beam is not aligned properly. This can happen if the headlight has been bumped or knocked out of alignment. Having this fixed is important so that your headlights do not blind oncoming drivers.
- There is condensation inside the headlight. This is usually caused by a failed seal, allowing moisture to get inside the headlight assembly. Left unchecked, this can lead to rust and other damage.
- The light output is noticeably different from one side to the other. This could be due to a problem with one of the bulbs, an issue with the aiming of the headlights, or even a difference in the type of bulb being used on each side.
No matter what the cause, it’s important to have this checked out so that both headlights provide an adequate amount of light. If you notice any of these problems with your headlights, it’s important to have them repaired as soon as possible.
Driving with faulty headlights can be dangerous for both you and for other drivers on the road. Be sure to bring your car to a reputable repair shop for proper diagnosis and repairs.
Frequently Asked Questions
Can Headlight Plastic Be Repaired?
It is possible to repair headlight plastic, but it will likely require some careful understanding of the anatomy and mechanisms of the plastic. Additionally, you will need to have access to specialized tools and materials that are not typically found in regular automotive stores. If you’re able to do this repairs yourself, be sure to take proper safety measures so that you don’t damage your vehicle or yourself in the process.
Can You Tape a Cracked Headlight?
In general, it may be possible to tape a cracked headlight, but it is not recommended as the tape may eventually peel off or break. If you are in need of a headlamp repair and cannot afford to buy a new one, it may be worth considering repairing the light rather than replacing it.

What Kind of Plastic is for Headlights?
There are many different types of plastic that can be used for headlights, but the most common is polycarbonate. This type of plastic is strong and shatter-resistant, which makes it a good material choice for headlights. It also has a low light transmission rate, so your lights will emit a bright beam even when driving in low-light conditions.
Other types of plastics that can be used for headlights include acrylics and nitrocellulose. Acrylics are more expensive than polycarbonate, but they often have better clarity and color reproduction than traditional glass headlight lenses. Nitrocellulose offers some advantages over other plastics; it’s lighter weight and resistant to fading or cracking as a result of ultraviolet (UV) exposure.
Is a Cracked Headlight an Mot Failure?
A cracked headlight may not be mot failure, but it’s certainly an inconvenience. In most cases, a cracked headlight can be fixed with a simple repair kit that you can purchase at any automotive store. The cost of the kit typically ranges from around $35 to $50, and it should only take you about 10 minutes to fix your headlights.
Before you go ahead and make the repairs, though, make sure that they are actually necessary. A cracked reflector won’t cause too much trouble on its own (and may even improve visibility), while a broken light bulb will usually lead to reduced performance or outright blindness in low-beam conditions. If you’re unsure whether or not your headlights need repairing, then it is best to consult your vehicle’s owner’s manual).
Will Toothpaste Clean Headlights?
depends on the type of toothpaste you are using and the condition of your headlights. Some toothpastes are specifically designed to clean headlights, while others may work better on other types of debris. Ultimately, it is advisable to test a small amount of your chosen toothpaste on a small section of your headlights to see if it produces any noticeable results. If not, you may want to try a different type of toothpaste or take some other steps to clean your headlights.
Conclusion
While it is possible to repair a cracked headlight on your own, it is not recommended. Not only are you risking further damage to the headlight, but you may also be violating state law if you do not have the proper training and certification. Instead, take your car to a professional mechanic who can safely and effectively repair the headlight for you. Thanks for reading our post about how to repair cracked headlight.