Replacing a pull cord on a ceiling light is an easy task to complete in under 10 minutes. This guide will walk you through the steps necessary how to replace pull cord on ceiling light and install a new one. Be sure to exercise caution when working with electricity, and always follow safety guidelines. When working with electricity, always ensure that power is turned off at the breaker box before beginning any work. If you are not comfortable completing this project, please consult with a professional electrician.
Summary: If your ceiling light has a pull cord, there are a few steps you can take to replace it. First, remove the light cover by unscrewing the two screws on the sides. Next, disconnect the power cord from the light fixture and remove the screw that holds the cord in place. Finally, pull the cord out of the light fixture.
What Are Pull Cord?
A pull cord is a string or cord that is used to operate a light switch, window blind, or other electrical devices. The cord is usually made of plastic, metal, or cloth and is attached to a fixture or piece of furniture. When the cord is pulled, it activates a switch that turns on the light or opens the blind.
Why Would I Need to Replace My Pull Cord?
There are several reasons why you might need to replace your pull cord. The most common reason is that the cord has become frayed or broken and can no longer be used. Other reasons could include the cord becoming too short or the need to change the style of the cord. Whatever the reason, replacing your pull cord is a relatively simple process that anyone can do.
What You’ll Need
- A new pull cord (can be purchased at most hardware stores)
- A pair of scissors
- A ladder (if the ceiling light is out of reach)
Step by Step Process on How to Replace Pull Cord on Ceiling Light
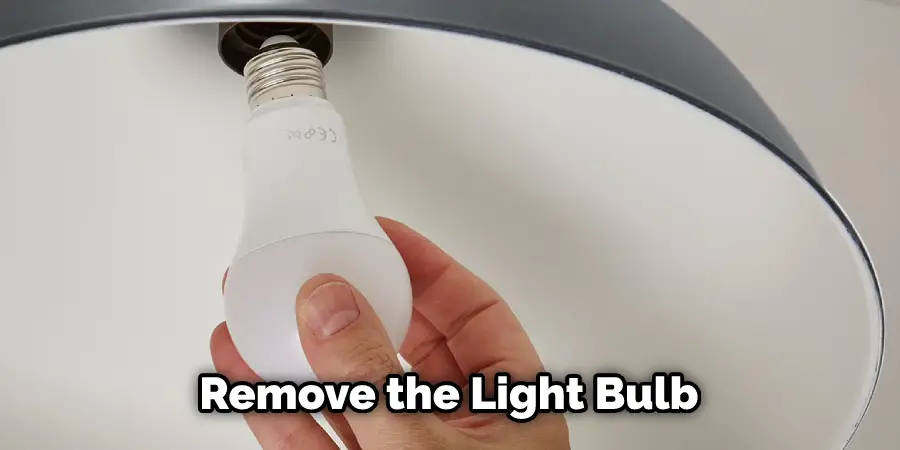
Step 1. Remove the Light Bulb From the Socket.
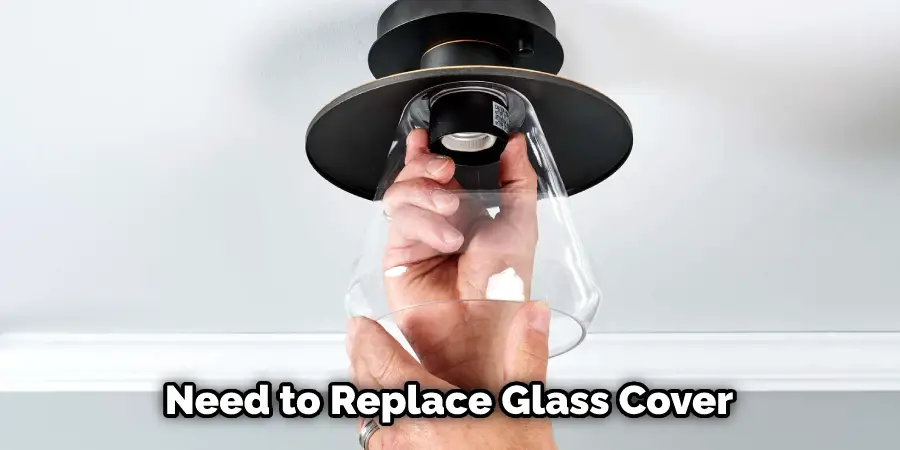
To change your ceiling light bulb, first remove the old light bulb from the socket. Then, reach up to the ceiling and unscrew the light bulb. If your ceiling light has a glass cover, you will need to remove this as well. Finally, screw in the new light bulb and replace the glass cover (if applicable).
Step 2. Unscrew the Socket Cover.
With the light bulb removed, you should now be able to see the socket cover. This is usually a small metal plate that is screwed into place. Use a screwdriver to loosen and remove the screws that hold the socket cover in place. Once the screws are removed, you should be able to pull the socket cover off, exposing the wires beneath.
Step 3. Cut and Strip the Wires.
To remove a ceiling light fixture, first use a wire cutter to cut the two wires that are connected to it. Make sure to leave enough wire so that you can easily strip it. Next, use a wire stripper to remove the insulation from the end of the wires. Be careful not to damage the wires as you do this.
Step 4. Attach the New Pull Cord.
Now, take the new pull cord and thread it through the hole in the ceiling light fixture. Make sure that the cord is long enough so that you can easily reach it when you need to turn on the light. Next, twist the end of the cord around each of the wires.
Finally, screw on the light bulb and replace the light shade. Now, you can adjust the length of the pull cord by loosening the two screws that hold the light fixture in place. Once you have the perfect length, tighten the screws back up and your new pull cord is installed!
Step 5. Connect the Wires.
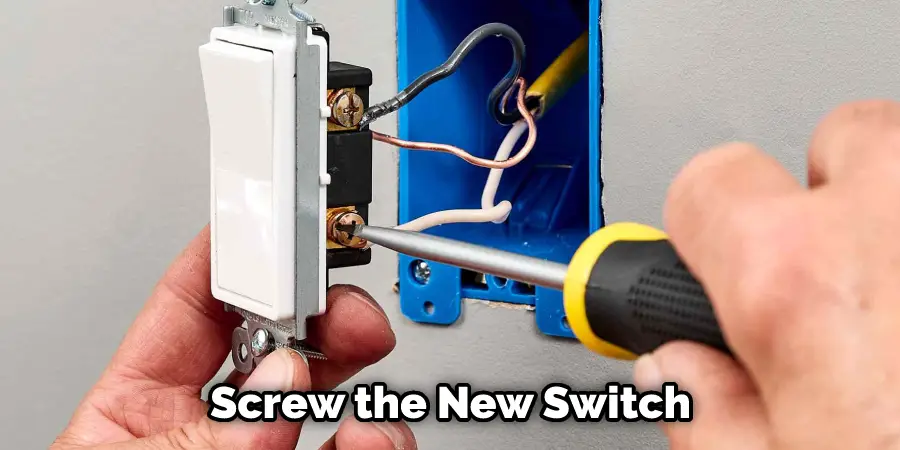
Now you can connect the wires to the new pull cord switch. First, twist the end of one wire around the “common” terminal on the switch. Next, tighten the screw to hold the wire in place. Next, twist the end of the other wire around the “traveler” terminal on the switch. Again, tighten the screw to hold the wire in place. Finally, screw the new switch into the electrical box.
Step 6. Test the Switch.
It’s a good idea to test the new switch before replacing the socket cover. To do this, turn on the power to the ceiling light fixture and pull on the cord to see if the light turns on and off. If everything is working as it should, proceed to the next step. Test the switch a few times to make sure it is working correctly.
Step 7. Replace the Socket Cover.
Now that you’ve tested the new switch, you can replace the socket cover. Line up the cover over the wires and screw it into place. Be sure not to overtighten the screws, as this can strip the threads. Socket covers usually have small metal clips that help hold them in place. If your socket cover has these, make sure they are properly aligned before screwing the cover in place.
Step 8. Replace the Light Bulb.
After testing the new switch, you can replace the socket cover. First, line up the cover over the wires. Then, screw it into place. Be careful not to overtighten the screws, as this can strip the threads. Most socket covers have small metal clips that help hold them in place. If your socket cover has these, make sure they are properly aligned before screwing the cover in place.
Step 9. Replace the Glass Cover (if applicable).
If your ceiling light has a glass cover, you will need to replace this now. Line up the glass cover over the socket and screw it in place. Be careful not to overtighten the screws, as this can break the glass. And that’s it! You’ve successfully replaced the pull cord on your ceiling light.
Tips & Warnings on How to Replace Pull Cord on Ceiling Light
Tips
- Always turn off the power to the ceiling light before beginning any repairs.
- Replacing a pull cord on a ceiling light is a relatively easy repair that most people can do themselves.
- The first step is to remove the old pull cord from the ceiling light. To do this, unscrew the old cord from the base of the light.
- Once the old cord is removed, you will need to screw in the new cord. To do this, screw the new cord into the base of the light.
- Once the new cord is in place, you will need to test it to make sure it is working properly. To do this, simply turn on the power to the ceiling light and pull on the new cord. The light should turn on and off without any problems.
Warnings
- Be sure to unplug your ceiling light before beginning this project.
- Be careful when handling the light fixture, as it may be fragile.
- Be sure to follow all instructions carefully to avoid any accidents.
What’s the Difference Between 1 Way and 2 Way Pull Cord?
The terms “1 way” and “2 way” refer to the number of switches that control the light. A 1-way switch will only have one switch controlling the light, whereas a two-way switch will have two switches controlling the light.
If a one-way switch controls your ceiling light, you can replace the pull cord without replacing the switch. However, if a two-way switch controls your ceiling light, then you will need to replace both the pull cord and the switch. Both one-way and two-way pull cords are available at most hardware stores.
You Can Check It Out To Put a Lampshade on a Ceiling Light
Frequently Asked Questions
Do You Need an Electrician to Change a Pull Cord?
In short, no. You can easily replace a pull cord on your ceiling light fixture without having to call an electrician. However, if you feel uncomfortable working with electrical wiring, it is always best to err on the side of caution and hire a professional.
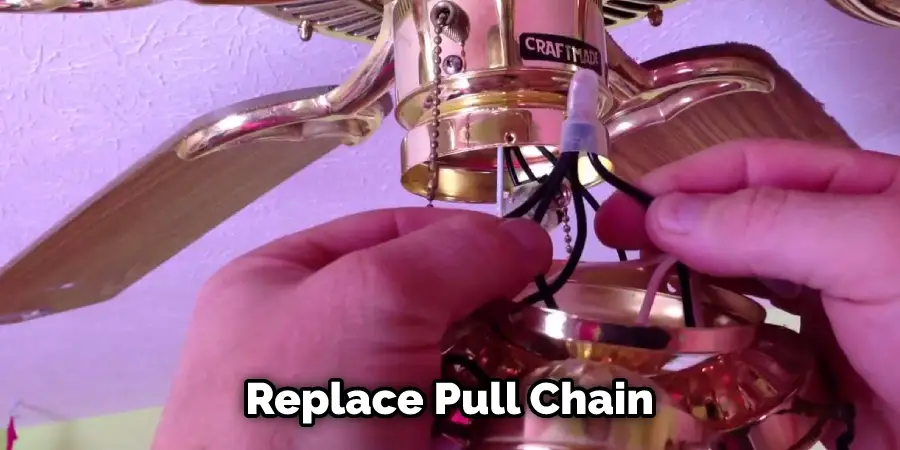
Can You Replace Just the Pull Chain on Ceiling Light?
If the cord on your ceiling light has become damaged, you may be wondering if you can replace the pull chain. The answer is yes; it is possible to replace just the pull chain on your ceiling light in most cases.
To do this, you will need to purchase a replacement pull chain that is the same length and style as the one you are replacing. You will also need a small screwdriver and a pair of needle-nose pliers.
What is a two-way pull cord light switch?
A 2-way pull cord light switch is a type of switch that is commonly used to operate ceiling lights. This type of switch allows you to turn the light on and off with a simple pull of the cord. However, the cord can become worn or damaged over time, making it necessary to replace it.
Conclusion
Replacing a pull cord on a ceiling light is an easy task that can be completed in under 10 minutes. All you need is a screwdriver and some patience. The most important thing to remember when completing this project is to take your time and be careful not to drop any screws or parts of the light fixture down into the Ceiling.
In this blog post, we will provide step-by-step instructions on how to replace pull cord on ceiling light. We will also show you how to reattach the canopy cover once the job is complete.