If you’re looking for an energy-efficient way to light up a room, one of the best decisions you can make is installing LED strip lighting. It’s easy to turn your home lighting up a notch with LED strips, but it can be intimidating trying to figure out how to wire them properly. Strips of Light Emitting Diodes or LEDs are incredibly versatile and economical for home lighting projects.

A few key considerations when wiring LED strips to a switch involve selecting the right power source, running the necessary wire, and understanding how to connect all the components correctly. This blog post will provide a step-by-step guide on how to wire led strips to a switch yourself without hiring professional help—saving time and money!
Things to Keep in Mind While Wiring LED Strips to a Switch
1. Choose the Right Power Source
You’ll need to make sure your power source is strong enough to handle the voltage and current requirements of your LED strip lights. If you’re using a wall plug, it should be rated for 12 volts or higher. For longer runs, you may need a dedicated power supply. Keep in mind that the wattage of the power supply should exceed the total watts for all LED strips combined.
2. Run Necessary Wire
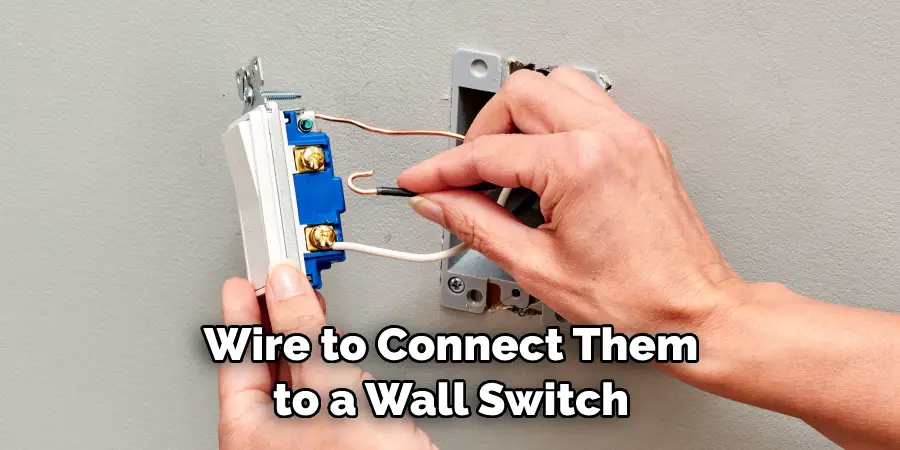
Depending on how long your LED strip lights are, you may need to run additional wire to connect them to a wall switch. Make sure you use appropriately-rated wire for this purpose and label each connection point with its corresponding voltage rating.
3. Connect Components Correctly
When wiring LED strips to a switch, you’ll need to match the positive and negative wires on both ends. To do this, start by identifying which wire is being used for ground (usually black) and which wire is being used for power (typically red). Then connect them in the same way on both sides of the switch.
Following these simple steps will ensure your LED strip lights are wired correctly and safely. Remember, if you’re ever in doubt, contact a licensed electrician to help with the project. With the correct setup, you can enjoy beautiful and efficient lighting for years to come!
Required Items
- Power Source
- Rated Wire (for longer runs)
- Appropriate Voltage Rating Labels
- Positive and Negative Wires (ground and power)
- Wall Switch Connections
By following these steps, you can wire LED strips to a switch safely and accurately. With the right setup, you’ll be able to enjoy beautiful and efficient lighting without any issues.
How to Wire Led Strips to a Switch in 10 Easy Ways
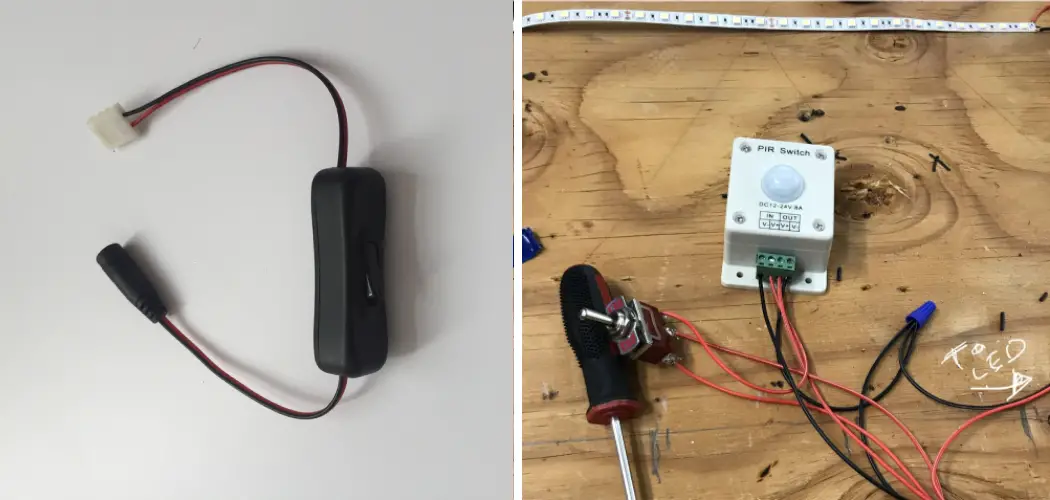
1. Gather Supplies
Start by gathering the materials and tools that you’ll need, such as LED strips, a light switch, wire strippers, electrical tape, and a power supply. If you have all the tools and supplies ready, you can begin wiring your LED strips to the switch.
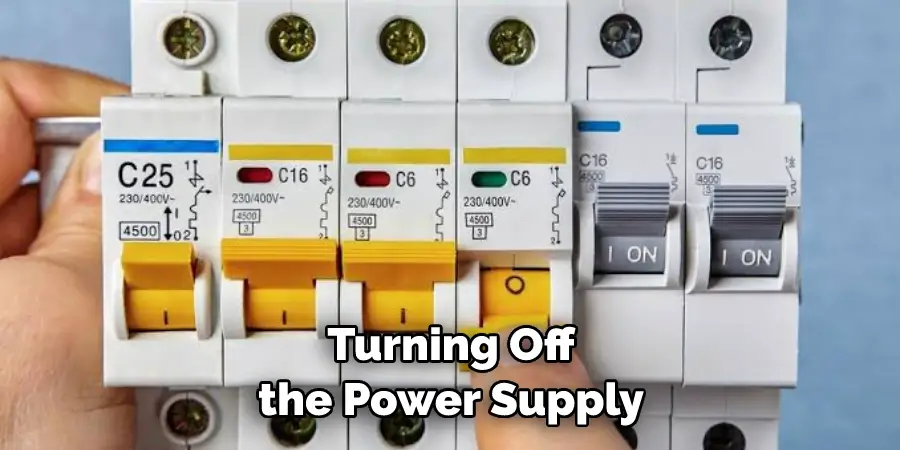
2. Turn Off Power Supply
Make sure that the power is shut off before you start working on the wiring of the LED strips. This will help prevent you from being shocked or electrocuted while handling electrical wires. Turning off the power supply will also protect your LED strips from any damage or malfunctions caused by an electrical current.
3. Strip Wires
Using a wire stripper, carefully strip both ends of the wires that connect to the light switch and the LED strips. This will help ensure a secure connection between the two components when you begin wiring them together.
4. Connect Wires
Once the wires are stripped, start connecting them together by twisting each end of the wires around one another. It is important to make sure that they are firmly connected and that there is no loose ends. This will help ensure a secure connection between your light switch and LED strips.
5. Secure Connection
After connecting the two components with wiring, use electrical tape to secure the connection. This will help prevent them from coming apart or becoming loose over time due to vibration or movement.
6. Test Connection
Once the wires are connected and secured with electrical tape, you can now test your connection by turning on the power supply. If all goes well, the LED strips should light up when you flip the switch.
7. Mount Switch and LED Strip
If the test connection is successful, you can now mount both the light switch and LED strips in their respective places. Secure them firmly to help prevent any vibrations or movement that could damage your wiring setup.
8. Connect the Power Supply
Once the components are securely mounted, connect the power supply to the LED strips and light switch. Make sure that the connection is tight and secure to prevent any short circuits or malfunctions while using them.
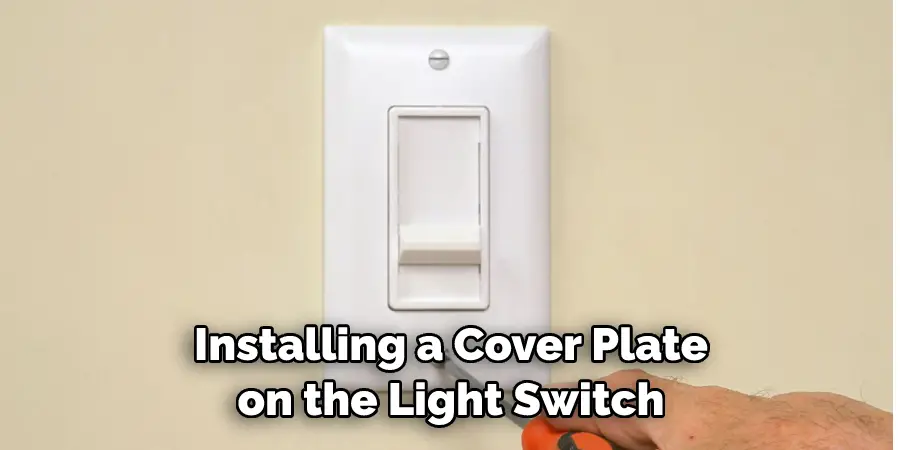
9. Install Cover Plate
Finish off by installing a cover plate on the light switch. This will protect you from accidentally coming into contact with any exposed wires when flipping the switch. It will also give your wiring setup a neat and polished look.
10. Turn on Power Supply
Finally, turn the power supply back on and test your setup one last time. If everything is wired correctly, you should be able to switch on your LED strips with the flip of a switch!
You have successfully installed your own lighting system and learned how to wire led strips to a switch in 10 easy steps. With this knowledge, you can now safely and effectively wire LED strips to switches in your own home or business.
8 Safety Measures to Take when Wiring Led Strips to a Switch
Safety should always be your number one priority when wiring any type of lighting system. When wiring led strips to a switch, follow these 8 safety measures:
- Make sure the power supply is off before beginning work on the wiring. This includes turning off all circuit breakers and disconnecting the power sources from the switch. Making sure that no current is running through the system prior to beginning the wiring process is very important.
- Wear protective clothing and eyewear when working on electrical systems. This will ensure that you are protected from accidental contact with live wires or sparks. Also, be sure to keep any flammable materials away from the work area.
- Understand how electricity works and its potential for danger. It is important to familiarize yourself with the principles of electricity before attempting any electrical wiring projects. This knowledge will help you identify and avoid potentially dangerous situations.
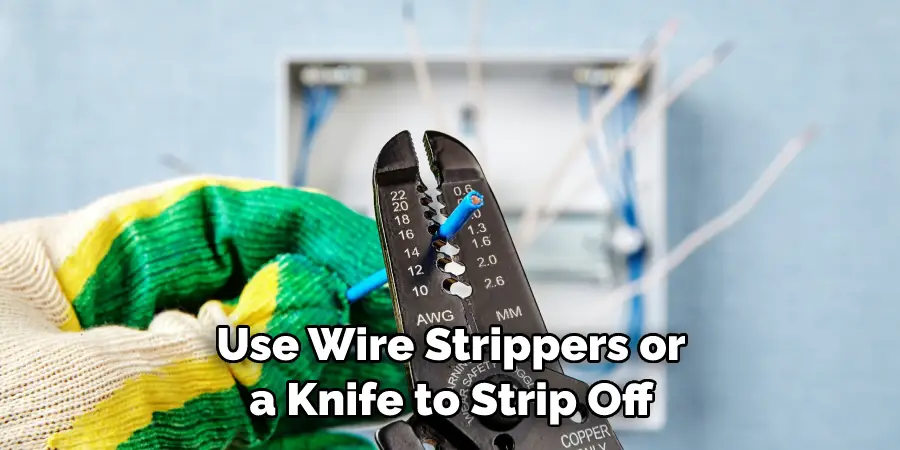
- Use wire strippers or a knife to strip off the insulation from the ends of each wire. This will expose the copper wire, which will be used for making the connections. Be sure to keep all stripped wires away from any live current sources.
- Connect all exposed copper wires securely to the switch’s terminals using appropriate connectors or wire nuts. Make sure that there is a good connection between each terminal and its corresponding wire.
- If the wiring requires soldering, be sure to use a heat-resistant material and never leave the soldering iron unattended while it is on.
- Test-run the switch before completing the installation. You can do this by plugging in a voltage meter or light bulb and turning on the switch to see if the power is flowing properly.
- Once you have confirmed that the wiring is working properly, use electrical tape or a wire nut to insulate all exposed wires and connections. This will protect them from short-circuiting or any other damage that could occur in the future.
Following these 8 safety measures on how to wire led strips to a switch when wiring led strips to a switch will ensure your project’s success while keeping you and your environment safe. Make sure to always be mindful of the potential dangers associated with electricity and take the necessary precautions to protect yourself.
8 Common Mistakes to Avoid
When wiring LED strip lights to a switch, there are some common mistakes that people can make. Knowing what these pitfalls are can help you avoid them and ensure your wiring job goes smoothly. Here are 8 common mistakes to avoid when wiring LED strips to a switch:
- Not having enough power for the LEDs. Make sure you have the right power supply for your LEDs. If you don’t, this will cause your LED strips to flicker or not work properly.
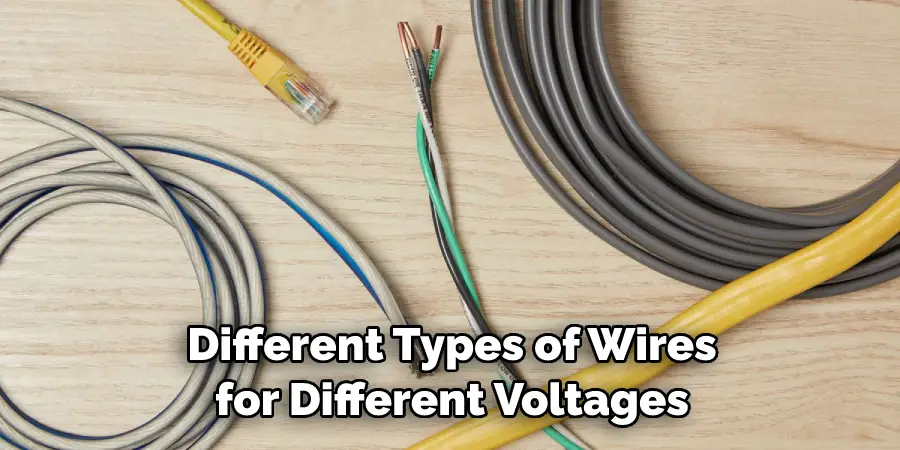
- Not using the correct wire. Make sure you use the right kind of wire for connecting your switch and the power supply to the LED strip lights. Different types of wires are designed for different voltages, so make sure you’re using the correct wire.
- Forgetting to ground the power supply. It’s important to make sure that your power supply is properly grounded, as this will help ensure that it won’t suffer any damage and will also provide a safe environment for you while working with electricity.
- Not using twisted pair wires to connect components. If you’re connecting components together, it’s important to use twisted pair wires instead of regular electrical wiring. This helps reduce interference and ensures your connection is strong and secure.
- Not properly insulating the wires. Make sure that all exposed wires are properly insulated in order to avoid any potential short circuits or other hazards.
- Using the wrong type of switch. Different types of LEDs require different switches, so make sure that you’re using the correct type for your LEDs.
- Not clearly labeling wires and components. It’s important to label all wires and components in order to ensure a safe installation process and make troubleshooting easier down the line if needed.
- Not testing the wiring. Before you seal everything up, it’s important to make sure that all of your wiring is working properly and that everything is connected correctly. This will help prevent any unnecessary issues in the future.
By avoiding these 8 common mistakes when wiring LED strips to a switch, you can ensure your installation goes smoothly and safely. Doing so will also make troubleshooting easier if any issues arise down the line.
Conclusion
As you can see, wiring LED strips to a switch is far easier than it may look. With the right information, tools, and techniques at your disposal, you now have the knowledge on how to wire led strips to a switch to confidently make this simple and time-saving improvement to your living space. Keep in mind the 8 common mistakes to avoid when wiring and you have a much smoother installation process.
Not only is the material cost more than reasonable for the added lighting effects that it offers, but DIY projects often reduce a great amount of stress simply by creating an avenue to express yourself artistically. So get creative, gather your LED strip lights, and follow our simple guide – no professional electrician or elaborate tools are needed! It’s time to turn your dull living space into something special.