In a parallel circuit, each node is at the same voltage. This means that the potential difference between any two nodes is always zero. The current in a parallel circuit is the sum of the currents through each branch. The voltage drop across each resistor is the same.
A switch diagram is a graphical representation of how switches are interconnected. It shows the position of the button in the circuit and the direction of the current flow. A switch diagram is a useful tool for understanding how a circuit works. It can also be used to troubleshoot a circuit. In this blog post, we are going to show you how to wire lights in parallel with switch diagram. This is a very simple wiring project that can be completed in just a few minutes. All you need is some basic electrical knowledge and a few tools. Let’s get started. Make sure to use the same gauge of wire for all connections and use appropriate wire connectors if needed.
Summary: 1. Find the common ground wire. This is the wire that is connected to both the light switch and the outlet. 2. Connect each light to its corresponding wire using a wire nut. 3. Twist each light’s wire around the wire nut once. 4. Connect the light switch to the common ground wire. 5. Turn on the light switches and check to make sure the lights are working.

Are Lights Wired in Series or Parallel?
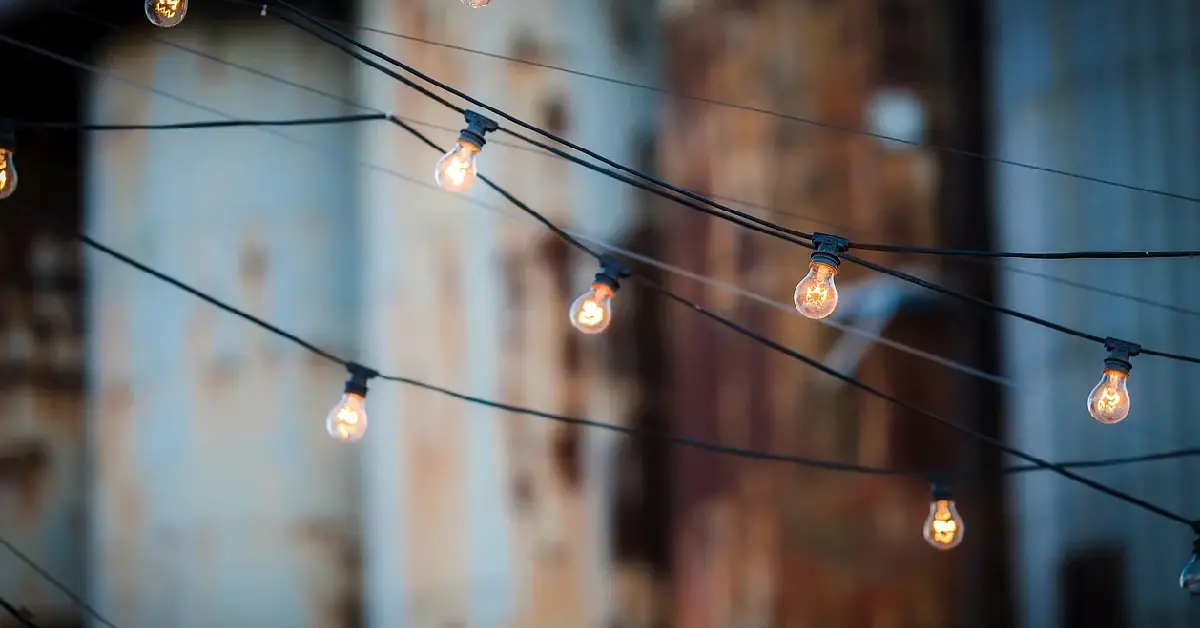
To wire lights in parallel, each light is connected to the power supply via its own set of wires. Each light has its own set of wires, and each set of wires is connected to the power supply. This means that the other lights will stay on if one light goes out. When wiring lights in parallel, using the same wattage bulb in each light is important. Otherwise, the bulbs will burn out at different rates, and the light will go out. If you are using different wattage bulbs, it is best to wire them in series so that they all burn out at the same time. It is also important to note that the voltage stays the same when wiring lights in parallel but the current increases. This is because each light has its own set of wires and is not sharing the load with the other lights.
To wire lights in series, each light is connected to the power supply via the same set of wires. This means that if one light goes out, the other lights will go out as well. When wiring lights in series, the voltage stays the same but the current decreases. This is because the lights are sharing the load with each other and are not each drawing their own power.
Which method you use depends on your particular situation. If you are wiring lights for a Christmas tree, you will probably want to use the parallel method so that if one bulb burns out, the others will stay lit. However, if you are wiring lights for a security system, you will want to use the series method so that if one light goes out, the others will go out as well.
Tools and Materials
- Wire strippers
- Electrical tape
- Wire cutters
- Screwdriver
- Light switch
- Light fixture
- Electrical box
Step by Step How to Wire Lights in Parallel With Switch Diagram:
1. Turn Off the Power to the Circuit:
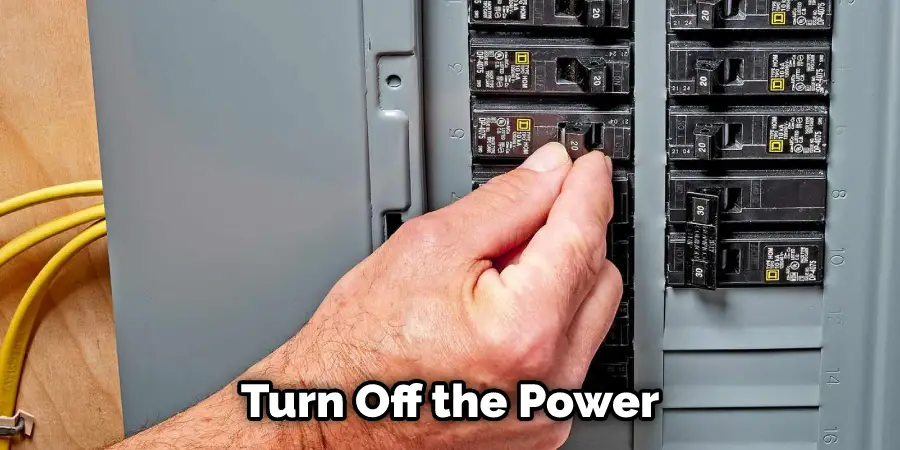
The first step is to turn off the power to the circuit that you’ll be working on. To do this, locate your circuit breaker box and flip the breaker for the circuit you’re working on to the “Off” position.
2. Remove the Light Switch Cover:
Once the power is off, unscrew the switch cover plate to remove it. Be careful not to drop the screws as you remove them. With the cover plate off, you should see a wire running into the back of the switch. Use a voltage tester to make sure that the power is off before continuing.
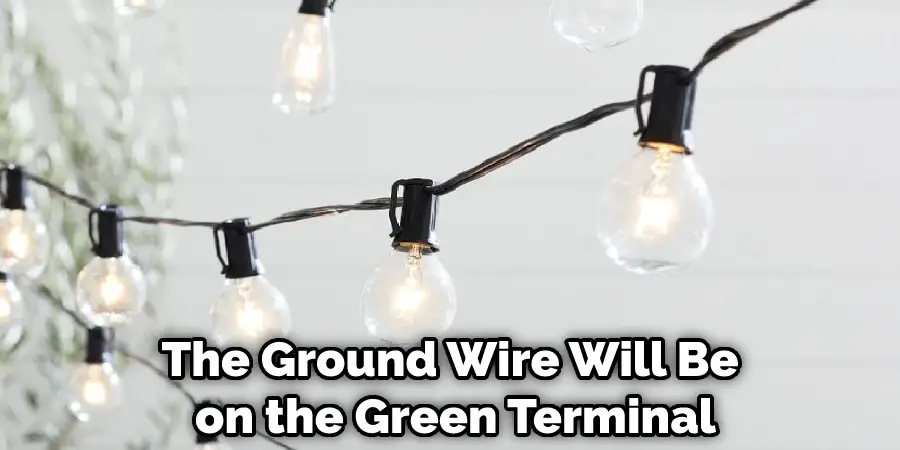
3. Identify the Wires:
There will be three wires coming out of the switch: two black wires (the “hot” wires) and one white wire (the “neutral” wire). The hot wires will be on the brass terminals, and the neutral wire will be on the silver terminal. The ground wire (if there is one) will be on the green terminal.
4. Make the Connections:
To wire a switch, you need to connect the black wires to the brass terminals, and the white wires to the silver terminals. If there are green or bare copper wires in the box, connect them to the green ground screw on the switch. Use wire nuts to secure the connections.
5. Install the Switch:
Secure the switch into the electrical box using the screws that came with the box. Then, attach the plate to the switch. Be sure to use the proper screws to avoid a loose connection.
6. Attach the Wires to the Switch:
Strip about 3/4 inch of insulation from the end of each wire. Next, connect the wires to the screws on the side of the switch. The green screw is for the ground wire, which is usually bare. The other two screws are for the live wires, which are usually black.
Tighten each screw until it’s snug against the wire. Don’t over-tighten the screws, or you may damage the wires.
7. Connect the Wires to the Fixture:
Strip about 3/4 inch of insulation from the end of each wire. Connect the wires to the terminals on the new light fixture. If the wires are not color-coded, use a circuit tester to identify the hot wire. The black lead from the circuit tester is the hot wire. For a new fixture, there will be a black (hot) wire, a white (neutral) wire, and a green (ground) wire. The ground wire will be either bare or have green insulation.

8. Secure the Wires:
To wire a light fixture, first wrap the bare end of the ground wire around the green grounding screw on the light fixture. Next, use a wire nut to screw the two ends of the black wire together. Next, do the same with the white wire. Finally, use a wire nut to screw the end of the red wire to the black wire from the switch.
9. Hang the Light Fixture:
Hang the light fixture by screwing it into the electrical box. Be sure to use the proper size screws and not overtighten them. If the light fixture has a ground screw, attach it to the green or bare copper ground wire in the box.
10. Attach the Ground Wire:
Attach the green or bare copper ground wire to the green screw on the switch or to the green ground wire in the box. If there is no green or bare copper ground wire, attach the grounding conductor to one of the screws that secure the box to the wall. Strip about 1/2 inch of insulation from the end of each black or hot wire using a wire stripper.
11. Turn on the Circuit Breaker:
Turn on the circuit breaker. Test the switch by turning on and off the light fixture. If the light fixture does not operate, turn off the circuit breaker and check the switch for looseness. If the switch is loose, tighten the screws that secure it to the electrical box. If the switch is tight, turn off the circuit breaker and proceed to the next step.
You Can Check It Out To Cover Bare Light Bulb
12. Test the Switch:
Remove the screw that secures the switch to the electrical box. Carefully pull the switch out of the box, being careful not to damage the wires. Use a voltmeter to test the wires to see if they receive power. If not, check your connections and ensure the breaker is turned on.
13. Reconnect the Switch:
Once you have verified that the wires are receiving power, screw the switch back into the electrical box. Next, gently screw in the light bulbs, being careful not to over-tighten and break them. Finally, turn on the power to the circuit at your main electrical panel. Test your new switch by turning on and off the light. If it doesn’t work, check your connections and make sure that the wires are securely screwed into their terminals.
Tips and Warnings on How to Wire Lights in Parallel With Switch Diagram:
Tips:
- Always use proper gauge wire for your circuit. Check with a certified electrician if you are unsure.
- Do not overload circuits.
- Follow all local building codes and inspections.
- Always shut off the power before working on any electrical project.
- Use caution when working with electricity.
- Make sure that all the connections are secure and tight.
- Use the proper size wire for the amperage of the circuit.
- Do not use more than one switch to control the lights. This will cause a voltage drop, and the lights will not be as bright.
Warnings:
- Never work on electrical wiring without first shutting off the power at the circuit breaker.
- Never work on electrical wiring when it is wet or damp.
- Never touch any live wires. If you must, use gloves or other insulation to protect yourself.
- If you are not familiar with electrical wiring, it is best to have a professional do it for you.
- Never wire anything while standing in water.
Frequently Asked Questions
Is It Better to Run Lights in Series or Parallel?
it depends on your specific situation and needs. If you’re running short distances with little time, then parallel wiring may be the better option because it will save energy. But if you have more time and want to run longer distance at higher frequencies, then series wiring might be a better choice.
The biggest thing to remember when making this decision is that each wire must carry the same current, so make sure they are wired in exactly the same manner. Otherwise, your lights could end up working incorrectly or not at all due to voltage drop caused by mismatched wires.
Do You Wire Ceiling Lights in Series or Parallel?
If you’re wiring a ceiling light in series, connect the lights together one after the other. This is typically done to reduce voltage drops and improve lighting performance.
If you’re wiring a ceiling light in parallel, connect the lamps directly to each other without having to go through an intermediary switch or outlet. Parallel wiring also allows for more flexible installation because it reduces waste and cable clutter.
What is the Difference Between Parallel and Series Wiring?
The main difference between parallel and series wiring is that with series wiring, all the wires in a circuit are connected together in a series loop. This makes them more vulnerable to interference and damage from a short circuit. Parallel wiring splits the load among many wires, preventing any one wire from becoming overloaded.
What Happens if the Switch is Open in a Parallel Circuit?
If the switch is open in a parallel circuit, current will flow through each component of the circuit as if it were an individual switch. This can create problems because it can overload or damage components of the system.
Conclusion
This is How to Wire Lights in Parallel With Switch Diagram. You can make this diagram by following the steps above. This will help you save time and money. In conclusion, wiring lights in parallel is a great way to increase the amount of light you have in a room while also providing extra safety. By following the simple steps outlined above, you can wire your own set of lights and enjoy their benefits. Check out our other posts for more helpful tips on home improvement projects.