
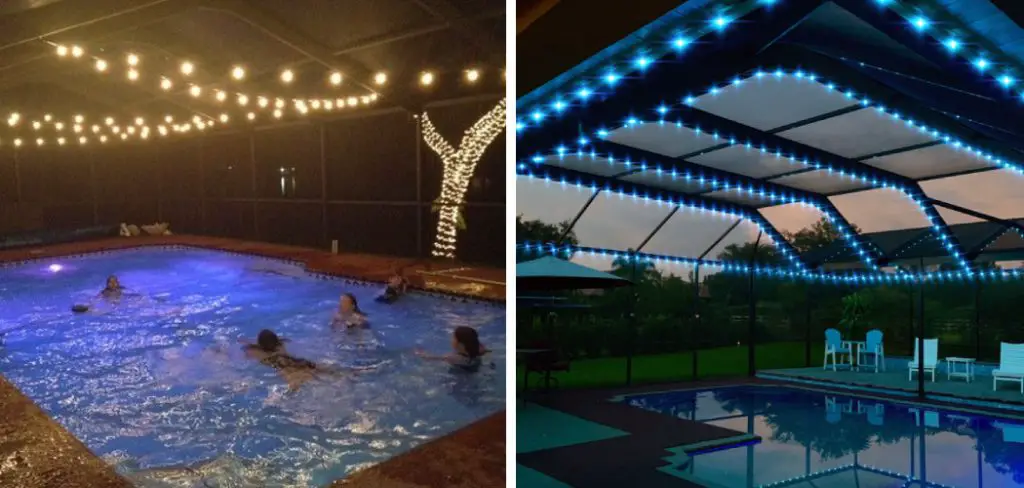
Pool cages add a level of privacy and security to your pool, but they can also be used to create ambiance and atmosphere. Attaching string lights to your pool cage is easy to add some extra flair. Not only does this look great, but it’s also a very simple project that anyone can do. This blog post will show you how to attach string lights to pool cage and enjoy the benefits of having them in your backyard oasis. Keep reading for step-by-step instructions!
Summary: In order to attach string lights to a pool cage, first measure the distance between the posts of the cage and cut a piece of string that is at least twice as long as the distance between the posts. Next, thread one end of the string through the hole in one post and tie the string tightly in a knot. Thread the other end of the string through the hole in the next post and tie the string tightly in a knot. Finally, tie the ends of the string together in a knot.
What Causes Pool Lights to Stop Working?
There are a few different reasons that your pool lights may stop working. However, the most common reason is the bulbs burned out. This is because pool lights are typically left on for long periods, which causes the bulbs to overheat and eventually burn out. If this is the case, simply replacing the bulbs should fix the problem.
Another common reason for pool lights to stop working is because of a tripped circuit breaker. This usually happens when too many lights are on simultaneously, and the electrical system can’t handle it. If this is the case, you’ll need to reset the breaker.
Additionally, bad weather can also cause pool lights to go out. For example, the lights may get knocked out if a storm with high winds. In this case, you’ll need to check the connections and make sure that everything is still secure. The other reason pool lights may go out during a storm is flooding. If the water level gets too high, it can cause the lights to short out. Lastly, if there is lightning in the area, it could strike the lights and cause them to go out.
Why Do I Need to Attach String Lights to Pool Cage?
There are a few reasons why you might want to attach string lights to your pool cage. The first reason is that it looks great! This is a simple and easy way to add some extra flair to your pool area. It also creates a great ambiance for relaxing or entertaining. Attaching string lights to the pool cage can also provide extra safety. If the lights are on, it will be easier to see people swimming in the pool at night. This is especially important if you have young children who are using the pool.
Another reason to attach string lights to the pool cage is to help keep the bugs away. If you live in an area with a lot of mosquitoes, they can be a real nuisance. But, if you have the lights on, they will be attracted to the light instead of biting you. So, not only will you be able to enjoy your pool in peace, but you’ll also be doing your part to help reduce the mosquito population.
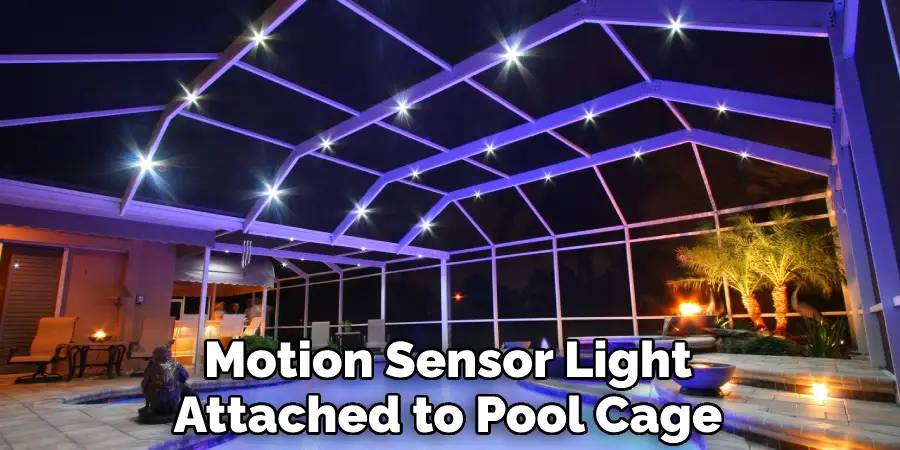
Finally, attaching string lights to pool cages can also deter burglars. If your home is well-lit, it will be less likely that a burglar will try to break in. Additionally, if you have a motion sensor light attached to your pool cage, it will be even more difficult for a burglar to break in undetected.
Tools and Materials Needed
To attach string lights to the pool cage, you will need the following tools and materials:
- String lights
- Drill
- 1/4 inch drill bit
- Cup hook screws
- Screwdriver
Step by Step How to Attach String Lights to Pool Cage
1. Choose the Location
The first step is to choose the location for your string lights. You’ll want to pick a spot close to an outlet so you can easily plug the lights in. Additionally, you’ll want to ensure that the area is clear of any obstacles that could get in the way of the lights. Try to pick a spot that is as level as possible. Avoid too sunny areas, as the heat can cause the lights to overheat and go out.
2. Measure the Lights
Once you’ve chosen the location, it’s time to measure the lights. This is because you’ll need to know how much cord you have to work with. You’ll want to ensure that you have enough lights around the entire pool cage. To do this, start at one corner of the cage and measure to the other side. Then, add an additional 3 feet to account for any curves or angles.
Using standard Christmas lights, each string is usually about 25 feet long. Avoid using more than three strings of lights per side, as this could overload the electrical system.
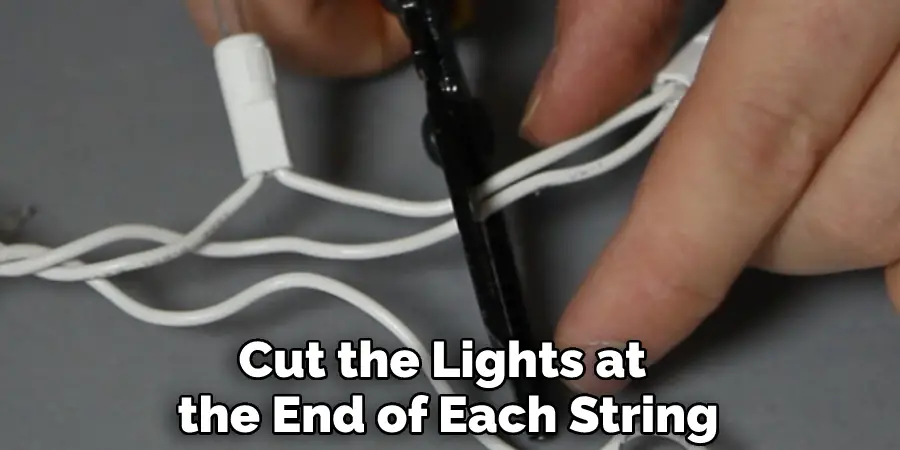
3. Cut the Lights
After you’ve measured the lights, it’s time to cut them. This is because you’ll need to create separate strings for each side of the pool cage. You’ll want to use a sharp pair of scissors or wire cutters to avoid fraying the wires. First, cut the lights at the end of each string. Then, measure and cut the lights in half. You should now have four strings of lights, each about 12 feet long. Be sure to save the extra lights for another project. Avoid cutting the wire too close to the bulb, as this could cause the bulb to come out.
4. Drill Holes
The next step is to drill holes for the string lights. You’ll want to use a 1/4-inch drill bit for this. First, drill a hole in each corner of the pool cage. Then, evenly space out four more holes along each side. You should now have a total of 16 holes. These holes will be used to thread the string lights through. If you’re having trouble drilling the holes, you can use a power drill with a 1/4-inch drill bit attachment. Avoid making the holes too big, as this could cause the string lights to fall out.
5. Attach the Lights
Now, it’s time to attach the string lights. To do this, first, thread one end of a string light through a hole. Then, twist the wire around the frame to secure it in place. Next, thread the other end of the light through the next hole. Repeat this process until all four lights are in place. You may need to use a screwdriver to help thread the wire through the holes. Be sure to leave enough slack so that the lights can be plugged in.
Additionally, try to avoid pulling too tight, as this could cause the wire to break.
6. Repeat on the Other Side
After you’ve attached the string lights to one side of the pool cage, repeat the process on the other side. You’ll want to ensure that the lights are evenly spaced out. Additionally, be sure to leave enough slack so that the lights can be plugged in. If you need to, you can use a tape measure to help ensure that the lights are the same distance apart on both sides. Avoid pulling the lights too tight, as this could cause the wire to break.
7. Plug in the Lights
Now, it’s time to plug in the lights. To do this, first, find an outlet that is close to the pool cage. Then, plug in the lights and turn them on. Be sure to start with the lights on one side of the pool cage and then move to the other side. If you have any extension cords, be sure to use them. Avoid using more than three strings of lights per outlet, as this could overload the system.

8. Test the Lights
After you’ve plugged in the lights, it’s time to test them. Be sure to walk around the pool cage to ensure that all lights work. You’ll also want to ensure that the lights are not too close to the water. If they are, they could fall in and become a hazard. Additionally, be sure to keep an eye on the cords. Make sure that they are not fraying or exposed. If they are, you’ll need to replace them.
9. Enjoy Your Lights
After you’ve followed all of these steps, you should now have a beautiful display of string lights. Enjoy them and show them off to your friends and family. With a little bit of care, your lights should last for many years to come.
How Much Does It Cost to Attach String Lights to Pool Cage?
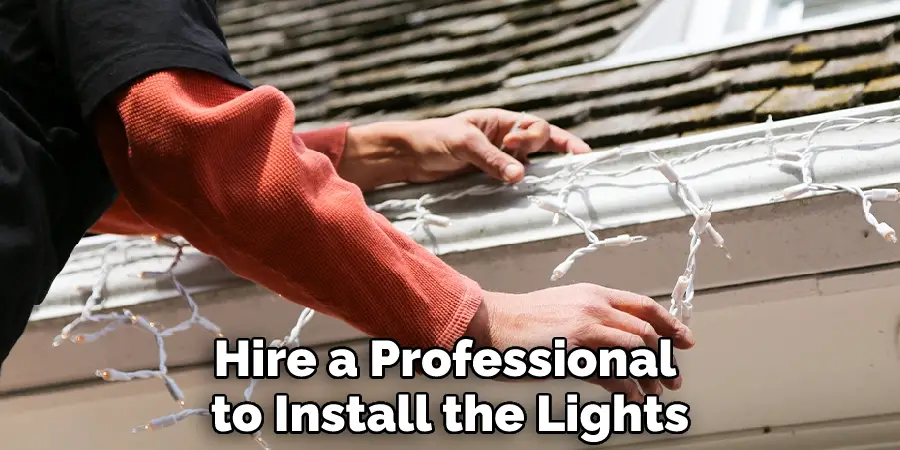
The cost of attaching string lights to the pool cage will depend on the type of lights you choose and the number of strings you need. Generally, you can expect to spend between $10 and $20 per string of lights. Additionally, you’ll need to purchase a drill bit, tape measure, and screwdriver. These items can be found at your local hardware store. Finally, if you hire a professional to install the lights, you can expect to pay between $50 and $100.
Frequently Asked Questions
Can I Hang String Lights Over a Pool?
There are a few things to consider when hanging string lights over a pool. The height of the string lights and the type of pool cover are both important factors.
If you are hanging strings from the roof, you will need to be sure that the strings reach the ground. If your pool cover is too high, the strings will not be visible.
For smaller pools, it may be possible to hang string lights from the side of the pool. However, be sure to check with your municipality or homeowner’s association before doing this, as some regulations may apply.
What Happens if String Lights Fall in Pool?
If string lights fall into a pool, they may become entangled in the pool’s filter and need to be removed before they can cause any damage. If string lights are not properly secured or if they become entangled in the filter, they may cause damage to the pool system or its components. In either case, it is important to contact a professional to remove the string lights and prevent any further damage.
Can Outdoor String Lights Get Wet?
Yes, outdoor string lights can get wet. However, because they are made of plastic and other materials that are water-resistant, they should be fine if they get wet accidentally or if it rains heavily. If you are worried about whether or not your string lights will be damaged by water, it is best to avoid getting them wet in the first place.
What Kind of Pole Do You Use to Hang String Lights?
There are a few different types of poles used to hang string lights, including:
1. The standard electrical outlet plug-in pole
2. The lighted extension cord pole
3. The lighted wall mount pole
4. The lighted ceiling mount pole
Each type of pole has its own unique advantages and disadvantages. The standard electrical outlet plug-in pole is the most common type of pole used to hang string lights, and it is the easiest to use. It simply plugs into an outlet and can be used to hang lights from a variety of heights. The lighted extension cord pole is similar to the standard electrical outlet plug-in pole, but it has a built-in LED light that makes it easier to see the strand of lights while hanging them. The lighted wall mount pole is a specialized type of pole designed specifically for hanging string lights. It has a bracket on one end that allows it to be attached to a wall or ceiling, and a cord on the other end that connects to the lights. The lighted ceiling mount pole is similar to the lighted wall mount pole, but it has a bracket on one end that allows it to be attached to a ceiling, and a cord on the other end that connects to the lights. Each type of pole has its own advantages and disadvantages, so it is important to choose the right one for your specific needs.
Conclusion
So there you have it, a complete guide on how to attach string lights to pool cage. Following these steps, you can easily add a touch of class and elegance to your pool area. Additionally, you can expect your lights to last for many years with proper care. We hope you enjoyed this article and wish you the best of luck with your project. Thank you for reading.