
If you’re having trouble getting your car to start, the problem may not be the battery. Instead, the ground connection may also be at fault. A test light can help you determine whether the ground is working properly. This guide will show you how to test for ground with test light. Follow these simple steps, and you’ll be on your way to fixing your car’s starting problems.
Summary: There are a few ways to test for ground. One way is to use a test light and check to see if it lights up the component. Another way is to use a multimeter and measure the resistance of the component and the ground wire.
What Causes Ground Problems?
There are a few things that can cause ground problems. The most common is a loose or corroded connection. This can happen at the battery, at the starter, or at any other point in the electrical system. If the ground connection is loose, it can cause all sorts of problems, including starting problems. Another common cause of ground problems is a bad battery. If the battery is old or damaged, it may not be able to provide enough power to start the car.
A bad battery can cause many other problems, such as electrical issues. The other common cause of ground problems is a bad starter. If the starter is damaged, it may not be able to provide enough power to start the car. The other common cause of ground problems is a bad alternator. Again, if the alternator is damaged, it may not be able to provide enough power to start the car. Lastly, the bad ground can also be caused by a faulty ignition switch.
Why It’s Important to Test for Ground With Test Light
There are a few reasons why it’s important to test for ground with a test light. First, the test light will help you determine whether the ground is actually the problem. If the test light doesn’t illuminate, then the ground may not be the problem. Second, the test light will help you determine whether the ground is actually working. If the test light does illuminate, the ground may not work properly.
Third, the test light will help you determine whether the ground is actually connected. The ground may not be connected if the test light doesn’t illuminate. Finally, the test light will also help you determine whether the ground is strong enough. If the test light doesn’t stay illuminated, then the ground may not be strong enough.
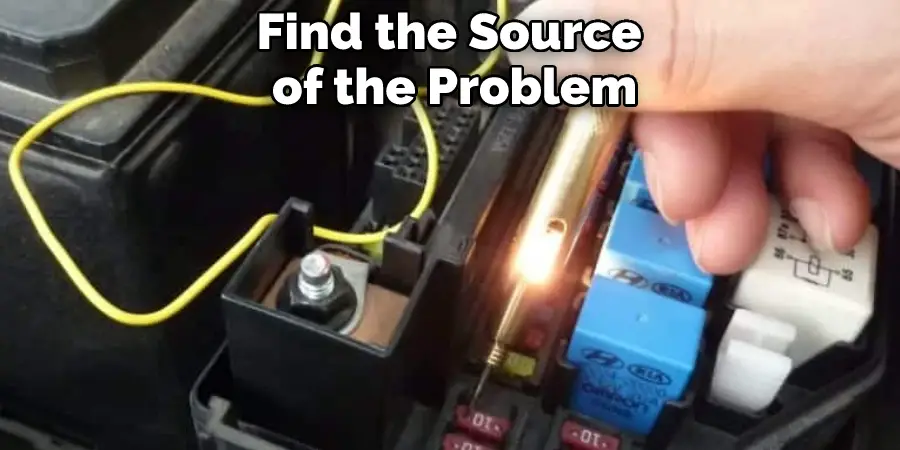
Additionally, the test light will help you determine whether the ground is actually grounded. If the test light doesn’t illuminate, then the ground may not be grounded. Another reason why it’s important to test for ground with a test light is that the test light can help you find the source of the problem. Finally, the test light will help you determine whether the ground is connected to the car’s frame.
Step by Step How to Test for Ground With Test Light
1. Gather the Supplies
The first step is to gather the supplies. You’ll need a test light, a ground wire, and a battery. You can find all of these items at your local hardware store. Gather the supplies before you begin the test. The test may be inaccurate if you don’t have all the supplies.
2. Park the Car
Next, you’ll need to park the car. This is because you’ll need to access the car’s battery. To park the car, turn off the engine and set the parking brake. Then, put the car in park or neutral. Make sure that the wheels are facing straight ahead. Finally, turn off all the lights and accessories. The test may be inaccurate if the car is not in park or neutral.
3. Pop the Hood
After you’ve gathered the supplies and parked the car, you’ll need to pop the hood. To do this, first, find the hood release lever. The hood release lever is usually located inside the car, near the driver’s seat. Once you’ve found the hood release lever, pull it to release the hood. Next, find the hood latch. The hood latch is usually located under the front of the car. Once you’ve found the hood latch, release it and lift the hood.
Try to avoid touching the engine while the hood is open. The test may be inaccurate if the engine is running.
4. Locate the Battery
Once you’ve popped the hood, you’ll need to locate the car’s battery. You’ll need to connect the test light to the battery. To find the battery, look for a large metal box. The battery is usually located near the front of the car. Once you’ve found the battery, look for the positive and negative terminals.
The positive terminal is usually marked with a “+” sign. The negative terminal is usually marked with a “-” sign. If you’re having trouble finding the battery, consult your car’s owner’s manual.
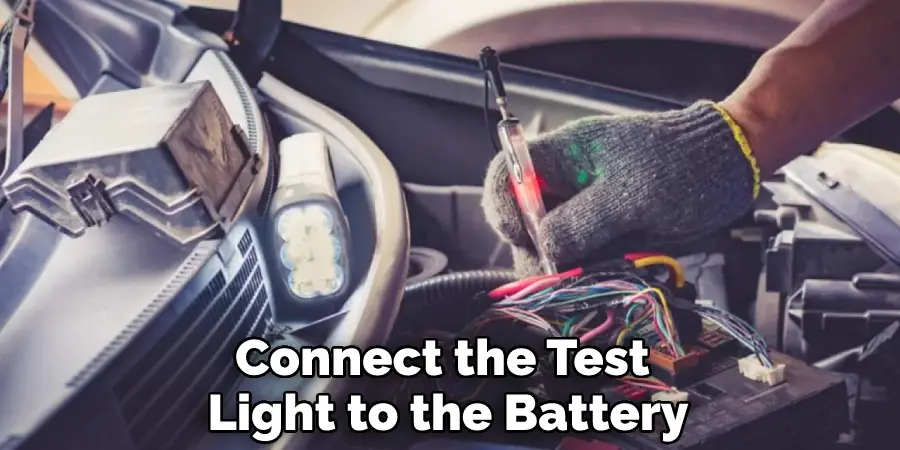
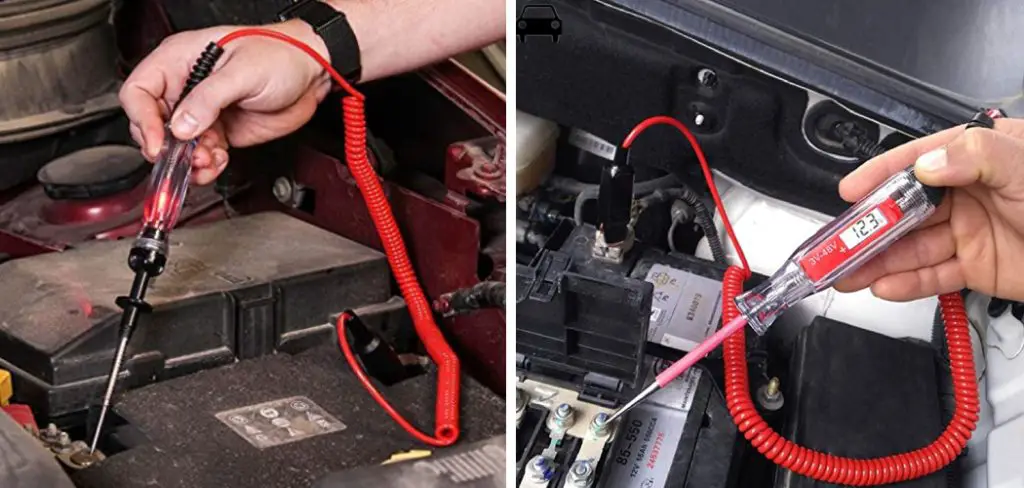
5. Connect the Test Light to the Battery
After you’ve located the car’s battery, you’ll need to connect the test light to the battery. This is usually done by touching the end of the test light’s alligator clip to the battery’s positive (+) terminal. To do this, first, identify the battery’s positive terminal. It will usually be marked with a “+” sign, or it may be red in color. Once you’ve found the positive terminal, touch the alligator clip to it.
Next, you’ll need to touch the other end of the test light (the probe) to the car’s chassis. The chassis is the metal frame on which the car’s body is mounted. This will complete the circuit and allow the test light to illuminate.
6. Turn on the Headlights
Once the test light is connected to the battery, you’ll need to turn on the headlights. This is because the headlights are usually connected to the ground wire. If the ground wire is not functioning properly, the headlights will not work. To turn on the headlights, first, find the headlight switch. It is usually located on the dashboard near the steering wheel. Once you have found the headlight switch, turn it to the “on” position.
Next, locate the headlight beams. There are usually two of them, one on each side of the car. The headlight beams should be pointing straight ahead. If they are not, you will need to adjust them. To do this, find the knob that controls the headlight beams. It is usually located on the dashboard near the headlight switch. Turn the knob until the headlight beams are pointing straight ahead.
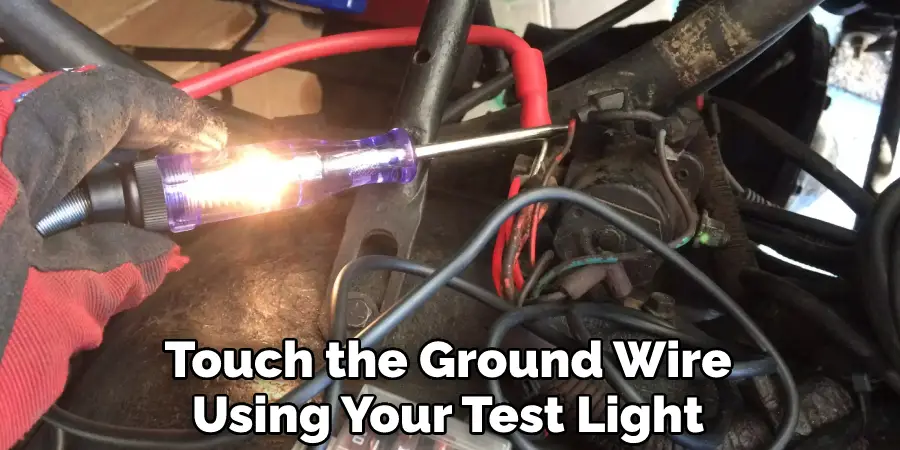
7. Test the Ground Wire
Once the headlights are on, you can begin testing the ground wire. To do this, first, locate the ground wire on the back of the headlight. Then, touch the ground wire using your test light to the negative (-) battery terminal. If the test light illuminates, then the ground wire is good. If the test light does not illuminate, then the ground wire is bad and needs to be replaced. Try to avoid touching the engine while you are testing the ground wire. The test may be inaccurate if the engine is running.
8. Turn off the Headlights
After you have finished testing the ground wire, you’ll need to turn off the headlights. To do this, find the headlight switch. It is usually located on the dashboard near the steering wheel. Once you have found the headlight switch, turn it to the “off” position. Next, find the knob that controls the headlight beams. It is usually located on the dashboard near the headlight switch. Turn the knob until the headlight beams are pointing straight ahead. Finally, close the hood of the car.
9. Replace the Ground Wire (if necessary)
If the test light did not illuminate when you tested the ground wire, then the ground wire is bad and needs to be replaced. First, disconnect the ground wire from the grounding point to do. Next, cut off the damaged section of the wire and strip both ends of the wire. Then, connect the new wire to the grounding point and the car’s frame. Finally, use electrical tape to secure the connection.
Tips and Warnings on How to Test for Ground With Test Light
Tips:
- Always use a test light when testing for ground. Do not use a multimeter.
- If the test light does not illuminate, the ground is not good.
- A good ground will have continuity to another known good ground point.
- If you are unsure of the quality of your ground, always consult a professional electrician.
Warnings:
- Do not use a test light on live circuits.
- Always disconnect power before testing for ground.
- Be aware that some grounds are hidden and may require special tools to reach them. Consult a professional electrician if you cannot locate the ground yourself.
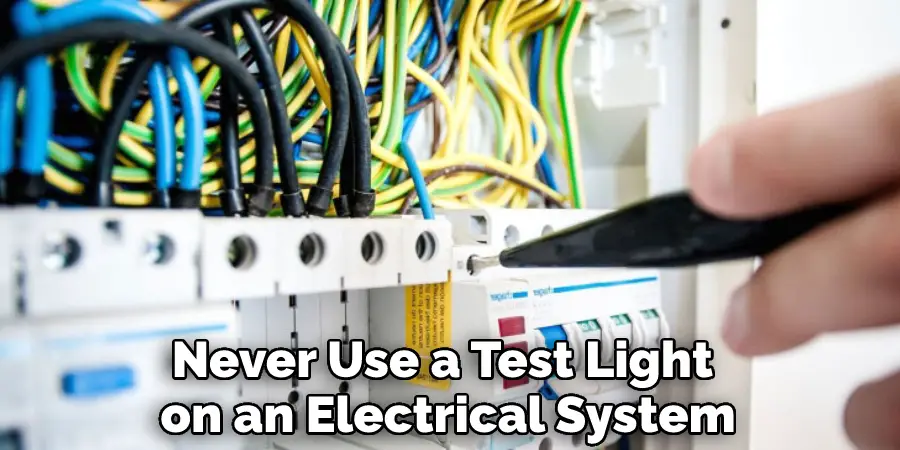
- Never use a test light on an electrical system that is wet or has been damaged by water.
Frequently Asked Questions
Can You Test a Ground Wire With a Test Light?
One could theoretically attach a wire to the battery terminal or another ground rod and test the voltage, but this would be very dangerous and not recommended. Additionally, there is no guarantee that the ground wire is actually connected to the ground rod or battery terminal.
What is the Disadvantage of Test Light?
There are a few potential disadvantages of using a test light:
1. Test lights can be bulky and heavy, making them difficult to carry around and use in a variety of settings.
2. Test lights can be expensive, especially if they are purchased in bulk.
3. Test lights may not be necessary for every job, and they may require specialized knowledge or equipment to use effectively.
4. Test lights can be dangerous if used improperly or if they are damaged.
Is White or Warm Light Better for Reading?
Some people find that warm light is better for reading because it makes the eyes feel more comfortable and relaxed. Others find that white light is better for reading because it stimulates the brain and improves concentration. It’s up to each individual to decide which type of light is best for them, based on their own personal preferences.
What is Yellow Light Good for?
The color yellow is associated with happiness, joy, and optimism, and it has been shown to have a positive effect on mood and cognitive function. Studies have found that exposure to yellow light early in the morning can help to improve mood and focus, and can also promote relaxation and sleep quality. Yellow light is also helpful for improving our ability to learn new information and remember information that has been learned. So if you’re looking for a happy, optimistic mood, try spending some time in a room with lots of yellow lightbulbs!
Conclusion
So there you have it! Now you know how to test for ground with test light. Follow these steps, and you’ll be able to quickly and easily test the ground wire on your car. With a little practice, you’ll be able to do it like a pro. If you have any questions, write them down in the comments below, and I’ll be happy to answer them. Thanks for reading!