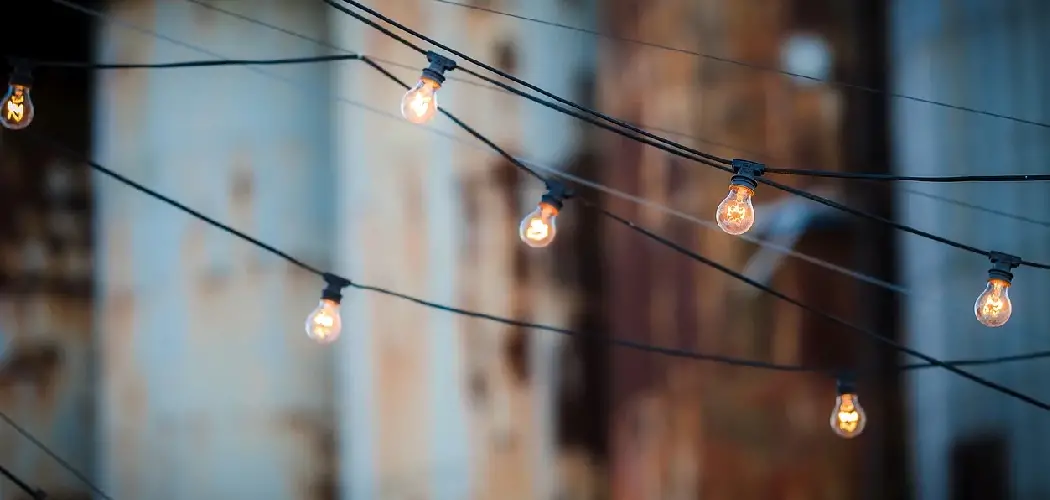
Crafting is one of my favorite pastimes. I love finding new and interesting ways to decorate my home for holidays and special occasions. In this blog post, I will show you how to wire string lights together. This is a quick and easy craft that anyone can do. So grab your supplies, and let’s get started!
Summary: Wiring string lights together is a great way to create a custom lighting setup for your outdoor or indoor space, and it can be done safely and efficiently with the right tools and materials. Before starting, ensure that you have compatible string lights, appropriate connectors, a suitable power source, and any necessary tools such as wire strippers, pliers, and a screwdriver. It is also important to consider the total wattage and amperage of the connected string lights to avoid overloading the power source or causing a potential fire hazard.
Begin by laying out the string lights in your desired configuration, making sure that the end plugs or connectors are close enough to be joined together. For string lights with plug-and-play connectors, simply plug the male end of one string into the female end of the next string, ensuring that the connections are secure and watertight. If your string lights do not have plug-and-play connectors, you will need to cut off the existing connectors and strip the ends of the wires to expose the copper conductors.
Using appropriate connectors or wire nuts, connect the stripped ends of the wires from one string to the corresponding wires of the next string, making sure that the connections are secure and properly insulated. Continue this process until all desired string lights are connected. Once the string lights are wired together, plug them into a suitable power source and test the lights to ensure they function correctly. Always follow safety guidelines and manufacturer recommendations when working with electrical components, and consult with an electrician if you are unsure about any aspect of the wiring process.
Why to Wire String Lights Together?
There are a few reasons you might want to wire string lights together. One reason is that it can create a more uniform look. If you have a lot of string lights, it can be difficult to make them all look evenly spaced. By wiring them together, you can create one large string of lights. This is especially helpful if you’re using the lights for decorating your home or yard.
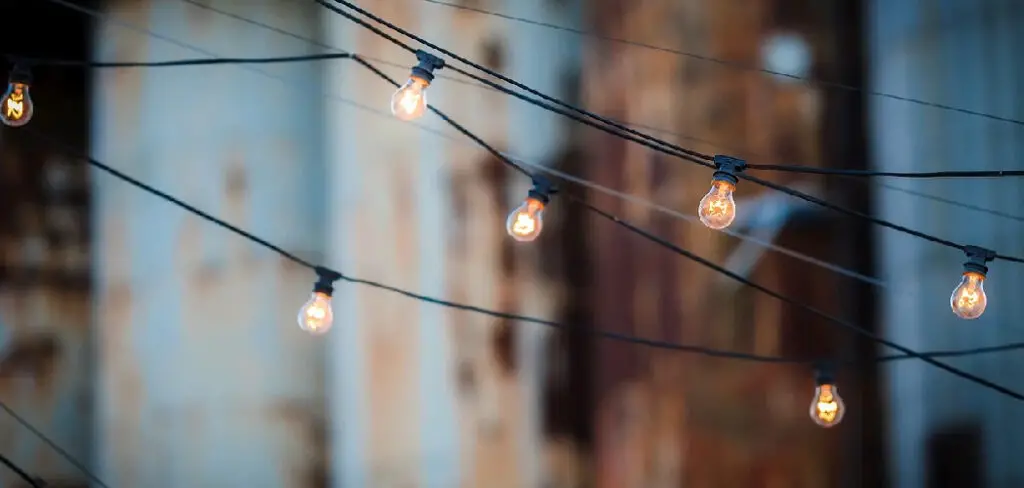
Another reason to wire string lights together is that they can be more durable. They’ll be exposed to the elements if you’re using them outdoors. Wind, rain, and snow can cause the individual lights to come loose from their sockets. Wiring them together will create a stronger connection that’s less likely to come apart.
Finally, wiring string lights together can make them easier to store. If you have a lot of lights, they can take up a lot of space. Wiring them together will help you save on storage space.
Required Materials
- String lights
- Wire
- Scissors
- Pliers
How to Wire String Lights Together Step by Step Guide
Step 1: Plan to Arrange Your Light
Before you connect your string lights together, decide how you want them to look. This might mean laying out the lights in a certain pattern on the ground or figuring out how to connect them in a specific order.
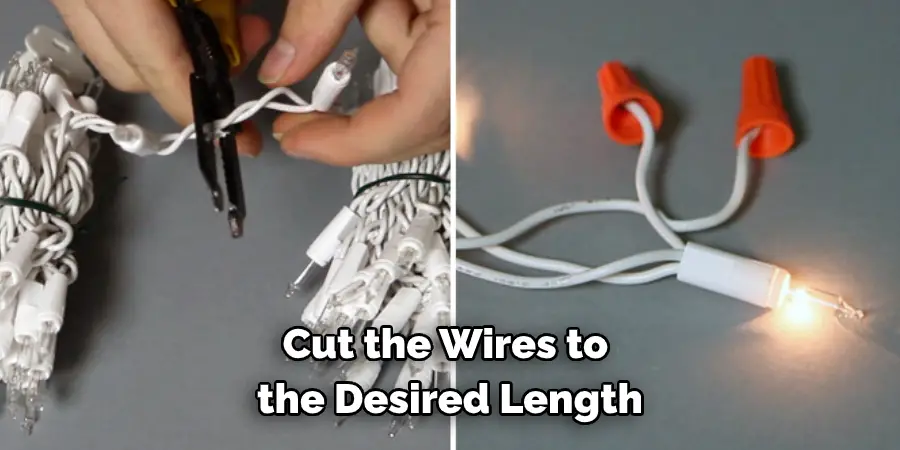
Step 2: Prepare the Wires
To wire the lights together, you will need to cut the wires to the desired length. Strip off about 1/2 inch of insulation from each end of the wire. Twist each wire around each other to create a tight connection. You can also use electrical tape to secure the connection.
If you have more than one strand of lights, connecting them in a series is best. This will ensure that the current flows through all of the lights. To do this, connect the first light’s positive wire to the second light’s negative wire, and so on.
Be sure to keep track of which wire is positive and negative, as they will be important when plugging in the lights. The positive wire is usually the one with the red insulation, while the negative wire is usually black.
Step 3: Cut Off the Male End of the First Light
Once you have determined how many lights you need, cut the male end off the first light. This will be the end with the two metal prongs. Be sure to leave about two inches of wire on this end.
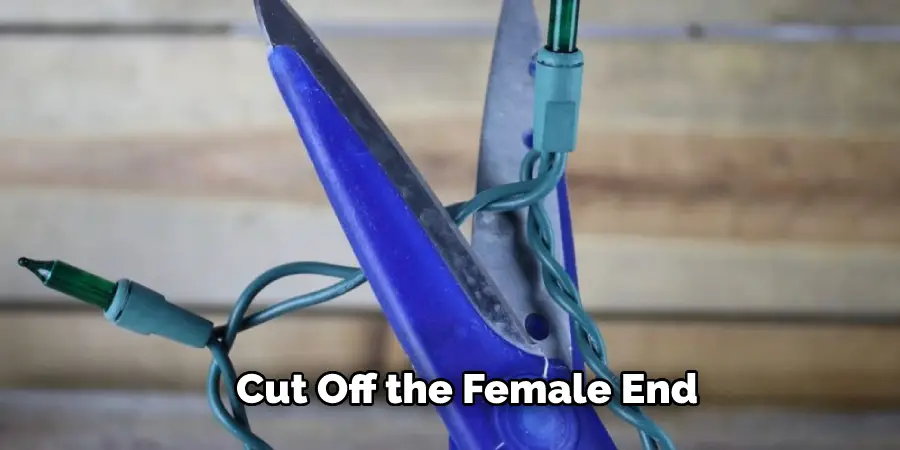
Step 4: Cut Off the Female End of the Second Light
Cut off the female end of your second light using wire cutters. You will need to ensure that you have enough space to work with the two wires, so make sure that you leave about 3 inches (7.6 cm) of extra wire.
Step 5: Strip Both Wires
If you want to use a wire stripper, hold the wire stripper close to the wire. Then, push the wire stripper down the wire. The wire stripper will cut through the insulation and stop at the end of the wire. If you are using your teeth, be careful not to bite the wire. Instead, hold the wire with your teeth and pull. The insulation should come off in one piece.
Step 6: Twist the Wires Together
Once you have the two wires that will be your power source, twist them together tightly. Next, do the same with the other two wires on the other end of the light strand. Again, be sure to do a good job of twisting them together, as this is how your lights will stay illuminated.
If you want to add more lights to your strand, you need to repeat steps 1-5 for each additional light. Just make sure that you’re always connecting the positive wire to the negative wire of the next light in line.
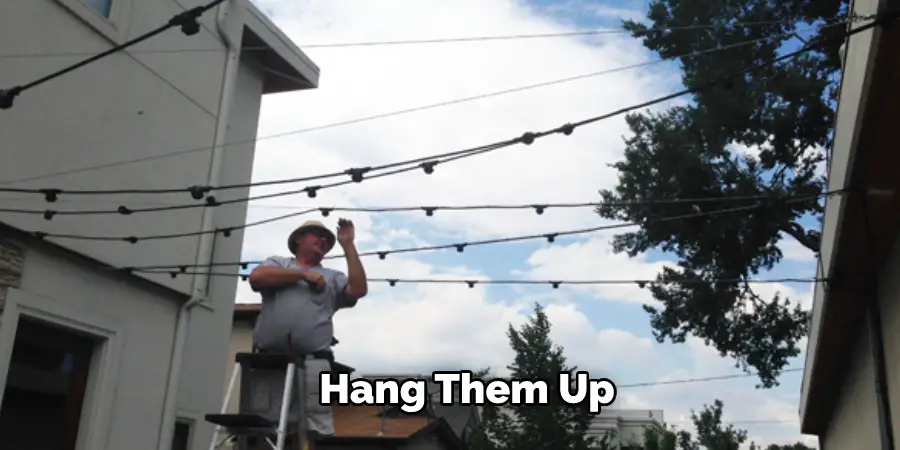
Step 7: Hang Your Lights
Now that your lights are all wired together, it’s time to hang them up! You can use any support to hang your lights, including nails, tacks, or hooks. Just make sure that the supports are firmly in place, so your lights don’t come crashing down. Once your lights are hung up, plug them in and enjoy your beautiful new decoration.
Step 8: Finishing Touch
Now that you know how to wire string lights together, it’s time for the finishing touches. First, ensure all the connections are secure and no loose wires. Turn on the power switch once you’ve done that and enjoy your newly lit space!
String lights are a great way to add extra cheer to any space, and they’re really easy to install. Just follow these simple steps, and you’ll be able to create your light show in no time.
How to Hang Outdoor String Lights
Step 1: Measure & Prep
Before you start wiring your lights together, you’ll need to measure the string length you need. Once you have that measurement, add on a few extra feet to have enough wire to work with.
Step 2: Mount Screw Hooks
It’s time to mount the screw hooks for your string lights once you’ve selected the perfect location. Use a drill to make pilot holes in the surface, then insert the screw hooks. Make sure the screws are tight so the hooks don’t come loose with the weight of the string lights.
Step 3: Connect & Tighten Cable
Now it’s time to connect the light strand to the power. To do this, remove the little screws on the end of each light bulb cover. Next, take the end of your light strand and twist it around one of the screws on the cover, then tighten it by screwing the screw back down. Do this for all light bulbs until the entire strand is connected.
If you’re using an extension cord, plug it into an outlet. Otherwise, find a spot to insert your batteries. Once everything is plugged in, or batteries are in place, give the light strand a little tug to make sure everything is snug and secure.
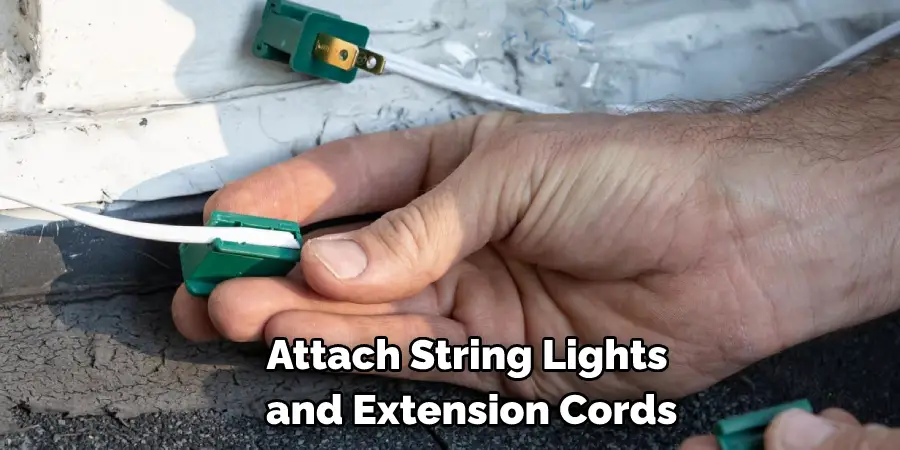
Step 4: Attach Your String Lights
Now that you have your string lights and extension cords, you can start attaching them. If you use standard mini incandescent string lights, you will want to use electricians tape to attach the light strings. Start by taping the end of one light string to the beginning of another light string. Make sure that the light strings face in the same direction before taping them together.
If you are using LED string lights, you will not need to use electricians tape. Instead, you can use zip ties to attach the light strings. Start by tying the end of one light string to the beginning of another light string.
Step 5: Sit Back and Enjoy
Now that you know how to hang outdoor string lights, all left to do is sit back and enjoy the results! Whether you’re using them to create a romantic ambiance or add a touch of light and sparkle to your home, string lights are a great way to brighten up any space. So get creative, and enjoy your new outdoor lighting!
Measurements and Preparation
You’ll need to decide how long you want your string of lights to be. Once you have that measurement, add an extra two feet to account for any excess wire or slack. Then, with that number, cut your main wire using wire cutters.
Now that your main wire is cut to size, it’s time to start attaching your lights. First, take one of your light sockets and twist it onto the end of the main wire. Make sure it’s twisted on tight to have a good connection. Keep reading for more information about how to wire string lights together.
Common Patterns to Use When Installing String Lights
When wiring string lights together, a few common patterns can be used. The most common is parallel wiring, where each light string is connected in series with the next. This pattern is often used when there is a power source at both ends of the string.
Another popular pattern is daisy chaining, where one light string is connected to another light string, creating a chain. This can be done with an extension cord or by splicing the wires together.
How To Wire Lights in Parallel?
Wiring lights in parallel is a technique that is commonly used when hooking up multiple lights to a single power source. Unlike wiring in series, where the lights are connected sequentially, each light connects independently to the power source in parallel. This method is advantageous because the rest will continue to work if one light fails. To wire lights in parallel, you’ll first need to determine the voltage of your lights and the power source.
Ensure that the voltages match, as it is essential in preventing potential damage to the lights. Next, gather your materials- wires, wire cutters, strippers, and connectors. Then, connect the power source to the first light, stripping the wire ends and connecting them to the corresponding terminals. Do the same for the remaining lights. Ensure that the connections are safe and secure and there are no exposed wires.
Finally, test the lights to confirm that they are working correctly, and if necessary, label the circuit in your circuit breaker box to know which circuit controls the lights. It is essential to practice caution when working with electricity, and if you’re unsure about any step, seek the help of a professional electrician to avoid injury or property damage.
Frequently Asked Question
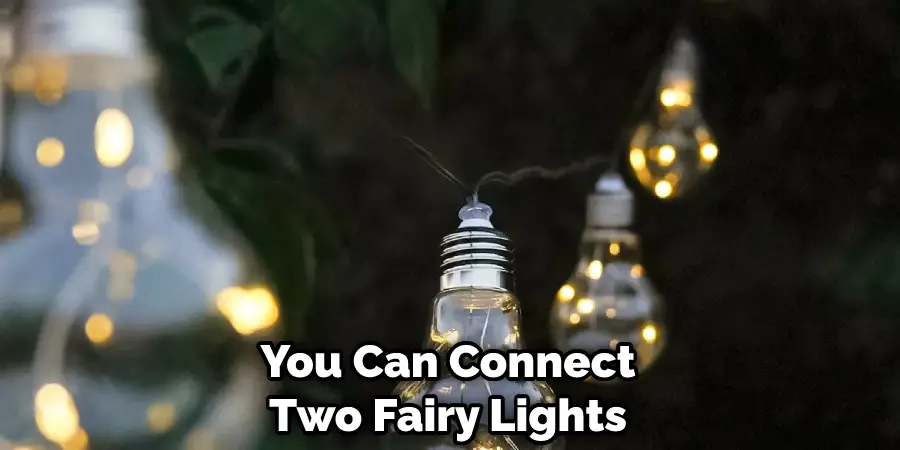
Can I Connect 2 Fairy Lights?
Yes, you can connect two fairy lights by connecting the positive ends of each light and then connecting the negative end of one light to the positive end of the other light.
Can You Cut and Join Fairy Lights?
Yes, you can cut and join fairy lights by using wire connectors. Just strip the insulation from the end of each wire, twist the strands of wire together, and screw on a connector.
How Many String Lights Can You Connect?
You can connect as many string lights as you want, but it’s important to make sure that the total wattage of all the string lights is not more than the limit for your extension cord or outlet.
How to Calculate the Number of String Lights per House?
To calculate the number of string lights per house, divide the total wattage of the string lights by the wattage of each light. For example, if you have a 500-watt string of lights and want to divide it into four parts, each part would be 125 watts. So, you would need four lights per house.
You May Also Read: Leave String Lights Out In Winter
Conclusion
So, there you have it! Our easy guide on how to wire string lights together. By following these simple steps, you can create beautiful displays that light up your home (or any other space) for the holidays or any special occasion. So, have fun with it, and share your creations with us on social media!
You Can Check It Out To Turn on a Light Bulb Without Electricity