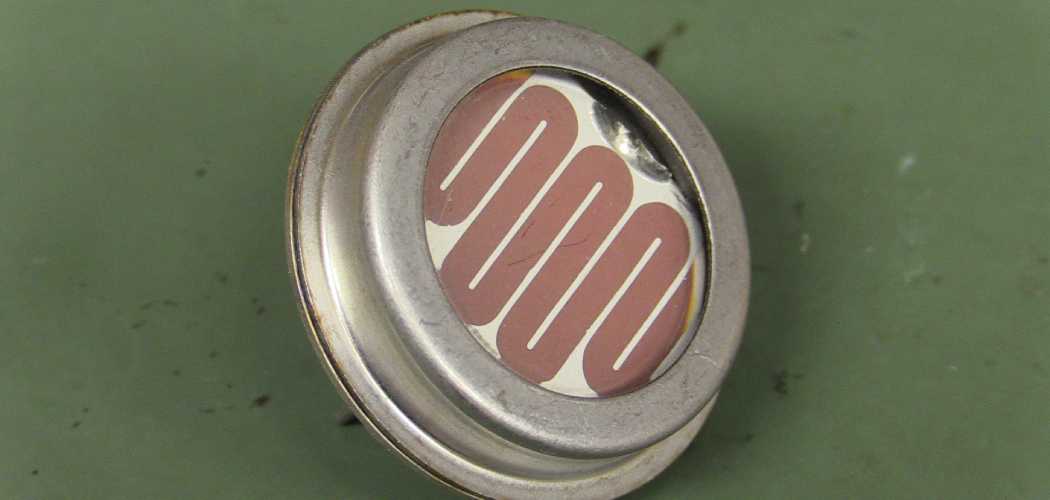
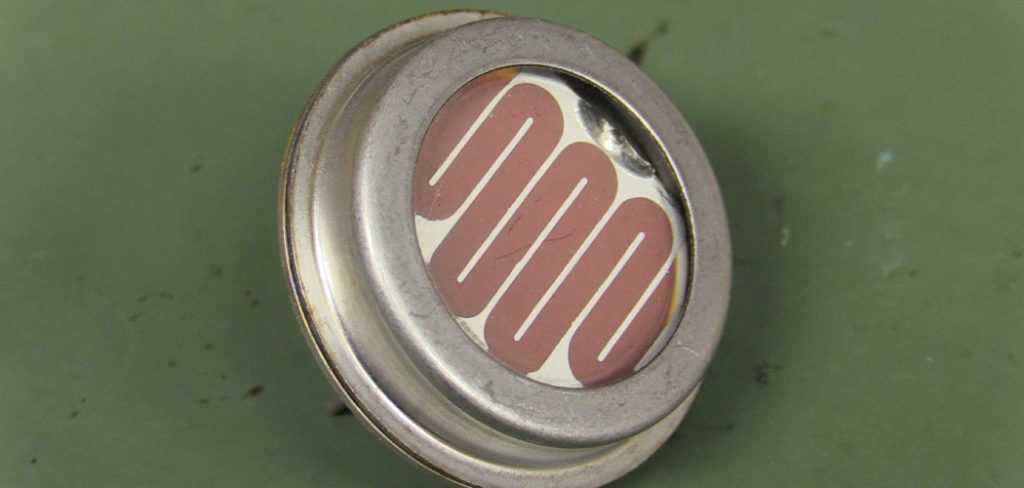
Adding a photocell to an outdoor light is an easy and cost-effective way to increase energy efficiency while beefing up security. A photocell, or daylight sensor, detects when sunlight fades below your chosen level of darkness and turns your external lighting on automatically.
By setting lights to turn on only at night or in low visibility conditions, you’ll save money – not just on electricity but also maintenance costs by decreasing the amount of time your porch light is running all night. And with improved security from another layer of home protection, peace of mind for you and yours comes free! In this guide, we’ll walk through how to add a photocell to an outdoor light so that it triggers automatically when needed.
Whether you’re looking to save energy or need an outdoor lighting solution that works with your existing security system, adding a photocell to an outdoor light can be the perfect solution.
Photocells, also known as dusk-to-dawn lights, are easy to install and provide automatic on/off control for your exterior light without having to manually switch it off or depend on timers. We’ll discuss top considerations, materials needed, installation steps, and other important tips related to making sure the job is done right!
Why May You Want to Add a Photocell to an Outdoor Light?
1. To Save Energy
One of the main reasons to add a photocell to an outdoor light is to save energy. Photocells work by sensing when it is dark outside and automatically turning your lights on, and then off again once the sun rises. This eliminates the need to manually turn the light on each night, saving you energy and money in the long run.
2. For Increased Security
Adding a photocell to your outdoor light can also add an extra layer of security. With the automatic/off feature, you don have to worry about remembering whether not you turned the lights off before leaving for work in the morning. This can help deter potential break-ins and other criminal activity from happening near your home.
3. For Convenience
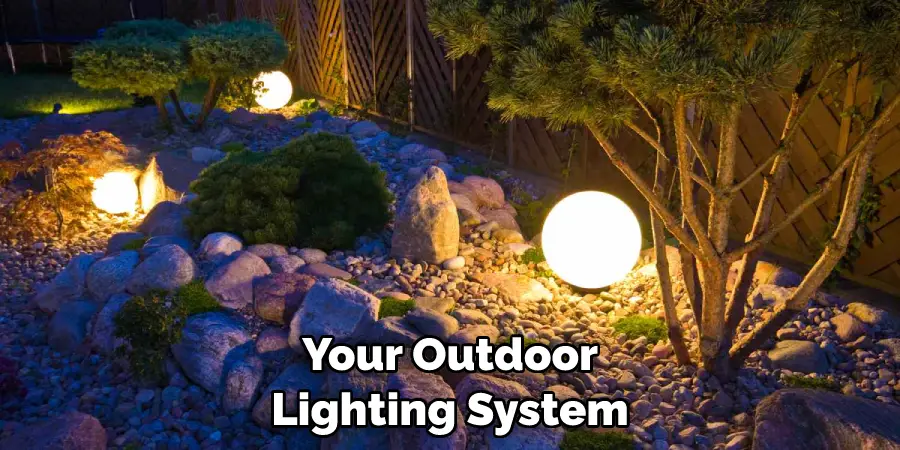
Finally, adding a photocell can help add an extra layer of convenience to your outdoor lighting system. With the lights automatically coming on as soon as it gets dark, you don’t have to worry about having to manually turn them on in order to be able to see when walking into your backyard or outside area at night. Once you have decided to add a photocell, the next step is to actually install it properly.
How to Add a Photocell to an Outdoor Light in 5 Easy Steps
Step 1: Turn Off the Power
The very first step is to turn off the power to your outdoor light. This will ensure that you are not electrocuted while working on it. If you do not know how to do this, always consult a professional electrician for help.
Step 2: Disconnect the Light Fixture
Once the power is off, you can start to disconnect the light fixture from its wiring. Unscrew the screws holding it in place and gently remove it from its mounting bracket. Once you have removed it, inspect it for any signs of damage or corrosion.
Step 3: Install the Photocell
Now you can begin to install the photocell. Start by screwing the mounting bracket into a place on the light fixture and then connect the wires from your outdoor light to the terminals of your photocell. Make sure that all connections are properly tightened, otherwise, your photocell will not work correctly.

Step 4: Test Your Installation
Once you have finished connecting the wires, you can test your installation to make sure that it is working correctly. To do this, turn on the power and check to see if the light fixture turns on and off at different intervals throughout the day.
Step 5: Double Check:
The very last step is to double-check all the connections that you have made. Make sure that all wires are tightly connected, and that no part of the photocell is loose or exposed. Once everything is securely connected, turn on the power and you should be good to go!
And there you have it – a simple guide to add a photocell to an outdoor light in five easy steps! With this knowledge, you will be able to enjoy the convenience and energy savings that come with a photocell for your outdoor lights. Happy lighting!
Some Extra Tips to Add a Photocell to an Outdoor Light
1. Do Not Connect the Wires Directly
This is very important to remember. You should not connect the wires from the photocell directly to the outdoor light fixture. Doing so could damage both the photocell and the light fixture, resulting in costly repairs or replacements for both components.
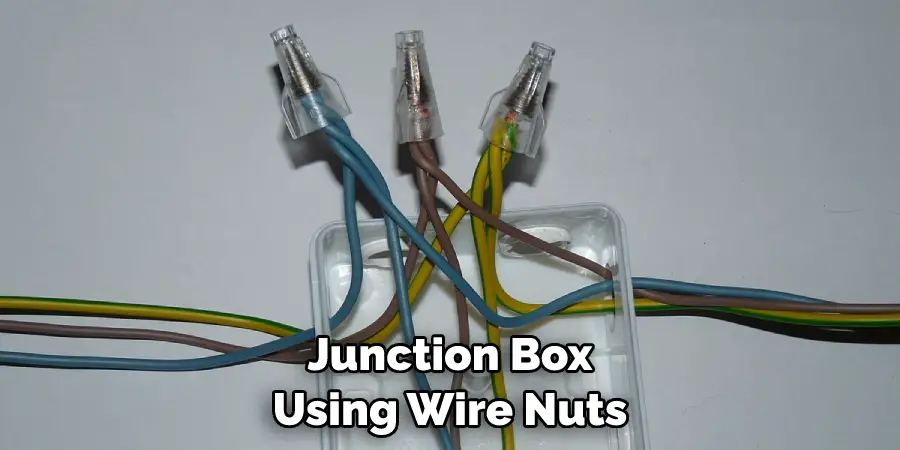
2. Use a Junction Box
A junction box is an enclosed electrical housing that keeps your wiring projects safe and secure from the elements. To add a photocell to an outdoor light, connect the wires from the light and the photocell to the junction box using wire nuts. This will ensure that your connection is secure and weatherproofed, allowing you to enjoy your outdoor lights for years to come.
3. Read Instructions Carefully
Before you start connecting any wires together, sure you read the instructions on both the photocell and the light. This will help ensure that wires are connected correctly, which is essential for a successful installation of a photocell to an outdoor light. Following these extra tips will help you add a photocell to an outdoor light safely and securely. With proper installation, your outdoor lights can turn on and off automatically, giving you more time to enjoy your outdoor space.
Frequently Asked Questions
What Precautions Should I Take When Installing a Photocell?
When installing a photocell, it is important to take safety precautions. Always use caution when working with electricity and make sure that you are familiar with basic electrical principles. Wear protective gear, turn off the main power supply to the circuit where you are installing the photocell, and properly ground any exposed wires. If you are unfamiliar with electrical wiring practices, it is best to leave this installation to a professionally-trained electrician.
What Will a Photocell Do for My Outdoor Lighting System?
A photocell will allow your outdoor lighting system to automatically turn on and off depending on the amount of light outside. This is an energy-saving solution that eliminates the need for manual switching and allows you to set the lighting system to a schedule or have it turn on at dusk and off at dawn. It also provides convenience, allowing you to enjoy your outdoor spaces with no worries about turning lights off or on.
What Is the Difference Between a Photocell and a Timer?
A photocell and a timer are both mechanisms used to control outdoor lighting. The main difference is that a photocell uses light sensors to determine when it should turn lights on or off while a timer is programmable and allows you to set specific times for lights to be switched on or off.
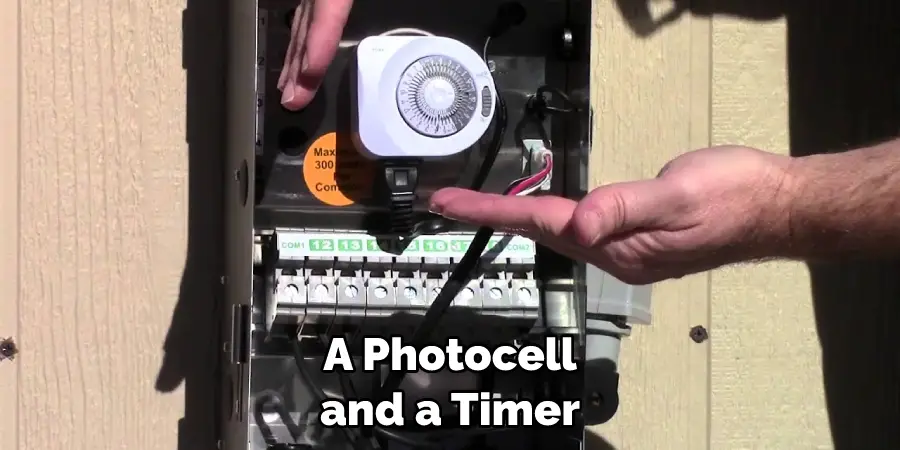
A timer can also be used in tandem with a photocell, allowing you to customize your outdoor lighting system even further. Additionally, photocells are often more energy-efficient than timers as they only turn lights on or off when necessary.
How Do I Connect a Photocell to an Outdoor Lighting System?
The connection process varies depending on the type of photocell and the outdoor lighting system you are using. Generally, you will need to connect the black wires from the photocell and your light fixture to a circuit breaker.
Then, you will need to connect the white wires from each component together and make sure that any exposed wire ends are properly grounded. After ensuring all connections are secure, turn on the power to test if the photocell is working correctly. If you are unsure of how to properly make the necessary connections, it is best to consult an electrician for help.
Are Photocells Suitable for All Types of Outdoor Lights?
Yes. Photocells can be used with virtually any type of outdoor light, from post lights and wall packs to flood lights and step lighting. However, certain types of lights may need special wiring for the photocell to work, so it is important to make sure that your light fixture is compatible with the photocell before you attempt installation.
Additionally, certain locations may require a specific type of photocell in order to comply with local codes and regulations. Make sure to check these requirements before purchasing any equipment.
Conclusion
Congratulations! Now you know how to add a photocell to an outdoor light. Adding this modern convenience will make life easier and give you peace of mind that the lights will always stay on at night. With a few simple steps, you can save time and money by automatically turning lights on or off, as needed.
And best of all, it’s an easy DIY project that requires very little effort. Not only are you saving money by not having to constantly turn your outside lights off and on, but you’re also helping the environment too! This small change can have quite a big impact on cutting energy costs and reducing our carbon footprint. Thanks for joining us today on this educational journey into installing a photocell outside light – we hope it was helpful for you!