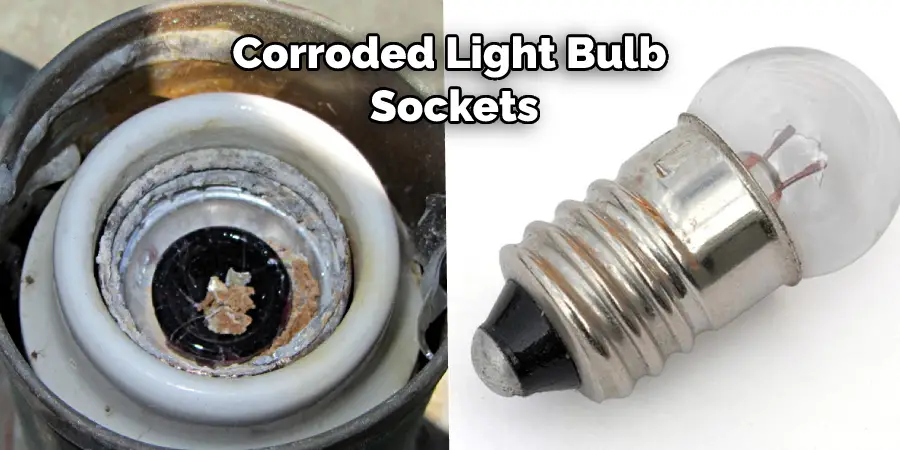
Are your light sockets looking a little too corroded for your taste? Are you not sure how to clean them without causing any further damage? Fear not, for this blog post is here to help! If you’ve ever tried to change a light bulb and found that the socket was corroded, you know how frustrating it can be.

Not only is the corrosion difficult to remove, but the metal around the socket can also be tarnished, making it difficult to get a good grip on the light bulb. This blog post will show you how to clean corroded light bulb sockets so that changing bulbs is a breeze. We’ll also share some tips for preventing corrosion from happening in the first place. Keep reading to learn more!
Summary: If your light bulb sockets are corroded, you can clean them using a lightbulb-cleaning solution and a Q-tip. First, soak the Q-tip in the lightbulb-cleaning solution. Then, use the Q-tip to clean the corrosion off of the socket.
8 Common Reasons That Causes Corroded Light Bulb Sockets
1. Lack of Air Circulation:
If you have light bulbs in an enclosed space with little air circulation, they might corrode. This is because without air circulation, it can be more humid, and that can cause corrosion. This is a common problem in places like bathrooms, kitchens, and laundry rooms.
2. Poor Quality Light Bulbs:
If you are using cheap or poor-quality light bulbs, they are more likely to cause corrosion. This is because the materials used in cheaper light bulbs are more likely to react with the metal in the socket, causing corrosion. If your light bulb budget is tight, invest in higher-quality bulbs that will last longer and won’t cause corrosion.
3. Frequent On/Off Cycles:
If you turn your light bulbs on and off a lot, they will corrode. This is because the metal parts in the socket can melt, causing heat to build up. This can make the socket corroded over time. Also, the constant turning on and off of the light bulbs can make the thin wires inside break, which also causes corrosion.
4. Loose Light Bulb:
If your light bulb is not screwed in tightly, it can wobble around and make contact with other socket parts. This contact can cause friction, leading to heat build-up and a fire. To avoid this, make sure to screw your light bulbs in tightly.
5. Damaged Light Bulb:
If your light bulb is cracked or otherwise damaged, it can cause a fire. Inspect your light bulbs regularly to make sure they are not damaged. If you find a damaged light bulb, carefully remove it from the socket and dispose of it properly. Do not try to repair a damaged light bulb. If you see the filament inside the bulb, it means it is damaged and should be replaced.
6. Excessive Dust:
If there is a lot of dust in the area around your light bulbs, it can cause corrosion. This is because dust can act as an insulator, preventing heat from dissipating. As a result, the socket can become corroded from the heat build-up. To prevent this, keep the area around your light bulbs clean and free of dust. If you see the dust on the bulbs, gently wipe it off with a dry cloth.
7. Improper Wiring:
If you have a light bulb socket that is wired incorrectly, it can cause the metal parts of the socket to corrode. This happens because the current from the electricity can travel through the metal parts of the socket, causing the metal to heat up and eventually corrode. To avoid this problem, have a qualified electrician wire your light bulb sockets correctly.
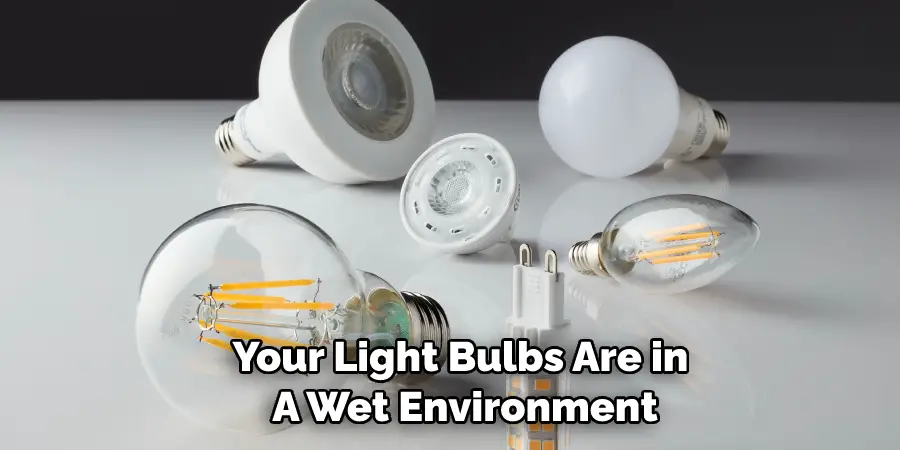
8. Wet Environment:
If your light bulbs are in a wet environment, they are more likely to corrode. This is because the moisture can cause the metal parts of the socket to rust. To avoid this, make sure to clean the sockets regularly. If possible, try to keep the area around the sockets dry by protecting the area with a waterproof cover.
10 Effective Ways on How to Clean Corroded Light Bulb Sockets
1. Isolate the Circuit:
Before starting to work on the light bulb sockets, make sure to turn off the power by locating the circuit breaker. This will prevent any accidents from happening while you are cleaning the corrosion. Next, make sure that the power is off by testing the light switch.
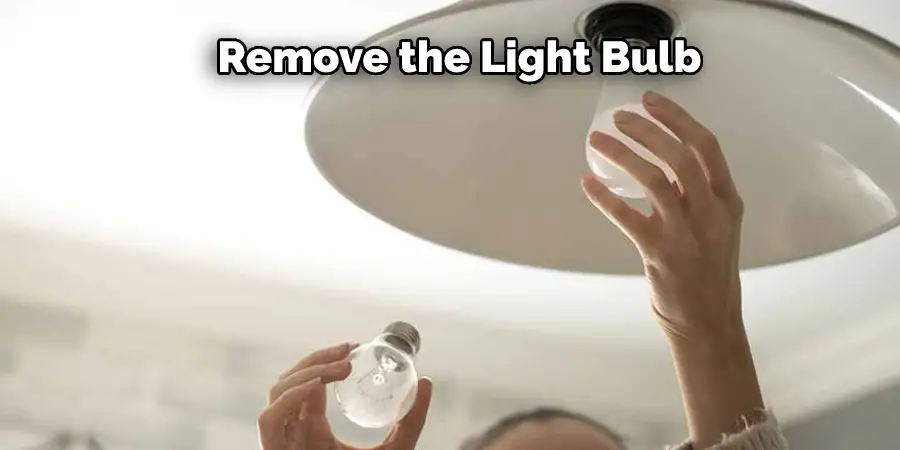
2. Remove the Light Bulb:
The next step is to remove the light bulb. This will give you better access to the socket to clean it properly. To do this, unscrew the light bulb from the socket. Again, make sure the light bulb is cool to the touch before attempting to remove it.
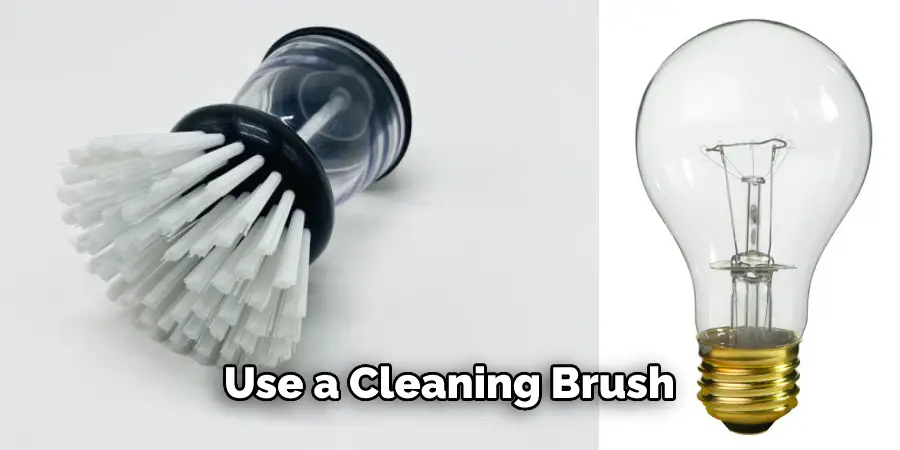
3. Use a Cleaning Brush:
To clean the corrosion from the socket, use a small brush to remove any corrosion you see gently. A toothbrush or cotton swab will work fine for this. You can also use a can of compressed air to blow away any corrosion. But be careful not to use too much force, as you don’t want to damage the socket.
4. Apply Vinegar:
If there is still some corrosion in the socket, you can try applying Vinegar. First, pour a small amount of Vinegar onto a cotton swab and then rub it into the corrosion. The Vinegar will help to break down the corrosion and make it easier to remove. Once you have applied the Vinegar, wipe it away with a clean cloth.
5. Spray the Socket With Compressed Air:
Once you have removed as much corrosion as you can, you can spray the socket with compressed air. This will help to remove any remaining corrosion and also help to dry out the socket. Remember to hold the can of compressed air upright so that the air will flow in the right direction.
6. Wipe Down the Socket With a Dry Cloth:
After you have sprayed the socket with compressed air, wipe it down with a dry cloth. This will remove any debris or moisture that might be left behind. Make sure to get into all the crevices, so the socket is completely clean. If the socket is still wet, you can use a hairdryer to dry it out.
7. Apply Dielectric Grease:
Once the socket is completely dry, you can apply a small amount of dielectric grease to it. This will help to prevent corrosion in the future. Apply a small grease to a cotton swab and rub it around the socket’s inside. Be sure to avoid getting any grease on the light bulb itself. If the socket is still not working properly after cleaning it and applying dielectric grease, you may need to replace it.
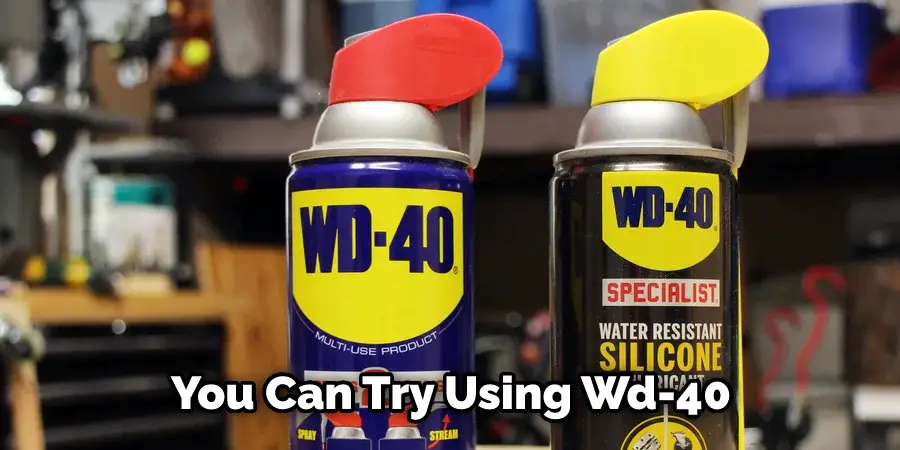
8. Use Spray Wd-40:
If you don’t have any dielectric grease, you can try using WD-40. This will also help to prevent corrosion in the future. Simply spray a small WD-40 onto a cotton swab and rub it around the socket’s inside. Be sure to avoid getting any WD-40 on the light bulb itself. If the socket is still not working properly after cleaning it and applying WD-40, you may need to replace it.
9. Use Baking Soda:
If you still have corrosion in the socket, try using baking soda. This will help neutralize the corrosion’s acidity and make removing it more accessible. Pour a small baking soda onto a cotton swab and rub it into the corrosion. Once you have applied the baking soda, use a dry cloth to wipe away any residue. You may need to repeat this process a few times to eradicate the corrosion.
10. Apply Electrical Tape:
Once the socket is clean and dry, you can apply electrical tape to it. This will help to insulate the socket and prevent any future corrosion. Wrap a small piece of electrical tape around the base of the socket. Avoid wrapping the tape too tightly, as this could damage the socket. If the tape does not stick well, you can use a small amount of glue to secure it.
Some Helpful Tips and Advice to Prevent Future Corrosion
1. Check the electrical connections and make sure they are tight.
2. Use only light bulbs that are the correct wattage for the socket.
3. Do not use spray cleaners or chemicals near the light socket.
4. If you must use a chemical cleaner, disconnect the power first and follow all safety precautions.
5. Keep the area around the light socket clean and debris-free.
6. Inspect the light socket regularly for signs of corrosion or damage.
7. If your light bulbs do not seem to be lasting as long as they should, have them checked by a professional.
With these tips in mind, you can help prevent corrosion in your light bulb sockets and enjoy long-lasting, trouble-free lighting in your home.
Frequently Asked Questions
Can a Broken Light Bulb Start a Fire?
it largely depends on the type of light bulb and how damaged it is. However, if a broken light bulb is exposed to combustible material such as paper or cloth, there is a chance that the filament could start a fire. Be sure to keep any potentially burning materials away from any broken light bulbs in order to prevent potential injuries or property damage.
Why Would a Light Bulb Exploded When Turned Off?
The most common reason why a light bulb might explode when turned off is that the electric current that was running through it became too low. When this happens, the heat from the filament starts to cook the chromium plating on the wires. This leads to an increase in Voltage, which can cause an explosion if there’s no protection against it (like a fuse).
It’s important to keep your electrical cords and plugs properly arranged so that electricity doesn’t build up excessively within them. Additionally, make sure that you have enough sockets available so that all of your appliances are able to get plugged in at once. And lastly, always turn off lights by unplugging them rather than turning them off with just a switch!
What Would Cause a Light Bulb to Explode in the Socket?
There are a few things that could cause a light bulb to explode in the socket. The most common culprit is an overheated light bulb. When this happens, the heat from the light bulb can cause the filament in the lightbulb to break. This can lead to a fire in the bulb or even an explosion. Other causes of light bulb explosions include high voltage, crossed wires, and moisture.
What Does It Mean When a Light Bulb Smokes?
When a light bulb smokes, it means that the filament has overheated and is starting to emit black soot. If left unchecked, this soot can eventually clog up the filaments of other light bulbs in your home, rendering them useless. In extreme cases, it can even lead to a fire in your house.

If you’re experiencing issues with one or more light bulbs (or any other electrical appliance), there are several steps that you can take to resolve the issue without having to call an expert. The first step is usually unplugging all of the devices that are not being used and turning off any circuits that may be turned on accidentally. Next, try resetting each device by holding down both power buttons for about 5 seconds apiece.
Conclusion
It is important to clean corroded light bulb sockets as soon as possible to prevent further damage and a potential fire hazard. By following the simple steps in this article, you can clean your light bulb sockets quickly and easily. Cleaning corroded light bulb sockets is a quick and easy process that can be completed with household items.
Now that you know how to clean corroded light bulb sockets, it’s time to start. Be sure to use caution when working with electricity and follow all the safety precautions listed above. With a little elbow grease, you should be able to have your light sockets looking good as new in no time at all!