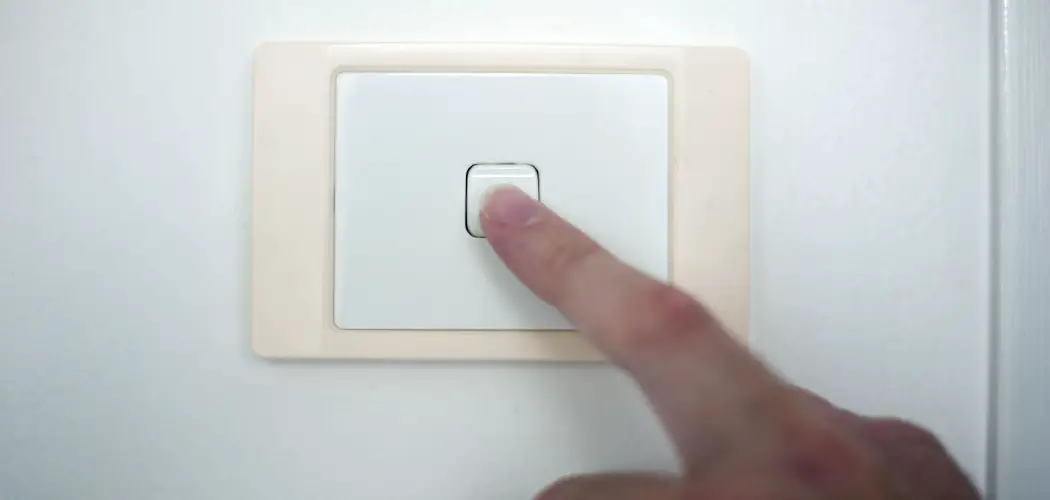
It’s happened to all of us. You’re walking through a dark room, fumbling for the light switch, only to find that it’s not in the right spot. You have to stop and adjust your grip on whatever you’re carrying before you can finally flick on the light. It’s inconvenient, and it could be dangerous if you’re in a hurry. But with a little bit of know-how, you can fix that problem once and for all. This article will give you information on how to align light switches.
Light switches connect to a circuit somewhere in your house’s walls. That means there has to be a gap between the switch and the wall for it to work. How much space is needed depends on how high or low you want the light, but any good electrician will tell you that the gap should never be more comprehensive than a pinky.
Summary: In order to properly align light switches, it is important to first determine the distance between them. Once that information is known, use a level to mark the switch positions on the wall. Use a tape measure to ensure that the marks are accurate, and then use a light switch alignment tool to ensure that the switches are in the correct positions.
Things You’ll Need
- Screwdriver
- Pencil or marker
- Line level
A Step by Step Guide on How to Align Light Switches
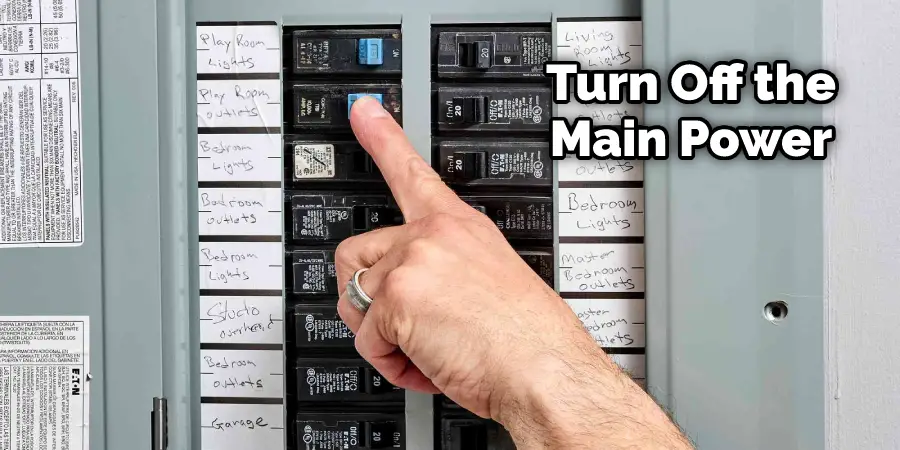
Step 1: Turn Off The Power
Before making any changes to your home’s electrical wiring, you should ensure the circuit breaker at the main panel is turned off. Even if you think the power is shut off, fuses often have separate switches not controlled by the main shutoff. So double-check to make sure it’s off!
Step 2: Make A Diagram
In order to align the switches properly, you need to know which switch goes where. First, look at the switches and figure out which one came from where originally. Then, label each switch with a permanent marker or pencil on both sides with numbers corresponding to each room in your house. For example, “Bedroom 1” on one side and “3” on the other. You can also mark the switches with a small arrow pointing to the right or left if that’s easier for you.
Step 2: Remove Switch Plate Covers
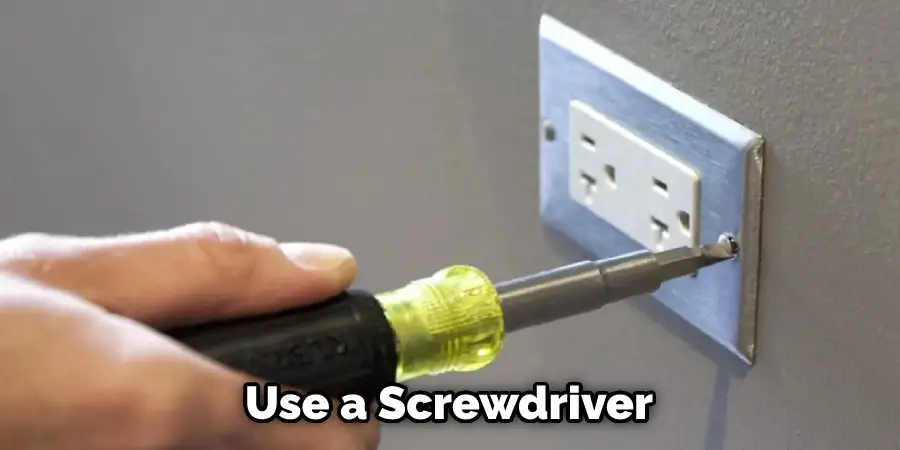
To replace a light switch, you will need to remove the switch plate cover. You may need to use a screwdriver to pry it off if the tabs on the sides are locked in place. Then, unscrew the switches from your wall and carefully pull them out of their box. Be careful not to touch bare wires or screws that connect to other copper wires within the box, or you could short yourself out!
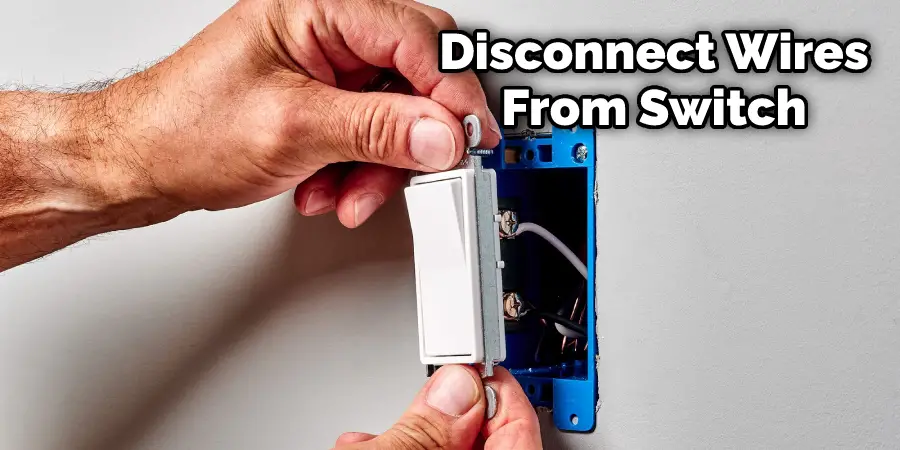
Step 3: Disconnect Wires
Unscrew each wire from the back of the switch and note where they were connected initially. In most cases, one wire will be attached with a brass-colored screw and one with a silver-colored screw. This is typically true for lights but can vary depending on what kind of fixture you have hooked up or which manufacturer’s light switch you’re using. If both wires are different colors at your switch, consult with an electrician to ensure it can be wired safely. This is a crucial step in how to align light switches.
Step 4: Install New Switch
Take your new switch and look at the tab on the side of it. This tab indicates which wire will be attached to each screw on the switchback, shown by #1 and #2. You can also see that some switches have a double-sided tab below where the wires attach, indicating that either wire can be stuck there (#1 or #2).
Once you’re sure which wire went where originally, carefully wrap each one around its corresponding screw and tighten it down. Then, take off any extra slack, so none of the wires are touching or crossing over each other. Next, tuck them into the box so they cannot be pulled out easily by someone tripping on them.
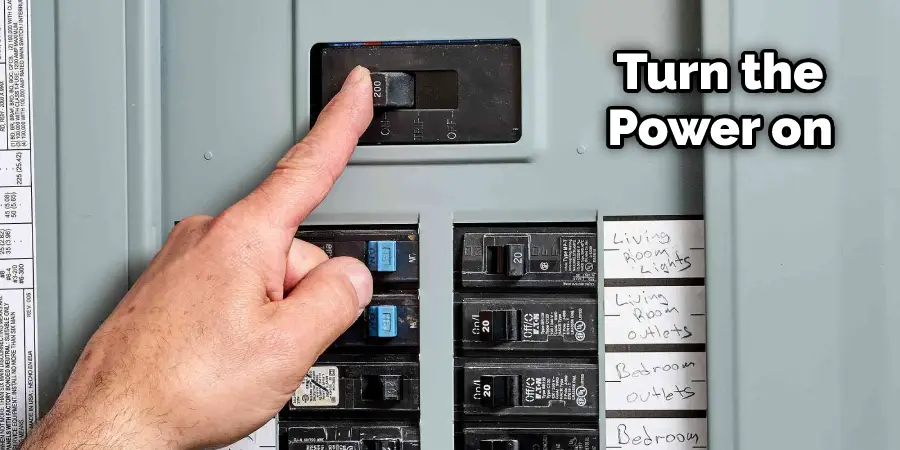
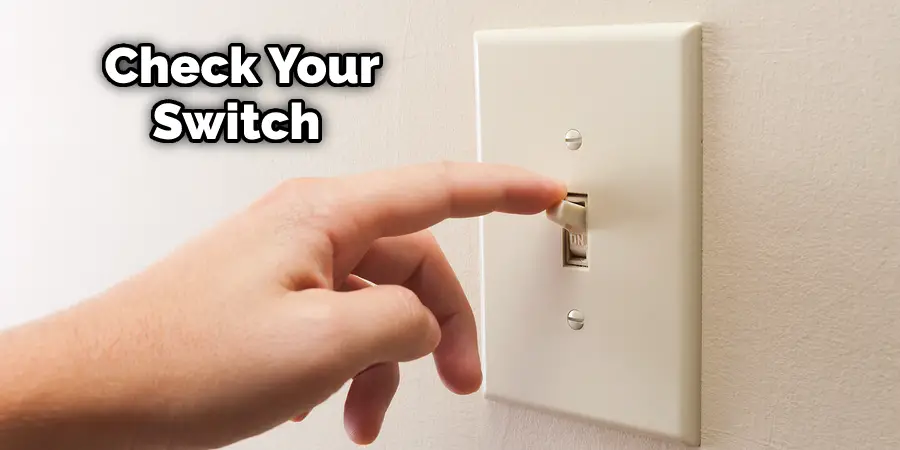
Step 5: Test Your Work
After turning your power back on at the main panel, test each switch to ensure they are all working correctly. If they don’t, you may have crossed wires or a bad connection. Please turn off the power again before checking for crossed wires and fixing it. If they all seem good, try putting your cover plate back on!
Step 6: Align Light Switches
Now it’s time to move on to aligning your light switches! This is a more straightforward process but just as important. How you align your light switches depends on the layout of your home and what kind of fixture each switch controls.
You can also label your new light switches if you want, by following the same steps as with the wall switches above. Just mark “Kitchen 1” and “5” on one side of each switch, or draw an arrow pointing to where it will be going in each room. When you’re done, your new lighting layout should be easy to understand at a glance! Again, these steps will help you align light switches in a creative way.
Precautions
- Be sure to turn off the power and double-check! You could get a nasty shock if you don’t take precautions when aligning light switches.
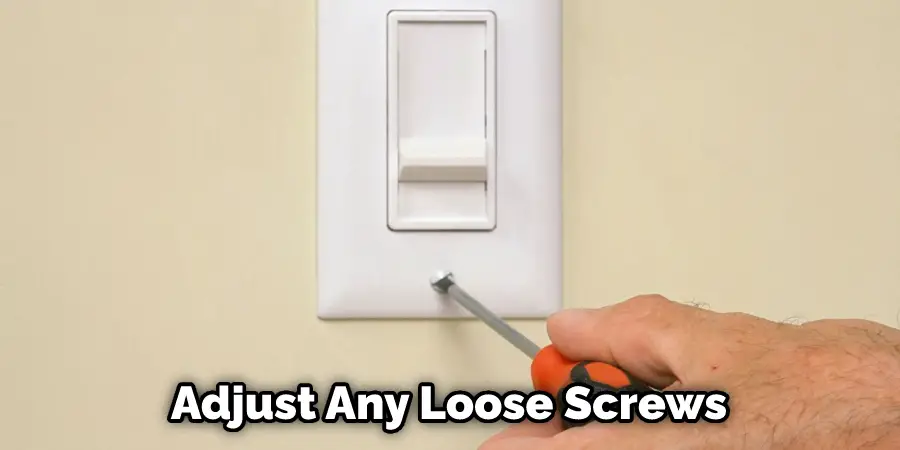
- Make sure you’ve got some tools on hand. It’s helpful to have something like a screwdriver handy to adjust any loose screws or switch plates that might be hanging loose after making your changes.
- Take your time! If you need to, organize your room by colors and switch types. That way, when it comes down to switching everything up, you know exactly where things go back.
- Determine the order you’re going to switch everything up in. Keep this list handy, or keep it written on a notepad so you remember where all the switches and outlets go back.
- You may want to take pictures of your existing wiring for reference later on, just so that you remember how things were connected.
- Take your time and do it step by step, especially if this will be the first time doing any electrical work!
Aligning light switches may seem simple, but you want to make sure that everything is done right so that you don’t run into any issues down the road. It’s not difficult with these simple precautions in mind, though. Just be mindful of what you’re doing and go about it carefully, so nothing gets damaged or broken during this process.
What Can I Do About This Issue With the Light Switches in My House?
When two switches are next to each other, it can be challenging to operate correctly. If one switch doesn’t work well, you may need to adjust. How you change the switches will depend on whether or not they are operated by cables or by wires in your home’s electrical system. How you adjust the cables will depend on whether they are hot or neutral wires.
When a light switch has a cover plate, one side with screws is generally for connecting cables, and the other is for using the switch wiring directly. Cables connect to switches using screw terminals, while direct connections use so-called “pigtails.” If your box doesn’t have labels indicating which terminal each line attaches to, use trial and error by connecting parts of each cable so that either both lights turn off or both turn on when you flip the switch.
Then attach the remaining portion of the suspicious cable to another wire inside — this should cause one light to stay off while leaving it turned on if there was no problem. The other switch should turn off the second light when it’s in the off position, but leave it on if in the up or on position.
How Do I Make My Lights Align Properly?
Light switches come in either a two-way or three-way configuration. If you have a three-way light switch, you can add the third wire and proceed to connect it. If you have a two-way light switch left and right, make sure that both bottom terminals are joined together with the black wire from the fixture and pigtail onto the hot for white for power – if your existing wiring is not color-coded, use a simple continuity checker to determine polarity. Once both wires are appropriately connected, tighten all terminal connections thoroughly before flipping the breaker on the main service panel.
Once appropriately connected, flip one of the circuit breakers off, back on again to reset them, then use the light switch to test whether or not your new fixture works. If it does not work, double-check that the wiring has been done correctly and you haven’t missed a wire. (Do not assume that this is the case as it will lead to further problems later.) If your new light switch still does not work, you either have a faulty fixture or the wrong type of switch.
The average time for installing a new light switch will be about 30 minutes to an hour, depending on whether or not you have help and how difficult it is to access where the wiring is. If you have never installed a light switch before, begin with something simple – perhaps replacing a two-way dimmer so that you can try this process out first. Instructions might vary depending on your location and the brand of switch that you are using.
Frequently Asked Questions
Do Outlet Boxes Need to Be Flush With Drywall?
It is not necessary to flush outlet boxes with drywall every time you finish tiling or installing new flooring. However, if the box has been damaged in any way–by water leakage, for example–it may be a good idea to clean it and seal the opening using caulk or silicone caulking. This will help protect against future water damage and mold growth.
Why Are My Outlets Sweating?
There are many factors that play a role in why outlets sweat, but the most common one is moisture. When it’s hot outside and the air is humid, it’s harder for the outlet to hold in the moisture that’s causing the sweating.
Another reason why outlets might sweat during the summertime is because of the humidity in the air. When humidity levels are high, it’s harder for your skin to retain heat, which can cause sweating. Additionally, sweat tends to evaporate more quickly when it’s hot and humid outside, which can also contribute to outlet sweating.
Why Are My Switch Plates Warping?
One possibility is that the screws that hold the switch plate in place may not be tightened enough. Over time, they can work their way loose, which will cause the plastic housing to flex and warp. If this is the case, you’ll need to come by and have us tighten up these screws on our end.
Another possible reason for warped switches is improper installation or relocation of the switch plates. Make sure that all wires attached to switches are properly routed so there’s no crossing over; also make sure that all screw holes line up before installing them (this will help keep them from moving).
Finally, always use caution when lifting or transferring heavy objects onto or off of a switch plate–if done incorrectly, it could create undue stress on these fragile components.
How High Off the Floor Should Outlets Be?
depending on the type of flooring, the type of outlet, and the size of the outlet. However, generally speaking, outlets should be installed at a height that is high enough so that they’re easily accessible but not so high that they’re in a difficult spot to reach. Here are some tips that may help you figure out the right height for your particular situation:
- Measure your current outlet height – Once you have a good idea of the height of your current outlets, use this information to measure the height of your desired outlets.
- Check with a contractor – If you’re not familiar with home installation or wiring, consider contacting a contractor to help you with this project. Trust me – they’ll know exactly how to install outlets correctly and without any problems!
- Use an outlet extender – If the installation isn’t an option or you want to go even higher than your current outlet height, consider using an outlet extender. These devices are small and easy to install, and they often come in different heights to accommodate different flooring types.
Conclusion
We hope you have learned how to align light switches. Aligning light switches can prevent a lot of frustration and inconvenience when changing the bulbs in your lamps. In addition, aligned light switches will help you change or replace a broken bulb so that you can get back to enjoying your lamp again in no time.
You may also read it: How to Trace a Light Switch