Are you looking for an easy and safe way to connect outdoor Christmas lights with an extension cord? Connecting your holiday decorations to the outside power source can be daunting. But don’t worry! This guide will walk you through the steps of connecting outdoor Christmas lights with extension cords correctly and safely.

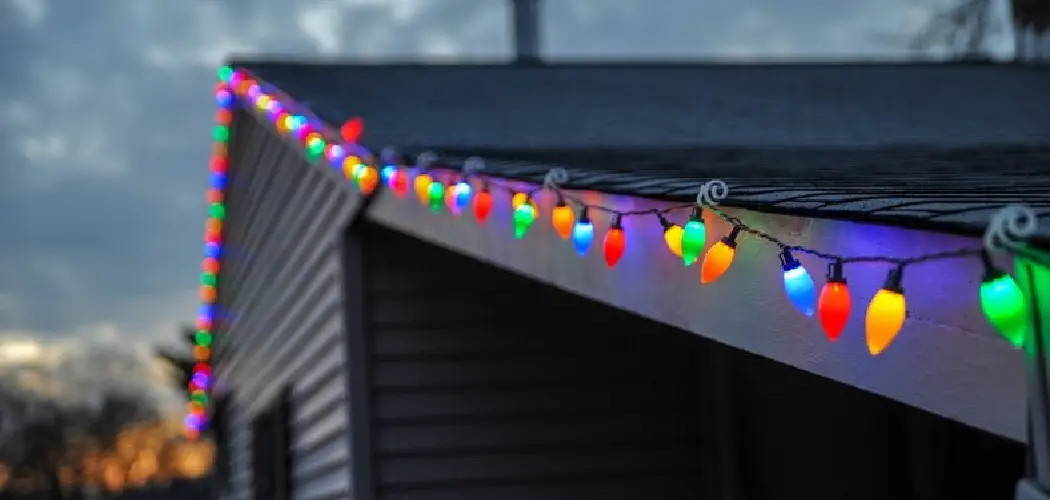
Creating an outdoor winter wonderland to put a festive spin on the season is made easy with Christmas lights. Whether you wish to hang them around your property or wrap them around trees, they can be used as a simple and cost-effective way to brighten any space! Add in some warm LED bulbs and an extension cord for the best results, so you’ll never have to worry about switching up the decor come December.
In this blog post, we’ll take you through how to connect outdoor christmas lights with extension cord!
What Will You Need?
Before you get started, you’ll need a few supplies to connect your outdoor Christmas lights with an extension cord.
- An extension cord (preferably a three-pronged one)
- A ground fault circuit interrupter (GFCI) outlet
- Electrical tape
- A pair of wire strippers
- An outdoor weatherproof box (to house the connections)
- Waterproof silicone sealant
Once you have all your supplies, you are ready to get started.
10 Easy Steps on How to Connect Outdoor Christmas Lights With Extension Cord
Step 1: Install the Ground Fault Circuit Interrupter Outlet
When connecting outdoor Christmas lights with an extension cord, the first step is to install a GFCI outlet. Carefully remove the cover plate and connect the neutral, hot, and ground wires to their respective terminals. It’s important to make sure these wires are properly connected and secure. Once you have made sure the connections are correct, screw the outlet back into place.
Step 2: Securely Connect the Extension Cord
Now that you have installed your GFCI outlet, you can securely connect the extension cord. Use electrical tape to secure the cord to the outlet, making sure it is tight and secure. If the cord is not tight, it can cause a spark, which could lead to an electrical fire.
Step 3: Strip the Protective Coating
Once you have secured the extension cord, it’s time to strip away it is a protective coating. Use your wire strippers to remove the plastic covering around the wires carefully. This will expose them so that they can be easily connected to the lights.
Step 4: Attach Your Lights
Now it’s time to attach your Christmas lights! Once you have stripped away the protective coating, connect one end of the extension cord to one set of lights and then attach the other end of the cord to another set of lights. Ensure each connection is secure and free from exposed wires or loose strands. Don’t forget to use electrical tape for additional security.
Step 5: Place the Outdoor Weatherproof Box
Once you have connected your lights, it’s time to place your outdoor weatherproof box. This box will protect the connections from outside elements and keep them safe from any potential hazards or weather conditions. Place the box near where you have connected your lights, making sure it is well-ventilated.
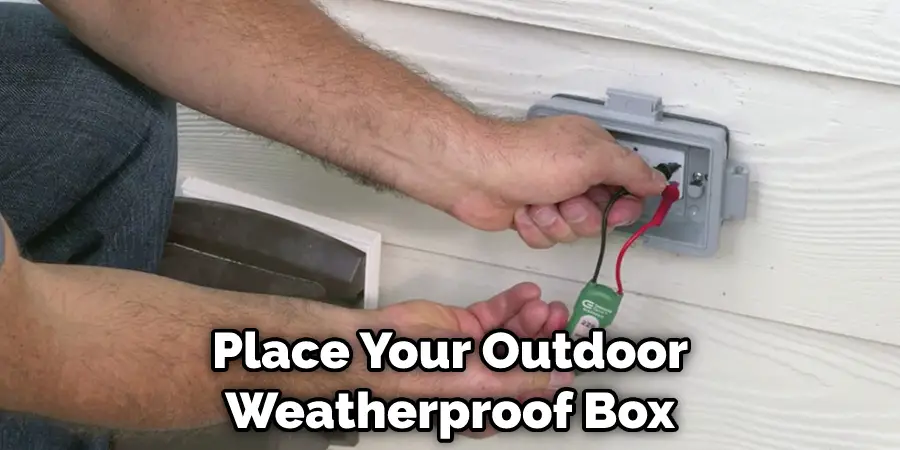
Step 6: Attach the Connections
Now that the box is in place, you can attach the connections inside of it. Ensure each connection is secure and free from exposed wires or loose strands. Once all of the connections are in place, close up the weatherproof box and seal it with waterproof silicone sealant for extra protection against moisture or water damage.
Step 7: Test Your Lights
Before plugging in your lights, double check to make sure all the connections are secure and there is no exposed wiring. Once everything looks good, you can plug in and test your lights! If they are working correctly, then you have successfully connected outdoor Christmas lights with an extension cord.
Step 8: Disconnect Your Lights
Once you are done testing your lights, make sure to disconnect them from the extension cord. This will help protect against any potential electrical surges or malfunctions that could cause damage to your property. Additionally, it will also help you avoid potential accidents or injuries. Ensure all wires are properly stored away and off the ground.
Step 9: Stow Away Your Extension Cord
Now that you have disconnected your lights, it’s time to stow away the extension cord for safe keeping. Make sure it is coiled up neatly and stored in a dry area so it is ready to use again next year. Try to keep it away from any water, as this can cause the cord to become brittle and potentially unsafe.
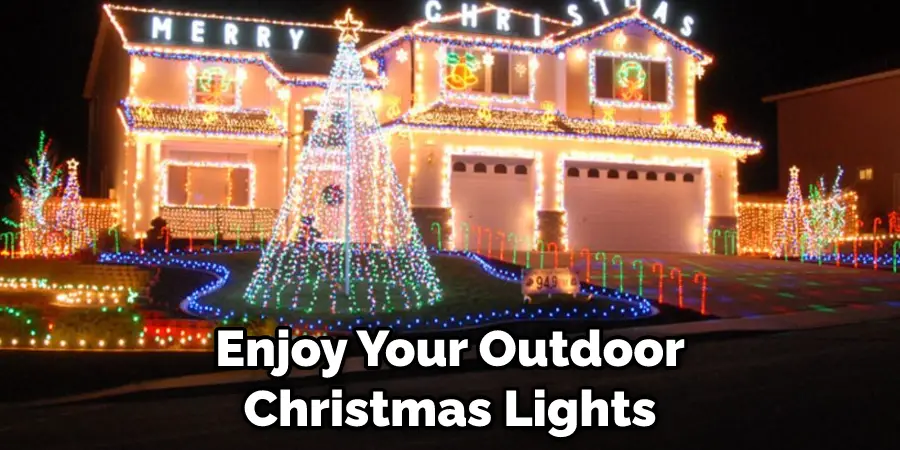
Step 10: Enjoy the Holiday Lights
Finally, all that is left to do is enjoy your outdoor Christmas lights! Now that you know how to connect outdoor Christmas lights with an extension cord, the sky’s the limit when it comes to enjoying your holiday decorations. Sit back and enjoy the festivities while your house glows brightly with festive cheer.
Congratulations—you have successfully connected outdoor Christmas lights with an extension cord! You now know all of the steps necessary to create a safe and secure setup for your next holiday season. Have fun decorating, and have a very merry holiday season! Enjoy your beautiful outdoor lights for many more years to come.
5 Additional Tips and Tricks
1. Choose the Correct Light: Make sure your outdoor Christmas lights are rated for outdoor use, as indoor-use only lights will be damaged if exposed to the elements.
2. Use the Right Extension Cord: Outdoor Christmas lights should be connected with an extension cord that is also rated for outdoor use. The wattage rating must match or exceed the power requirements of your Christmas lights.
3. Check Conditions: Before making any connections, check the condition of both your Christmas lights and extension cord to ensure they are properly insulated and not frayed, torn, or cracked in any way.
4. Use Proper Connection: Connect your outdoor Christmas lights to the plug end of the extension cord using waterproof connectors designed for connecting electrical wires.
5. Don’t Overload the Circuit: Do not plug multiple strings of outdoor Christmas lights into one extension cord, as doing so could overload the circuit and cause damage to your home’s electrical system.
Following these simple tips and tricks will help you connect outdoor Christmas lights with an extension cord safely and easily. Enjoy your holiday decorations!
5 Things You Should Avoid
1. Never use an extension cord that has damaged insulation or exposed wires. This can be a fire hazard and should be immediately replaced.
2. Do not overload the extension cord. Check for what type of wattage it can handle before connecting your outdoor Christmas lights.
3. Make sure the extension cord plug is inserted into the outlet correctly. If not, your lights will not light up and could cause an electrical overload.
4. It’s important to check that your outdoor Christmas lights are compatible with the type of extension cord you are using. Some cords can only handle low-voltage lighting, while others can be used for higher voltage applications.
5. Keep the extension cord away from any water sources or wet conditions, as this can also create a safety hazard and should be avoided at all costs.
By following these tips on connecting outdoor Christmas lights with an extension cord, you will ensure that your holiday display remains safe and sound! Enjoy decorating for the holidays, and have a wonderful time!
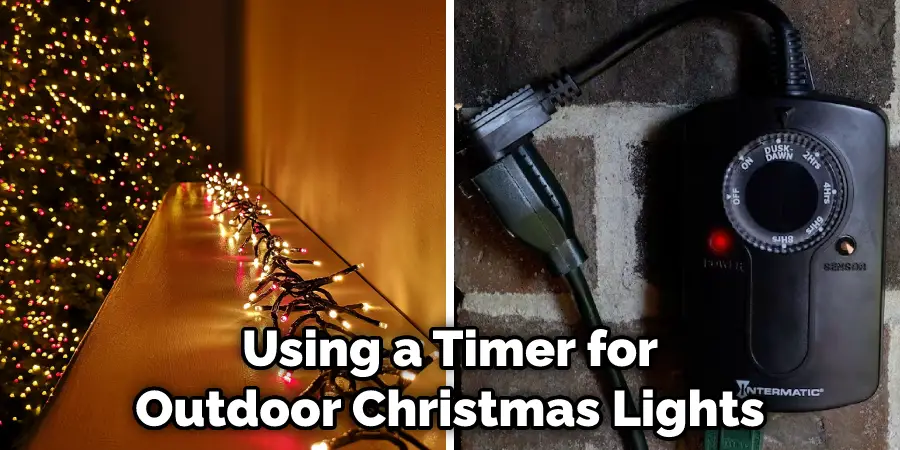
Can You Use a Timer for Outdoor Christmas Lights?
Yes, you can use a timer for outdoor Christmas lights! Timers are great for saving energy and money by automatically turning off your lights at a pre-set time.
To use a timer for outdoor Christmas lights, follow these steps:
- Plug the extension cord with your string of lights into the timer.
- Choose the times you would like to have your lights turned on and off each day.
- Set up the timer as directed and plug it into an outlet or power source as indicated in the manufacturer’s instructions.
- Enjoy your holiday decorations!
Using a timer for outdoor Christmas lights can save energy, reduce costs, and keep your home safe while still enjoying the festive display of holiday cheer!
Conclusion
In conclusion, how to connect outdoor christmas lights with extension cord is not as daunting or difficult as it may seem. Following the instructions outlined in this post and properly preparing everything beforehand will ensure that your lights are connected safely. Be mindful of the amount of electricity going through your extension cord and the max wattage allowed to avoid any safety risks.
Now that you know how to quickly and safely connect outdoor Christmas lights quickly and safely with an extension cord, you can get out there and create a magical winter wonderland for you, your family, and your neighbors.
Hopefully, the article has provided the information and guidance necessary to connect outdoor Christmas lights with an extension cord properly. Happy decorating! Enjoy your holiday season! 🙂