
So you want to jazz up your apartment and make it feel like home? Home decorating can be expensive, but with the right tools and a little bit of elbow grease, you can create an amazing look in no time.
Adding ceiling light fixtures is a great way to make any room come alive instantly. It’s easier than ever to hang these lights yourself without much effort or cost – all you need are some basic electrical supplies, a few simple steps, and 15 minutes or less!
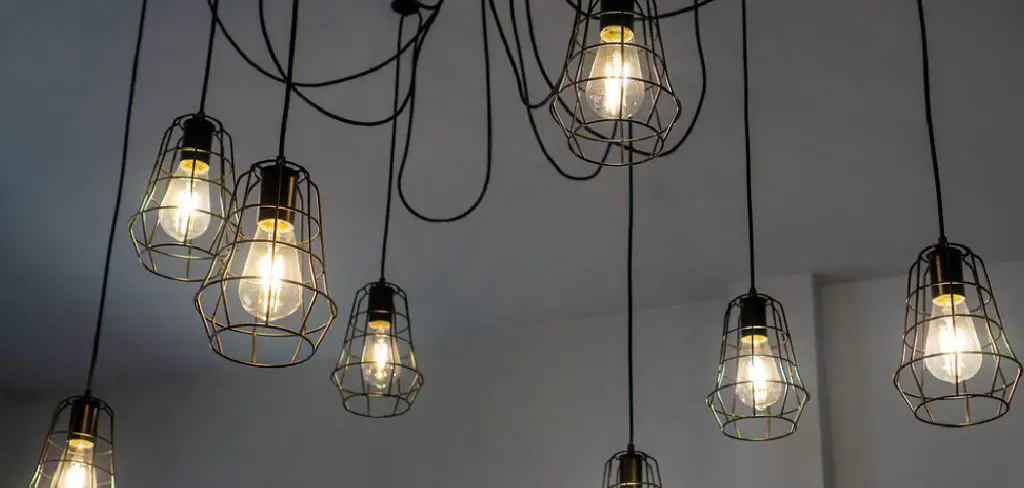
In this blog post, we’ll cover everything from what types of lights will work best for your specific application to how to hang ceiling light in apartment for maximum efficiency. So grab your tools, and let’s get started on transforming your apartment into something special that improves the quality of life within it!
Is It Safe to Hang a Ceiling Light in an Apartment?
The short answer is yes! As long as you have the right supplies, proper electrical knowledge, and follow all safety guidelines, hanging a ceiling light will be safe. Before beginning any type of home improvement project, it’s always important to double-check local codes and regulations to make sure you’re in compliance.
Additionally, it’s best to have a qualified electrician look at your wiring and ensure it’s up to date, as older buildings might be unable to support installing new lights. To be safe, always consult an expert before starting any home improvement project.
What You’ll Need
Now that we’ve gotten the safety part out of the way, let’s look at what supplies you need to be able to hang a ceiling light in an apartment successfully. The most basic things you will need are:
- Power Drill
- Screwdriver
- Wire Strippers and Pliers
- Ceiling Light Fixture and Fixture Kit
- Wiring Connectors
- Electrical Wire
Once you have all of the supplies gathered, it’s time to get to work!
10 Easy Steps on How to Hang Ceiling Light in Apartment
Step 1. Turn Off the Main Power:
Make sure you turn off the main power in your apartment before starting any electrical work. Contact a qualified electrician if you don’t know how to do this. They will be able to guide you through the process safely.

Step 2. Identify Your Wires:
Once the power is off, locate the wiring in your ceiling. Most ceilings will have two wires connected to a junction box, usually black and white. It’s important to identify the live wire (the black one) and the neutral wire (the white one).
Step 3. Install Junction Box:
If there isn’t one already installed, you will need to install a junction box before you can hang your light. Once the box is firmly mounted in place, attach the wires to it. Be careful not to mix up the live (black) and neutral (white) wires.
Step 4. Connect the Fixture Wires:
Now it’s time to attach the fixture wires to your new junction box. Use wire nuts or other approved connectors to connect the wires securely. Make sure all connections are tight and secure before proceeding.
Step 5. Attach the Fixture:
Once the wires are connected, you can now attach your light fixture to the junction box. Position it in place and use screws to secure it. Make sure all screws are tight before moving on.
Step 6. Secure Any Loose Wires:
Now that your fixture is firmly attached ensure all wires are secured and out of the way. Use cable ties or other approved equipment to secure any loose wires if needed. Don’t forget to tuck any excess wire back into the junction box.
Step 7. Test Your Connection:
Once everything is in place, it’s time to test your connection. Turn the main power back on and check for any potential hazards, such as sparks or shorts. If everything looks good, you can proceed to the next step.
Step 8. Attach Fan Housing:
If your light has a fan housing, now is the time to attach it. Carefully follow any instructions that come with your fixture, and make sure all screws are tight before moving on. Ensure that the fan housing is securely attached to the light fixture and the ceiling.
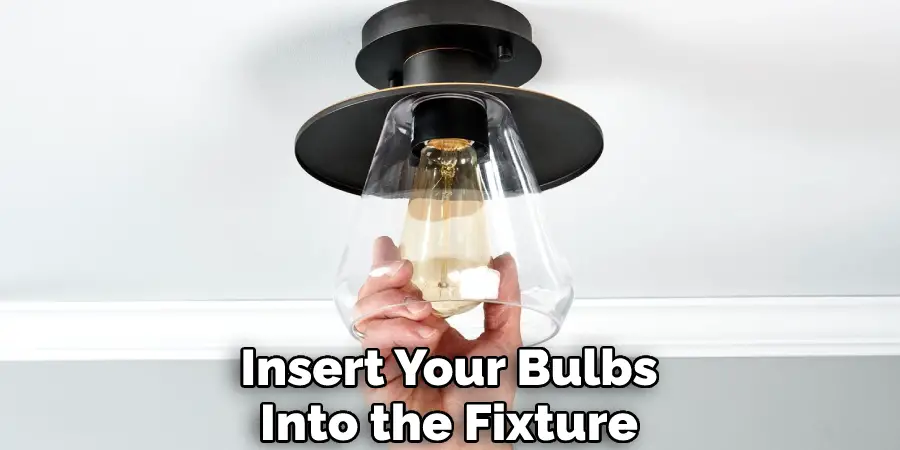
Step 9. Connect Bulbs:
Insert your bulbs into the fixture and make sure they are securely attached. Once everything is in place, turn on the light switch to test your work. If all looks good, you can proceed to the final step.
Step 10. Turn the Main Power On and Enjoy!:
If everything looks good, you’re all set! Turn on the main power and enjoy your newly installed ceiling light in the apartment. You’ve just successfully hung a ceiling light in your apartment – congratulations! Now you can reap the rewards of your hard work and bask in the glow of your new lighting fixture. Enjoy!
By following these simple steps, you can easily hang a ceiling light in your apartment. Remember to take all safety precautions and contact an expert if needed.
5 Additional Tips and Tricks
Here are some tips for success:
• Choose the Location Wisely: Make sure the fixture won’t obstruct air flow or create glare for people in the room. This will help ensure that your light is both functional and aesthetically pleasing.
• Select the Appropriate Voltage: Not all fixtures are created equal. Check the voltage of your fixture to ensure it can handle the power in your apartment.
• Use the Right Materials: To get the best performance out of your light, make sure you have all the materials you need for installation. This includes wire nuts or other approved connectors, screws, and, if needed, a fan housing.
• Check for Any Obstructions: Ensure no wires or pipes are blocking where you are trying to hang your light.
• Choose Energy Efficiency Bulbs: Choosing bulbs that will help conserve energy and keep costs down is important. Look for LED or CFL bulbs for maximum energy savings!

With these tips in mind, you should have no problem hanging the perfect light for your apartment. Best of luck and happy lighting!
5 Things You Should Avoid
1. Don’t work without an assistant. Trying to install a ceiling light in an apartment can be dangerous, especially if you are alone. Make sure to have someone help you and provide assistance throughout the entire process.
2. Never use anything other than the recommended tools and materials for hanging your ceiling light. Improperly installed fixtures can become hazardous as they are not designed to handle extreme temperatures or weight loads that could occur when incorrect materials are used.
3. Avoid using too many screws when attaching the mounting bracket to the ceiling joist or wall studs in order to ensure the fixture stays securely attached. To few screws will make it difficult for the mounting bracket to remain secure, and too many screws may cause damage to the structure of your home’s ceilings or walls.
4. Don’t attempt to hang your ceiling light without following the manufacturer’s instructions. Not all fixtures are hung in the same manner, so it is important to read and follow the directions that come with your specific product in order to ensure a successful installation.
5. Lastly, never try to hang a ceiling light too close to combustible materials such as curtains or paper products, which could become ignited by the heat of the fixture. Before beginning any work, make sure you have taken into account all safety precautions related to installing a ceiling light in an apartment setting.
By keeping these five tips in mind when attempting to hang a ceiling light in an apartment, you can ensure that your project will be both safe and successful!
Can You Leave Ceiling Lights on All Night?
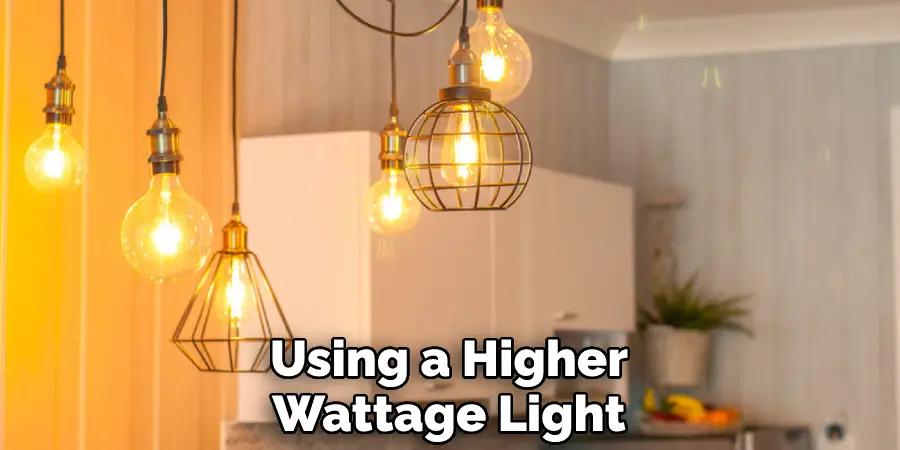
There is no definitive answer to this question, as it depends on the type of fixture and the wattage. If you use a low-wattage light, such as an LED bulb, it may be safe to leave the light on all night.
However, if you are using a higher wattage light, such as an incandescent or halogen bulb, then it is not recommended to leave the light on for prolonged periods. It is best to follow manufacturer instructions to determine how long a particular ceiling light can safely stay on during any given period.
By following these guidelines when hanging your ceiling lights in an apartment setting, you can rest assured that your project will be safe and successful!
Conclusion
Installing a ceiling light in an apartment can seem intimidating, but it doesn’t have to be daunting. Whether you use traditional screws and anchors, or a drilling kit, the process is managed easily with just a few basic tools.
Additionally, having an electrician take care of the installation takes away the stress of doing it yourself, giving you confidence and peace of mind that the job is completed safely and correctly. Having that perfect light fixture can add subtle beauty to your living space in an effortless way.
So no matter what method you choose, following these steps on how to hang ceiling light in apartment can make this DIY project more manageable and successful.