
If you’re looking to smarten up your home, one of the first things you should do is add a Z Wave light switch. Z Wave switches are compatible with most home automation hubs, and they make it easy to control your lights remotely or with voice commands. This article will show you how to connect z wave light switch in just a few minutes. Let’s get started.
Z wave light switches are becoming increasingly popular in recent years, as they offer some advantages over traditional light switches. Perhaps the most obvious advantage is that they can be controlled remotely, which means you can turn lights on or off from anywhere in your home – no more fumbling for the light switch in the dark!

Another big advantage of z-wave light switches is that they can be integrated into a wider home automation system. This means that you can automate other aspects of your home, such as your heating and security system, using the same switch. This can make life much easier and give you complete control over your home from one central location.
Finally, z wave light switches tend to be much more energy efficient than traditional switches. This is because they only use power when they are actively being used, rather than wasting energy by being left on all the time.
Summary: If you have a Z-Wave light switch, you can connect it to your home network using the included cable. Once connected, you can control the light switch using your home network’s remote controls.
Step by Step How to Connect Z Wave Light Switch
1. Finding the Right Location
Find the perfect spot for your Z Wave light switch. It’s important to choose a spot where the signal will be strong, and there is little interference from other electronic devices. A good place to start is near your home’s router. If you’re not sure where your router is, follow the Ethernet cable from your modem to find it.
2. Mounting the Switch
It’s time to install your new Z-Wave light switch! Begin by attaching the mounting bracket to the wall using screws. Next, snap the switch into place on the bracket. Be sure that the switch is level before moving on.

3. Wiring the Switch
Now it’s time to wire the switch. Start by removing the cover plate from the back of the switch. Then, use a screwdriver to remove the screws that hold the switch in place. Next, connect the black wire from the switch to the black wire from the power source. Then, connect the white wire from the switch to the white wire from the power source. Finally, connect the green wire from the switch to the green wire from the power source.
4. Installing the Cover Plate
You will need to wire the switch before you install the cover plate. Start by attaching the bottom of the plate to the switch using the screws that came with it. Make sure that the plate is level before tightening the screws. Next, take the top part of the cover plate and align it with the bottom part. Once you’ve done that, use the screws to attach it to the switch. Again, make sure that the plate is level before tightening the screws.
5. Powering On the Switch
Now it’s time to connect your Z-Wave light switch to power. Locate the screws on the side of the switch marked “IN.” Use these screws to attach the black and white wires to your home’s power supply. Make sure that the black wire is connected to the “IN” screw on the left, and the white wire is connected to the “IN” screw on the right. If your home’s power supply is not color-coded, you can use a voltage tester to identify the hot and neutral wires.

6. Connecting to Your Z-Wave Network
Now that your Z-Wave light switch is connected to power, it’s time to connect it to your Z-Wave network. Here’s how: Find the inclusion or add device menu on your Z-Wave controller. This is sometimes called the “add node” or “add device” menu. Depending on the make and model, it might be located in a different place on your controller. Activate the inclusion or add the device menu on your controller. This is usually done by pressing a button or flipping a switch.
Tap the on/off button on your Z-Wave light switch three times quickly to activate the inclusion or add device menu. You should see the light on your Z-Wave controller change to indicate a successful add to your network. If not, repeat the previous step. Once the light on your controller indicates success, you can deactivate the inclusion or add device menu.
You’ve now successfully connected your Z-Wave light switch to your network. If you have any questions, please feel free to contact us. We’re always happy to help.
7. Testing the Switch
Now that your Z-Wave light switch is connected to your network, it’s time to test it out. Start by turning off all the lights in your home. Then, go to your Z-Wave controller and find the light switch in the list of devices. Make sure that the switch is selected, then click the “On” button. Your light switch should turn on if all goes well, and you can now control it remotely.
You can also test the switch by manually turning it on and off. Flip the physical switch up for on and down for off to do this. Your Z-Wave controller should reflect the change immediately. If your light switch doesn’t seem to be working, there are a few things you can try. First, check to make sure that the light switch is properly connected to your Z-Wave network. If it is, then try resetting the light switch by flipping the physical switch off and on six times in quick succession.

This should reset the light switch and allow you to control it again. If you’re still having trouble, then you may need to contact the manufacturer of your light switch for further assistance.
You Can Check It Out to Take Off Led Lights Without Taking Off Paint
Tips and Warnings on How to Connect Z Wave Light Switch
Tips
- Always consult your Z Wave light switch’s user manual for specific instructions on connecting and installing the device.
- Make sure that your Z Wave network is properly configured and working before attempting to connect or install a new Z Wave device.
- Be sure to have your Z Wave light switch’s serial number and other important information handy when configuring and adding the device to your network.
- Keep in mind that adding a new device to your Z Wave network can sometimes cause instability or other problems. If you experience any issues after adding a new device, consult your Z Wave controller’s documentation for troubleshooting tips.
Warnings
- Do not attempt to connect or install a Z Wave light switch if you are not familiar with electrical wiring and installation.
- Always consult a professional electrician if you are unsure about any aspect of the installation process.
- Improperly connecting or installing a Z Wave light switch can result in electrical shocks, fire, or other serious injuries.
- Never attempt to connect or install a Z Wave device without first consulting the user manual or other documentation.
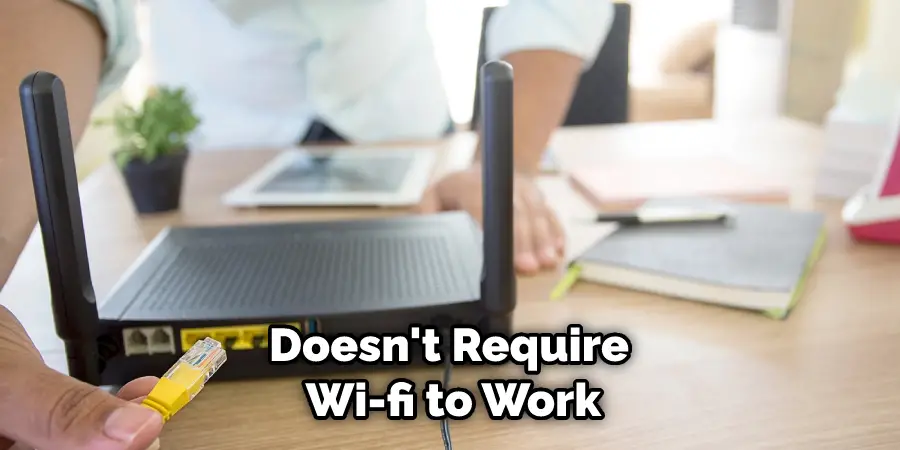
Is Z-wave Work Without Wi-fi?
Z-Wave is a mesh network technology that doesn’t require Wi-Fi to work. In fact, it can actually create its own mesh network with other Z-Wave devices in your home. So, if you’re looking for a light switch that doesn’t require Wi-Fi, then Z-Wave is a great option. To connect a Z-Wave light switch, you’ll need a Z-Wave hub. To find the best Z-Wave light switch, you’ll want to look for one that is compatible with your Z-Wave hub. You’ll also want to make sure that the light switch is easy to install and use.
If you don’t have a Z-Wave hub, you can purchase one from various retailers. Once you have your Z-Wave hub, follow the instructions that come with it to connect the light switch. Z-Wave is a great option if you’re looking for a light switch that doesn’t require Wi-Fi. With a Z-Wave hub, you can connect a Z-Wave light switch to create your own mesh network.
How Do I Reset My Z Wave Light Switch?
If your Z Wave light switch is not responding to commands from your Z Wave controller, it may need to be reset. To do this, simply flip the switch off and on six times in rapid succession. This will reset the switch and clear any errors that may have prevented it from working properly. If your light switch still does not respond after being reset, don’t hesitate to contact customer support for further assistance.
Frequently Asked Questions
Do Z-wave Switches Need a Hub?
Z-Wave technology operates on a mesh network, which means that devices communicate with each other directly rather than through a central server. This unique architecture makes it perfect for controlling various devices throughout your home from one location.
However, like all technologies, Z-Wave has its limitations and one of these is the fact that it doesn’t work With many switches without built-in hubs. If you have any Switches that fall into this category (like most brands of smart bulbs), then you will need to get a Hub installed in order for those switches to be controllable by your wifi router or other connected device(s).
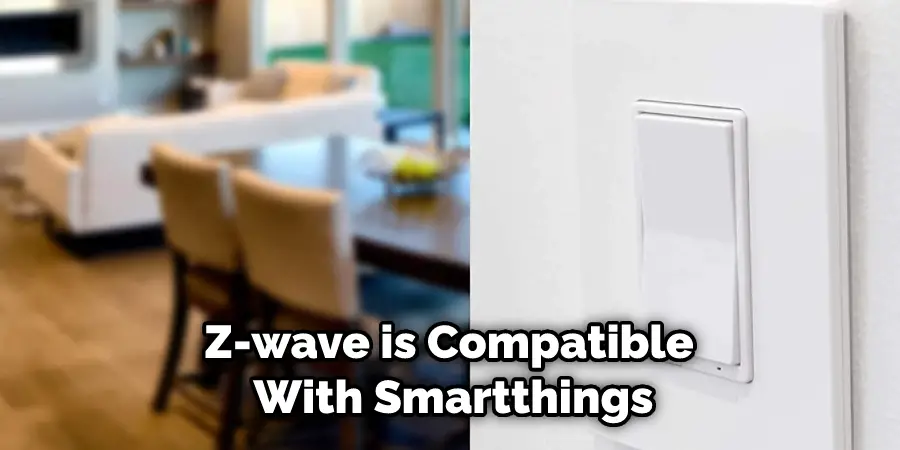
Is Z-wave Compatible With Smartthings?
Yes, Z-wave is compatible with Smartthings. This system allows you to control devices in your home using a mobile app or an interactive web interface. You can also use Smartthings to manage security and automation tasks like turning on lights when you enter the room or turning off appliances when you leave.
By integrating Z-wave into your Smartlife ecosystem, you’ll have more control over your home environment and be able to save energy by automating functions like lighting & temperature regulation.
Does Z-wave Work Without Wi-fi?
Z-wave is a wireless protocol that can be used in conjunction with Wi-fi to connect smart devices together. Z-wave devices can be controlled through a home’s Wi-fi network, and they can communicate with other Z-wave devices to create networks. These networks can be used to control devices in the network, or they can be used to share data between devices.
Which Hub Works With Z-wave?
Hub Works with Z-wave is a platform that allows you to control devices in your home using your smartphone. This includes things like lights, locks, security cameras, and more. You can also use Hub Works with Z-wave to automate tasks such as turning on the air conditioning when you get home or watering plants when it’s time for water changes.
If you’re looking for an easy way to manage your entire home from one place, then Hub Works with Z-wave may be the perfect solution for you. It is convenient and user-friendly, so there are no complicated instructions or passwords required. Plus, if anything ever goes wrong with any of the devices in your house (and chances are it will), simply contact customer support via phone or email and they’ll help troubleshoot the issue quickly and efficiently.
Conclusion
This article has provided general instructions on How to Connect Z Wave Light Switch. Just follow the steps, and you’ll be able to do it in no time. With a Z Wave light switch, you can control your lights remotely and make it look like someone is home even when you’re not. So if you’re looking for an easy way to add some extra security to your home or just want the convenience of being able to turn on your lights from anywhere, a Z Wave light switch is a great option. If you have any questions, feel free to ask in the comments section below. Thanks for reading.