
Are you looking for ways to make your outdoor space more inviting? Or do you want to improve the look of your garden or balcony but are on a tight budget? Whatever the reason, converting an indoor lamp into an outdoor light can be an easy, creative solution. The transformation will not only make the light source safer in wet and windy conditions. It is important to know how to convert indoor lamp to outdoor.
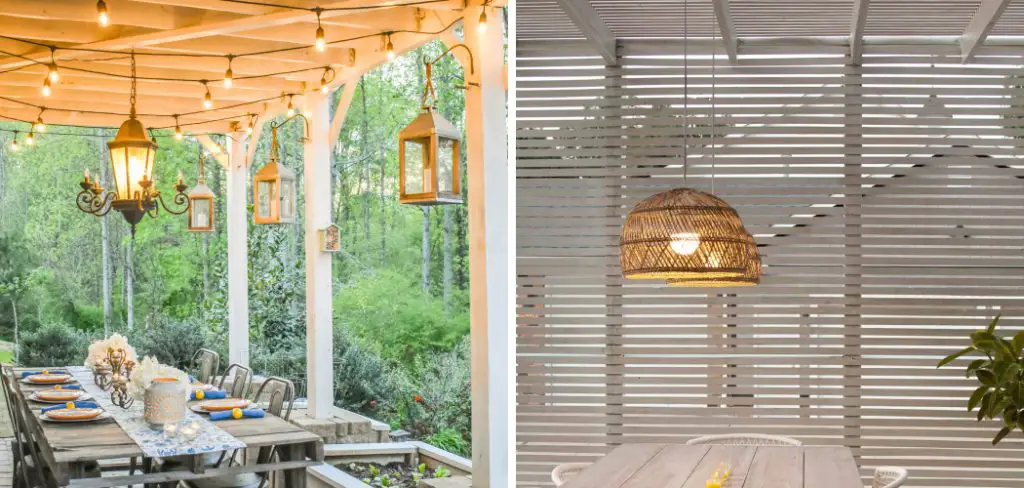
It also gives you greater freedom in terms of setting up your lighting design outdoors. In this blog post, we’ll provide all the information you need to know to successfully convert any indoor lighting fixture into a great-looking outdoor lamp. From selecting and preparing equipment to safely installing it outside, follow along as we show you how easy it is!
Tools You Will Need
Before you start on your conversion project, make sure to gather all the necessary supplies and equipment:
- Outdoor light fixture
- Electrical tape
- Waterproof sealant
- Plastic cable ties
- Cable glands
- Multimeter
8 Steps Guide on How to Convert Indoor Lamp to Outdoor
1. Select an Outdoor Light Fixture
Choosing an outdoor light fixture is an important step, as it can drastically change the outdoor ambiance depending on the type of lamp you select. Start by looking at what kind of lighting your existing lamp requires. There are several types to choose from such as LED, halogen, or fluorescent.
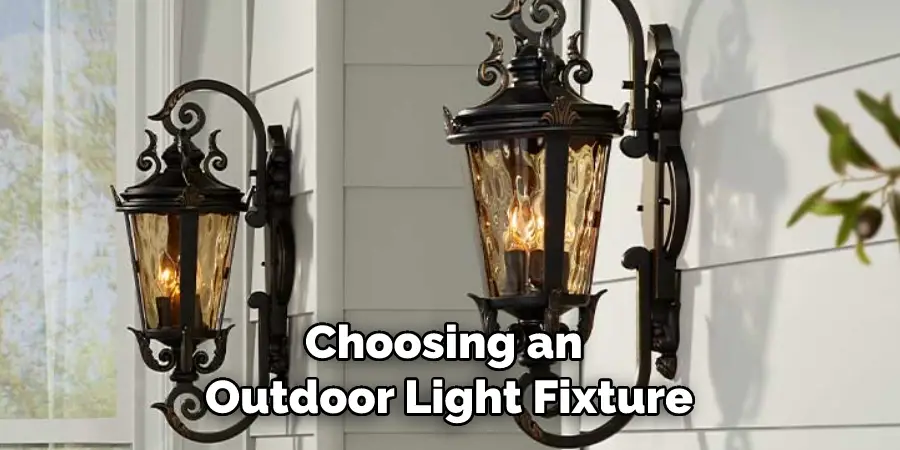
You may want to consider the size, style, and color of the lamp if you are trying to match your existing decor. Additionally, take into account whether the fixture needs to be waterproof or weatherproof for a particular environment. With a little research, you can find a pleasant and practical lighting solution that will help make your outdoor space even more special.
2. Disassemble the Indoor Lamp
Disassembling an indoor lamp can be a daunting task, especially when you don’t remember how the pieces fit together or what order they go in. To make life easier, take your time and be meticulous while disassembling it. Start by removing all screws and bolts that are visible and set them aside. Take note of where each part goes relative to the other.
Make sure that you separate any parts which attach so they don’t become mixed up. Lastly, store all of the pieces in a safe place; this way you can refer back to everything later on when it’s time for assembly. If done correctly with some extra care, disassembling shouldn’t take more than 30 minutes.
3. Seal Any Exposed Wiring
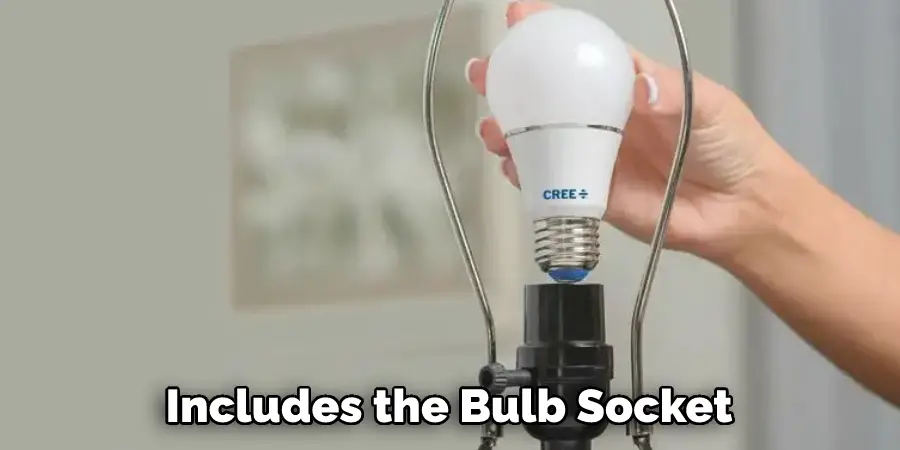
Electrical tape is one of the most important safety materials to have in a home. It can come in extremely handy when fixing exposed cable wires leading up to your light bulb socket because it will keep any water from getting inside. When applying the electrical tape, make sure you’re starting at the bottom and going up.
So that each layer of tape seals down on top of one other securely. It’s also good practice to wrap the tape in at least two layers for extra protection. Last but not least, no part of the exposed wiring must be visible after taping; otherwise, it leaves open an opportunity for the cables to be easily broken and dangerous electric shocks to occur.
4. Apply a Waterproof Sealant
Protecting your outdoor lighting fixtures is essential if you want them to last for many seasons. One easy and cost-effective way to do this is by applying a waterproof sealant to any metal parts that may be exposed to the elements. This includes the bulb socket, screws or nuts, and connectors. By sealing these parts, you’ll prevent water from entering, which can cause rust and corrosion.
When it comes time to swap out lightbulbs or perform other maintenance, the task will be much easier since these areas won’t be stuck together due to oxidation. Taking a few extra minutes to secure your lighting from the force of nature can make all the difference in how long it looks good as new!
5. Attach Suitable Cable Glands
We must install cable glands on the ends of all wiring to ensure safety, reliability, and protection against dust and moisture. Cable glands increase the longevity of our wiring, as they keep each molecule within the wire securely fastened while at the same time preventing any physical damage.
It is important to ensure that all cable ties are properly tightened before securing them with cable glands. This will prevent movements inside the cords which could eventually lead to wear and tear, thus ensuring that our wiring functions properly throughout its lifespan.
6. Connect the Outdoor Light Fixture
Installing outdoor lighting is a great way to improve the aesthetics of your outdoor area and make it more accessible after dark. To ensure that your light fixture works correctly and safely, it is essential to connect it to a dependable electrical supply and thoroughly test it with a multimeter afterward. When connecting the fixture.
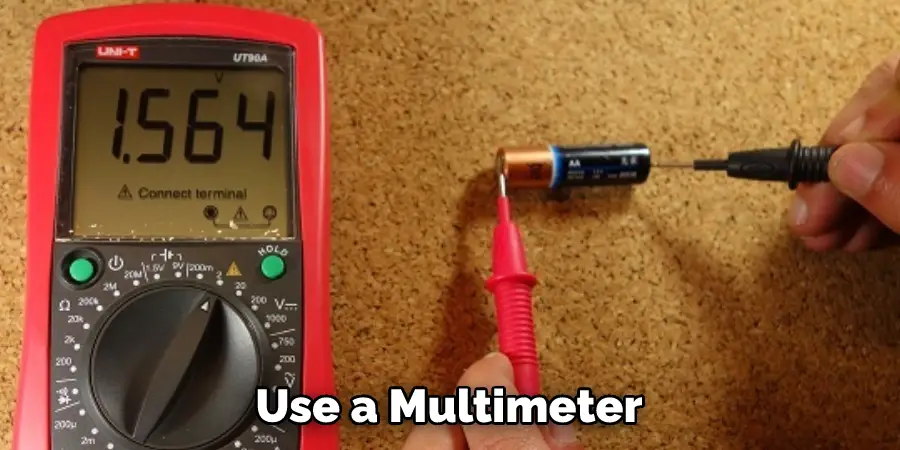
Be sure to switch off all electricity beforehand, following all safety advice. Once securely fitted in place, you can use a multimeter to check for any potential electrical hazards, such as wrong wiring or incorrect voltages measuring higher than desired – taking undue care when doing so of course!
After all, tests are complete and checked, you can then confidently switch on the power again, knowing that everything is ready for you to enjoy after dark.
7. Reassemble Your Lamp
Reassembling your lamp is a relatively straightforward process, but needs to be done with care. Start by sorting out all the parts from the packaging and arrange them in order of reassembly – pick out the base, stems, and shades, then screws and any additional pieces necessary for fastening.
Read through the original instructions that came along with the lamp and be sure to read all notes if any have been provided. Connect all parts as per instruction, making sure they’re securely fastened into place before you move on to the next one. Once everything feels firmly connected, plug in and switch on your newly restored lamp!
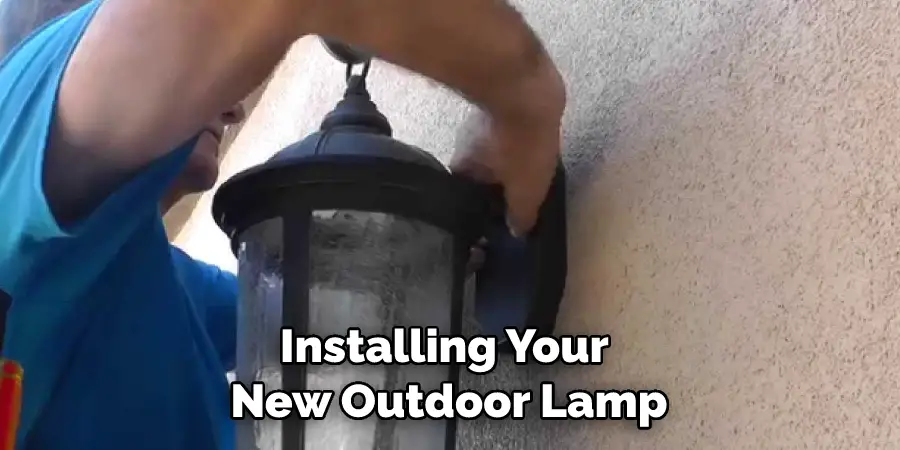
8. Mount Your New Outdoor Lamp
Installing your new outdoor lamp is easy and will instantly add a boost of aesthetic to your outdoor space! All you need to do is make sure the area you choose to mount is level and secure the lamp with the appropriate anchors. Then, enjoy the added light that will surely make evenings spent outdoors more enjoyable than ever.
Whether you use your outdoor area for entertaining guests or just spending time with family, having welcoming ambient lighting will always be a plus. So go ahead, get out there and mount your new outdoor lamp in its desired location so you can reap all the benefits as soon as possible!
With a few simple steps, you can easily convert any indoor lamp into an outdoor light fixture. This will allow you to safely enjoy the illumination of your chosen space all year round, no matter what the weather brings! To learn more about lighting solutions for your home and garden, be sure to visit our website or contact us directly with any questions you may have.
The Benefits of Converting Your Indoor Lamp to Outdoor
Outdoor lighting can be an amazing way to turn plain and boring landscapes into a magical illuminated experience. Converting your indoor lamp to an outdoor one has many benefits which will turn mundane outdoor activities into luxurious outdoor events.
Enjoy the added benefit of ambient lighting that makes your backyard or patio look bigger and adds a touch of sophistication like never before! Not only does it add charm, but it also keeps you safe at night by providing great visibility when walking around your lawn or garden in the darkness.
Plus, these days, there are plenty of advanced LED lamps available in the market for a reasonable price which ensures maximum brightness with minimal energy consumption, giving you years of illumination without any hassle. Therefore, consider investing in a few good outdoor lamps to enhance the look and feel of your outdoors and make your home stand out from the rest!
Frequently Asked Questions
How to Safely Convert Your Lamp for Outdoor Use?
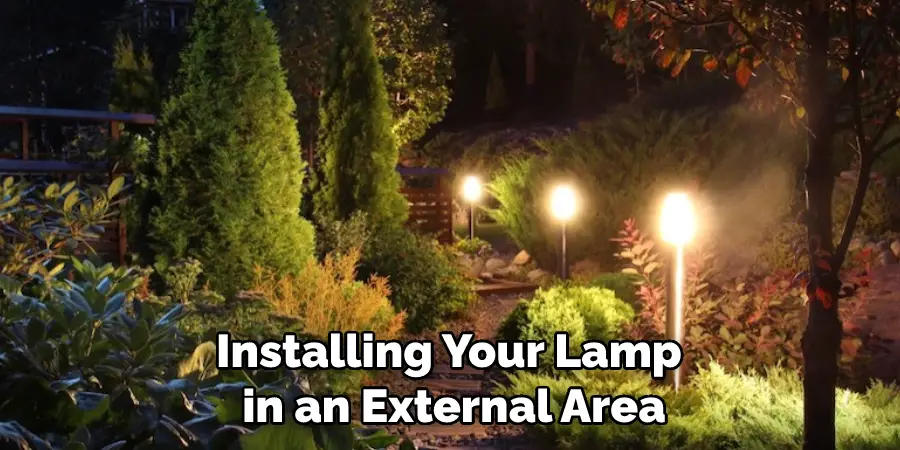
Ensuring that your lamp is suitable for outdoor use is a great way to personalize and brighten up your outside space. Before you make the switch, though, there are a few important safety tips to observe. Firstly, check the power rating of the lamp and make sure it is suited for external use only.
Also, make sure to select a product with waterproof wiring and weather-resistant material, such as plastic or ceramic. Lastly, it’s essential to test that the plug and connections are secure before installing your lamp in an external area. By following these simple steps you will be able to enjoy your new feature in your outdoor area safely and securely all year round.
What Do You Need to Know Before Converting a Lamp?
When you’re considering converting a lamp, there are a few things you should know first. To begin, decide if the light needs professional installation. If it does, then you need to make sure an electrician is hired for the job. You’ll also need to make sure that any necessary hardware or new wiring is compatible with the lamp’s style and size.
It’s worth verifying that all parts of the lamp in question meet safety standards so don’t forget to check the label or instructions associated with your conversion project. Finally, ensure that any electrical work done adheres to municipality codes. Putting in a bit of research at the start will ensure your successful conversion and allow you to enjoy a beautiful new lighting fixture in your home.
Conclusion
So, there you have it – how to convert your indoor lamp to the outdoor one. It is quite simple and only takes a few minutes (or hours, depending on the adhesive you use). With these easy steps, you can take any old indoor lamp and turn it into an outdoor beauty that will last for years.
You should carefully determine how to convert indoor lamp to outdoor. Whether you’re looking for a new project or just want to save some money, this is a great option. With a little time and effort, you can have a beautiful outdoor light that will last for years to come. Give it a try today!