
Are you redecorating your home and need to paint the ceilings? If so, you’ll need to know how to cover can lights. Painting over the lights can be a bit tricky, but with these tips, you’ll be able to do it in no time. Plus, your finished ceiling will look great. In this article, we’ll show you how to cover can lights for painting and get the job done quickly and easily. Keep reading to learn more.
Summary: When painting, it is important to protect your canvas from the light. You can do this by covering your canvas with a piece of fabric or paper. There are a variety of ways to do this, and the best way for you to cover your canvas will depend on the type of painting you are doing.

What Is Can Light?
A can light a recessed light that’s often used in ceilings. The name comes from the fact that the light fixture is recessed into a “can” that’s set into the ceiling. Can lights be a popular choice for ceiling lighting because they provide good illumination and can be used in various settings? It’s also relatively easy to install can lights. Plus, they’re available in various sizes, shapes, and styles to suit your needs.
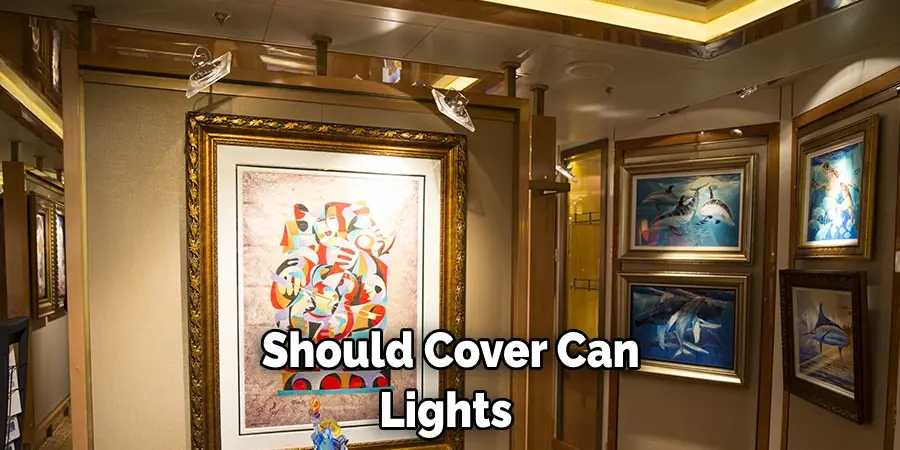
Why You Should Cover Can Lights
There are a few reasons why you might want to cover can lights. For one, it can be difficult to paint around can lights without making a mess. If you’re not careful, you could end up with paint on the lightbulb or in the recessed area.
Covering the lights will help to prevent this from happening. Another reason to cover can light is that it can be difficult to get an even coat of paint on the ceiling when there are recessed lights. By covering the lights, you can ensure that your paint job is even and professional-looking.
Additionally, covering can lights can help to protect them from paint and debris. This is especially important if you’re planning on painting the ceiling a dark color.
Dark paint can make it difficult to see the lights and cause the lightbulbs to overheat. Covering the lights will help to prevent these problems. Finally, some people prefer the look of a ceiling without can lights. If this is the case, you can cover the lights and still achieve the look you want.
10 Ways How to Cover Can Lights for Painting
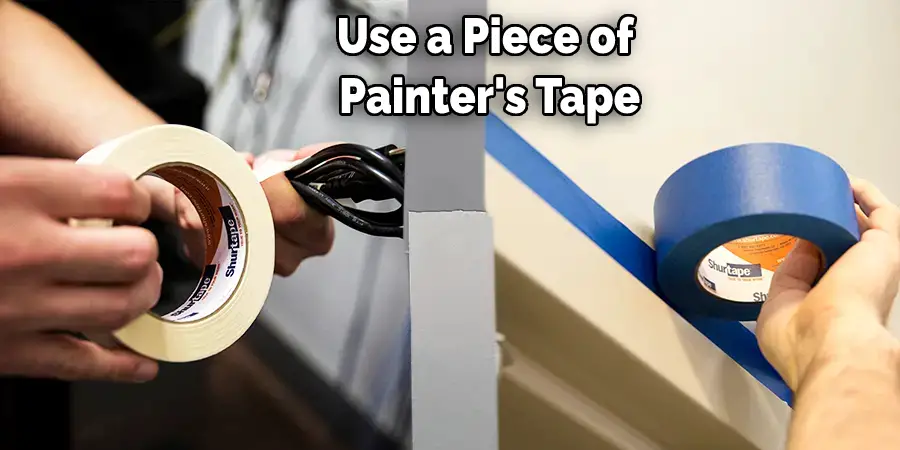
1. Use Painter’s Tape
The easiest way to cover can lights is to use painter’s tape. Painter’s tape is a type of masking tape that’s designed for use with paint. It’s available in various widths, so you can choose the size that’s best for your needs. First, use painter’s tape to clean the area around the light with a damp cloth. This will help to remove any dust or debris that could prevent the tape from sticking.
Next, apply the tape around the perimeter of the light. Be sure to press it firmly so no paint can seep through. Finally, remove the lightbulb and cover the opening with a piece of tape. This will help to keep paint out of the recessed area.
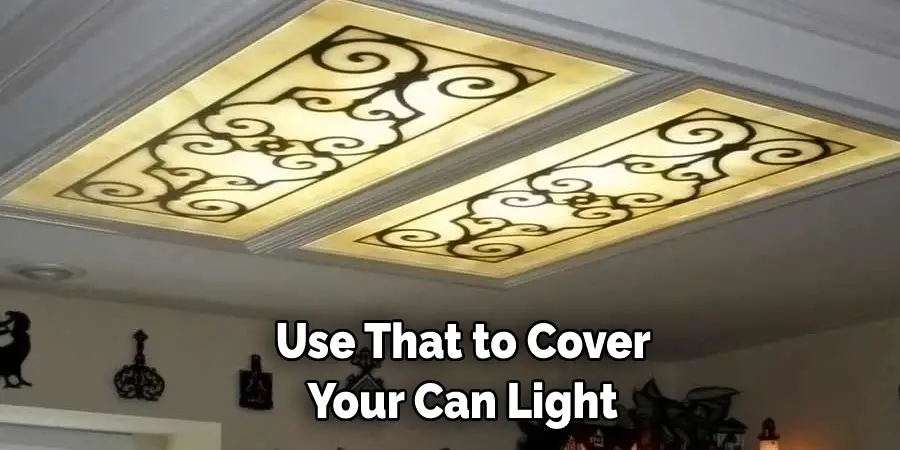
2. Use a Light Cover
Another option is to use a light cover. Light covers are designed to fit over can lights and protect them from paint. They’re available in various sizes and styles, so you can choose the one that best suits your needs. First, measure the diameter of your can light to use a light cover.
Then, cut a hole in the center of the cover that’s slightly larger than the light. Once the cover is in place, secure it with painters’ tape. If you’re using a light cover that’s not adhesive, you may need to use zip ties or another type of fastener to keep it in place. Finally, remove the lightbulb and cover the opening with a piece of tape.
3. Use a Paint Shield
Another option for covering can lights is to use a paint shield. Paint shields are designed to fit over can lights and protect them from paint. They’re easy to install and remove, and they’ll keep your can lights clean during the painting process. First, remove the light bulb from the can light. Then, position the paint shield over the opening of the can light. Press the paint shield into place so that it’s snug. Finally, replace the light bulb.
4. Cover the Light with Plastic
You can cover the light with plastic if you don’t have a light cover or paint shield. First, remove the light bulb. Next, cut a circular piece of plastic that is slightly larger than the circumference of the light. Finally, tape the plastic over the hole where the light bulb was. If you’re using clear plastic, be sure to tape over the entire circumference of the light so that no paint can seep through.
5. Use a Balloon
Another option is to use a balloon. First, blow up the balloon and then tie it off. Next, carefully stretch the balloon over the can light. Make sure the balloon is taut so no light can peek through. Once the balloon is in place, use a piece of painter’s tape to secure it. You can then proceed with your painting project. Just be sure to remove the balloon and tape once you’re finished.
6. Use Fabric
Another option is to use fabric. Fabric is a great option because it’s easy to work with and won’t tear like paper or plastic. Plus, it’s inexpensive and can be found at most fabric stores. To use fabric, first, measure the circumference of the can light. Then, cut a piece of fabric that’s slightly larger than the measurement. Next, fold over the edges of the fabric and glue them down. Finally, place the fabric over the can light and secure it with tape.
7. Use Aluminum Foil
You can use aluminum foil if you don’t have any fabric on hand. First, remove the light bulb from the can light. Next, cut a piece of foil that’s big enough to cover the entire opening. Place the foil over the hole and secure it in place with tape. Finally, replace the light bulb. If you need to, you can also use this method to cover up any other holes in your walls that you don’t want the paint to get into.
8. Use Foam Board
If you have foam board, you can use that to cover your can light. First, remove the light bulb from the can light. Next, take a piece of foam board and cut it to fit snugly over the opening of the can light. Once you have the foam board cut to size, put it over the opening of the can light and secure it in place with painter’s tape. Finally, replace the light bulb in the can light.
9. Use a Paper Plate
You can use a paper plate if you don’t have any foam board. First, remove the light bulb from the can light. Next, cut a hole in the center of the paper plate that’s big enough to fit around the outside of the can light. Finally, tape the paper plate to the ceiling around the can light.
10. Use Wax Paper
If you have wax paper, you can use that to cover your can lights. First, fold the wax paper in half. Cut a small hole in the center of the fold. Then, fit the wax paper over the can light and secure it with tape. The wax paper will diffract the light and prevent paint from getting on the bulb.
Tips and Warnings on How to Cover Can Lights for Painting:
Tips:
1. Use a dust cloth or painter’s tape to cover the can light.
2. Do not use any other type of tape as it may damage the finish on the can light.
3. Use a small paint brush to get into tight spaces around the can light.
4. Make sure to remove the dust cloth or painter’s tape before painting the area around the can light.
5. Use a drop cloth to protect the area around the can light from paint splatters.
Warnings:
1. Do not use duct tape to cover the can light as it will damage the finish.
2. Do not use anything other than a dust cloth or painter’s tape to cover the can light.
3. Remove the dust cloth or painter’s tape before painting the area around the can light.
4. Protect the area around the can light from paint splatters with a drop cloth.
Frequently Asked Questions
Can You Paint Over Recessed Lights?
You definitely can paint over recessed lights, but it is important to first test the light in question. If it is a fairly new light or one that has not been used for a long time, there may be electrical issues that need to be addressed. Otherwise, you can simply use an oil-based paint like latex or alkyd enamel and apply it using a brush or roller. Make sure to wait until the surface is dry before applying additional coats of paint.
Do You Have to Remove Light Fixtures to Paint Ceiling?
It depends on the type of paint that you are using and the specific type of light fixture. Generally speaking, you should test the paint before you start painting to make sure that it will not damage the light fixture. If the fixture is not easily removable, you may have to take it apart to get to the light bulb. Be sure to wear a mask and protective clothing when painting as paint can contain chemicals that can be harmful.
Should You Change Light Fixtures Before Painting?
Generally, it is not necessary to change light fixtures before painting. However, if you are concerned about VOCs (volatile organic compounds), you may want to replace the bulbs with LED or incandescent equivalents. This will minimize the release of VOCs while your home is being painted.
Can I Paint Led Light Bulbs?
Yes, you can definitely paint LED light bulbs. The most important thing to remember when painting LED light bulbs is to use the appropriate paints and primer. There are a variety of paints and primers available that are designed specifically for painting LEDs. Make sure to read the instructions carefully before starting your project.
Once you’ve got your paint and primer ready, it’s time to start painting. Start by painting the base of the light bulb with a thin layer of paint. Then, use a thicker layer of paint to cover the light bulb. Be sure to wait several minutes between coats so that the paint can dry properly. Finally, seal the paint with a coat of clear coat if desired.
This is an easy project that can be completed in just a few minutes. If you have any questions or concerns, feel free to contact us at any time. We would be happy to help!

What Direction Do You Paint Ceilings
It depends on your individual style and the type of ceiling you are painting. There are a few things that you can do to get started, including studying existing paintings or sketches in order to get an idea of what direction you might want to paint. You may also want to create some rough sketches yourself before beginning the actual painting process.
Conclusion
So, there you have it – everything you need to know about how to cover can lights for painting. By following these simple steps and using the right materials, you’ll be able to get the job done quickly and easily. Have any questions or tips of your own? Let us know in the comments below!