If you want to change the light fixture over your stairs, you have come to the right place. In this article, we will provide you with tips on how to change light fixture over stairs safely and efficiently. So, whether you are looking to improve the appearance of your home or want to change the lightbulb, read on for helpful information.
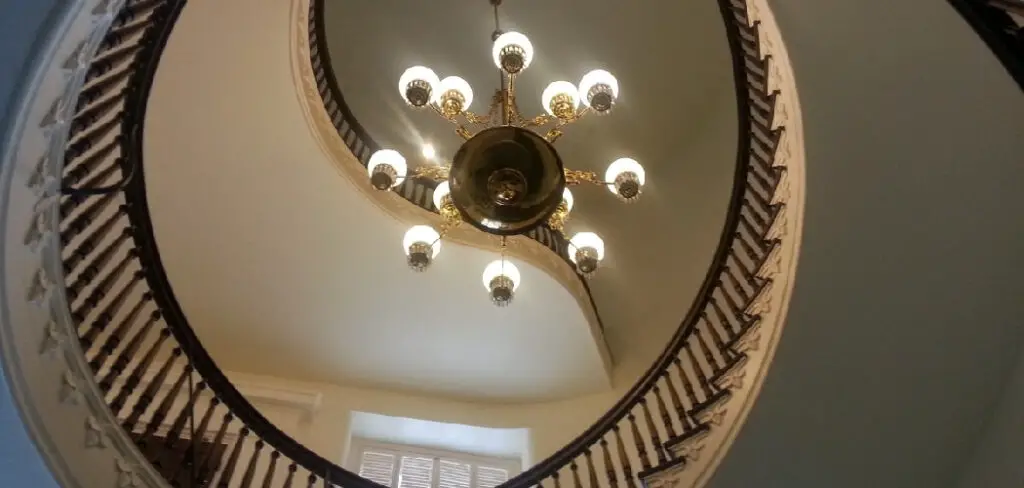
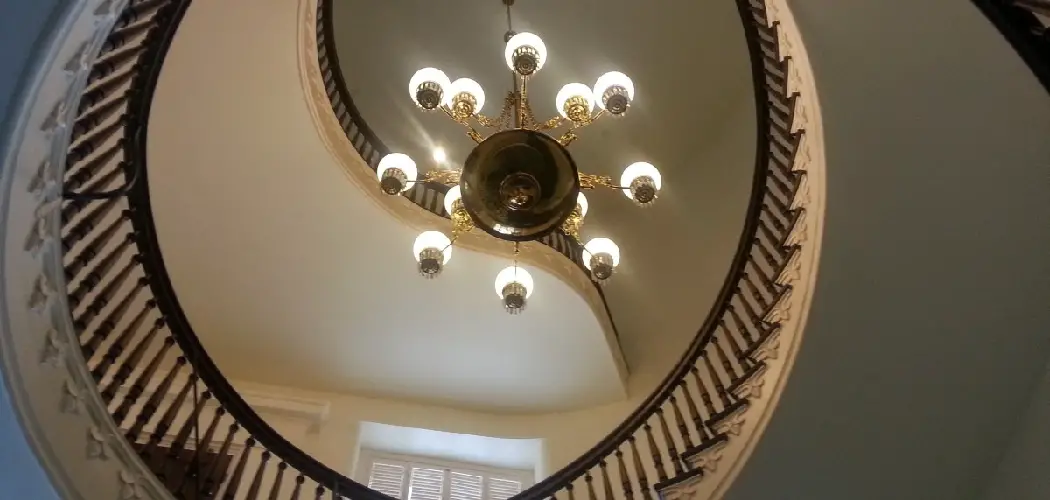
Light fixtures are an excellent way to create a focal point over a staircase, as the stairway is-ideally-the first thing people see when they walk into your home. Therefore, it is essential to have lighting that suits your taste and complements the rest of your home’s décor. In addition to making an impression on visitors as they enter your home, light fixtures over stairs also offer practical value; we all know how difficult it can be navigating steps at night without sufficient lighting!
Summary: Changing a light fixture over a staircase can be a challenging task due to the height and limited access. However, with the right tools, safety measures, and a step-by-step approach, it is possible to replace the fixture without any complications. To begin, gather the necessary tools and equipment, such as a ladder or scaffold, a new light fixture, wire strippers, a voltage tester, and a screwdriver. Turn off the electricity to the area where you will be working to ensure safety during the process.
To change the light fixture, first, set up the ladder or scaffold on the stairs, making sure it is stable and secure. Climb to the appropriate height, and use the voltage tester to confirm that there is no electricity flowing to the wires. Carefully remove the old fixture by unscrewing any mounting hardware and disconnecting the wires. Next, connect the new fixture’s wires to the corresponding wires in the junction box, using wire nuts and electrical tape to secure the connections. Finally, attach the new fixture to the junction box with the provided mounting hardware, and turn the electricity back on to test the new light.
Things you’ll Need
- Screwdriver
- Ladder
- Wire nuts
- Replacement light fixture
- Wire cutters & electrical tape
A Detailed Guide on How to Change Light Fixture Over Stairs
Step 1: Determine if You Have a Junction Box.
In order to replace a light fixture over stairs, you must first determine if there is a junction box. The junction box is a metal or plastic electrical box that is usually attached to the underside of the ceiling. If the ceiling is within reach from either the top of the stairs or the bottom, there should be a junction box attached.
Don’t worry if your ceiling isn’t easily accessible because many homes come with recessed lights over their staircases – which means there will be an access panel behind one or more of the steps. In this case, all you need to do is remove each step and cut through any drywall covering to access this panel.
Step 2: Turn Off the Power to the Light Fixture
If you have a junction box, you will need to turn off the power before removing it by flipping the circuit breaker. To be safe, shut off every switch that controls a circuit going to that room – just in case multiple switches prevent one set of lights.
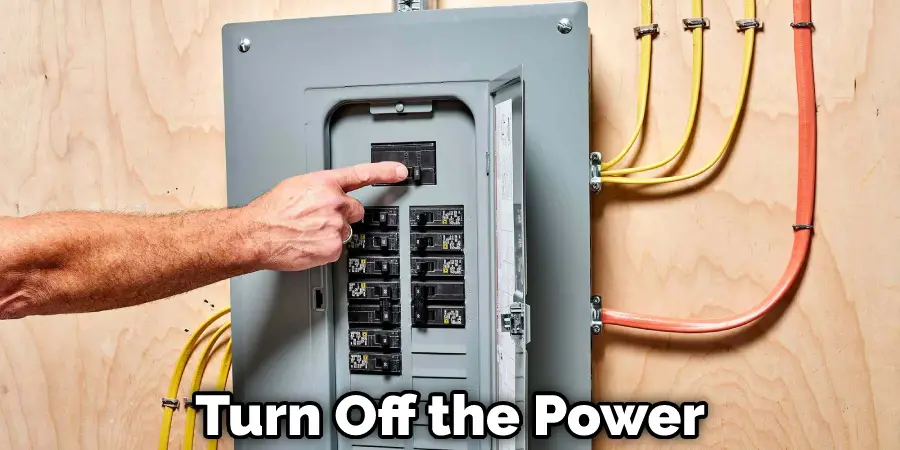
After turning off all of these switches, remove your main light switch’s faceplate and locate your electrical breaker box tucked into a closet. It should be labeled as “Main.” Once located, flip this switch to “Off” and wait 30 seconds before moving on to the next step.
Step 3: Prepare Yourself
If your electrical box is attached to the ceiling, you will need to use a step ladder to reach it. The higher up you are, the more dangerous it becomes to work on light fixtures like this one. If something were to go wrong, you would be several steps above ground level and it would be difficult to get down quickly. Remember that any mistake could result in severe injury or even death, so always take every possible precaution while doing electrical work.
Step 4: Take Out an Old Light Fixture
Take out your screwdriver and remove the screws holding the faceplate onto your light fixture’s junction box. If done correctly, this should release all pressure between your fixture and ceiling which should cause it to come crashing down by itself. Be careful when removing this fixture because there is a chance that it could have been wired with bare wire, which means the metal is live and will still be carrying electrical current even though your main breaker switch has been turned off. After a few seconds, if nothing happens, you can safely assume all power in this area has been disconnected.
Step 5: Disconnect Wires From the Old Light Fixture
Using your wire cutters, separate each of the wires from their respective screws on the nose of your old light fixture. If done correctly, you should have a set of four bare cables coming from one end and a solitary white wire on the other. It would help if you didn’t let these wires touch while doing this step since it could cause a short circuit which would force you to repeat all previous steps to get rid of this problem.
Wire nuts are supplied with almost every new light fixture used for this purpose, so twist two black wires together, two white wires together and then attach them both to the green wire using the wire nut. When finished with this step, move on to the next one.

Step 6: Install New Light Fixture
This step is to wrap the exposed ends of each wire around the corresponding screw on your new light fixture. If done correctly, you should be holding a black and green wire by their heads and nothing else.
The bare wires coming from your junction box need to attach to the silver screws on the nose of your new light fixture, while the solitary white wire needs to go onto one of those coming from your junction box. When finished with this step, repeat it for any additional cables carrying current and those which aren’t (the ones not attached to removing).
Step 7: Attach New Light Fixture
Once all of the wires have been wrapped around their respective screws, you can attach your new light fixture onto the junction box’s screws with your screwdriver. Again, this is very secure because it holds everything in place and ensures no one gets hurt when touching a wire which shouldn’t be handled. Once done with this step, repeat it for any additional wires carrying current and those that aren’t connected to removing.
Step 8: Turn on the Power.
If you followed all the previous steps correctly and made it to this point without incident, you can now turn on every switch in the house to that room and then flip your main breaker back on. Once you do that, test out your new light fixture by flipping its corresponding switch from off to on. If you did everything correctly, your new light fixture should turn on without any problems.
Step 9: Clean Up
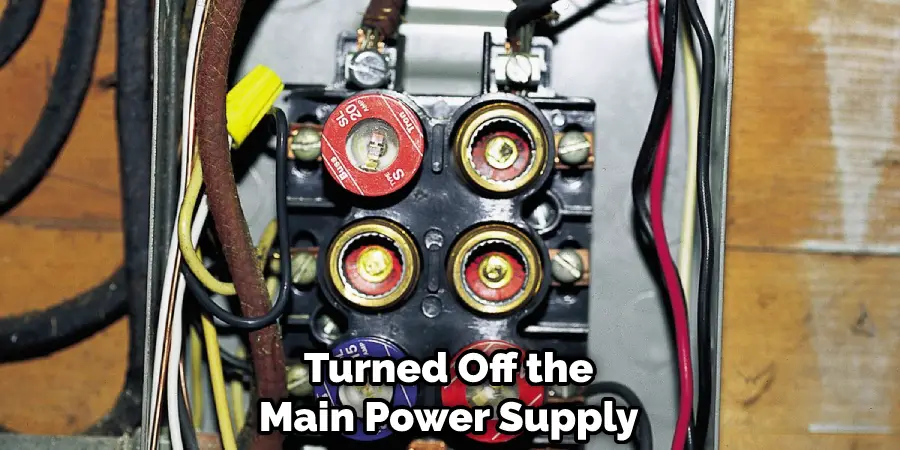
Once you’re finished, go ahead and cut off all of the old wires coming from your junction box with your wire cutters and throw them out because they could be live even though you turned off the main power supply. It would help if you also took this opportunity to clean up any messes made along the way, such as spilled beer, piles of dust, or leftover tools that weren’t used.
Step 10: Replace Covers
Finally, replace all covers over electrical outlets and light switches before cleaning up after yourself one last time. Congratulations! You now know how to safely change a light fixture over stairs without anyone getting hurt in the process. So sit back and relax since you just saved yourself hundreds of dollars in potential damages.
You’ve successfully installed a ceiling light fixture onto an existing junction box! However, remember that there are many other light fixtures for different applications, so if this one doesn’t work, outlook into something else until you find one that does work.
Also, when replacing any outdoor lighting with ones using LED lights, remember that they’re not the same wattage as those being replaced, so always take down old measurements before buying replacement units, or else severe damage could occur from an electrical overload. Until next time, have fun doing things around the house and always take safety precautions first! These steps will help in how to change light fixture over stairs.
FAQs
Is There Anything Else That Might Be Helpful While Changing a Light Fixture Over Stairs??
Yes, there is. If you need help, you can always ask someone for help. They might even know exactly what kind of light fixture you need, which will take the guesswork out of it. It’s also important to understand that lighting fixtures come in all shapes and sizes, so if you’re looking at a picture online and find one that looks good over your stairs but isn’t quite big enough or small enough, match it to another material such as aluminum or steel because these tend to come in a variety of sizes too!
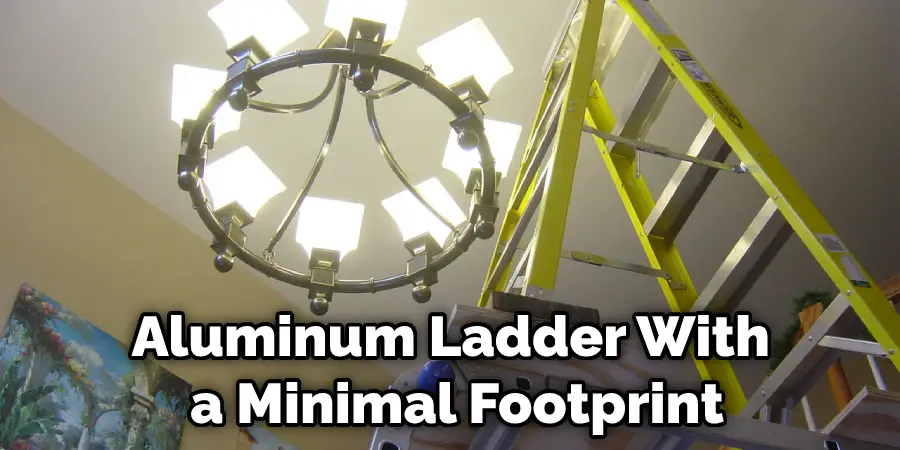
Is There a Ladder That Can Be Used on Stairs?
Several different ladders on the market have been developed for this specific task. One of the most common is an aluminum ladder with a minimal footprint, but it does not fold up to be compact, making it more difficult to haul around. There are also specialized ladders that are made to be used as pontoon boat ladders, which come with platforms and other types of support.
Another ladder made specifically for changing lights over stairs is generally made of fiberglass or some other composite material instead of metal. This type will collapse almost like one piece, making it much easier to store and transport (although they can still be heavy).
Conclusion
Changing a light fixture over stairs can be daunting, but it can be a relatively painless process with the right tools and some careful planning. We hope our article on how to change light fixture over stairs has helped demystify the process and shown you that you can easily update your home’s lighting on your own with a bit of elbow grease.