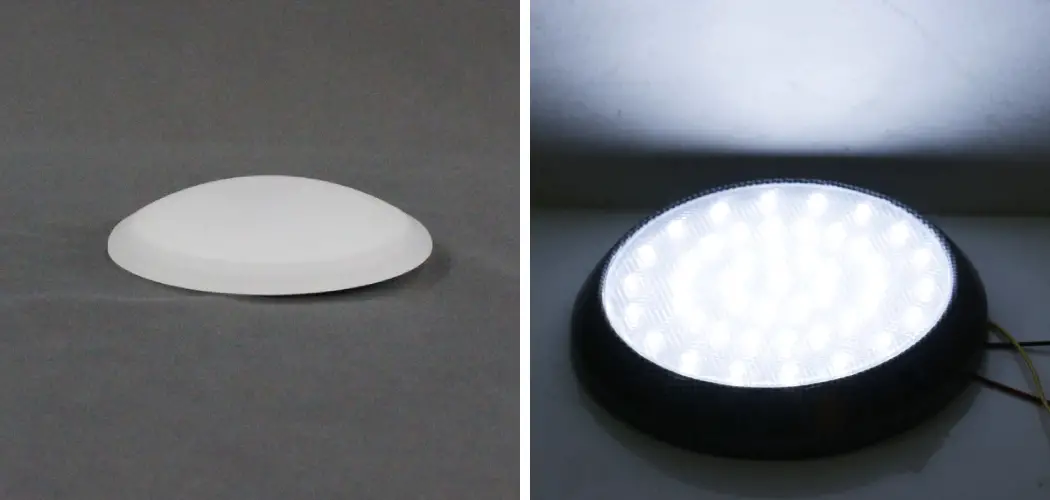
It’s no secret that the best way to improve your RV’s aesthetics is by adding some new light covers. However, if you’re like many RV-owners, you may find the installation process a bit daunting. This article will show you how to remove round RV light covers quickly and easily. So read on and get started!

Many people don’t realize that installing replacement light covers is straightforward. So we’ll let you in on a little secret: It can be done by just about anyone, young or old! Yes, some people know nothing about RVs, and they still successfully manage to add new lights.
Summary: If you have a round RV light cover, you may need to remove it before installing your new light. There are a few different ways to do this:Use a screwdriver to pry off the light cover. Use a blade to make a small hole in the center of the cover and then use a wrench to unscrew the cover. Cut the cover off at the edge.
Tools and Materials
- Screwdriver
- Glove or cloth to hold the screwdriver (I used a leather work glove )
- Scotch Brite pad or wire brush
- Knife or half-round file
- Pliers to grip the tabs on the light lens covers.
- Damp cloth for cleaning the aluminum surface of dust, dirt, oil, and marine growth.
A Detailed Guide on How to Remove Round RV Light Covers
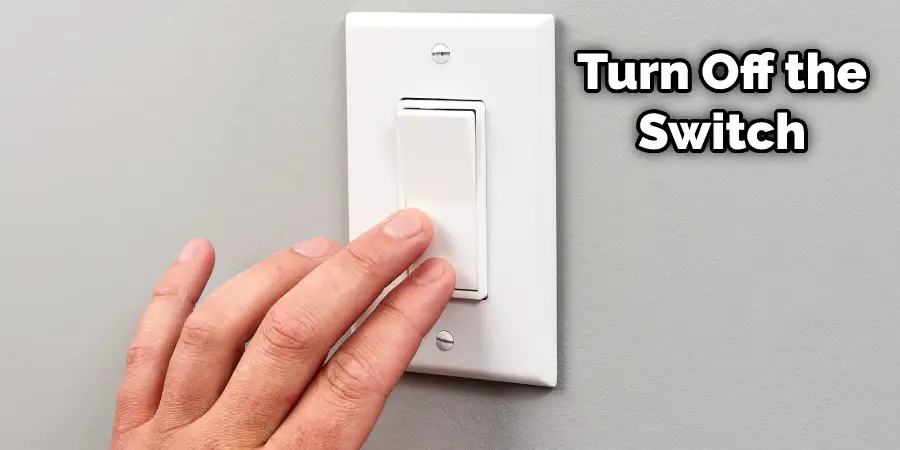
Step 1: Turn Off The Power
To change a lightbulb in an RV, you need to turn off the power first. Then, there will be screws holding the light cover in place. Remove the screws, being careful not to get shocked. If there is any corrosion around the screws, clean it up with sandpaper or a wire brush.
Next, place the stepladder under the light fixture and ensure it is steady. It would be a terrible day if you dropped a screwdriver down the vent and lost it, so make sure this step is done right!
Step 2: Pry Off The Seals
There should be little rubber seals that ‘snap’ into a place where each screw is located. You can use a knife (be careful) or pliers (careful of the metal tabs) to pry these off gently. Once all four of them are removed, you’ll easily be able to lift the cover off.
To remove the round RV light cover, first make sure that there are no screws holding it in place from underneath. If there are no screws, the cover should be able to lift off by itself. If there are screws, remove them and then the cover should be able to lift off by itself. Do not remove the rubber seals altogether; you’ll want to keep them in place for later.
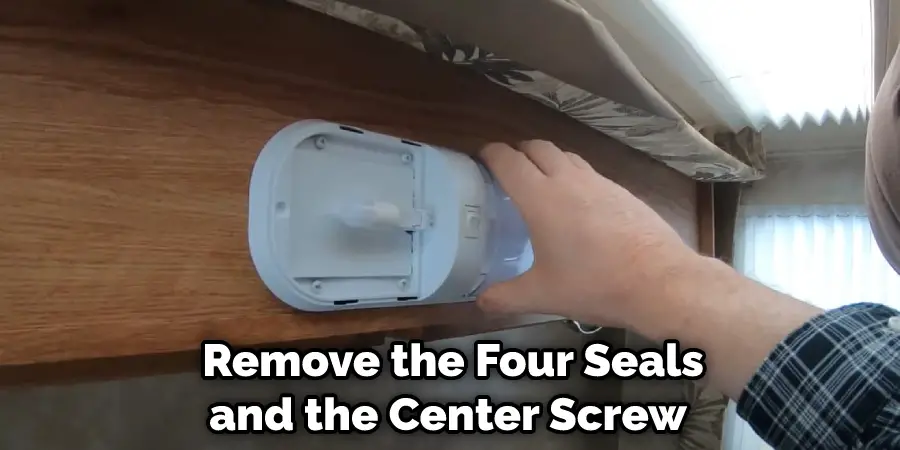
Step 3: Unscrew The Light Fixture
To remove a light fixture, first remove the four seals and the center screw. Then, locate the small metal tabs at each corner of where the light bulb meets the inside of the housing. Break them off with pliers or a knife, and then pull the rest of the fixture out.
At this point, I’d suggest taking a clean damp cloth and wiping down any rust, dirt, grime, etc., on any visible parts because when we start back together again, later on, we want everything nice and shiny!
Before you remove your old light bulb, it will be helpful to take a quick picture of how it is oriented about the way the fixture is positioned. You can do this with a notepad and pen or your smartphone to snap a photo. Okay, now unplug your light bulb (if plugged in), unscrew it from its base, and remember which way it came out so you’ll know how to reinsert it later on!
Step 4: Clean Up The Housing And Prep For Reassembly
You need to take the fixture out and then clean it with a damp cloth. After that, you need to clean up inside the fixture. The screws that hold the fixture together are very small, so you might need a magnifying glass to see them.

Once all four screws are removed (there should be eight altogether), gently pull apart the top and bottom halves. Be careful not to lose track of any washers, rubber gaskets, etc., as they may fall out when prying them apart. Make sure to clean up any rust or corrosion with either sandpaper or a wire brush before putting everything back together again.
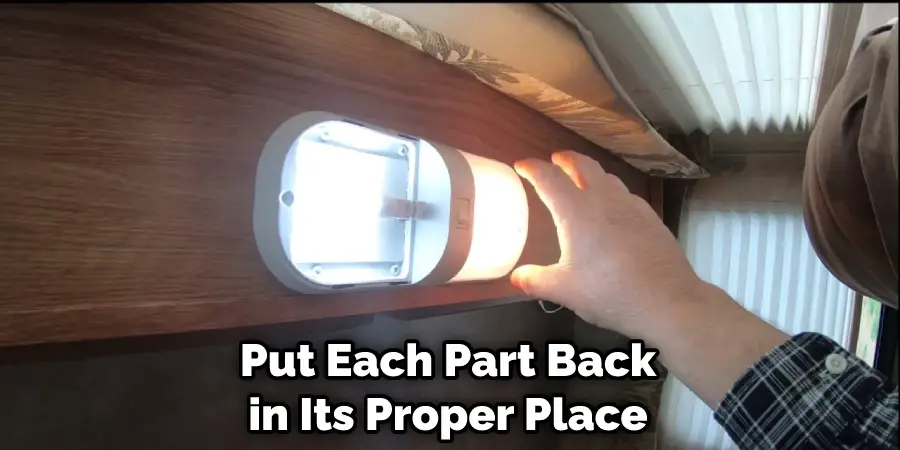
Step 5: Put It All Back Together
To put this back together again, you need to do the opposite of what you did to take it apart. Make sure you put each part back in its proper place, so you know exactly where it goes. Take your time during this step and make sure everything is clean before you tighten anything down. Once it’s all fastened securely, snap on the rubber seals one at a time until there are no gaps left between them. If they’re not snapping into place quickly, check all of your work to make sure you did everything correctly.
Turn The Power Back On And Test Your Work Before Putting It All Away For Good! The last thing I’d suggest is testing your lights after putting everything back together to make sure they work correctly. If they don’t, you may have to go back and fix something.
If this happens, be sure that the rubber seals are not touching any metal parts of the fixture or housing before putting everything back together again! I hope these steps will help you out with this problem, and remember: if you don’t succeed at first, try a different way around it! Also, these steps will help in how to remove round rv light covers.
You can check it out to Mount Light Bar on Roof Without Drilling
Precautions
Replacing light covers can be a relatively easy project. But if you are doing it for the first time, you might want to remember some basic precautions. So here are some things to keep in mind before beginning any project involving your Rv lights or fixtures:
- Turn off the power supply to the fixture/lights at the main breaker box before undertaking any electrical work on your motor home. How do you know which breaker box is the correct one?
- If any screws are corroded, replace them carefully with similar-sized replacements that fit tightly into holes without stripping or cross-threading them. Do not over-tighten screws, as this may strip the threaded hole and leave you with a bigger problem than when you started!
- If you have to replace a wiring connector, use the correct size and have the same number of wires as the original.
- Never work on an electrical system while standing in or near any water, including rainwater coming from roof gutters over your head. How do you know if there is water inside?
- Make sure all electrical boxes (fixtures/lights) are completely dry before beginning work on them; stand at least six inches away from any part of an electrical box when working with it; and make sure no parts of yourself ever come into contact with exposed connections at light fixtures or Rv battery posts, and no metal tools or implements ever touch exposed wiring or connectors until power has been turned off at the main breaker box.
- If any metal or electrical tools or implements come into contact with exposed wiring or connectors before power has been turned off, you will be electrocuted! How do you know if there is water inside?
- Always wear eye protection when working on Rv lights. How do you know if there is water inside?
- Don’t touch any metal tool or implement to the outside of an electrical box until power has been turned off at the main breaker box.
You Can Check It Out to: Remove Ceiling Light Cover With Clips
Frequently Asked Questions
What is the Cover on a Fluorescent Light Called?
Fluorescent lights are often called “cover” fluorescents because of the way they shield light from being emitted from within the lamp. This type of fluorescent is typically used in offices, where it helps to reduce eyestrain and improve worker productivity.
What is a Diffuser on a Fluorescent Light?
A diffuser is a popular fixture for use with fluorescent lighting. It attacks airborne particles and bacteria, reducing the amount of harmful light that reaches your plants or flowers. This can help to improve their growth and health overall. Additionally, it can also reduce the frequency of needed watering because less water will be required to reach all parts of the plant.
Should Fluorescent Lights Have Covers?
It is generally recommended that fluorescent light covers be used when the lights are not in use. This is to help reduce eye strain and other problems that can occur due to exposure to bright light. If you are using fluorescent light covers while the lights are in use, it is recommended that they be replaced every six months or sooner, depending on how often the lights are used.
Can You Cover Fluorescent Lights With Paper?
While technically possible, it is not advisable to cover fluorescent lights with paper. This will block the light and render the lamps useless. In addition, it can create a safety hazard by creating an electric shock.
Can Led Bulb Burn Paper?
the results of a laboratory test will vary depending on the ingredients and specifications of the particular LED bulb. That said, some manufacturers do claim that their LEDs can burn paper without causing any damage or adverse effects. So it’s worth doing your research before making a purchase so you know exactly what you’re getting yourself into.
Conclusion
We hope you have learned how to remove round rv light covers. When removing your RV light cover, be sure not to leave any residue as this can cause corrosion and damage. Instead, use a cloth or dry rag with rubbing alcohol to clean the area where you removed the cover before replacing it on your vehicle. This will prevent water droplets from getting inside the fixture, leading to rusting over time.
You may also read: How to Remove Round Bathroom Fan Light Cover