When you want to add some recessed lighting to your home, the first step is to cut the holes in the ceiling. If you’re lucky, your ceiling is made of sheetrock and it’s easy to cut through with a standard drywall saw. But what if your ceiling is made of wood? In that case, you’ll need to use a different method to cut the holes. Keep reading for instructions on how to do it.
There are many times when you may need to cut a hole in wood. Maybe you’re installing a new light fixture or changing the layout of your room. In any case, if you need to make a recessed light hole, it’s not as difficult as you may think. With the right tools and some simple instructions, you can have the job done in no time. Keep reading for more information on how to cut recessed light holes in wood.
Summary: If you’re looking to add a little extra light to your home without having to break the bank, then you may want to consider recessed lighting. But how do you cut recessed light holes in wood? Well, fortunately, there’s an easy way to do it using a jigsaw. All you need to do is make a few preliminary cuts and then use the jigsaw to finish the job.
Why May You Need to Cut Recessed Light Holes in Wood?
There are many different reasons why you may need to cut recessed light holes in wood. Such as:
1. Easy to Install
One of the main benefits of using recessed lights is how easy they are to install. Unlike other types of lighting fixtures, you can simply cut a hole in your wood and pop your lights right into place, making this a great option if you are working on DIY projects or remodeling your home on a budget.
2. Customizable Lighting
Another great benefit of using recessed lights is how customizable they can be. Because you can choose the size, shape, and placement of your light fixtures, you can create the perfect lighting for any space in your home. Whether you are looking to create a warm, cozy atmosphere in your living room or brighten up a dark hallway with some bright task lighting, recessed lights can help you achieve those goals.
3. Energy-Efficient
Recessed lights are also a great option if you are looking for energy-efficient lighting for your home. Because they sit flush with the wall or ceiling around them, these types of fixtures provide plenty of light without wasting energy on unnecessary heat generation.
4. Aesthetic Appeal
Finally, one of the main benefits of using recessed lighting is how it can enhance the look and feel of your home. Whether you are looking for a modern, industrial vibe or a cozy, rustic style, these versatile fixtures can help you achieve that aesthetic quickly and easily.
If you are considering installing recessed lights in your home, it is important to keep these benefits in mind, as they can help you determine how this type of lighting can best serve your needs. Preparing the surface and cutting the recessed light holes in wood can be a bit tricky at first, but with some careful planning and attention to detail, you can create a beautiful and functional lighting system in your home.

How to Cut Recessed Light Holes in Wood in 6 Easy Steps
Step 1: Determine the Location Recessed Light
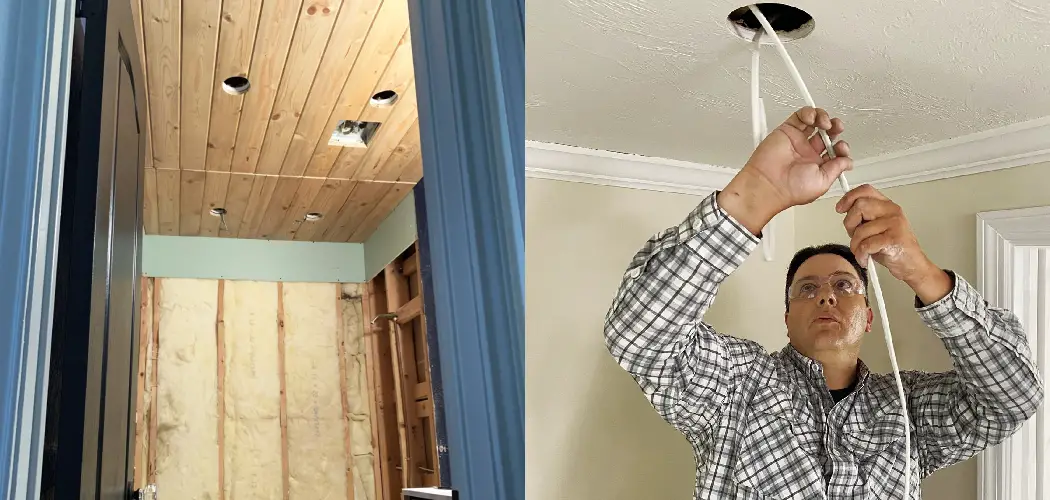
The first step to cutting recessed light holes in wood is to carefully plan the location of your recessed lights. Ideally, they should be placed so that they will evenly illuminate the room without casting harsh shadows.
Step 2: Measure and Mark the Location of Your Recessed Light
Once you have chosen the ideal location for your recessed light, use a pencil or marker to mark the spot on the wood where you will be cutting. Make sure that your marks are accurate and aligned with the edge of the wood so that you can easily follow them when making your cuts.
Step 3: Use a Jigsaw to Cut Rectangular Holes
Next, you will need to use a jigsaw to cut rectangular holes in the wood for your recessed lights. Make sure that your cuts are as level and straight as possible, and try to remove any imperfections or splinters from the edges of the hole.
Step 4: Drill Holes for Wiring
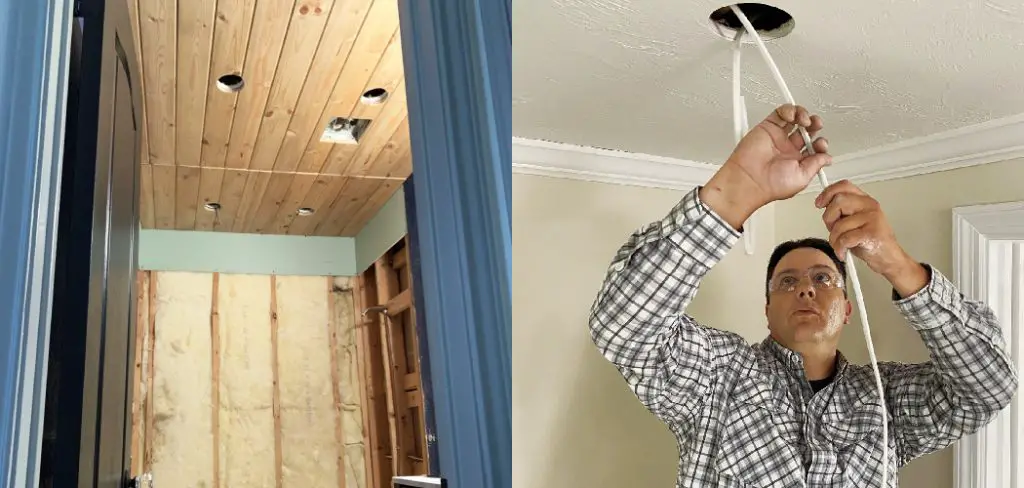
Once you have successfully made your rectangular hole for your recessed light, you will need to drill a few small holes in order to run the wiring into the wall and ceiling. This is an essential step that should not be skipped, as it allows you to safely connect your recessed light fixture to your home’s power supply.
Step 5: Place Your Recessed Light in the Hole
Once all of the wirings are in place, you can carefully lower your recessed light into the hole that you have made. Make sure that it fits comfortably and securely within the space, without any risk of falling out.
Step 6: Secure the Recessed Light
Finally, use screws or other fasteners to secure your recessed light in place, ensuring that it is safe and secure. You can then enjoy the benefits of your recessed lighting and a beautifully illuminated room!
Some Additional Tips to Cut Recessed Light Holes in Wood
1. Gather All the Necessary Tools
Before you begin, make sure that you have all the tools and supplies you will need to cut recessed light holes in wood. This may include a jigsaw, utility knife, drill with bits ranging from 1/8 inch to ¼ inch diameter, tape measure, pencil or marker, and safety goggles to protect your eyes while working.
2. Always Wear Safety Gear
It is important to always wear safety gear when cutting recessed light holes in wood. This includes eye protection, such as safety goggles, as well as a mask or respirator to protect your lungs from any particles that may be flying around while you are working.
3. Plan Before You Cut
When cutting recessed light holes in wood, it is important to plan ahead and make sure that you have everything marked properly so that you can get the right-sized hole without having to go back and re-cut. This may include using a pencil or marker to mark the edges of where the hole will go, as well as using a tape measure to make sure that the hole is properly aligned.
4. Take Your Time
Cutting recessed light holes in wood requires a careful and steady hand, so it is important to take your time and go slow to ensure that you get the perfect cut every time. Make sure to use smooth, even movements as you work so that the hole turns out clean and accurate.
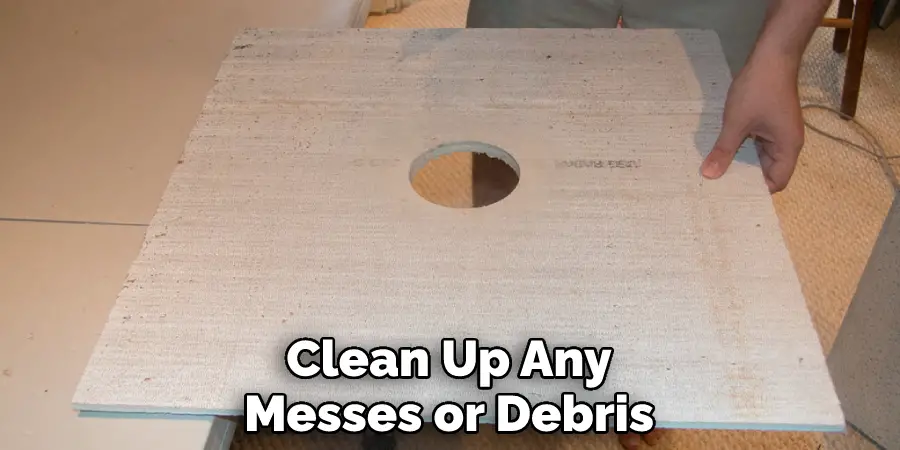
5. Clean Up After Yourself
Once you have finished cutting recessed light holes in wood, make sure to take a few minutes to clean up any messes or debris that may have been created while working. This will help keep your workspace neat and organized and ensure that you are able to work efficiently in the future.
Frequently Asked Questions
How Should I Prepare the Surface Before Cutting a Recessed Light Hole in Wood?
Before you begin cutting a recessed light hole in your wood surface, it is important to prepare the surface by sanding and smoothing any rough edges or imperfections. This will ensure that your light fixture fits securely and evenly into the opening without any gaps or unevenness.
What Size Hole Do I Cut for a 6-Inch Recessed Light?
To cut a 6-inch recessed light hole in wood, start by measuring and marking the center of your wood surface. Next, use a drill or hole saw to create a hole that is slightly larger than the diameter of your recessed light fixture. You can then sand and smooth the edges of this hole until it is even and flush with the rest of the wood surface.
How Many Can Lights for a 12×12 Room?
There is no one-size-fits-all answer to this question, as the size of a recessed light fixture will depend on the size and layout of your room. Generally, it is recommended to use at least two 6-inch lights for a 12×12 room, though additional can lights may be needed in larger or darker spaces.
Additionally, it is important to consider how you want your lighting to be distributed throughout the room, as well as how many lights are needed to achieve the desired level of brightness and ambiance. To determine how many recessed lights will work best for your space, it may be helpful to consult with a lighting expert or professional installer.
Conclusion
Now that you know how to cut recessed light holes in wood, you can tackle this home improvement project with confidence. Be sure to measure twice and cut once, and use a sharp saw blade for clean cuts. With a little patience and attention to detail, you’ll be able to install recessed lighting like a pro.
Recessed lighting is a beautiful and modern touch to any home. It can brighten up a space and make it feel more open. But, before you can enjoy your new recessed lights, you have to cut the holes for them. This may seem daunting, but with the right tools and instructions, it’s actually quite easy. Follow these steps, and you’ll be ready to install your new lights in no time.