
When it comes to illuminating your property, you have a few different options. You can go with traditional floodlights mounted on the roof or set up on poles. You can also install lighting in concrete. This option offers a few advantages over traditional floodlights. In this blog post, we will walk you through how to install lights in concrete, from start to finish.

If you’re interested in installing lighting in concrete, here’s what you need to know. First, it is more permanent and less likely to be damaged in bad weather. Second, it casts a wider light beam, making it ideal for large properties. Finally, it is less noticeable from the street so that it won’t distract drivers or pedestrians. Read on for more information!
Summary: Before starting, make sure to have all the necessary tools and materials ready. First, use a trowel to create a hole in the center of the light. Then use a drill to create a hole in the light’s housing. Finally, insert the light into the hole and secure it with screws.
8 Benefits of Installing Light in Concrete
1. More Permanent
Lighting installed in concrete is more permanent and less likely to be damaged than when installed in other materials. This is because concrete is a very strong and durable material that can withstand wear and tear.
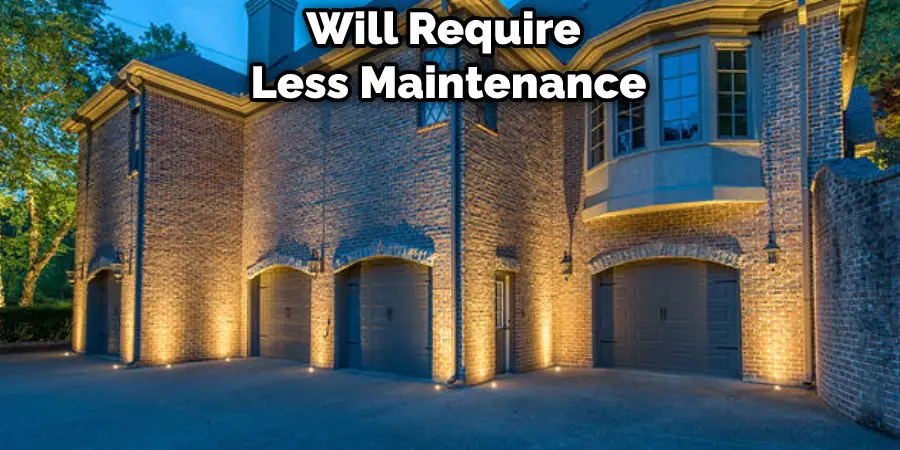
2. Less Maintenance
Because they are more permanent, lights installed in concrete will require less maintenance than those installed in other materials. This means you will save money on repairs and replacements over time. In addition, if the lights do need to be replaced, it will be easier to do so since they are installed in concrete.
3. Increases Safety
Installing lights in concrete can help increase the safety of your home or business. This is because proper lighting can deter criminals and make it easier for people to see when walking or working in the area.
4. Increased Aesthetics
Lights installed in concrete can also add to the overall aesthetic appeal of your home or business. This is because they can be used to highlight specific features of your property, such as landscaping features or architectural elements. In addition, when the lights are installed properly, they can create a warm and inviting atmosphere that is both pleasing to the eye and inviting to guests.
5. Wider Beam
The wider beam of LED lights installed in concrete provides a wider area of illumination, which can be beneficial in several different ways.
6. More Directional
Installing lights in concrete can help focus light on specific areas, such as walkways or driveways.
7. Easy to Install
Installing lights in concrete is easy because the material is strong and durable. If you’re not experienced in installing lights, you might want to hire a professional. But if you feel confident in your ability to do it, you should be able to install the lights yourself without any problems.
8. More Affordable
Finally, lights installed in concrete are typically more affordable than those installed in other materials. This is because concrete is a less expensive material to work with, which means that the project’s overall cost will be lower. If you are on a budget,
You Can Check It Out to How to Wire a Street Light
10 Effective Steps: How to Install Lights in Concrete
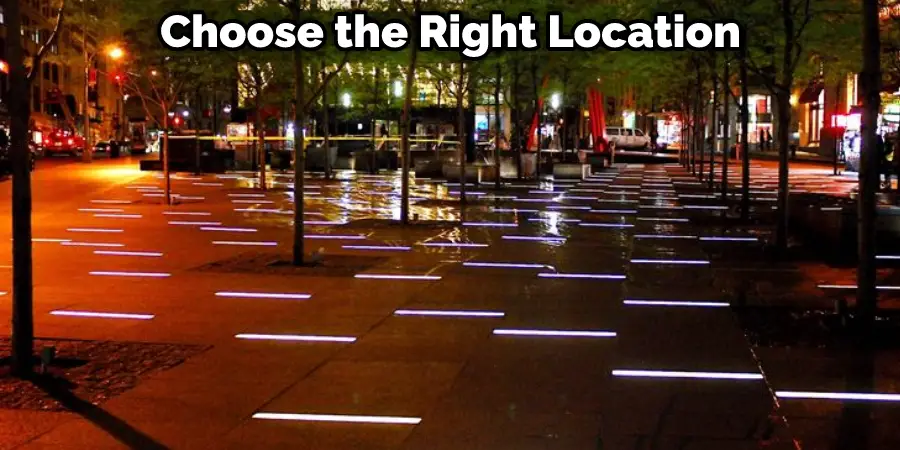
Step 1: Choose the Right Location
The first step in installing lights in concrete is to choose the right location. You will want to consider the size and shape of the area you are trying to light and the amount of sunlight it receives. Once you have chosen the perfect spot, you can begin planning your installation.
Step 2: Prepare the Area
Once you have chosen the location, you will need to prepare the area for installation. This includes clearing away any debris or vegetation and leveling the ground. If you are working with a large area, you may also need to excavate some of the soil.
Step 3: Mark the Location
After you prepare the area, you need to mark where the light will go. You can do this with a string or paintbrush. Then, use a hammer and chisel to make a small hole in the concrete. If the light is recessed, make the hole slightly larger than the light.
Step 4: Excavate the Hole
The next step is to excavate the hole for the light. You will want to ensure that the hole is slightly larger than the light itself. If you are working with a large light, you may need to excavate a larger hole. Because the hole is too small, the light will not be able to fit properly.
Step 5: Clean the Hole
Once the hole is excavated, you will need to clean it out. This can be done with a brush or a vacuum. You want to make sure that there is no debris or dirt in the hole, as this could prevent the light from sitting flush with the concrete.
Step 6: Insert the Light Fixture
Now you need to put the light into the hole. If the light is recessed, you will need to put screws in to hold it in place. Make sure the light is level before you screw it in place. If the light is not recessed, you can just drop it into the hole.
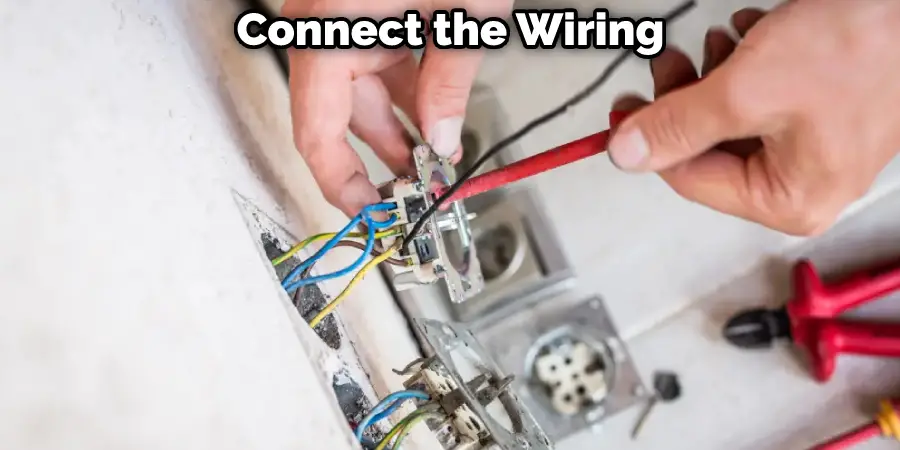
Step 7: Connect the Wiring
The next step is to connect the wiring to the light. If you are working with recessed light, you will need to run the wiring through the hole in the concrete. If you are working with a non-recessed light, you can connect the wiring to the light itself.
Step 8: Install the Light
Once you have inserted the light fixture and connected the wiring, you are ready to install the light. Start by attaching the mounting bracket to the base of the light using the screws that came with it. Then, holding the light in place, use a drill to screw the mounting bracket into the predrilled holes in the concrete. Finally, twist the light bulb and secure it with the retaining clip.
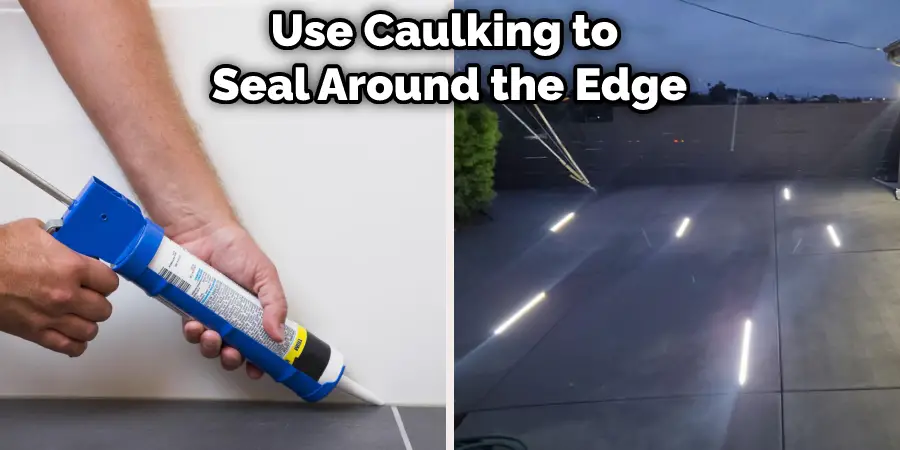
Step 9: Add Caulking
Once the light is installed, you will need to add caulking around the edge of the light. This will help to seal the hole and prevent water from getting inside. After adding the caulking, you can turn on the light to test it.
Step 10: Test the Light
If your under cabinet halogen light bulbs have burned out, or if you want to change them out for a different color or style, follow the steps below. You’ll need a few tools and supplies, but changing these bulbs is fairly simple. When the under cabinet light bulb burns out, you’ll need to purchase a new one. Be sure to get the same size and type of bulb as you’re replacing. You’ll also need a screwdriver and some tape.
These are the simple steps for anyone wondering how to install lights in concrete! If followed correctly, anyone can do it without any professional help!
You Can Check It Out to Change Under Cabinet Halogen Light Bulb
Some Helpful Tips & Suggestions
- Make sure to wear gloves and eye protection when working with concrete.
- Be careful not to drop the light fixture, as it could break.
- If you are working with a large light, you may need help holding it in place while you screw it into the concrete.
- Make sure that the excavated hole is slightly larger than the light fixture. This will allow you to get a tight fit.
- Use caulking to seal around the edge of the light after installation. This will help to prevent water from getting inside.
- Test the light before leaving the area to make sure it is working properly. Then, flip the switch and observe the light for a few minutes.
- When Installing the light, make sure the light is not in contact with any metal objects. This could cause a short circuit.
How Do You Install Lights on Existing Concrete?
Locate the desired location for the light on the concrete wall. Drill a slightly smaller hole in diameter than the base of the light using a hammer drill and masonry bit. The depth of the hole should be 1/2″ to 3/4″ deeper than the length of the light base. This will allow room for the epoxy to grip the sides of the hole.
Clean out any concrete debris from the hole using a vacuum or compressed air. Install an expansion anchor into the hole if desired. These anchors provide added support, especially useful in areas where people will be leaning against the wall (e.g. near a door handle). Next, mix the epoxy according to the manufacturer’s instructions. Apply the mixed epoxy to the light base and insert it into the hole in the concrete.
Gently twist the light base as you insert it to help seat it properly in the hole. Wipe away any excess epoxy that may have seeped out around the base. Allow the epoxy to cure for the amount of time specified by the manufacturer. Once cured, install the light bulb and screw on the light cover. There you have it! You’ve successfully installed a light in concrete.
Conclusion
Always test the lights in an inconspicuous area before installing them permanently. If everything checks out, go ahead and start installing them along the desired path. Use a heavy-duty staple gun or duct tape when securing rope lights to the ground. Ensure the wire is not visible and that no sharp edges are sticking out that could potentially harm someone.
Push each stake into one of the holes, ensuring that the light strings are tight against the ground. If needed, use more zip ties to secure them in place. We hope this guide on how to install lights in concrete has been helpful. If you have any questions or want to know more, then feel free to comment below!