When you are looking at adding some new lighting to your home, you may want to consider using led lights. These are a great option because they use less energy and last longer. One place that you may want to use them is in the corners of your rooms.
There are several ways to do this, and we will discuss a few of them here. In this article, we’ll show you how to do corners with led lights. So, keep reading for some helpful information, whether you are looking for a new way to light up your home or want some tips on how to use led lights.
Led lights are an excellent option for lighting up corners because they are small and unobtrusive. You can use them to create a soft, ambient light or add a bit of drama to a room. Many people like to use them in their living rooms or bedrooms, but they can be used anywhere.
Required Tools and Materials
- Tape measure
- Level
- Pencil or pen
- Ruler or straightedge
- Drill
- 3/8″ drill bit (or size appropriate for your mounting hardware)
- 1/4″ hex driver (for attaching mounting hardware to the wall)
A Detailed Guide on How to Do Corners With Led Lights
Step 1: Choose Your Location
The first step is determining where you want your LED light strip to be installed. Corners are often overlooked as an ideal location for LED light strips, but they can provide some great benefits.
Corners are important in design because they can help make a room look more put together. They can also help to show off special features in a room, like a piece of art or a cool detail in the architecture.
When Choosing a Corner for Your Led Light Strip Installation, It’s Essential to Consider the Following Factors:
- The size of the area you’re working with: You’ll need to ensure that your LED light strip is long enough to reach both sides of the corner.
- The ceiling height: You’ll need to make sure that your LED light strip is long enough to reach the top of the corner.
- The distance from the power outlet: You’ll need to make sure that your LED light strip is close enough to a power outlet to plug it in easily.
- The amount of sunlight that the area receives: You’ll want to avoid placing your LED light strip in an area that gets a lot of direct sunlight, as this can cause the lights to overheat and shorten their lifespan.
Step 2: Measure and Mark Your Wall
Once you’ve chosen your LED light strip location, it’s time to measure and mark your wall.
Start by measuring the length of the wall from one side of the corner to the other. Then, use a level to draw a line across the wall at your desired height.
Next, use a ruler or straightedge to draw a line from the top to the bottom of the corner. This will be your reference line for installing your LED light strip.
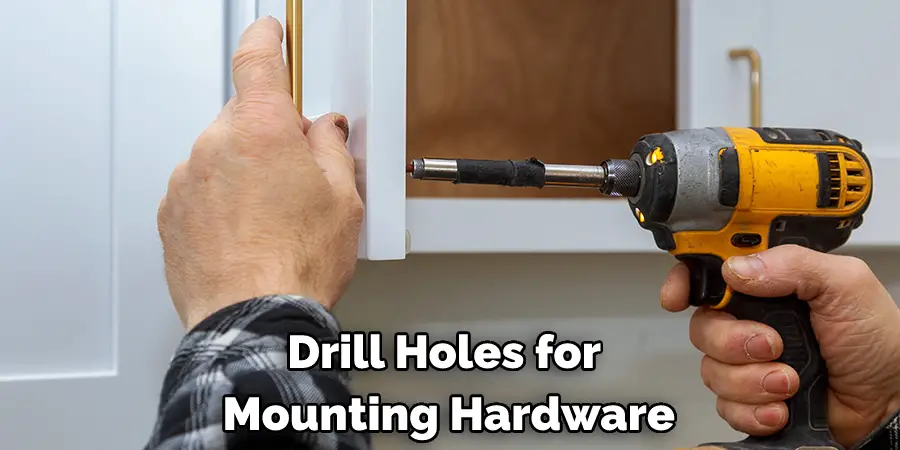
Step 3: Drill Holes for Mounting Hardware
Now that your lines are marked, it’s time to drill holes for your mounting hardware.
Start by drilling a hole at each end of your reference line. Then, space out additional holes evenly along the line, making sure that they are at least 6″ apart.
Step 4: Install Your LED Light Strip
Now that your holes are drilled, it’s time to install your LED light strip.
Peel off the backing on the LED light strip and attach it to the wall at one of your end holes. Then, continue running the strip along your reference line, connecting it to each of your remaining holes.
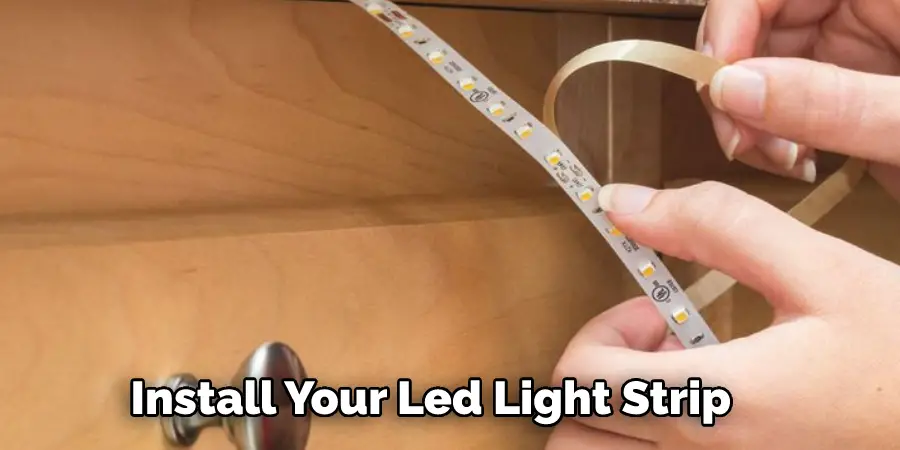
Finally, peel off the backing on the adhesive mounting hardware and attach it to the wall at each of your drill holes.
Step 5: Plug in Your LED Light Strip
Once you’ve installed your LED light strip, all that’s left to do is plug it in and enjoy!
Tips
- Choose the right size and shape of light. When it comes to creating corners with LED lights, size and shape are essential. You’ll want to make sure that the lights you choose are small enough to fit into the corner without being too intrusive.
- Consider the color of the light. LED lights come in various colors, so you can choose an option that best suits your space. Opt for white or yellow lights if you want a more subtle look. For a bolder statement, go with blue or green.
- Decide how many lights you need. This will depend on the size of the corner and the amount of light you want to achieve. A general rule of thumb is to use two lights per square foot.
- Do not try to do this without help. It is best to have someone assist you to avoid injury.
- Make sure that the area you are working in is well ventilated. The chemicals used in LED lights can be harmful if inhaled.
- Wear a dust mask and gloves to avoid inhaling chemicals and getting them on your skin.
- Apply the led lights in small sections, about 2 inches wide. This will help ensure that the adhesive does not dry out before you can apply it.
- Wipe away any excess adhesive with a damp cloth. Excess adhesive can cause the led lights not to adhere correctly.
- Allow the area to dry completely before moving on to the next section.
- Repeat the process until the entire corner is complete.
With these tips in mind, you’ll be able to create corners with LED lights like a pro!
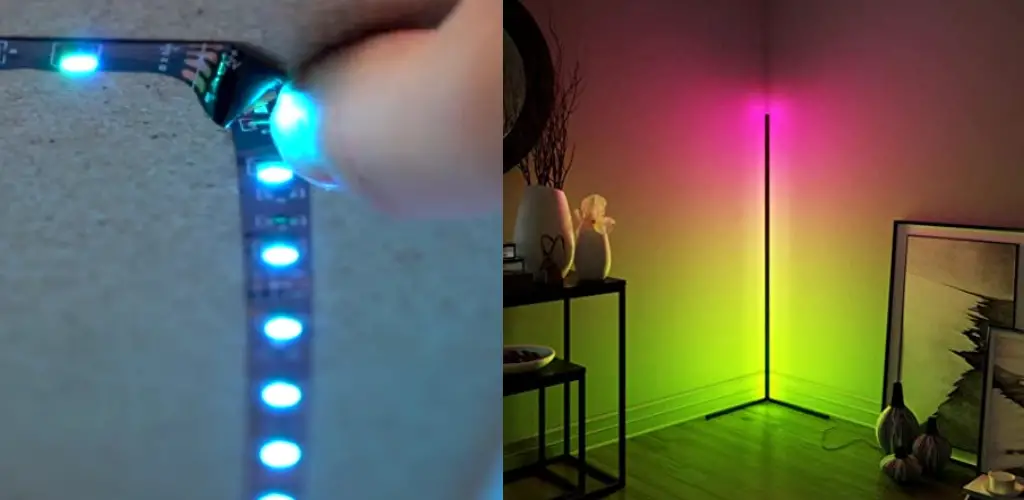
Can Led Strip Lights Go Round Corners?
Led strip lights can go round corners. They are often used to light up coves and other hard-to-reach places. The key is to use the correct type of led strip and install it properly.
There are two types of LED strips: rigid and flexible. Rigid strips are made of solid aluminum and have a series of LEDs. Flexible strips are silicone or plastic and have LEDs mounted on a thin, flexible circuit board.
Rigid strips are better for straight lighting lines, while flexible strips are better for lighting curved surfaces. Choose a strip that is appropriate for the shape of the area you are trying to light.
To install a LED light strip, you need to make sure the strip is securely attached to the surface and that the LEDs are pointing in the right direction. Otherwise, the lights will point in all different directions and ruin the effect.
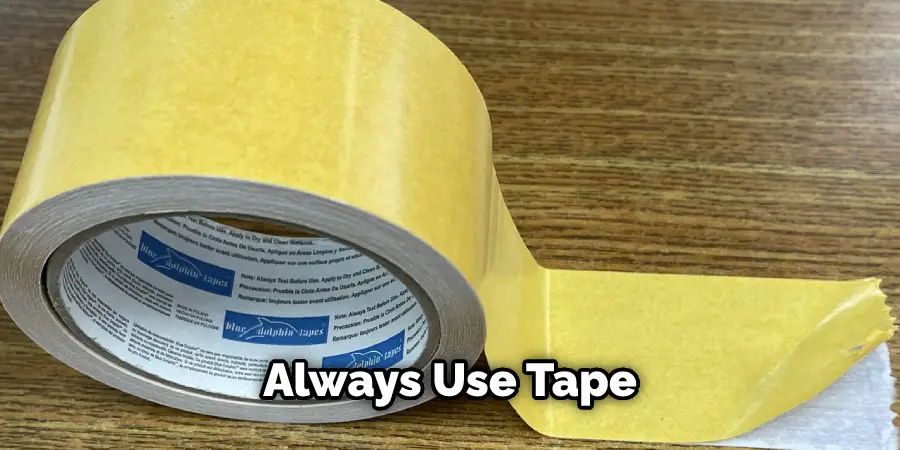
When installing led strips, always use tape or another adhesive designed for use with electronics. Do not use household glues or adhesives, as these can damage the leds or circuit board.
If you want to install led strip lights around any corner, there are some things you should do. First, you need to find a place to put the strip lights. Next, you need to practice installing the lights. Once you get the hang of it, you will be able to create beautiful light displays that will amaze your friends and family.
Why You Shouldn’t Bend Your Led Light Strips?
One of the most frequently asked questions we get here at LED strips is, “Why shouldn’t I bend my LED light strips?”. There are a few reasons for this, which we will go over in this blog post.
1. Bending your LED light strip can damage the diodes.
When you bend an LED light strip, you are putting stress on the diodes. This can cause them to break or crack, which will affect the quality of the light output and eventually lead to failure.
2. Bending your LED light strip can cause interference with the electrical current.
When you bend an LED light strip, you can create kinks in the electrical conductor, which can cause the current to become interrupted. This can result in dimming or flickering of the light output and possible electrical hazards.
3. Bending your LED light strip can cause changes in the color of the light output.
When you bend an LED light strip, you can change the wavelength of the light that is emitted. This can result in a shift in the color of the light, which may not be desired.
4. Bending your LED light strip can reduce the overall lifespan of the strip.
Bending an LED light strip can put stress on the components and shorten the strip’s lifespan. If you want your LED light strip to last as long as possible, it is best to avoid bending it.

5. Bending your LED light strip can make installation more difficult.
If you install your LED light strip in a tight space, bending the strip can make it more difficult to route the strip and get it installed correctly. This can lead to frustration and cause the installation to take longer than necessary.
Rigid strips are great for creating straight lighting lines, while flexible strips are perfect for lighting up curved surfaces. When choosing a strip for your project, make sure to select one that is appropriate for the shape of the area you are trying to light.
Frequently Asked Questions
Is it OK to look directly at LED lights?
There is no harm in looking directly at LED lights, as long as you do not stare at them for an extended period of time. While LED lights are more energy efficient than traditional incandescent lights, they still produce some amount of light. If you are looking to save energy, it may be better to avoid staring at LED lights altogether.
Is it OK to cut LED strip lights?
Yes, it is generally OK to cut LED strip lights. However, it is important to be careful when cutting LED strip lights because they can be easily damaged. It is best to use a sharp knife or cutter that is designed specifically for cutting LEDs, and to take care not to blunt the edges of the blade. When cutting LEDs, it is also important to avoid touching the light source itself – if you do, you may end up putting your hand directly in contact with the hot light bulb, which could cause injury.
Where should you not use LED lights?
There are a few places where LED lights should not be used, due to the potential for negative consequences. Some of the most common areas where LED lights should not be used include:
1. Around pets or children: LED lights are potentially harmful to both pets and children, and may cause them to become alarmed or injured.
2. In high-traffic areas: LED lights are often bright and distracting, and their use in high-traffic areas can lead to accidents and other safety hazards.
3. Near windows: LED lights can easily reflect off of windows and be visible from outside, potentially disrupting your privacy or causing discomfort or distraction when you’re trying to sleep.
4. Near water:LED lights are often powerful and can cause damage to property or harm aquatic life if they’re placed near water.
5. Near electrical outlets:LED lights are susceptible to interference from electric current, which can lead to problems with both lighting and electronics.
How long do LED strip lights last?
LED strip lights typically last between 10,000 and 25,000 hours, which is about 3 to 5 years on average. It is important to keep the light bulbs clean and free of dust, debris, and other pollutants to ensure long-term reliability and performance.
Conclusion:
Corners with led lights can be a great way to improve the look of your home. They are easy to install and add a touch of luxury. If you are thinking about installing corner lights in your home, we recommend using led lights. Led lights are energy efficient, durable, and stylish. They will help you achieve the look you want for your home while saving you money on your energy bill. We hope you find this article on how to do corners with led lights helpful.