
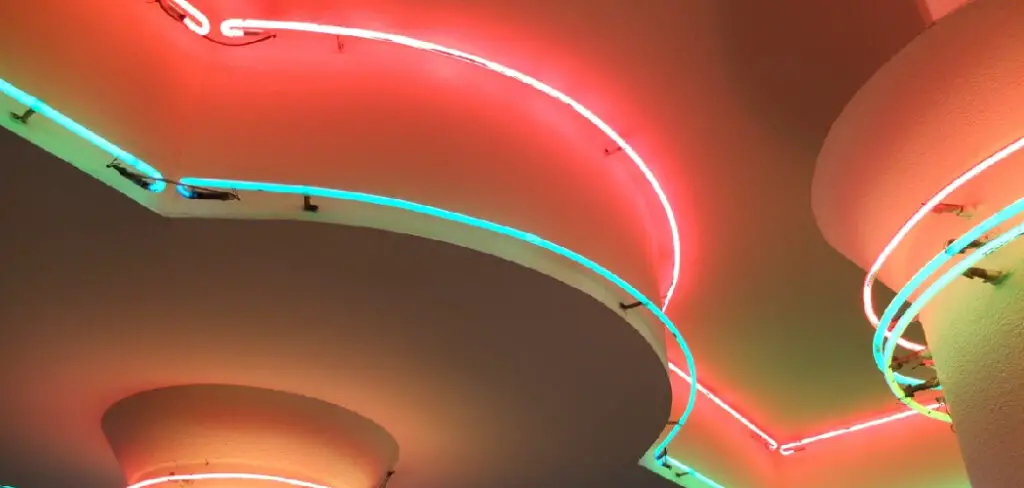
Are you looking for an easy way to add some extra light to your home? If so, you may want to consider installing govee LED strip lights. These lights are simple to install and can be used in various ways. For example, ceiling govee led strip lights are a great way to add some extra light to a room, and they’re straightforward to install. This post will discuss how to install govee led strip lights on ceiling. Keep reading for more information.
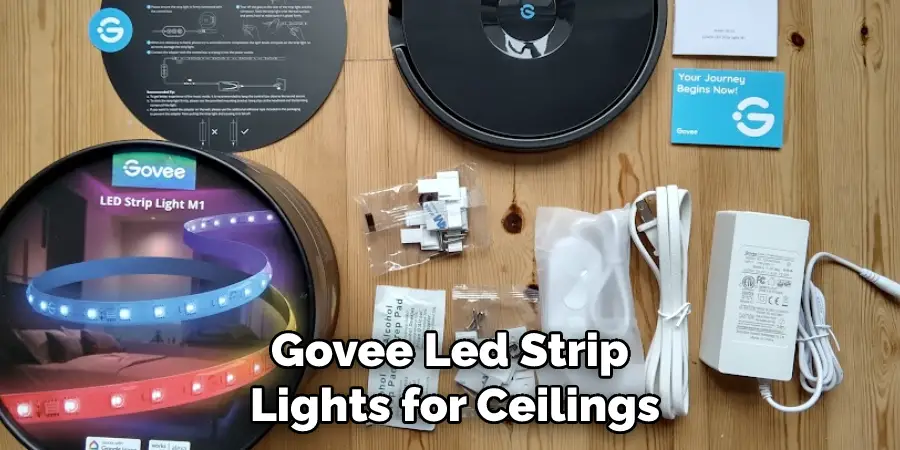
Summary: If you are looking to install Govee LED strip lights on your ceiling, there are a few things that you will need to do first. First, you will need to purchase the lights. Second, you will need to install the lights. Finally, you will need to connect the lights to your home’s electrical system.
How to Install Govee Led Strip Lights on Ceiling Step by Step
Step 1: Decide the Light Type.
Before you can begin, you’ll need to decide what kind of light(s) you want in the room and how many. This will depend on the size of the room and the number of fixtures you currently have. If you’re unsure, it’s best to overestimate and purchase more than needed. This way, you can cut it to the correct size later.
Before starting work on your govee led strip lights, turn off the power to the room at the breaker box. Also, be careful not to drill into a gas line. Do not allow children to play with the lights, as they could be injured. If you are going to use an extension cord, make sure it is a heavy-duty one.
Determining how many lights and what type you need is just the first step. Next, you’ll need to measure the area of the room. To do this, simply measure from corner to corner along each wall. Be sure to write down all measurements for later use.
Step 2: Measure the Distance With a Measuring Tape
Measure the width of your room at each wall, in several places. This will ensure that your LED strip light fits well. Govee LED strip lights come in a variety of sizes.
Once you have all the width measurements, it’s time to measure for height.
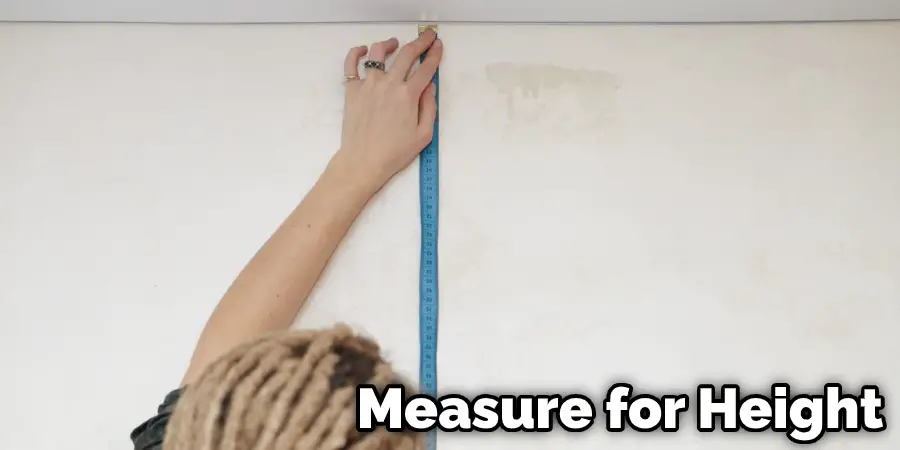
Once you have all your measurements, it’s time to get out the ladder and begin installing. I’ll begin with the decorative panels first. Decorative panels are the panels that don’t have any functionality to them, they just look nice. They’re usually made of a much thinner material and can be placed in the opening or installed on top of the opening. The majority of houses will have one or two decorative panels, but you may have more depending on your needs.
If possible, mount each light in a location where it will be near an outlet.
Step 3: Plan the Route, Locate a Power Source and Measure the Length of Strip.
After you’ve measured the length of each wall, you can begin planning to place your lights.
If you’re putting govee led strip lights on your ceiling, it’s best to have them spaced out evenly. But you can also get creative and put some at different intervals to make a fun accent wall.
To begin planning the circuit layout for your new govee led strip lights, locate a power source in the ceiling. This can be a light fixture, receptacle, or switch.
Once you have found your power source, measure from it to each wall and record those measurements as well if there is no existing power source in the room that will work for this project, pick one area to start and run the wire from that location to the closest power source.
Step 4: Check Your Ceiling Type
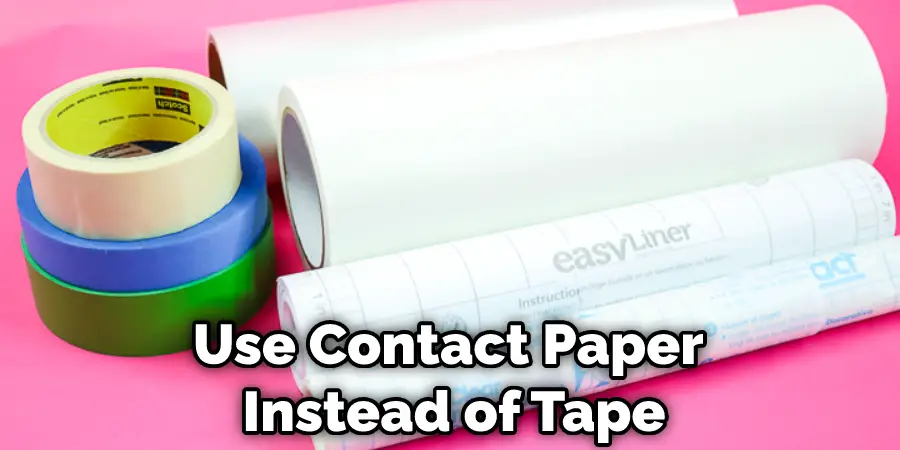
Before you begin installing your govee led strip lights on the ceiling, check that your ceiling is a smooth surface. You may need to patch a small area in the drywall if it has a bump or dip. If you do not have a smooth surface, you can use contact paper instead of tape for temporary installation until your patches are complete.
Step 5: Prepare the Surface for Installation of Govee Led Strip Lighting
To install your new govee led strip lights, you will need to prepare the surface of the ceiling. You can do this by using a putty knife or scraper to remove any old paint, dust, and cobwebs from the surface. If a small patch is needed, you can use joint compound or spackling paste to smooth it out. Otherwise, a skim coat of paint will do just fine.
Step 6: Install the Leds on the Ceiling
Now that you have cleaned the surface, it’s time to install the LEDs. Use double-sided tape to gently press down each LED on the ceiling. Be careful not to bend them, so they don’t break. Once all of the LEDs are in place, connect them using wire nuts and electrical tape.
For a more professional-looking installation, govee strip lights can be installed in-line. You can do this by cutting strips of drywall or plasterboard to fit between the LEDs and securing them with construction adhesive. This method takes more time but gives you better results in the end. Step 6: Turn on the power.
After you’ve finished installing your govee led strip lights, turn on the power to the room and test them out. Govee has a variety of lighting modes for you to choose from, so be sure to switch through them all before deciding which one you like best.
Once you’ve found a lighting mode you like, the only thing left to do is sit back and enjoy! Be sure to flip the power off when no one is in the room. This will help save energy and keep your lights running for longer.
Step 7: Connect the Led Strips to the Power Source and Test
Once you’ve finished installing your new strip lights, it’s time to connect them to the power source and test them out. Some govee strip lights come with remote control, which makes this even easier for you! Govee has a variety of lighting modes for you to choose from, so be sure to flip through them all before deciding which one you like best.
Once you’ve found a lighting mode you like, the only thing left to do is sit back and enjoy! Be sure to flip the power off when no one is in the room. This will help save energy and keep your lights running for longer. If you want to know more about how to install govee led strip lights on ceiling keep reading.
Step 8: How to Turn on the Power

To install your new govee led strip lights, you will need to prepare the surface of the ceiling. You can do this by using a putty knife or scraper to remove any old paint, dust, and cobwebs from the surface. If a small patch is needed, you can use joint compound or spackling paste to smooth it out. Otherwise, a skim coat of paint will do just fine.
Now that you have cleaned the surface, it’s time to install the LEDs. Use double-sided tape to gently press down each LED on the ceiling. Be careful not to bend them, so they don’t break. Once all of the LEDs are in place, connect them using wire nuts and electrical tape.
For a more professional-looking installation, govee strip lights can be installed in-line. You can do this by cutting strips of drywall or plasterboard to fit between the LEDs and securing them with construction adhesive. This method takes more time but gives you better results in the end.
Now that you’ve finished installing your new strip lights, it’s time to connect them to the power source and test them out. Some govee strip lights come with remote control, which makes this even easier for you! Govee has a variety of lighting modes for you to choose from, so be sure to flip through them all before deciding which one you like best.
Once you’ve found a lighting mode you like, the only thing left to do is sit back and enjoy! Be sure to flip the power off when no one is in the room. This will help save energy and keep your lights running for longer.
Step 9: Enjoy your New Lighting
From the above process, you will find to Install Govee Led Strip Lights on Ceiling, hope this install govee led strip lights on ceiling is helpful for you. You can also search Install Govee Led Strip Lights on Ceiling articles in our blog which is located in lighting category. At last if you want to know Install Govee Led Strip Lights on Ceiling then please leave a comment in comment box.
Keep reading for more information about how to install govee led strip lights on ceiling.
Why Install Govee Led Strip Lights on Ceiling

There are many reasons why you may want to install govee LED strip lights on your ceiling. Here are some of the most common reasons:
1. To Add Extra Light to a Room – One of the primary reasons people install govee LED strip lights on their ceiling is to add extra light to a room. LED strip lights are a great way to brighten up a dark room, and they can be used in a variety of ways.
2. For Decoration – LED strip lights can also be used for decoration. If you want to add some extra flair to your home, installing govee LED strip lights on your ceiling is a great way to do it.
3. To Make a Room Safer – Another common reason people install govee LED strip lights on their ceiling is to make a room safer. Installing govee LED strip lights in your bathroom, for example, can help to keep the room well-lit when you turn out the lights at night.
You Can Check It Out To Install Outdoor Light on Brick Wall
Frequently Asked Question
Does It Really Work?
Yes, it does. People have been using Govee LED Strip Lights to light up their ceilings with ease and great results.
What Are the Best Fixtures to Use With These Types of Light Strips for Ceilings?
The best type of light fixtures to use with Govee LED Strip Lights for ceilings are flush mount or semi-flush mount fixtures. These fixtures will help to evenly distribute the light from the LED strip lights and create a beautiful and luminous ceiling.
What Are the Benefits of Installing Govee Led Strip Lights on Ceiling?
Standard benefits:
- Adds a touch of luxury and elegance to any room
- Creates a warm and inviting atmosphere
- Can be used to highlight architectural features or specific areas in a room
Emotional benefits:
- Makes you feel like you’re living in a high-end hotel or resort
- Gives your home a unique and stylish look that’s all your own
Do I Need a Transformer for Led Strip Lights?
You may need a transformer if your LED strip lights are more than 12 volts. Most LED strip lights are 12 volts, so you may not need a transformer.
How Many Led Strip Lights Can You Connect Together?
You can connect up to 5 meters of LED strip lights together.
Do Led Lights Use a Lot of Electricity?
LED lights use very little electricity and are a great way to save on your energy bill.

Conclusion Paragraph
The installation process is quick and easy. Don’t hesitate to install govee LED strip lights on your ceiling! Let’s get started with the installation guide, but first, let’s do a little research about how you can use this product for maximum effect. Here are some of our favorite ways to design around these flexible LEDs. We hope that gives you inspiration as well as peace of mind when it comes time to start installing them in your own space.
If there’s something else we should know before getting started, please don’t hesitate to reach out! Thanks for reading our post about how to install govee led strip lights on ceiling.
You Can Check It Out To Reset Led Light Strips