If you’re like me, you love the look of recessed lighting but don’t love the price tag. Especially when you have to hire an electrician to do the installation! Well, I’ve got some excellent news for you. You can quickly fill in those pesky gaps in your recessed lighting using some typical materials that you may already have around your house. So read on for how to fill gaps in recessed lighting. Then, keep reading to learn more.
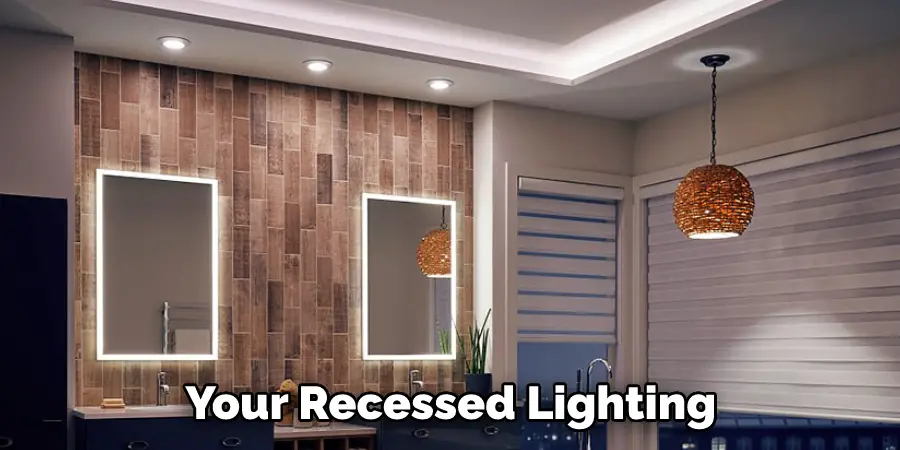
Recessed lighting is a type of lighting that is installed into the ceiling so that it is flush with the surface. This gives the illusion of more space and can make a room look more open and airy. However, one downside to recessed lighting is that it can leave gaps in your ceiling. These gaps can be unsightly and can make your room look less finished.
Summary: Filling gaps in recessed lighting is essential to improve the appearance of your fixtures and to enhance energy efficiency by preventing air leaks. Gaps can occur due to improper installation, settling of the house, or changes in the ceiling material. To fill these gaps, you can use caulk, trim rings, or a combination of both, depending on the size of the gap and your preferred aesthetic outcome.
For smaller gaps, a high-quality, paintable caulk can be applied around the edges of the recessed light fixture. Before applying, clean the area around the gap to ensure proper adhesion. Use a caulking gun to apply a thin, even bead of caulk around the perimeter of the fixture, and then smooth it out with a damp finger or a caulk smoothing tool.
Allow the caulk to dry according to the manufacturer’s instructions before painting, if necessary. For larger gaps, installing a trim ring or an oversized trim can effectively cover the space between the fixture and the ceiling. These rings are available in various styles and sizes and can be easily installed by snapping or sliding them into place around the recessed light. Combining both methods may be necessary for more significant gaps or to achieve a seamless appearance.
Why Do Recessed Lights Have Gaps in Them?
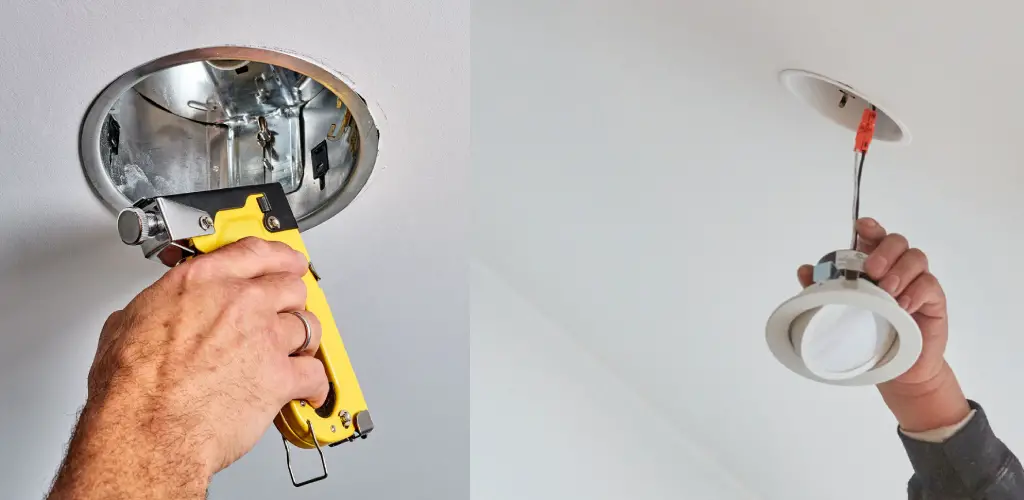
Recessed lights, also called can lights, are lighting fixtures installed into a hole in the ceiling. They are popular because they provide good task lighting while being relatively unobtrusive. However, one downside to recessed lighting is that the fixtures often have gaps.
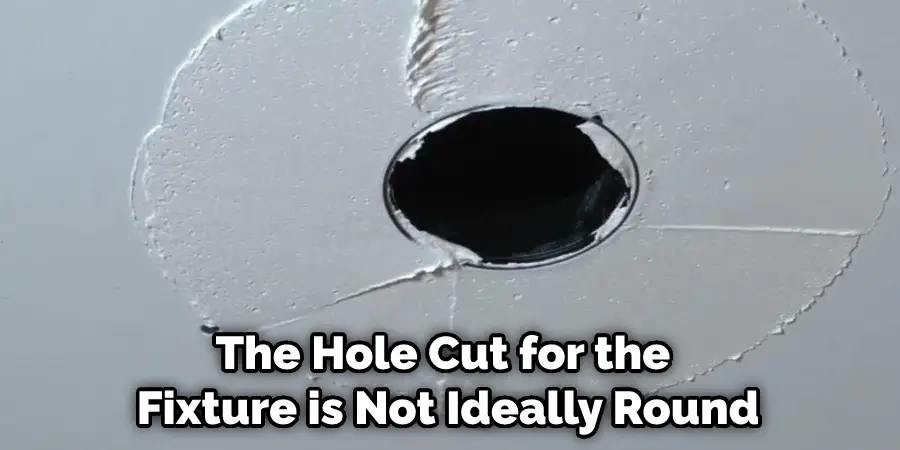
Gaps around recessed light fixtures can occur for several reasons. The most common reason is that the hole cut for the fixture is not ideally round. This results in gaps between the edge of the hole and the fixture itself. Gaps can also occur if the trim ring around the fixture is not sealed correctly or if there is insulation in the way.
Regardless of the cause, gaps around recessed light fixtures can be unsightly and let in unwanted drafts. Fortunately, there are a few ways to fill these gaps and make your recessed lights look better.
A Detailed Guide on How to Fill Gaps in Recessed Lighting
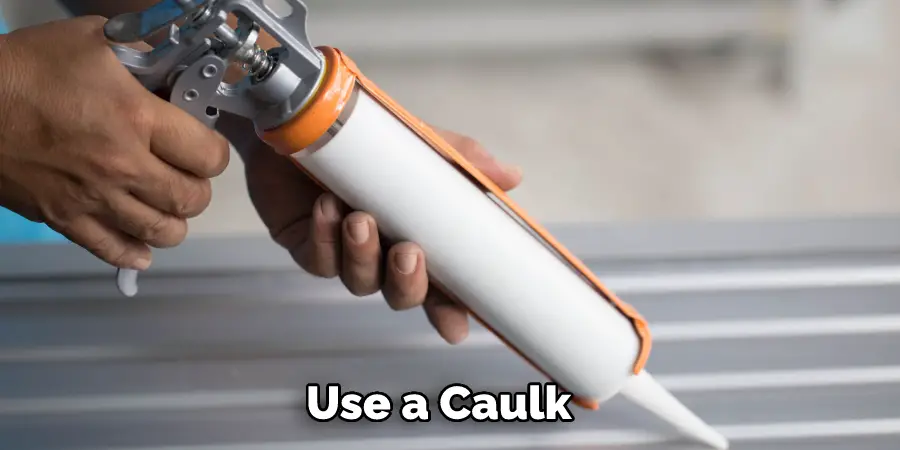
Method 1: Use Caulk
If you have gaps in your recessed lighting, one of the best ways to fill them is by using caulk. Caulk is an excellent option because it is easy to apply and dries quickly. Plus, it can be painted to match the surrounding area if needed.
What You’ll Need:
- Caulk
- Caulking gun
- Putty knife
- Water
Step 1. Determine the size of the gap.
The first step is to determine the size of the gap that you need to fill. This will help you choose the right type of caulk and determine how much caulk you’ll need.
Step 2. Select the correct type of caulk.
There are many different types of caulk available, so it’s essential to select the right one for your needs. Latex caulk should be sufficient if you’re filling a small gap. An expanding foam sealant or an epoxy-based caulk would be a better option for larger gaps.
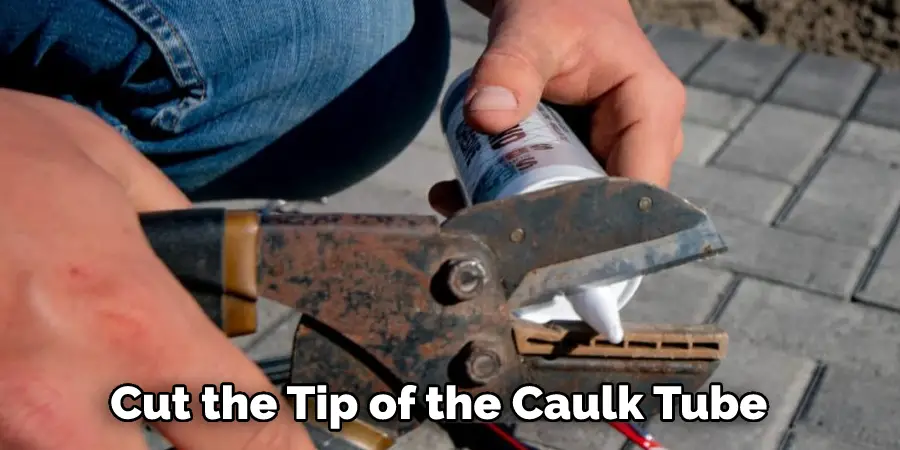
Step 3. Cut the tip of the caulk tube.
Once you have the right type of caulk, cut the tip off the caulk tube. Make sure to cut the tip at an angle to make the hole slightly larger than the gap you’re trying to fill.
Step 4. Apply the caulk.
Now you’re going to use the caulk. Put the tube’s tip into the gap and squeeze the trigger on the caulking gun. Apply a continuous bead of caulk until the gap is filled. Then, use a putty knife or your finger to smooth out the caulk.
Step 5. Allow the caulk to dry.
After applying and smoothing out the caulk, allow it to dry for at least 24 hours before painting or staining it.
Tips:
- To avoid creating a mess, you can use a small amount of petroleum jelly or vegetable oil on your finger to help control the flow of caulk.
- If you’re not happy with the results of your first attempt, clean up the area and start again.
- Once the caulk is dry, you can use a utility knife to trim away any excess.

Method 2: Use Foam Seal
A foam seal is a product sprayed into place and forms a tight seal around your recessed light. This will fill the gaps and prevent any future drafts or leaks.
What You’ll Need:
- Foam seal
- Caulking gun
- Scissors
- Ladder
Step 1. Prepare the Area
Before you begin, make sure the area around the recessed light is clean and free of debris. You’ll also want to ensure the light is turned off so you don’t accidentally spray yourself with foam sealant.
Step 2. Cut the Tip of the Foam Sealant
Using scissors, cut the tip of the foam sealant can so that it’s about ¼ inch wide. This will ensure that you don’t create too big of a mess when applying the sealant.
Step 3. Apply the Foam Sealant
Attach the foam sealant can to the caulking gun and then place the tip into one of the gaps around the recessed light. Slowly pull the trigger on the caulking gun to dispense the foam sealant. Continue around the perimeter of the recessed light until all gaps are filled.
Step 4. Let the Foam Sealant Dry
Once all gaps are filled, let the foam sealant dry for at least 24 hours before turning on the recessed light. This will give the sealant time to form a tight, durable bond.
Recessed lights are a great way to add ambient lighting to any room in your home. But if they’re not installed properly, they can let in drafts and cause energy bills to skyrocket. One way to prevent this is by filling any gaps around the recessed light with foam sealant. This will create a tight seal that will help insulate the area and keep drafts out. Just follow the steps above, and you’ll have your recessed lights sealed up.
Tips:
- If you accidentally get foam sealant on the surface of the recessed light, use a wet rag to wipe it away.
- For an even more airtight seal, apply a bead of caulk around the perimeter of the recessed light before applying the foam sealant.
Method 3: Use Foam Tape
Foam tape is a type of adhesive-backed foam that is popular for various applications, including weatherproofing and soundproofing. It is also frequently used in the construction industry.
Foam tape is an inexpensive and easy way to fill gaps in recessed lighting. It is also relatively easy to install, making it a good option for do-it-yourselfers. Additionally, foam tape can be easily removed if necessary.
One potential drawback of using foam tape is that it may not adhere well to surfaces like textured walls. Additionally, foam tape is not always the most aesthetically pleasing option. However, it is still a crucial method for filling gaps in recessed lighting.
What You’ll Need:
- Foam Tape
- Measuring Tape
- Knife or Scissors
Step 1: Measure the Gap
Use a measuring tape to measure the width of the gap you need to fill. Once you have determined the width of the gap, cut a piece of foam tape to size using a knife or scissors.
Step 2: Apply the Tape
Peel the backing off of the foam tape and apply it to the recessed lighting fixture, ensuring it is firmly pressed into place.
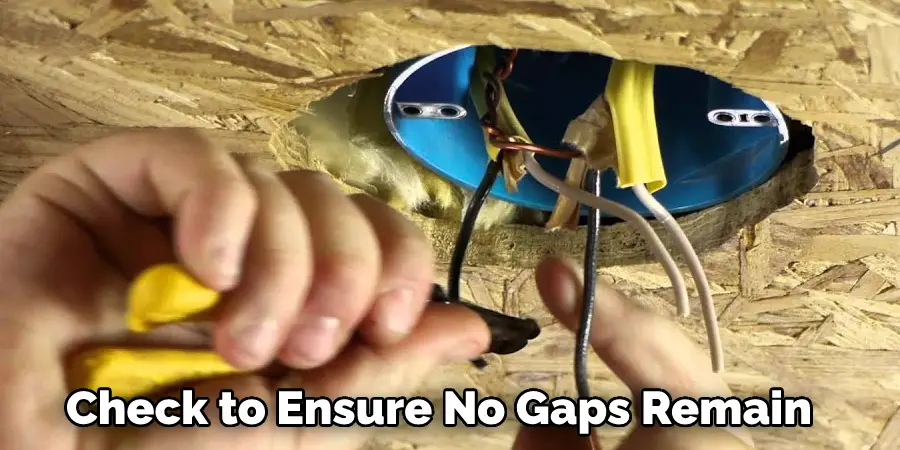
Step 3: Check for Gaps
Once you have applied the foam tape, check to ensure no gaps remain. If necessary, use additional pieces of foam tape until the gap is filled.
Tips
- If you are concerned about the foam tape not adhering well, you can use a small amount of construction adhesive to help secure it.
- For a more permanent solution, you can use expanding spray foam to fill the gap. However, this method is more complicated and should only be attempted if you are comfortable working with tools and chemicals.
Important Installation Steps for Retrofit Bulbs
Retrofit bulbs have become popular for homeowners who want to save money on their energy bills. However, the improper installation of these bulbs can cause a variety of problems, including energy inefficiency, safety hazards, and premature burnout. To address these challenges, a three-phase approach can be taken.
Phase 1: Purchasing Replacement Retrofit Bulbs
When buying retrofit bulbs, choosing bulbs with the correct wattage and base type for the fixture is crucial. Misplaced watts and incorrect base type can cause the bulbs to work improperly, thereby increasing the risk of safety hazards. Retrofit bulbs are advantageous as they consume less energy and can last longer than traditional bulbs.
Phase 2: Sealing the Poorly Installed Bulbs.
Proper sealing allows less heat to escape from the bulbs, which reduces energy loss and prolongs their lifespan. Before sealing, safety measures must be taken to avoid burns. The right equipment and materials are necessary for the sealing process to be efficient. One should use gloves and goggles while sealing bulbs.
Future Phase: Additional Tape Sealing
For future phases, additional tape sealing can be done. Additional sealing using tapes can provide more efficiency in heat safeguarding. It is highly recommended to tape the top edges of the trim to the ceiling to provide more significant support to the insulation.
Which Materials and Methods Are Best for Filling the Gaps in Your Recessed Lighting?
There are a few different ways to fill the gaps in your recessed lighting, and the best method will depend on the size and shape of the gaps. If the gaps are small, you can use caulk or putty to fill them in. You may need to use foam insulation or wire mesh for larger gaps. However, you could also try using LED strips or other creative solutions to fill in the gaps and give your recessed lighting a unique look.
Caulk or putty is suitable for small gaps around recessed light fixtures. However, it’s essential to choose the right caulk or putty for the job. Silicone caulk is a good option for most types of recessed lighting, but there are also specialized types of caulk designed for use with electrical wiring. Be sure to read the label carefully before purchasing caulk or putty to make it compatible with your recessed lighting.
Foam insulation can fill more significant gaps around recessed light fixtures. Choosing the correct type of foam insulation for the job is essential, as some types are not fire resistant and could pose a safety hazard if used near electrical wiring. Look for foam insulation labeled as “fire retardant” or “flame resistant.” Apply the foam insulation carefully, following the manufacturer’s instructions, and seal any cracks or openings in the foam so that it doesn’t expand and damage the surrounding area.
Wire mesh can also be used to fill gaps around recessed light fixtures. This method is best for larger gaps, as the wire mesh will need to be cut to size and then attached to the surrounding area with screws or nails. Be sure to choose a wire mesh made from fire-resistant material, and attach it securely so that it doesn’t come loose and pose a safety hazard.
When filling gaps around recessed light fixtures, choosing the suitable materials and methods for the job is essential. For example, caulk or putty can be used for small gaps, while foam insulation or wire mesh is best for larger holes. Be sure to select materials compatible with your recessed lighting and follow all manufacturer’s instructions carefully to avoid any safety hazards.
Frequently Asked Questions
Should I Caulk Recessed Lights?
Many homeowners choose to caulk recessed lights in order to prevent water and dust from getting inside the light bulb. Caulking is a reliable way of protecting your home’s wiring and electrical systems, as well as preventing moisture buildup that can cause mold or other problems.
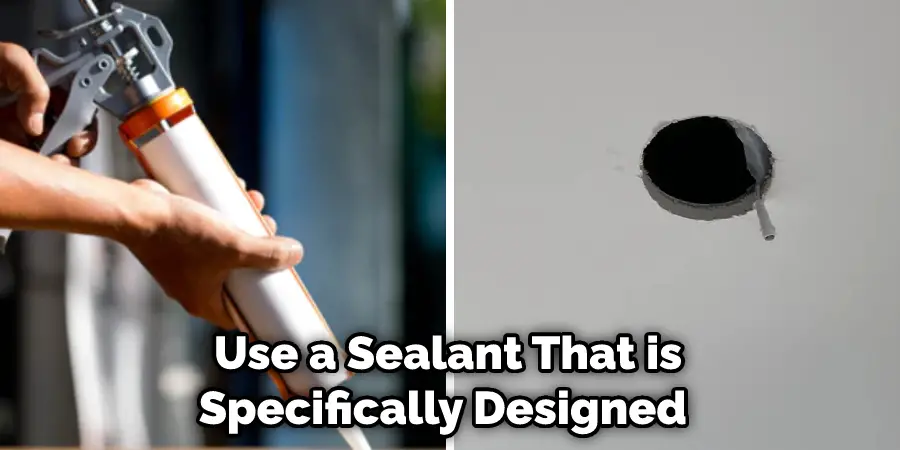
When installing caulk, be sure to use a sealant that is specifically designed for this purpose. Some examples include silicone-based caulks, urethane-based caulks, acrylics, and polyurethanes. Make sure you read the manufacturer’s instructions carefully before using the product on your own project so that you are able to accomplish a perfect job every time.
Can You Seal Recessed Lights?
Some sealed lights do come with a caulking gun and sealant but typically homeowners would use this same sealant on the exterior of the light. It is generally recommended that homeowners not try to seal lights that are recessed as it is not recommended due to the potential for water damage.
Some homeowners may choose to use a caulk gun and sealant if they are experiencing water infiltration into their recessed light, however, this should be done by a certified electrician.
Does Recessed Lighting Leak Hot Air?
Everyone’s climate and installation will be different. However, if you are concerned about potential hot air leaks in your recessed lighting installation, it is important to take the time to investigate and test the situation.
This can be done by removing all of the light fixtures from the area being tested, then measuring and recording any drafts that are apparent. It may also help to install a thermal imaging camera or heat flux meter in order to better understand how much heat is escaping from your recessed lighting system.
If there are any noticeable hot air leaks, it would advisable for you to contact an installer who has experience with this type of construction project so that appropriate measures can be takento prevent further damage or problems down the line.
Do I Need Airtight Recessed Lighting?
Airtight recessed lighting can be a great way to increase the aesthetics of your home while protecting it from moisture and dust. This type of lighting is often designed with careful consideration for both indoor and outdoor living spaces. Airtight recessed fixtures hang down below the ceiling, typically hidden by cabinets or countertops.
This way, you don’t have to worry about pesky water droplets or dust settling on top of your light fixture, which could potentially damage it over time.
Is Recessed Lighting Efficient?
Recessed lighting is a great way to add light and texture to any room in your home, but is it really efficient? Depends on your needs, of course. If you’re looking for a general illumination solution that can be turned on or off as needed, then recessed lighting can be a great option. However, if you’re specifically looking for a lighting solution that will help you reduce energy costs, then you’ll want to think about other options.
As far as choosing the right type of recessed lighting for your needs – there are a few things to consider. First, think about the size and shape of the space you’re going to be installing it in. Second, consider the type of light you want. Third, consider the budget.
Conclusion
So, if you have a recessed lighting fixture that needs a bulb, and you don’t want to spend the money on an electrician to come out and do it for you, all you need is some common household supplies and a little bit of patience. We hope this article on how to fill gaps in recessed lighting has helped give you the information that you need to feel confident in your ability to tackle this project independently. Good luck!