
Batteries are one of the essential components of any electronic device, yet they’re often taken for granted. Without batteries, our devices wouldn’t work! This article will show you how to fix led light remote battery. We’ll also share some tips on prolonging battery life. So, whether your remote is new or old, keep reading for some helpful advice!

It is not uncommon for batteries to lose their charge over time. If your led light remote battery is not working, it may just need to be recharged. The first step is to check the manufacturer’s instructions to see if there is a recommended way to recharge your specific battery model. If there are no instructions, don’t worry! You can still recharge your battery using several methods.
Summary: If your remote control for your LED light is not working, there is a possibility that the battery is dead. To test this, remove the batteries from the remote control and place them in a pair of fresh batteries. If the new batteries work in the remote control, then the battery in the old remote control is probably dead.
Reasons Why Led Light Remotes May Stop Working
If you have a LED light remote that suddenly stops working, here are a few potential reasons. Here are some common issues that can cause a LED light remote to stop working.
Dead Batteries:
If your LED light remote isn’t working, it might be because the batteries are dead. Check the batteries first, and if they’re no good, you’ll need to replace them.
Dirty Contacts:
The reason your remote may not be working is because the contacts are dirty. Over time, dirt and dust can build up on the contacts, preventing the electrical connection from being made. Try cleaning the contacts with a cotton swab dipped in rubbing alcohol.
Led Controller Needs Reprogramming:
The LED controller is the part of the light that tells it what to do. Sometimes, if you change your LED lights (like adding or removing lights), you might need to reprogram the controller. This just means telling the controller what the new lights are supposed to do. You can usually find instructions on how to do this in the user manual that came with the lights.

Remote Is Too Far Away:
If you’ve changed your LED lights (by adding or removing them, for example), you may need to reprogram the controller. Check your user manual for instructions on how to do this.
Faulty Remote:
In rare cases, the remote itself may be faulty. If you have tried all of the above solutions and your remote is not working, you may need to purchase a new one.
Remote Chip Is Broken:
If your remote is dropped or damaged, the chip inside could be broken. This will usually result in the remote not working at all. If this is the case, you will need to purchase a new remote.
These are some potential reasons why your LED light remote may stop working. If you have tried all of the above solutions and your remote is not working, you may need to purchase a new one.
A Detailed Guide on How to Fix Led Light Remote Battery
Method 1: Fixing Battery Issues
The most common cause of an LED light remote having battery issues is corrosion. Any corrosion on the batteries or their contacts will prevent the batteries from making a good connection with the remote control. Another possible cause could be that the batteries are not appropriately inserted into the remote control.
What You’ll Need:
- A new battery
- A screwdriver
Note: This method is only for those comfortable with working with batteries, screws, and wiring. If you do not feel comfortable attempting this method, please skip to Method 2.
Step 1: Identity What Type of Battery You Need
The first step is to identify what type of battery you need. Most LED light remotes use AA or AAA batteries. Once you know what battery you need, purchase a new one.

Step 2: Locate the Battery Cover
Once you have the new battery, locate the battery cover on the back of the remote control. The battery cover will be held in place by screws in most cases. Use a screwdriver to remove the screws and take off the cover.
Step 3: Cleaning the Batteries and Their Contacts
Once the cover is off, you will see the batteries and their contacts. Use a cotton swab dipped in rubbing alcohol to clean the corrosion off of the batteries and their connections.
Step 4: Inspecting the Wiring
After you have cleaned the corrosion off of the batteries and their contacts, take a look at the wiring inside of the remote control. If there are any loose wires or worn-out insulation, you will need to fix them before continuing.
Step 5: Replacing the Batteries
Once you have inspected and fixed any issues with the wiring, it is time to replace the batteries. Please insert the new batteries into the remote control, ensuring they are inserted correctly.

Step 6: Putting Everything Back Together
After replacing the batteries, put the battery cover back on and screw it in place. Test the remote control to see if it is now working correctly. If it is, congratulations! You have successfully fixed your LED light remote control.
Method 2: Pairing or Re-pairing Remote and Led Light Strip
If your LED light strip came with remote control, then it’s likely that the remote uses infrared (IR) to send signals to the strip. If you’re having trouble with your remote, it might just be a matter of pairing or re-pairing it with your light strip.
What You’ll Need:
- A remote control that came with your LED light strip
- The LED light strip itself
Step 1: Determine What Kind of Remote Your Strip Uses
The first step is to check and see what kind of remote your specific LED light strip uses. If you have the paperwork that came with the product, it should say what kind of remote is needed. Otherwise, you can usually find this information online by quickly searching for your product.
There are two main types of remotes used for LED light strips: RF and IR. RF stands for radio frequency, and IR stands for infrared. Each type has its unique pairing process, so it’s essential to know which one you have before moving on to the next step. How to Pair an RF Remote with Your LED Light Strip
Step 2: Check If the Remote Is Paired With the Strip
If your LED light strip came with an RF remote, it should already be paired with the strip. To check if this is the case, turn on your light strip and see if the remote affects it. If the light strip responds to the remote, it’s already been paired, and you can move on to the next step.
However, if you have an IR remote, you’ll need to pair it with your LED light strip before it works. You’ll need to hold down the power button on your remote for about three seconds to do this. Once you’ve done that, point the remote directly at your LED light strip and press the power button again. If the light strip turns on, then it’s successfully been paired with the remote.
Step 3: Test the Remote

Once you’ve confirmed that your remote is paired with your LED light strip, it’s time to test it out and see if it works. Start by turning on your light strip using the power button on the remote. Then, try using some of the other buttons on the remote to see if they work. These should include a dimmer button, a color-changing button, and a mode button.
If all of these buttons work as they’re supposed to, your LED light strip remote is working correctly! If not, you may need to replace the batteries or reposition the remote closer to the light strip.
Method 3: Restoring Default Factory Settings
If the methods above don’t work, you can try restoring your LED light remote to its default factory settings. Of course, this will erase all of the customizations you’ve made to your remote, but it’s worth a shot if nothing else has worked.
Step 1: Before You Start
Before you begin, make sure that you have the following:
- A Phillips head screwdriver
- The remote control for your LED light
- The owner’s manual for your LED light (this is usually optional, but it can be helpful to have on hand)
Step 2: Locate the Reset Button
On most LED light remotes, there is a small reset button located somewhere on the back or bottom of the device. Unfortunately, this button is usually recessed, so you may need a Phillips head screwdriver to press it.

Consult your owner’s manual if you can’t find the reset button. The manual should have a remote control diagram that will show you where the button is located.
Step 3: Press the Reset Button
Once you’ve found the reset button, use your screwdriver to press and hold it for 5-10 seconds. This will erase all of the customizations you’ve made to your remote and restore it to its default factory settings.
Step 4: Test the Remote
After resetting your remote, test it out to see if the issue has been resolved. If the remote still isn’t working correctly, you may need to replace the batteries or contact the manufacturer for further assistance.
You Can Check It Out to Fix Led Light Connector
Frequently Asked Questions
Do You Need Batteries for Led Lights Remote?
it depends on the type of LED lights remote you are using. However, most likely you will only need batteries if your remote is wired and has an on/off switch. If your remote uses Bluetooth technology or charges through a USB port, then there is less chance that you will need batteries.
Can I Control My Led Lights With My Phone?
Yes, you can control your LED lights with your phone. This is possible by using an app like SmartThings or Wink. These apps allow you to connect all of your electronic devices in one place, including appliances and light fixtures. Once connected, you can use the app to turn on/off your lights, set schedules, and more.
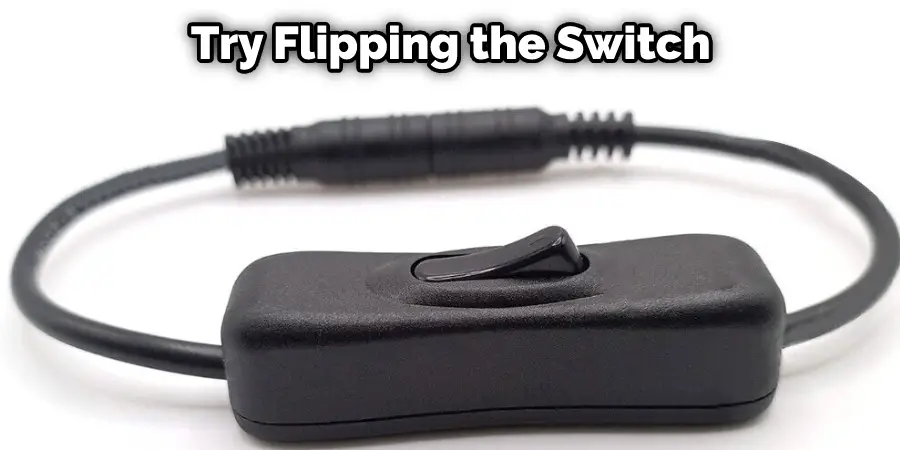
Why Are My Leds Not Turning on?
If you’re having trouble turning your lights on, there are a few things you can check to see if they’re faulty. First, try flipping the switch on the light itself. If that doesn’t work, try testing the light socket by plugging in a different light. If that still doesn’t work, it may be time to call an electrician.
If any of these methods don’t work, it’s likely that your lights are faulty and need to be replaced. In that case, you’ll want to make sure you get a quote from a qualified electrician before starting any repairs. Good luck!
Why Won’t My Led Lights Change Colors?
One of the most common problems that people experience with their LED lights is that they will not change colors. This can be due to a number of reasons, including cracked or broken connectors, loose wires, and bad installation. If you are experiencing this problem, there are a few things that you can do to troubleshoot it.
First, try disconnecting all the light fixtures from the power source and testing each one individually. Next, check for any loose or damaged wiring by gently tugging on them in different directions. Finally, inspect your installation for any cracks or other damage. Once you have identified the issue(s), take appropriate action to correct it!
Conclusion
Although we have shown you how to fix led light remote battery, the issue may be with the remote itself. If, after following these steps, your LED light still does not turn on or off when you press the button on the remote, please reach out to the customer service team for further assistance.