Are you looking for an easy and effective way to fix your LED nail lamp? Do you have a broken or damaged LED light that needs repairing but doesn’t know the best way to go about it? If so, then you’ve come to the right place. In this post, we will provide tips on how to fix LED nail lamp, as well as entertainment tips on how they can be used to decorate other items around your home.

In either case, having the right tools and knowing what to do can make all the difference when it comes to fixing this indispensable piece of salon equipment.
From figuring out proper wiring diagrams and finding replacement parts quickly and easily – our guide has been designed with a DIY mindset in mind when it comes down to making sure your LED light fixtures work properly again! So let’s get started!
What Will You Need?
First and foremost, you must ensure you have the right tools for the job. The most important tool to have on hand is given below:
1. A Digital Multimeter: This tool will allow you to measure voltage, resistance, and current to diagnose the issue with your LED light properly.
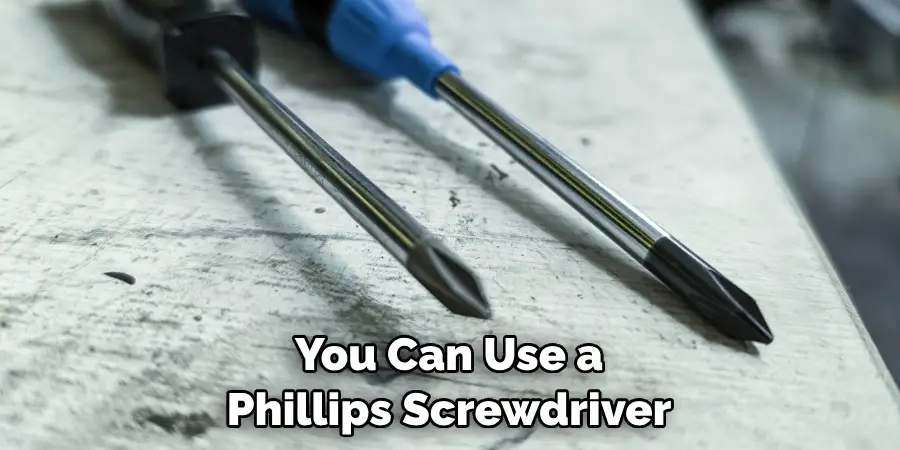
2. Screwdrivers: Depending on which type of LED light you have, a Phillips screwdriver or other flathead screwdrivers may be needed in order to open up the lamp and inspect its components.
3. Wiring Diagram: You will need to have a wiring diagram handy to ensure that you are connecting the right wires together when troubleshooting your LED light fixture.
4. Replacement Parts: This may require further research and ordering of components if the damage is more extensive than anticipated, but having these on hand can save you time and money in the long run.
10 Easy Steps on How to Fix Led Nail Lamp
Step 1. Unscrew the Screws:
Begin by unscrewing the screws that are holding your LED light fixture in place. You can use a Phillips screwdriver or other flathead screwdrivers, depending on the model of your LED light. It will also be important to inspect each of the screws for any signs of corrosion or damage.
Step 2: Check the Wiring Diagram:
Once the screws are removed, you will need to refer to your wiring diagram to ensure the wires are correctly connected. If any of the wires appear to be disconnected, then it is important to reconnect them in their correct positions. Otherwise, you may end up causing further damage to your LED light.
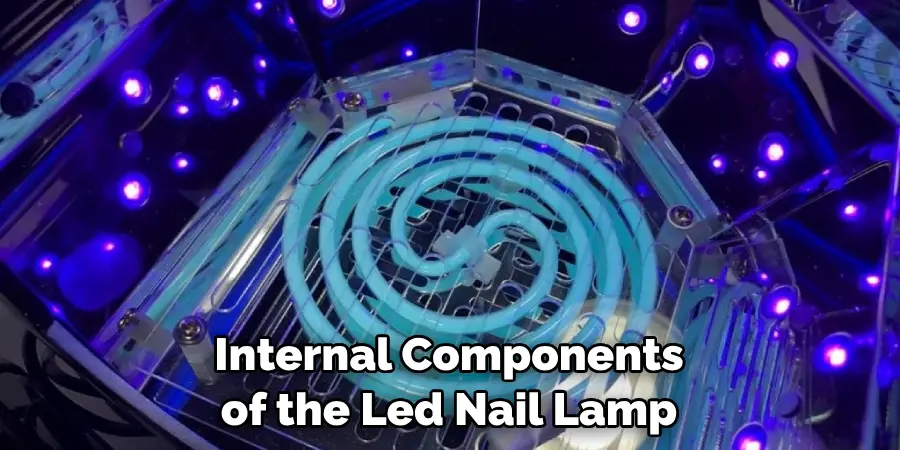
Step 3: Inspect Components:
Now that you have all of the wires connected properly, you can begin inspecting the other components of your LED light. Make sure to look out for signs of wear and tear, such as damaged cables, corroded contacts, or loose connections. If any of these issues are present, you must replace the affected components.
Step 4: Test Voltage & Current:
Using a digital multimeter, you can check the voltage and current to ensure they are within normal operating parameters. If not, then it is likely that there could be an issue with either the wiring or one of the internal components. Don’t forget to also check for any open or short circuits.
Step 5: Replace Components:
If any of the components are damaged or worn beyond use, then it is important to replace them with new ones in order to ensure proper operation. You may need to do some research online to find replacement parts for your particular LED light model. Try to purchase components from a reputable source and make sure they are compatible with your LED light fixture.
Step 6: Reassemble Components:
Once you have all of the new components in place, you can begin reassembling the light fixture with the screws that were originally removed. Make sure to firmly tighten each of the screws in order to ensure a secure fit. Otherwise, the light may not function correctly.
Step 7: Test Again & Troubleshoot If Necessary:
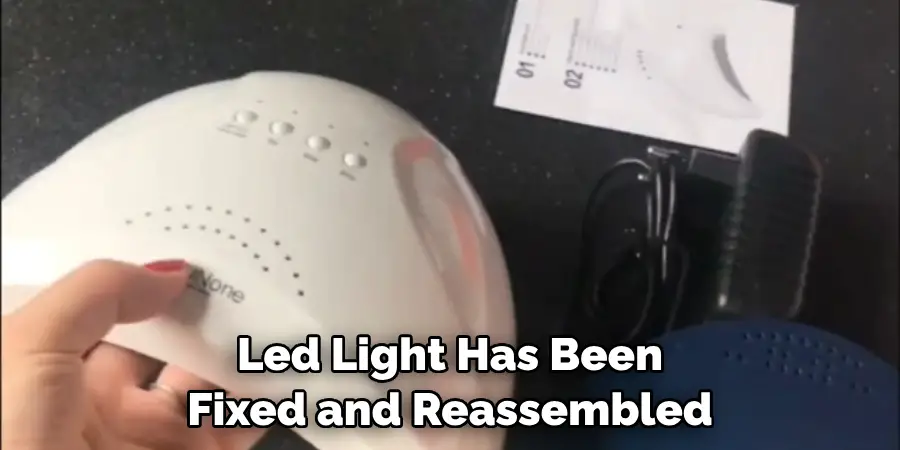
Now that your LED light has been fixed and reassembled, it is important to test it one last time by ensuring that voltage and current levels are within normal operating parameters. If there are still issues, it could be necessary to troubleshoot further or contact an expert electrician for assistance.
Step 8: Clean Lamp:
Once the LED light is functioning properly, clean it off using a soft cloth to remove any dust that may have accumulated during the repair process. This will help keep your LED light looking its best and working optimally for years to come. Additionally, you will want to keep the lamp well-ventilated to prevent overheating issues.
Step 9: Double Check Connections & Wiring:
Before re-installing the LED light fixture in its original position, it is important to double check all of the connections and wiring to ensure that everything is securely connected and firmly in place. If there are any loose connections, then make sure to tighten them before re-installing the light.
Step 10: Install Lamp:
Finally, you can reinstall your LED nail lamp into its original position, making sure that it is firmly attached and secure before turning on the power again. With this, you should now have a fully functioning LED nail lamp that is ready to be used! Remember to follow all safety precautions when working with electrical equipment and call a professional if unsure.
By following these ten steps to fix an LED nail lamp, you will surely have your light working again in no time. As always, if you have any doubts or difficulties with the repair process, consult a professional electrician for assistance. Doing so can help prevent further damage to your light or even an electrical fire.
5 Additional Tips and Tricks
- Check the power cord for damage or fraying. If it is damaged, replace it with a new one.
- Inspect the internal components of the LED nail lamp and make sure they are secure and undamaged.
- Make sure all connections are tight and properly aligned in order to ensure a proper connection between the device components.
- Check the LED nail lamp bulbs to ensure they are not burned out or damaged. Replace any that are not working properly.
- Ensure that your device is plugged into a power source with enough voltage to operate the device efficiently and safely. If you have an extension cord, make sure it is rated for the wattage of your device.
Following these tips can help keep your LED nail lamp running smoothly for years to come!
5 Things You Should Avoid
- Never attempt to open the device or tamper with its internal components in any way. This could lead to short-circuiting and cause additional damage.
- Avoid using an extension cord that is not rated for the wattage of your device, as this could potentially overload the lamp and cause it to overheat or even catch fire.
- Don’t use a power source with too little voltage, as this could prevent the lamp from operating correctly and safely.
- Do not expose your lamp to moisture or water, as this can interfere with its operation and cause electrical shock when plugged into a power source.
- Do not leave your LED nail lamp unattended while in use, as this can create a fire hazard. It’s best to unplug the device when it is not in use.
Remember, taking these preventive measures can help ensure that your LED nail lamp will continue to work safely and effectively for years to come!
Why is Your UV Lamp Not Working?
If your LED nail lamp is not working properly, there are a few possible reasons why. First, check to ensure all the device components are securely connected and that nothing has become loose or damaged.
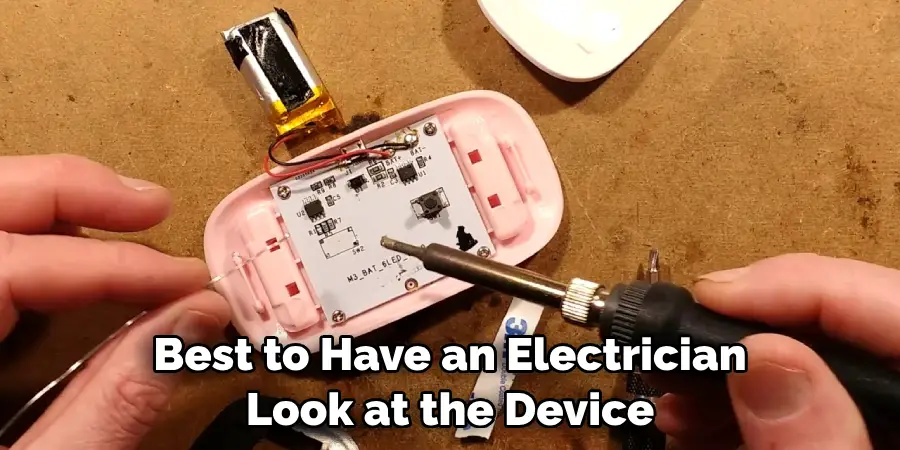
You should also double-check that the power source you’re using is providing enough voltage for the device to operate safely and efficiently. If these steps do not fix the issue, it could result from internal damage or a power surge that has caused some of the components to fail. In this case, it would be best to have an electrician look at the device to determine what needs to be done to fix it.
By following these helpful tips and taking preventive measures, you can help ensure that your LED nail lamp will continue to work properly and safely for years to come!
Conclusion
To conclude, how to fix led nail lamp doesn’t have to be an intimidating job. Thankfully, the tools needed to fix the lamp are easy to find, and the process of getting it repaired shouldn’t take too long of your time. Whether you’re maintaining an older device or need to replace any damaged pieces, it’s always best to do this yourself, as you can guarantee that it’s done correctly.
Even if you run into a snag throughout the repair process, mentors can help walk you through it and ensure that everything is taken care of properly.
So don’t hesitate – to start on your journey towards making sure everything is intact with your LED nail lamp!