
Are you looking to add a unique and creative touch to your home décor? A rain lamp is the perfect way to do that! Rain lamps are an interesting conversation starter, and they create a beautiful waterfall effect while adding a calming ambiance to any room.

Whether you prefer the cozy and rustic feel of traditional antiques or you’re looking for an interesting new way to express yourself through art, making a rain lamp is one project that can do just that! Not only does it look beautiful hung up on the wall or draped across a table, but its mesmerizing effect will make everyone that walks by truly appreciate your creation.
In this blog post, we’ll go over how to make a rain lamp – from choosing materials all the way to hanging up your finished product in style!
What Will You Need?
In order to make a rain lamp, you’ll need the following materials:
- An empty and clean glass jar or bottle
- Mineral oil
- A cord with two light bulbs (choose one that can handle at least 25 watts)
- A mounting bracket for the cord assembly, if you want to hang your lamp on a wall
- Metallic glitter flakes
- A funnel for easy pouring
- Pliers or scissors for cutting the cord
- Tape (optional)
Once you gather your materials, you can start creating your rain lamp!
10 Easy Steps on How to Make a Rain Lamp
Step 1: Prep Your Jar/Bottle
Begin by choosing the glass container that you would like to convert into a rain lamp. Clean it thoroughly with soap and water before beginning work on it, then dry it off completely. You can use tape to cover any imperfections or labels on the container if necessary.

Step 2: Fill the Jar/Bottle With Mineral Oil
Using a funnel, fill your container with mineral oil until it’s nearly full (but not all the way to the top). This will give you enough room for glitter flakes and light bulbs later on. Don’t worry if it overflows a bit – the excess will evaporate later on.
Step 3: Add Glitter Flakes
Carefully add in some of the metallic glitter flakes. Pour them in slowly so they don’t sink too far into the jar or bottle. The quantity you use is up to you – have fun experimenting with different amounts!
Step 4: Assemble Light Bulb Mounting Bracket
If you’re planning on hanging your rain lamp from a wall, assemble the mounting bracket for the cord and light bulbs. This part is typically pretty easy – just follow the instructions that come with your mounting bracket. Try to make sure that the cord is securely fastened onto the bracket before continuing.
Step 5: Attach Light Bulbs to the Bracket
Attach both light bulbs to the cord and ensure they’re firmly held in place by the mounting bracket. It will help to use pliers or scissors for this step. Be sure the bulbs are facing downward, as they will be exposed to the oil when you hang up the lamp later.
Step 6: Cut Cord to Desired Length
Using pliers or scissors, cut the cord at a length that is suitable for hanging or displaying your rain lamp. If you’re hanging it from the wall, shorter is usually better. Because the cord is exposed to the oil, it’s important to make sure that none of its components are frayed or loose.
Step 7: Connect the Cord to Light Bulb Mounting Bracket
Connect one end of the cord assembly (including both light bulbs) to the top of your jar/bottle using tape if necessary. Make sure it’s securely attached. Otherwise, the light bulbs may get too close to the mineral oil and short out.
Step 8: Connect the Other End of the Cord to Wall Mount
Attach the other end of the cord assembly to the wall mount, then hang it up in your desired location. Be careful not to let the cord come into contact with any other objects – you don’t want it to get tangled up or damaged.
Step 9: Plug In and Enjoy
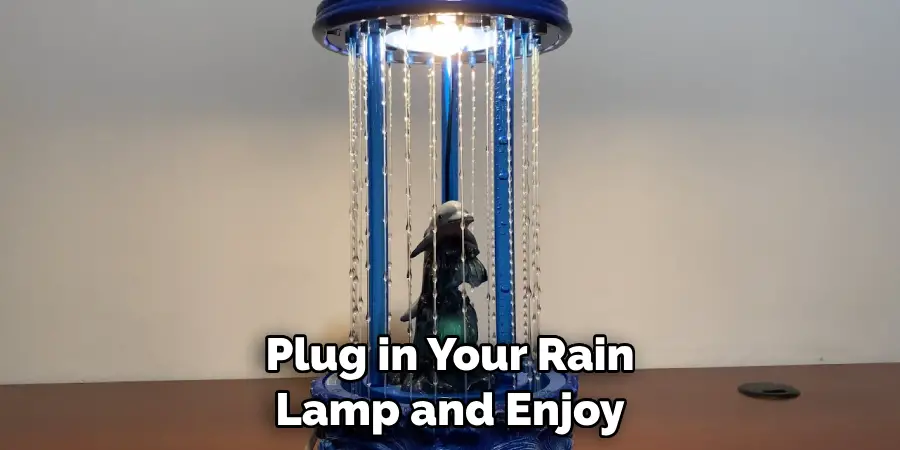
Plug in your rain lamp and enjoy its mesmerizing effect! As it cascades into a pool of glittery oil, you’ll be proud of your creative work. Keep in mind the bulbs may heat up over, so be sure to monitor the temperature and unplug them if.
Step 10: Keep Your Rain Lamp Clean and Well-Lit
In order to keep your rain lamp looking beautiful and functioning properly, make sure you clean it occasionally with soap and water. Also, check that all light bulbs are lit and replace any burned-out ones when needed. Remember, the more light bulbs you use, the brighter the effect will be!
By following these ten easy steps, you can make your dazzling rain lamp in no time. Whether you opt for a traditional or modern design, your rain lamp will be sure to impress anyone who walks by!
5 Additional Tips and Tricks
1. Utilize a waterproof and heat-resistant sealant to ensure that your rain lamp hangs safely from the ceiling and has no leaks.
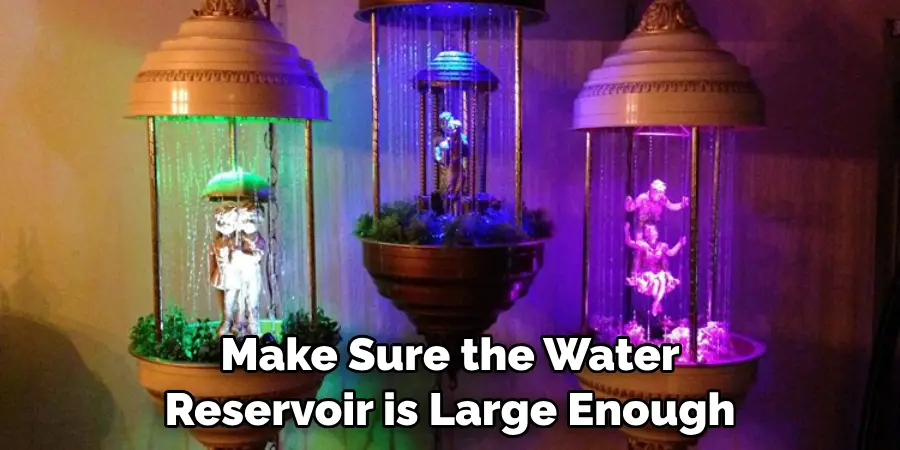
2. Make sure the water reservoir is large enough to handle the amount of oil and water you plan to use without overflowing.
3. Clean your lightbulb regularly with a soft cloth and soapy water to prevent it from getting too hot.
4. Use an LED bulb instead of a traditional incandescent bulb for longer-lasting illumination and lower energy costs.
5. If you want, you can customize your rain lamp by adding decorations or different colors of liquid for more creative effects!
By following these tips, you will be able to create an impressive and unique rain lamp that will last for years to come! With some patience and creativity, you can build your own one-of-a-kind lighting piece that will add beauty and atmosphere to your home. Enjoy your homemade rain lamp!
5 Things You Should Avoid
1. Be sure to use a bulb that is too powerful for your rain lamp. This can cause the liquids to overheat and even explode.
2. Avoid using any flammable oils or liquids, as they are unsuitable for electrical components.
3. Do not hang your rain lamp directly above an open flame or other source of heat, as this can be dangerous.
4. Ensure the cord is properly secured and insulated to prevent electric shocks or fire hazards.
5. Avoid using materials that are not waterproof or heat-resistant as they will quickly degrade and may even cause damage to your rain lamp.
With these tips in mind, you can create a beautiful and safe rain lamp that will last for years to come. Enjoy the peaceful atmosphere it creates in your home, and don’t forget to show off your unique creation!
6 Different Decor Ideas
1. Use Different Colors: Different colors of liquid create an interesting color effect when they mix.
2. Add Decorations: Try adding decorations, such as seashells, rocks, or crystals, to give your lamp a unique look.
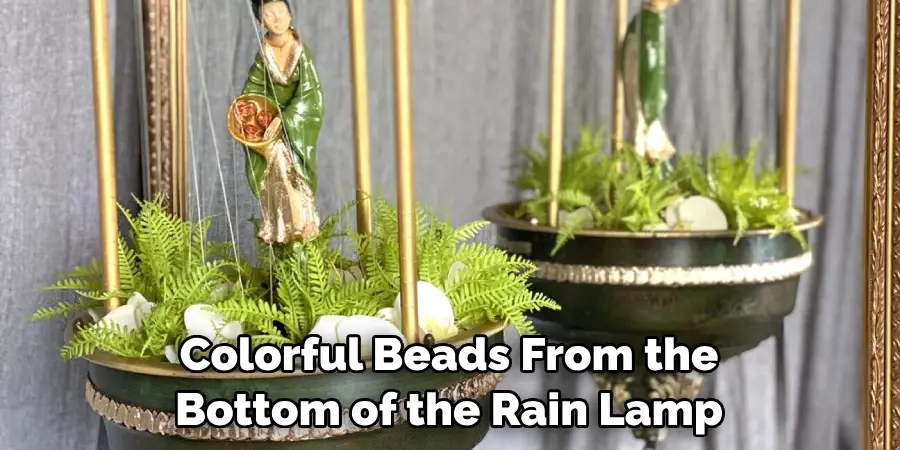
3. Hang Beads: Hang strings of colorful beads from the bottom of the rain lamp for an added decorative touch.
4. Use Colored Lightbulbs: Try using a colored LED lightbulb to give your rain lamp a different look depending on the color of the bulb.
5. Adjustable Lighting: Add adjustable lighting features, such as dimmers and timers, to control the room’s light and save energy.
6. Paint the Outside: Paint the outside of your rain lamp to match your home’s décor or make it a stand-out piece. It can also be a great way to add your own personal touch.
By getting creative with these different decor ideas, you can create a unique and beautiful rain lamp that adds ambiance to any room! With some patience, creativity, and the right materials, your homemade rain lamp will be an unforgettable addition to your home. Have fun with it!
Conclusion
Making a rain lamp is one of those few DIY projects that is truly worth the effort. It is an easy project to do and will add a unique and interesting style to any room. By experimenting with different oil, wattage, and cords or tubes you can create something truly special and look back fondly on the time you trained your DIY skills.
Plus, the satisfaction you get from making something yourself gives you a sense of security, knowing that it’s unique, one-of-a-kind, and always around when needed.
The options are endless, but the result will always be the same: a relaxing atmosphere thanks to a beautifully illuminated lamp reminding us we can make things happen just when we believe it more.
Hopefully, the article on how to make a rain lamp provided you with enough information to get started on your own rain lamp project. Begin gathering the necessary supplies and create your customized rain lamp today! So there you have it – if you’ve ever wanted to spruce up your living space with a rain lamp, why not give it a go?