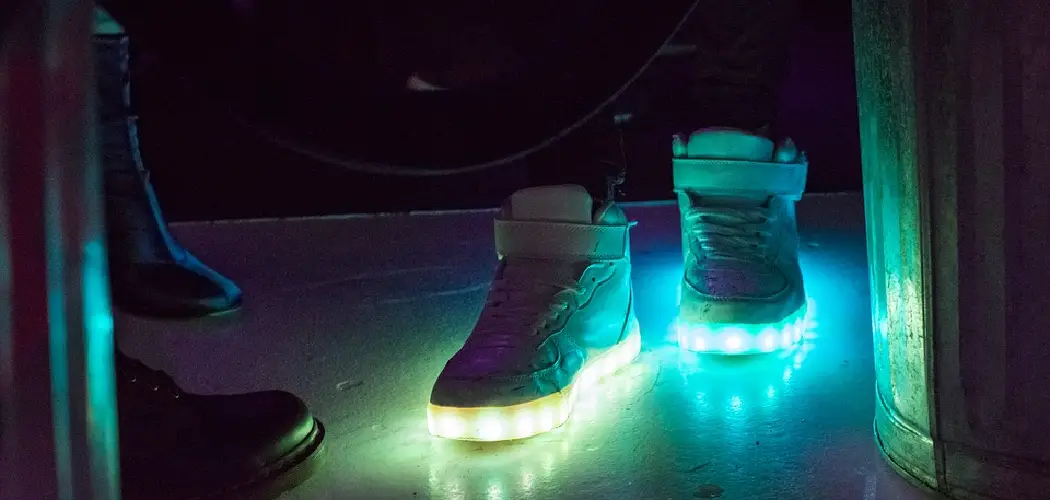
If you are the proud owner of a pair of Skechers light-up shoes, then you know that they can be a lot of fun. However, it can be frustrating if they start to malfunction and stop lighting up. Luckily, there are a few simple things you can do to try to fix them. In this article, we will outline some of the most common problems with Skechers light up shoes and how to fix skechers light up shoes. Read on to learn more!
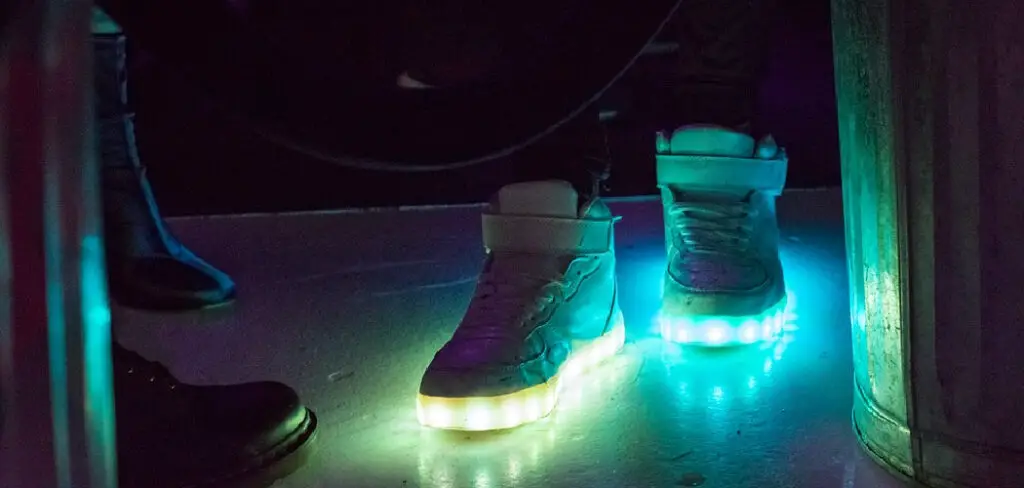
Many people have reported that their Skechers light up shoes no longer produces any light. If this is the case with your shoes, you may be able to fix them yourself without buying a new pair of Sketchers.
Summary: Fixing Skechers light-up shoes may involve troubleshooting issues with the battery, wiring, or LEDs. Start by examining the shoes for any visible signs of damage, such as frayed wires or broken LED lights. If you find any damage, it might be challenging to repair the shoes yourself, and you may need to contact Skechers customer support for assistance or consider purchasing a new pair.
If the shoes appear to be in good condition, the issue may be related to the batteries. Most Skechers light-up shoes use non-replaceable, rechargeable batteries. To recharge the batteries, locate the charging port on the shoe, usually hidden under a flap or along the shoe’s edge.
Connect the provided USB charging cable to the charging port and plug the other end into a USB power source, such as a computer or a wall adapter. Allow the shoes to charge for a few hours and then test the lights. If the lights still don’t work after recharging, the batteries may be depleted, or there may be an internal issue with the shoes. In such cases, contacting Skechers customer support or exploring warranty options may be your best course of action.
A Detailed Guide on How to Fix Skechers Light Up Shoes
There are a few things that could be wrong with your light-up shoes, and we will try to walk you through how to fix them. Here we go:
Issue 1: The Lights Are Not Working.
The lights on the shoes may not be working because the batteries need to be replaced. If you have tried replacing the batteries and they still do not work, it is possible that the electrical wiring in the shoe has been damaged and needs to be repaired.
How To Fix:
If you can open up your light-up shoes, then we recommend that you replace the batteries with a fresh set of new ones (to rule out faulty batteries), and if this does not fix them, there is a high chance that there is damage to either one or both of them. It will be worth getting these checked by a professional shoe repair shop – however, should they require specialist parts to fix them, it could cost upwards of 150-200+ dollars for each shoe.
Issue 2: Loose Lights.
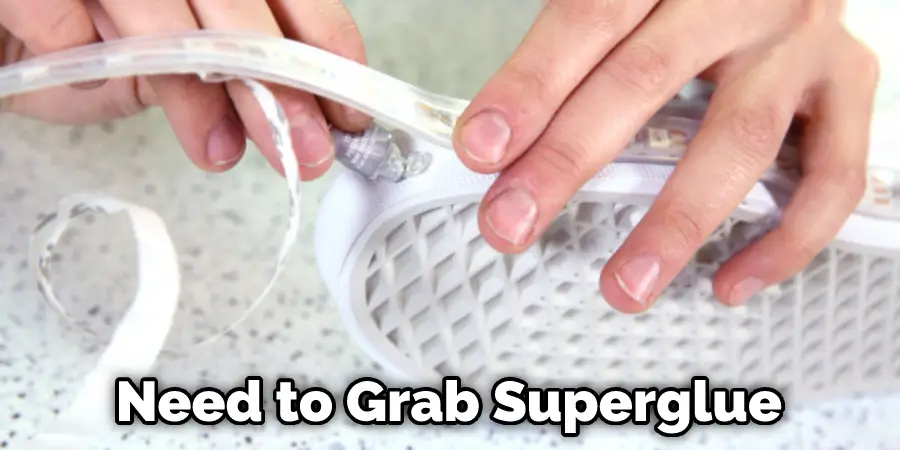
The lights on your shoes may eventually come off if the glue holding them in place gets weak or breaks. We recommend using superglue to reattach any lights that come off. If you’re not confident with using superglue, you can also take your shoes to a professional shoe repair shop to have them fix it for you.
How To Fix:
You need to grab your superglue and apply a few drops of it onto the area where the light attaches to the shoe. Then, hold it in place with your finger for around 30 seconds so that it can dry and adhere properly. If there is no adhesive on the back of the lights, you can use eyelash glue or jewelry glue as an alternative to superglue blobs.
Issue 3: Led Lights Are Broken.
If one or several of the LED lights are not working when they should be, this could mean that they have either burnt out, short-circuited, or stopped connecting correctly to their wiring. We recommend doing a straightforward test before sending your shoes off for repairs by grabbing a multimeter and checking between the positive and negative legs of the LED light where it attaches to the wiring.
If there is no connection, you can try using some solder to re-establish this connection before gluing them back onto the shoes by applying superglue around their base.
How To Fix:
If your multimeter shows zero resistance between the two legs of each LED light, then this means that they have either burnt out or short-circuited. If this is the case, then grab your soldering iron, heat your working surface by rubbing it with a wet sponge (so as not to burn anything else), and wait until both metal areas are hot enough to melt the solder on them.
Then, place a small drop of solder between them and wait a few seconds to allow it to establish a connection properly. Please note: you may need to add some solder before the connection starts to work correctly (try small amounts at first, adding more if necessary); otherwise, you could damage the whole wire.
Issue 4: The Exterior Light Is Not Working.
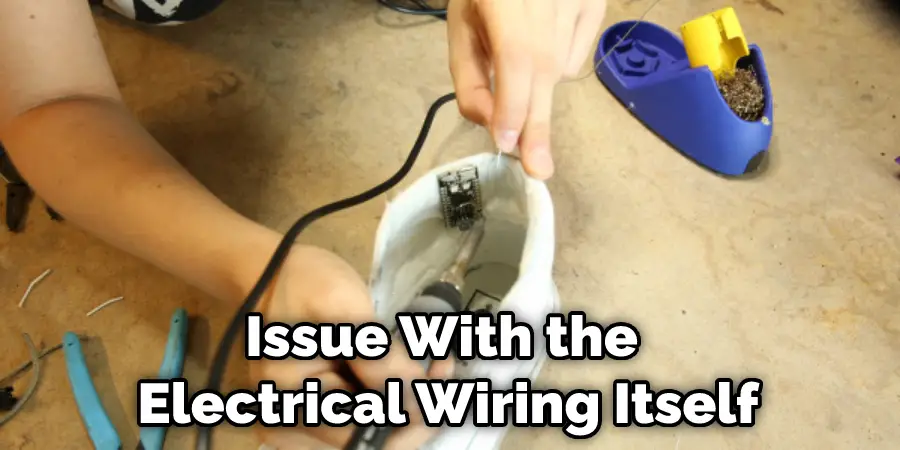
If your shoes are not lighting up on the exterior part of the shoe, but they do light up when you press down on their soles, then this means that there is an issue with their LED lights (rather than any part of their wiring system). There are two likely causes for this problem, either one or both of these lights has burnt out or short-circuited, or there may be an issue with the electrical wiring itself.
How To Fix:
If your lights are burnt out, you can either have them replaced by a professional shoe repair shop or purchase some new LED lights of the same kind and replace the faulty ones. However, if they are just not connecting correctly to their wiring, there is likely an issue with either one or both of the shoes’ electric circuits.
Please keep in mind that light-up shoes are specialist pieces of footwear that will require specialist care – so please do not attempt this fix unless you are confident working around susceptible electrical systems. Seek professional help instead!
Issue 5: The Exterior Plastic Covering Has Become Broken/scratched/dented
Whether you’ve managed to damage your shoes through accident or by dropping them on the floor, you can easily replace their exterior plastic covering using a new plastic coating.
How To Fix:
All you need to do is grab some of the same material used for your shoes’ exterior and cut out new plastic pieces that are either identical or very similar in shape. Once this is done, soak the piece of fabric/material until it is wet, then wrap it around your shoe to sit snugly against its existing exterior.
Then use either double-sided tape or hot glue to stick the edges of the fabric together to create a waterproof seal which will protect your shoe’s interior from being damaged through water or general wear and tear.
It takes between 10 and 20 minutes to complete this fix, depending on the level of damage. If you are satisfied with the result, leave your shoes to dry naturally in a warm place for around an hour or so before trying them out. This information will help in how to fix skechers light up shoes.
Why Are My Skechers Light Up Shoes Not Working?
Do you have a pair of Skechers light up shoes that aren’t working as expected? It could be frustrating not to get the full effect of your light up shoes when you want them. Here are some common causes of why your Skechers light up shoes might not be working:
- Dead batteries – If the batteries in your shoes are dead, they won’t work. Make sure to check both the main power switch and battery compartment.
- Quality control issues – It’s possible that there was an issue during manufacturing, such as a damaged wire or component, that prevents the shoes from lighting up properly.
- Dirty or corroded contacts – This problem can occur if the contacts between components become dirty or corroded from exposure to water or other liquids.
- Worn-out component – Over time, components can wear out and cause electrical connections to fail, resulting in a malfunctioning shoe.
What Kind of Batteries Are in Light Up Shoes?
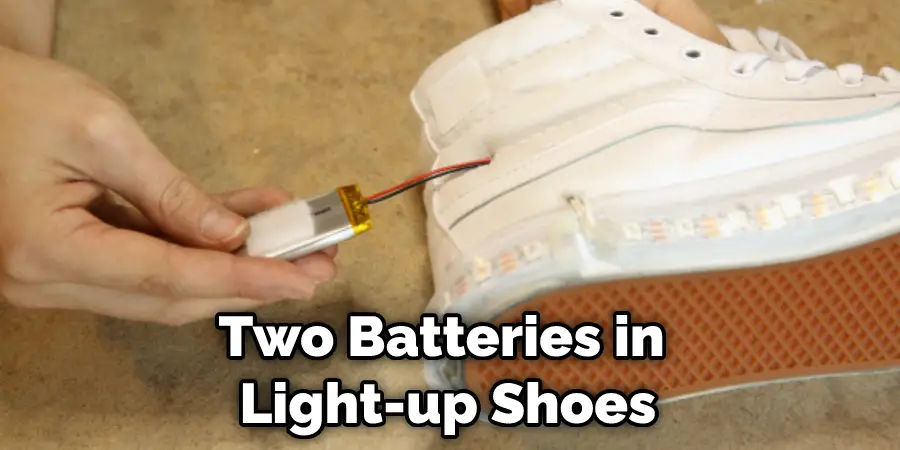
There are two batteries in your light-up shoes: 3-volt and 1.5-volt button cell batteries. How much battery power is needed to make the lights in your shoes work depends on the type and number of LEDs in each shoe’s design.
3 Volt Batteries vs. 1.5 Volt Batteries
Because of their small size, 3-volt button cells are often used for shoe lights. This is because they take up very little room inside a shoe, leaving more room for other vital components such as wiring and LED lights. The downside to using a 3-volt battery is that it doesn’t have a long life span if you need your shoes to stay lit for an extended period, such as a one to two-hour basketball game.
1.5-volt button cell batteries are more extensive and give off more voltage than 3-volt batteries, thus increasing the life of your light-up shoes. To match the voltage provided by a single 3-volt battery, you’d need at least three 1.5 volt batteries to make your lights work for hours.
The good news is that it’s very uncommon for people who have their shoelaces tied together not to use their shoes because they’re missing too much power from their batteries–they’ll just be able to see the LED lights flicker. If your shoe features an on/off switch, make sure it’s turned on. If you’re positive the switch is turned on and even though the shoes aren’t lighting up, there could be a wiring problem or that there isn’t enough voltage getting to the light source (the wire).
How Long Do Skechers Light Up Shoes Last?
The average life of a pair of shoes is about three months under regular use. However, how long your Skechers Light Up shoes last depends on how you treat them and the conditions, they face during their lifetime.
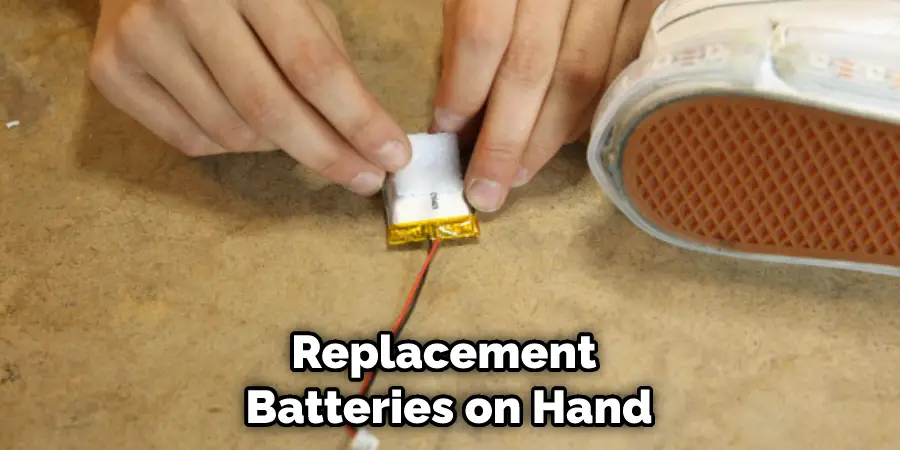
If you turn off the lights when you get home and put your shoes away in a cool, dry place out of direct sunlight, your new fashion accessory will continue to light your way for a long. But remember: all light-up footwear needs batteries to run, so always have replacement batteries on hand if yours are low or dying. To see our complete line of light-up shoes and sneakers
Frequently Asked Questions
Why Do Skechers Stop Lighting Up?
Skechers is a company that makes comfortable and stylish shoes. Recently, however, some customers have been reporting that the shoes’ batteries stop working after a short while. It’s not clear what is causing this problem, and Skechers has not yet released a statement about it.
Some people speculate that it may be due to an issue with the lithium-ion battery inside of the shoe, while others believe that there might be a defect in production batches of these particular shoes.
However, until we know more about what is happening and how widespread it is, it’s best to avoid buying skechers Shoes if you’re concerned about battery life.
Can You Wash Skechers Light Up Shoes?
Skechers Light Up shoes are not meant to be washed in water. You can use a vacuum cleaner on low or hand-wash them with warm, soapy water and a soft cloth.
Where Is the Off Switch for Skechers Light Up Shoes?
Skechers Light Up Shoes come with an off switch that you can use to avoid accidental activations. To turn the shoes off, simply pull down on the lightening bolt at the front of the shoe until it clicks into place.
Do Light Up Shoes Have Batteries?
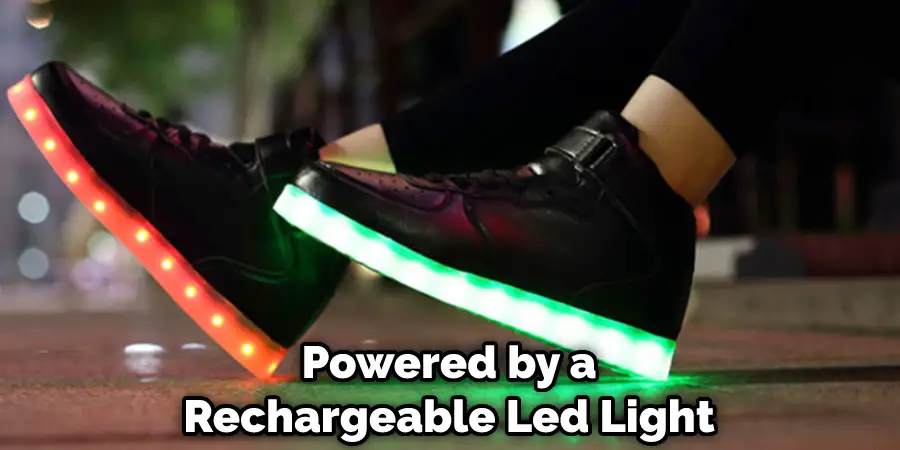
No, Light Up Shoes do not have batteries. Instead, they are powered by a rechargeable LED light that is activated when you step on the shoes.
This enables you to see where you’re going in low-light environments or during nighttime walks.
Conclusion
So, if your Skechers light-up shoes are not lighting up, there are a few things you can do to try and fix the problem. First, make sure that the battery is inserted correctly into the shoe. Then, if it is properly in place and still not working, try cleaning the contacts on the battery and the shoe with a cotton ball and some rubbing alcohol. If that still doesn’t work, it’s time for a new battery.
We hope this article on how to fix skechers light up shoes has helped you troubleshoot your Skechers light-up shoes and get them back to glowing as they should!
