Installing a switch to control multiple LED light bars can seem daunting, but it can be a breeze with the proper instructions. In this article, we will walk you through the process of how to wire multiple led light bars to one switch. So whether you’re looking to install a switch for your new light bar setup or want to add an extra switch to your current design, we’ve got you covered. Keep reading for all the details!

If you have more than one LED light bar, you can wire them all to one switch. This way, you can control the brightness and position of all the light bars from one location. You can also dim the light bars by reducing the voltage across the LED’s positive and negative leads.
Summary: The process of wiring multiple led light bars to one switch is simple, but takes some planning. First, measure the distance between each light bar and the switch. Next, cut a piece of electrical wire the appropriate length, and strip the ends. Twist each end of the wire around a bolt or screw on the switch, then repeat for all lights. Finally, connect the wires to the light bars.
Things You’ll Need
- Switch
- 18 gauge wire
- Wire crimps
- LED light bars tap here(how many you need)
A Detailed Guide on How to Wire Multiple Led Light Bars to One Switch
Step 1: Find a Switched Power Source.
You can do anything from changing a light bulb to using an exposed hot wire found behind the electrical box (not advised). Or, you can trace wires in the fuse box with a multimeter to find a power source that is easily accessible and easy to get to without disturbing anything connected to it.
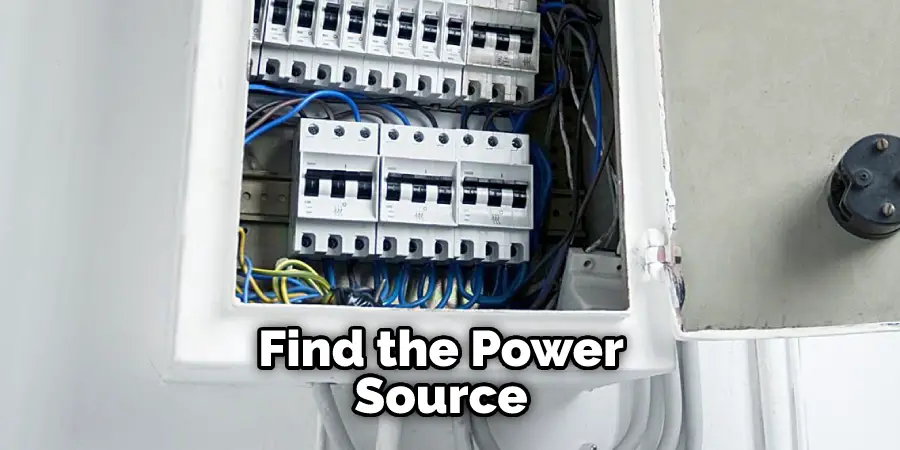
Choose your primary power source wisely – it will be the foundation for everything else you’re about to join. Now, just because we choose our primary power source doesn’t mean we’re done finding another switched one for another accessory such as an LED light bar under the hood; keep looking for one.
Step 2: Find an Accessory Switched Power Source.
This is the secondary power source, which will provide power to your under-hood led light bar or any other accessory you want on your switch(es). What’s nice about this method is that you can choose where you want to put everything and follow a line from the main to an accessory power source without tripping breakers or having wiring all over the place.
There are many different places to find a switched outlet in a car, but the one chosen for this project is located between the driver and passenger side footwells, near the hood release. This outlet is attached to the fuse box and has a positive wire going back to the fuse box and a constant battery wire going forward to the accessories or LED light bars. The most important part of this project is connecting the positive wire to the switched power source.
Step 3: Find Common Ground.
Most vehicles have some metal or bare wire connected to the battery negative that acts as a “common ground” throughout the vehicle. This may be on the body, under the carpet, under the wiring loom, or in plastic shields. You’ll probably find it near the fuse box, and it may be within 10 ft of where you first had to start stripping wires for this How-to. You’ll know it’s the right spot when you see at least two unconnected cables side by side sharing the same metal surface, which is attached to your battery negative post via a bolt or screw.
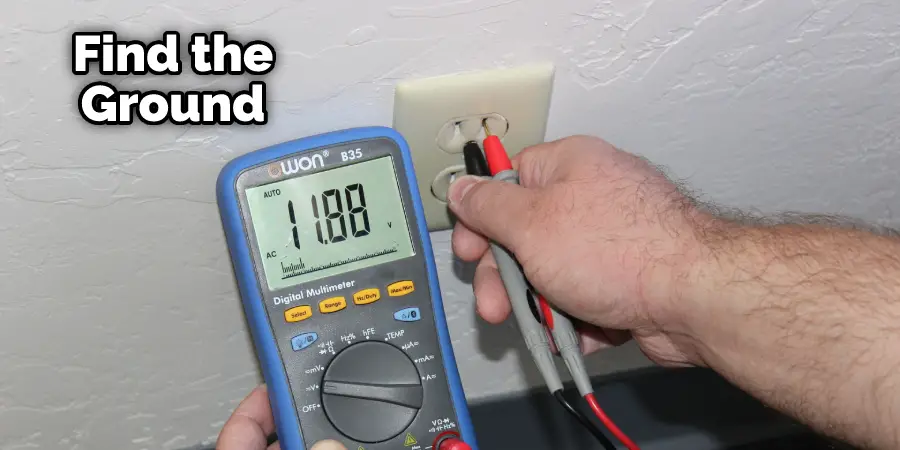
If all else fails, try testing with a multimeter set to DC Volts using the black probe touching one end of your multimeter lead and the red probe touching the other end of your multimeter lead to a metal part connected to your battery negative terminal. If you have a positive voltage reading, this is not where you want to connect your standard ground wire. This is a crucial step in how to wire multiple led light bars to one switch.
Step 4: Get All Those Wires Connected!
This How-to will assume you have full knowledge, skills, tools, and willingness to do so by yourself or with a buddy if needed. Take apart any wiring loom/shielding as well as plastic clips holding wires together – all leading away from both ends of your primary power source (mainly fuse box) and additional power source (12V switched outlet). I’m talking about complete disassembly using screwdrivers, multi-tool pliers, and a Dremel for those hard-to-reach plastic clips.
How you choose to do this is entirely up to you and your experience level or patience/stress tolerance – remember the goal here is to get all wires connected as cleanly as possible, so it’s well worth investing some time now than having wire spaghetti under your dash later! If using crimp-on wiretaps, crimp them now before finishing these connections.
Step 5: Solder and Heat Shrink Those Connections!
Do not use electrical tape!!! It deteriorates with heat and can cause sparks and fires over time, defeating this How-to’s purpose (and we don’t want that). You’ll also see me solder two positive battery leads together in one of the pictures; this is because my new led light bars were only 6 inches long, and I was too lazy to get new extensions/positive wires.
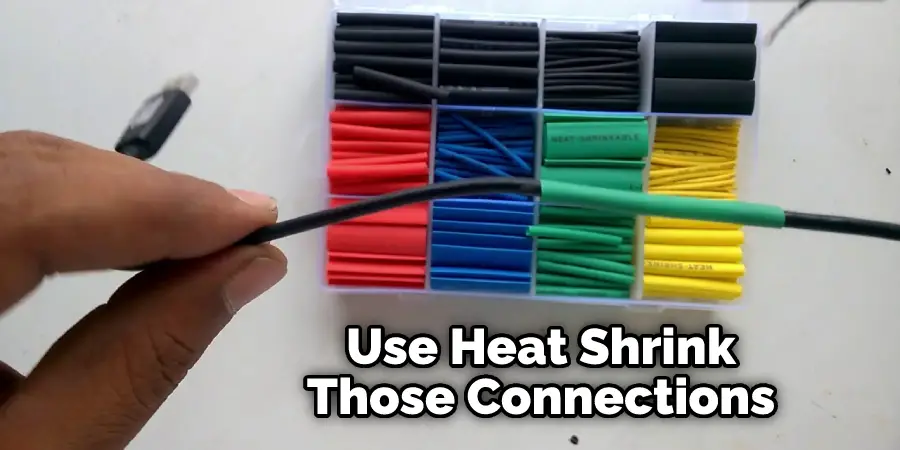
How you choose to connect your positive leads is entirely up to you – they can be soldered together (preferred), crimped, or spliced with wiretap connectors (suffers from the same problems, in my opinion). How you choose to solder is also up to you, but it’s pretty easy so don’t be intimidated or shy away from this How-to because of it!
Step 6: Insulate the Exposed Connections!
Trim away excess bare wire and heat shrink to cover any exposed metal and close up loose wiring. Of course, how you choose to do this. Still, it’s crucial that when the fuse box flips that nothing shorts out on your primary power source or accessory power source when something grounds out against metal/one of your new bare wires (and trust me, I’ve made this mistake in the past before learning this How-to lesson).
That’s about it! When everything is done, coil up all extra wire under the negative battery terminal clamp and reassemble the coil with a zip tie if needed. You can also use a wire loom if you like (it looks better), but it’s not required to use the correct size heat-shrink. These steps will help you in how to wire multiple led light bars to one switch.
You can check it out to Connect Tenmiro Led Strip Lights
Precautions
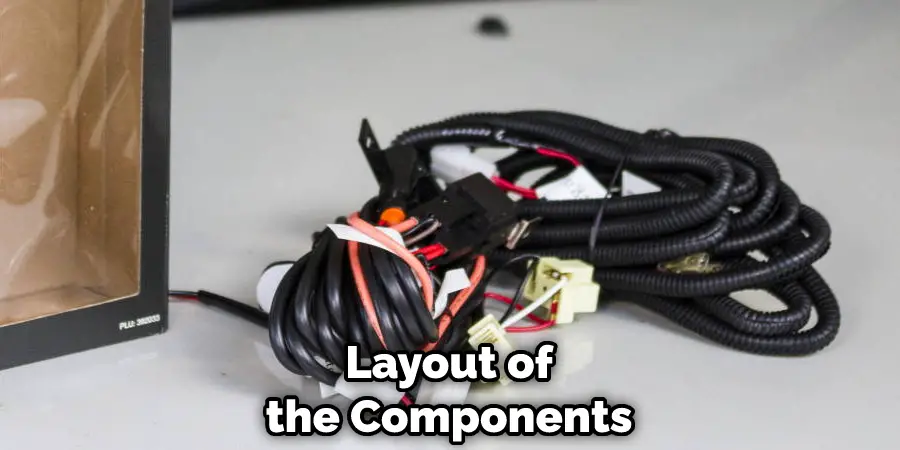
- Before we start wiring the light bars, we need to think about the layout of the components and how they would be mounted onto your truck. This is important because the bar light you will be using may produce high won’t, so it needs to be far away from your eyesight.
- This project uses 12 volts, which can definitely hurt you. Please make sure that this project is performed by an experienced person or someone who has enough knowledge about wiring and electricity in general before attempting Wire Multiple Led Lights Bar into one switch.
- You need to connect all positive (+) wires and negative (-) wires. The LED Light Bars should not touch each other directly as this might cause the wire insulation to melt off and create a short circuit. Also, do not use electrical tape to combine the Multiple Led Light Bars as it might be conductive and short circuit the LED Light Bar.
- Make sure that no LED Light Bars solder connections touch each other or have electrical tape placed on them as this might short circuit the LED Light Bar, and it will not work.
- Make sure to use LED Light Bars for your lights, designed for off-road use, so they can sustain vibration from bumpy roads without being damaged.
- Never mount the LED Light Bars on a metal surface as this might cause a short circuit and damage the light bar.
- Make sure to use a small amount of dielectric grease on all wire connections so that moisture cannot form around them and cause corrosion or shorts in the connections.
- If your LED Light Bar does not work, check that all wires are connected correctly, and there is no moisture on the wire connections. In some cases, you might have a defective unit; contact your supplier if this is the case.
- After you solder all of the connections from all LEDs in one bar together, do the same to another bar if needed so they can receive power from a switch or two independent switches.
- Sometimes, using a small piece of electrical tape over exposed metal parts on connectors may help solve loose connection problems if things become loose after vibration.
- LED Light Bars are sensitive to reverse polarity, so make sure the power is connected when you test it after wiring, or you will burn out your light bar.
You Can Check It Out to: Wire a Light Bar to a Toggle Switch
Can You Run Multiple Lights From One Switch?
Yes, it is possible to run multiple lights from one switch. This can be accomplished by connecting the lights in parallel, which means each light is connected to the switch individually. To do this, you will need to wire the circuit to allow each light to be controlled by the switch. This can be done using standard electrical wiring techniques, but it is important to ensure that the wiring is done correctly to avoid any electrical hazards. It is always recommended to consult an electrician if you are unsure about any wiring work.
Frequently Asked Questions
Why Does My Led Light Bar Have 3 Wires?
Most led light bars have three wires because they require high wattage to produce bright lights. Two of the wires are connected together and run between the battery and the Led unit, while the third wire connects to your vehicle’s positive lead (usually red) and runs through your car or truck’s wiring harness.
When you turn on your headlights, this will activate all three circuits at once, which results in very bright illumination. You can also use this procedure when parking during nighttime or when working under low light conditions.
Can You Wire Led Light Bar Directly to Battery?
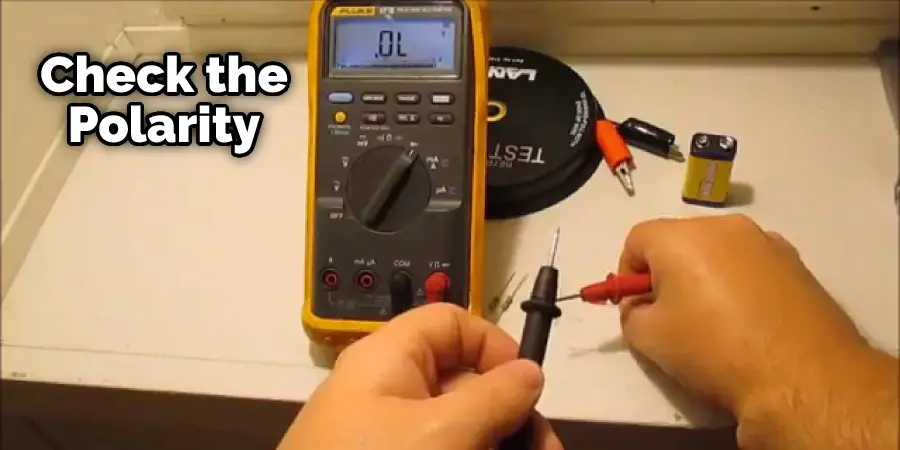
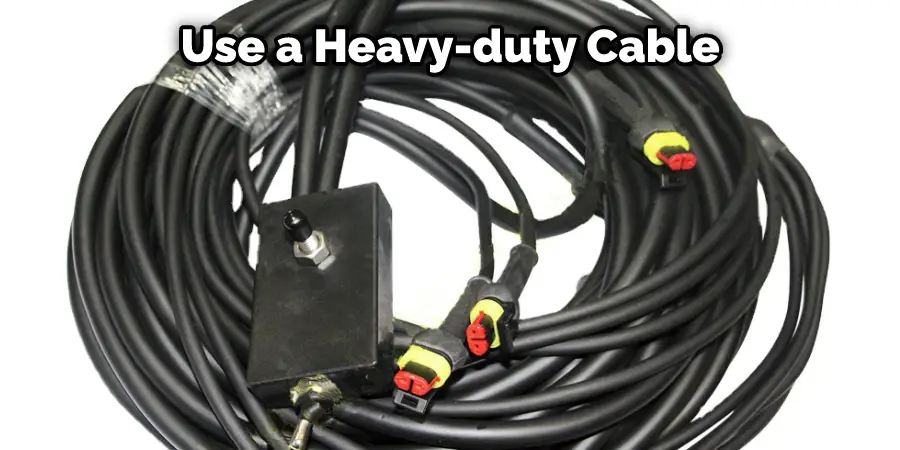
If you are using an LED light bar that uses 12-volt wiring, there are plug ports on the side of the light bar that will allow you to connect it to your battery. Make sure to use a heavy-duty cable and double-check the polarity before connecting the wires. Once connected, turn on your lights by turning on your switch at the fuse box or relay board and then turning off your lights at the source (lightbar).
Can Led Lights Mess Up Your Car?
However, the consensus seems to be that they may cause minor electrical problems down the line if you’re not careful. If you do suffer from any unexplained issues with your car, it’s best to take it in for a diagnostic checkup. In addition, make sure to use shielded lighting when working on your vehicle, as this will reduce the chances of electromagnetic interference (EMI) occurring.
Does Each Light Bar Need Its Own Relay?
A light bar is simply a circuit board that houses the LEDs and electronics necessary to make the lights work. The wiring for the light bars typically connects directly to an outlet in your home or office, and any additional relays are needed only if there is more than one set of lights in a particular area.
Frequently Asked Questions
Does Each Light Bar Need Its Own Relay?
As each light bar needs its own circuit to function. This is because each light bar operates independently of the other and sends its own signal through the wiring system. If one light bar goes out, it will not affect the operation of any other lights in your room.
Do You Wire Led Lights in Series or Parallel?
Normally, light fixtures are wired in series to increase the wattage of the light. For example, a 100-watt light bulb would be wired in series with a second 100-watt light bulb. This would create a 200-watt light fixture. Parallel wiring is less common because it requires more wire and can result in a longer circuit.
Can You Wire Led Light Bar Without Relay?
Yes, it is possible to wire a light bar without a relay. However, you will need to supply your own wiring and connectors. Additionally, make sure that the voltage requirements of your lights are compatible with the circuit board on which you plan to install them.
What Size Relay Do I Need for Led Light Bar?
Generally, the size relay that you need will depend on the size of your light bar and the electrical wiring in your vehicle. If you have any questions about what size relay to purchase,
Conclusion
We hope you have learned how to wire multiple led light bars to one switch. Whether you have one, two, or more light bars that need to be wired together for a particular project, you can wire them all together with this single switch and power source! It’s easy to do and allows you the freedom of not needing an electrician. Let’s get started now!
You can also check it out: How to Trace a Light Switch