Suppose you ever tried to get LED light strips to stick to a surface, only for them to fall off after a few minutes. Well, you’re not alone. Many people have this problem. It’s one of the most common complaints about LED light strips. Fortunately, there is a way to fix this. In this article, we’ll discuss how to get led light strips to stick. Just follow these simple steps, and you’ll be able to get your LED light strips to stick like they’re supposed to. Keep reading to learn more.
Summary: If you want to get LED light strips to stick to your ceiling or walls, there are a few things you can do. First, make sure that the surface is clean and dry. Second, apply a small amount of adhesive to the back of the LED light strip. Finally, press the strip against the surface and wait for it to adhere.

Led light strips are becoming increasingly popular. They are energy-efficient and long-lasting, and they can provide various functions and uses. However, one of the most common problems with LED light strips is that they often fall off surfaces. This can be frustrating, especially if you’re trying to use them for an event or decoration. Many people have tried to use different methods to get their led light strips to stick, but often to no avail. If you’re one of those people, don’t worry.
Tools and Materials
- LED light strips
- Tape measure
- Level
- Utility knife
- Mounting tape
- Mounting Channel
- Mounting Clips
A Step by Step Guide on How to Get Led Light Strips to Stick
Step 1: Choose Led Strips
The first step is to choose the right LED strips for the job. There are many different LED strips on the market, so it’s essential to select the one that best suits your needs. For example, if you’re looking for a strip that will be used primarily for accent lighting, you’ll want to choose a strip that emits a softer light. On the other hand, if you need a strip that will provide more intense light, you should opt for a brighter strip.
Step 2: Determine Location of Led Strips
This means that you need to figure out exactly where each strip of lights will go. This is especially important if you plan to have multiple strips in a single area. You’ll need to make sure that each strip is evenly spaced and has enough space between each strip to avoid any potential problems.

The best way to determine the location of your LED strips is to use a tape measure. First, measure out the length and width of the area where you want to install the strips, and then mark off the locations of each strip with a pencil or pen. Once you have the locations marked, installing the strips in the correct position will be much easier.
Step 3: Measure and Cut the Led Strips
After you have determined the locations of each strip, it’s time to measure and cut the strips to size. Most LED strips come with a pre-marked cutting line that makes it easy to get a perfect cut every time. However, if your strip doesn’t have a cutting line, you’ll need to use a measuring tape to mark the appropriate length for each strip.
Once you have all of your strips measured and cut, it’s time to move on to the next step.
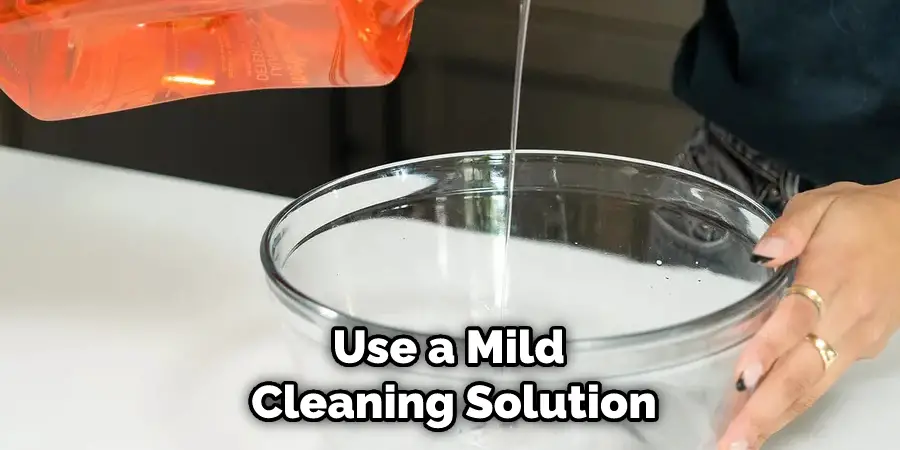
Step 4: Clean the Surface
You need to clean the surface before you put the strips on. This will help the strips stay on better. First, remove any dirt, dust, or debris from where you will put the strips. Next, use a cloth to wipe down the surface to remove any residue. Finally, use a mild cleaning solution to clean the surface.
Step 5: Apply Mounting Tape
Now that you have your materials, it’s time to apply the mounting tape. First, clean the surface area where you’ll be applying the tape. This will help the tape adhere better. Next, cut a strip of mounting tape that’s long enough to fit around the entire perimeter of your light strip. Apply the strip of tape evenly around the edge of the light strip. Make sure there are no gaps or air bubbles. Once you’ve applied the tape, press down on it firmly to ensure it’s adhered well.
Now you’re ready to mount your LED light strip! Stick it onto any clean, flat surface. You can use more mounting tape to secure it in place if you need to. Just be sure not to cover the entire strip with tape, which will affect the light output.

Step 6: Install the Led Strip in the Desired Location
Now that your LED strip is mounted, it’s time to install it in the desired location. Start by peeling off the backing on the mounting tape. Then, align the edge of the light strip with the edge of the surface where you’ll be installing it. Finally, press down firmly to adhere the strip in place.
If you’re using multiple strips, you’ll need to connect them before installing them. Most LED strips come with a connector that makes it easy to join two strips together. Align the ends of the two strips and then snap the connector into place.
Once all of your strips are installed, you can plug them in and enjoy your new accent lighting!
Step 7: Use a Mounting Channel (Optional)
If you’re looking for a more professional way to install your LED light strips, then mounting channels is the way. These aluminum channels come in different shapes and sizes and have a lip that the strip can sit in, making for a clean install with no exposed adhesive. You can find them online or at your local hardware store.
If you want your LED light strips to last as long as possible, using a mounting channel is a great way. By doing this, you will be able to protect your lights from any damage that might come their way. Plus, it will also help keep them in place so that they don’t move around and cause any accidents.
When choosing a mounting channel, be sure to select the size that best suits your needs. There are a variety of sizes available, so take accurate measurements before making your purchase. You should also consider the material the channel is made from. Some options include plastic or metal.
You will need to get a channel that is the right size and made of the right material for your project. To install it, first mark off where you want the channel to go. Then drill some holes into the surface and screw the channel down.
After the channel is installed, you can start attaching your LED light strips. Make sure that you use the correct type of adhesive so that they stay in place. Once they are all attached, you can then turn on your lights and enjoy the new look that they provide. LED tape lights are a great addition to any home. They are relatively inexpensive and provide a dramatic change to your decor. If you have not installed them before, you may want to hire a professional to do it for you.

Step 8: Use a Mounting Clips (Optional)
Mounting clips are one of the most popular ways to keep your LED light strips in place. Many people use these to line the inside of their car or truck, along the edge of a desk, or even in the kitchen. There are many different sizes and types of mounting clips, so you’ll want to get the right ones for your project.
Mounting clips provide a simple and effective way to keep your LED light strips in place. By attaching the clips to a surface and then pressing the light strip into the clip, you can ensure that your lights will stay put – even if they’re exposed to vibration or movement.
This is particularly useful if you’re planning on using your LED light strips in an area where they might be subject to bumps or jostling, such as under a car dashboard or in a boat cabin.
Using mounting clips is straightforward – attach the clip to the desired surface using the included adhesive pad or screws (depending on the clip), and then press the light strip into the clip until it clicks into place.
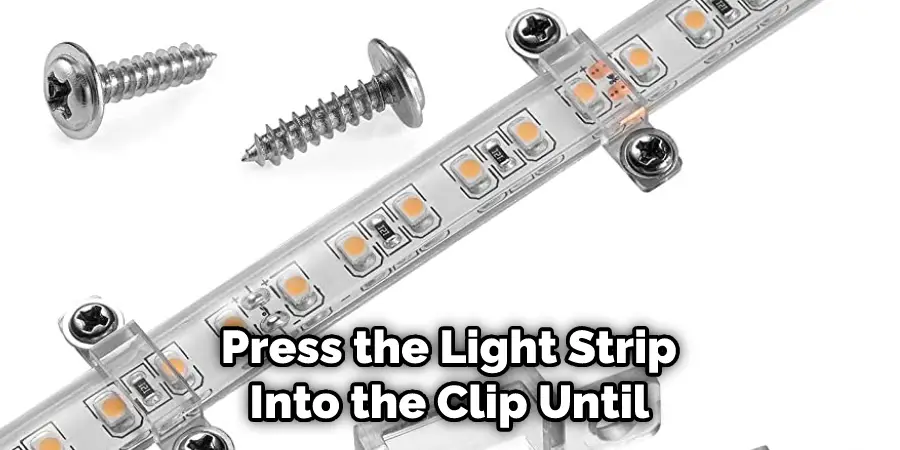
If you’re using adhesive-backed clips, ensure that the surface you’re attaching them to is clean and free of dirt or debris. This will help to ensure a strong bond between the clip and the surface.
Here Are a Few Tips to Keep in Mind When Using Mounting Clips
- Use multiple clips spaced evenly along the length of your light strip to support and prevent sagging.
- If you’re using adhesive-backed clips, try to attach them to a smooth, flat surface for best results. Rough or textured surfaces can make it difficult for the adhesive to adhere correctly.
- Ensure that the clips are correctly secured before attaching your light strip. If they come loose, your lights could fall and be damaged.
- Be careful not to overtighten the screws on screw-mounted clips, as this can damage the light strip.
- With these tips in mind, you’ll be able to use mounting clips to keep your LED light strips in place – even in high-vibration environments.

Frequently Asked Questions
Can I Use Tape to Stick Led Lights?
While it is possible to use tape to stick LED lights, this may not be the best option. Tape can damage the LEDs and reduce their lifespan. Additionally, the tape can also cause static electricity, which could lead to fire hazards. If you do decide to use tape as a way of securing your LEDs, make sure that the adhesive is strong enough to keep the light in place.
Why Won’t My Led Lights Stick?
The lights just won’t stick. There are a few reasons why this might happen, and the most common one is that the adhesive is not strong enough. Here are a few tips to help you strengthen your adhesive:
1. Make sure your lights are clean – dirty lights will not stick as well to the adhesive.
2. Use a higher quality adhesive – The higher quality of the adhesive, the stronger it will be.
3. Apply the adhesive in multiple layers – Applying the adhesive in multiple layers will make it more resistant to moisture and other elements.
4. Wait until the lights are completely dry before applying another layer – Applying another layer of adhesive right after applying the first one might weaken it further.
5. Use a spray gun instead of a brush – A spray gun is much more effective at distributing the adhesive evenly than a brush, which can result in uneven application and less durability.
Can You Restick Led Lights on Wall?
This product is safe to use and doesn’t contain harmful chemicals. You simply need to apply it to the back of the LED light, wait 10 minutes for it to dry completely, and then stick it back onto your wall.
If this isn’t possible or you don’t have access to Shoe Goo, another option is using Elmer’s Wood Filler which dries clear so you can see exactly where each light goes.
Is Double-Sided Tape Safe for Led Lights?
While Double Sided Tape is commonly used to secure objects, it may not be the best option for Led Lights. This tape has a high absorption rate and can potentially damage the light chip within your LED lamp. Additionally, if you are using this type of tape to hang lights from a string or wire, it could lead to injury when the wires pull against each other. Instead, use fabric ties that are specifically designed for hanging lights as they will not cause any damage.
You can check it out to How to Reset C by Ge Light Strip
Conclusion
So there you have it! Our top tips for how to get LED light strips to stick like a pro. We hope you found this article helpful and that you’re now ready to tackle your next LED strip installation project with confidence. If you did find this post useful, please share it with your friends and followers on social media – the more people who know about these tips, the more successful everyone will be at installing their own LED light strips!