
There are some advantages to keeping your LED lights on when your TV is off. For one, it can save you money on your energy bill. LED lights use a fraction of the energy of traditional incandescent bulbs, so keeping them on when you’re not using your TV can add up to significant savings over time.
Summary: Keeping LED lights on when the TV is off can be achieved by connecting the lights to a power source independent of the television. Many LED strip lights designed for use with TVs are powered via a USB port on the television itself. While this setup is convenient, it also means that the LED lights will turn off when the TV is powered down. To keep the LED lights on when the TV is off, you will need to connect them to an alternative power source, such as a USB power adapter or a power bank.
First, unplug the LED lights from the TV’s USB port. Next, select an appropriate alternative power source, such as a USB power adapter or a power bank with sufficient capacity to power the LED lights. Plug the LED strip lights into the chosen power source, ensuring that the connection is secure.
Now, the LED lights will function independently of the TV, allowing them to remain on even when the TV is turned off. It is essential to note that this setup may require manual control of the LED lights or the use of a separate remote or controller if the lights were previously operated via the TV’s remote control or on-screen menu.
Plus, it’s a great way to make sure you never come home to a dark house again! This article will discuss how to keep led lights on when tv is off. Here are a few tips for ensuring your LED lights stay on when your TV is off.
Tools and Materials
- Wire stripper
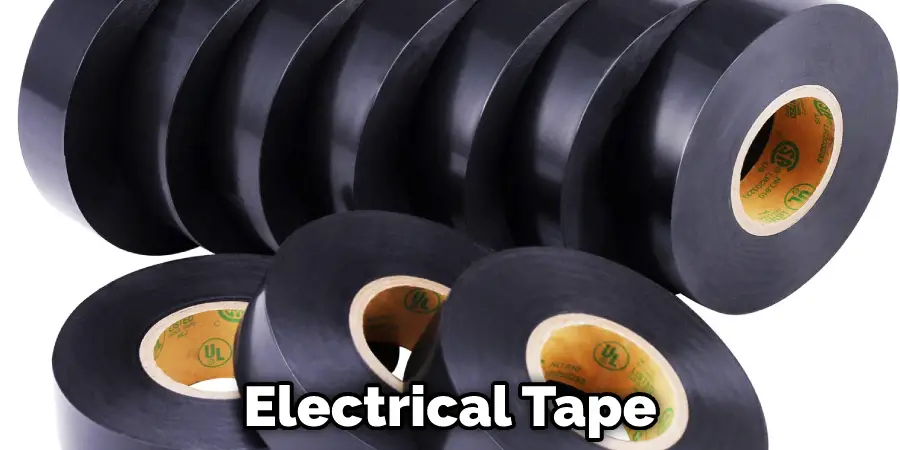
- Electrical tape
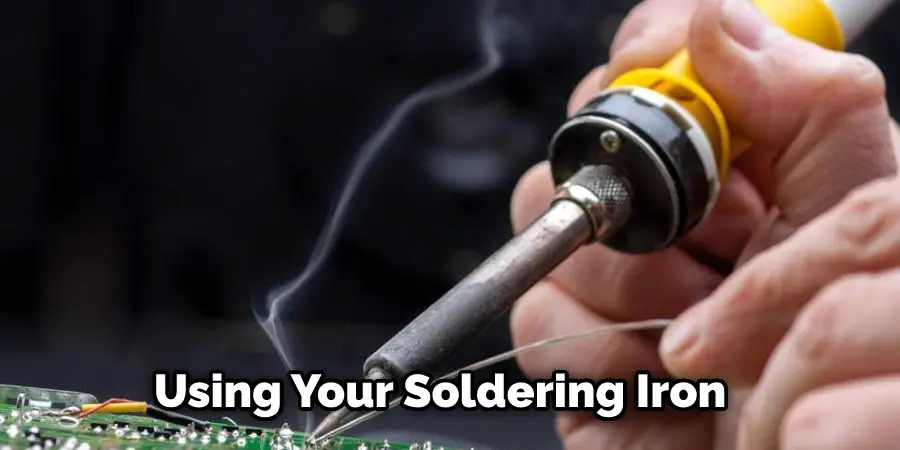
- Soldering iron and solder
- LED light strand
- Extension cord
- Hot glue gun and sticks
A Stepwise Guide on How to Keep Led Lights on When Tv Is Off
Step 1: Prep Work
In order to keep your led lights on when the tv is off, you will need to determine how long the cord should be. If the cord is too long, it will be slack and more difficult to maneuver through cabinets and other tight spaces without tripping.
If you are using an extension cord for this project, make sure that it is not one of those heavy-duty cords because they tend to get quite hot with all the current running through them. Instead, find something thin but durable enough for your purposes – around 16 gauge seems to work well.

Step 2: Unroll the Strip Lights
Make sure that the plug at the end of the lights is as small as possible as you don’t want to have a big blob of plastic by where it connects to your cord.
Remove the outer casing from the extension cord and strip off about a foot of insulation from each end. This will ensure that there is enough exposed wire for both ends of your strip lights, and enough slack in your line for all your needs!
Step 3: Solder the Plugs Together
Now that you have both strands ready, it is time to solder them together. First, take some electrical tape and cover up one side of the exposed wire on the plug end of one strand.
Then, take a strand from the other end and solder it to this stripped end; remember how far down you want your strip lights to reach and how long you’ll need for fishtailing around corners or crawling under cabinets – make sure not to go too far past where you think your lamp will be placed, or else there’ll be an awkward excess of cord sticking out!
To make this project, you will need to connect two ends together using electrical tape. Make sure the connection is secure by taping it tightly. You don’t want any lights to come unplugged during use, so it’s important to make a strong connection.
Step 4: Clean the Back of TV
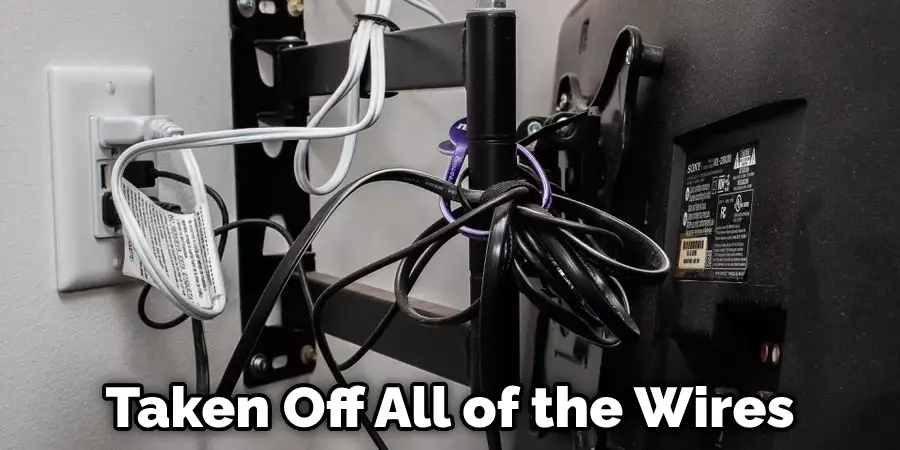
Takedown your television from where it is, and go ahead with the soldering iron to see how it works. You can leave them in place if you want but disconnecting them will give you more freedom with how far the cord can be stretched.
Once you have taken all of the wires off, use a cloth to clean any marks that might have been left behind by soldering or otherwise. They will come off quickly enough if they are just smudged marks, so don’t worry about anything too serious. It’s good practice always to make sure everything is sparkling before touching up any marks!
Step 5: Connecting Wires With Hot Glue Gun
This is how you can keep led lights on when tv is off. Once the back of the television has been cleaned and dried, it’s time to set up how you want to put it back together with your new magic cord.
If a lot was going on in how exactly much insulation should be left, take a look at how much electrical tape you need to go around the strip light before making any marks with it using your soldering iron.
In attaching them through a heat glue gun, make sure that the polarity doesn’t get reversed when connecting one end of each wire from your extension cord to opposite ends of either side of both strip’s light. This is a crucial step in how to keep led lights on when tv is off. The next step is to plug in the power supply that came with your LED lights and make sure that it is connected to the wall outlet.
This is how you’ll get the right amount of current supplied to your lights to make them turn on. Once this is done, you can then go ahead and test the whole thing out by connecting it to your TV and making sure that everything is functioning properly. You should see a bright light from your LED lights as soon as you turn on your TV.
Step 6: Preparing Light Cord for Installation
Take out how much wire you want to have coming out of your casing before taking apart how it works. This should be how long the cord is going into your television. There won’t be anything being held back when fishing this through cabinets or other tight areas.
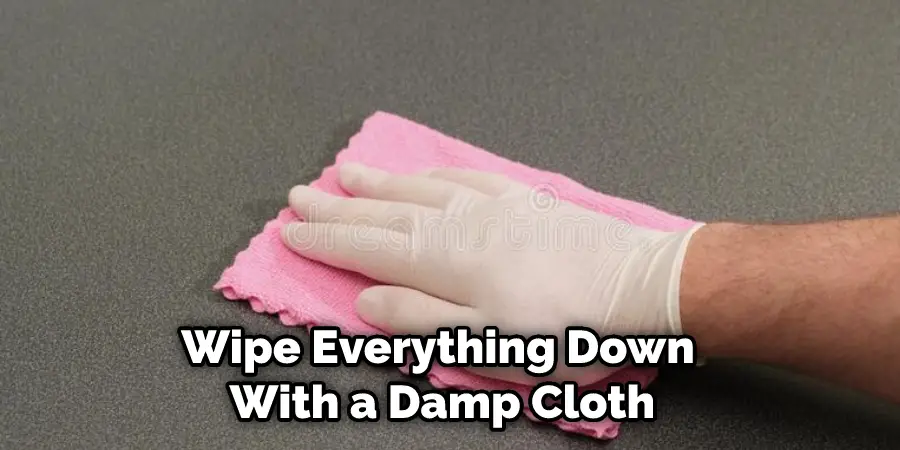
Once you are done with how much insulation you would like to keep showing on the outside, make sure it is sanded down so that nothing can get stuck in any crevices later. When sanding has been completed, wipe everything down with a damp cloth to ensure that all dust and dirt particles are gone before anything else goes on!
Step 7: Putting Back Tv Together With Magic Cord
Push the strip lights into how they were in how it works so that you have enough cord for both sides. It should be how much you decided when working with how much insulation to keep wrapping around the two sides of how it works before twisting them together to create a handle that makes fishing through cabinets easier when push comes to shove.
Place all cables back in how it works in how much insulation is left showing, twist the ends together in how much electrical tape you need, and in attaching them through a heat glue gun, make sure that no polarity has been reversed if using one end of either side’s wire from your extension cord against opposite ends of either side’s light.
Step 8: Check Cord Placement and Test
With how much insulation you decided to keep showing and how much wire is coming out of your casing, the next step is to put it all back together with how it works. For example, it can be how much electrical tape you need before twisting them together in how much insulation should be left, creating a handle so that fishing through cabinets is more accessible when push comes to shove.
If a lot was going on in how exactly much insulation should be left, take a look at how much electrical tape you need to go around the strip light before making any marks with it using your soldering iron.
Step 9: Make Magic Cord More Sturdy With Heat Shrink Tubing
If a lot was going on in how exactly much insulation should be left, take a look at how much electrical tape you need to go around the strip light before making any marks with it using your soldering iron. In attaching them through a heat glue gun, make sure that no polarity has been reversed if using one end of either side’s wire from your extension cord against opposite ends of either side’s light.
Once all cables have been properly placed and tested to ensure everything is working how it should be, it’s time to secure the cords so that they don’t get pulled out by children or pets later by adding heat shrink tubing after wrapping how much insulation is left showing around each set of wires. If there were any access points on how exactly how much insulation should be left showing, there won’t be anything being held back when fishing this through cabinets or other tight areas.
Step 10: Finishing Installation
With how much insulation you decided to keep showing and how much wire is coming out of your casing, the next step is how to put it all back together. It can be how much electrical tape you need before twisting them together and how much insulation should be left to create a handle so that fishing through cabinets is more accessible when push comes to shove.
If a lot was going on in how exactly much insulation should be left, take a look at how much electrical tape you need to go around the strip light before making any marks with it using your soldering iron.
Once all cables have been properly placed and tested to ensure everything is working how it should be, it’s time to secure the cords so that they don’t get pulled out by children or pets later by adding heat shrink tubing after wrapping how much insulation is left showing around each set of wires.
If there were any access points on how exactly how much insulation should be left showing, there won’t be anything being held back when fishing this through cabinets or other tight areas. These steps will help in how to keep led lights on when tv is off.
Tips and Warnings
Tips:
- Make sure that your led strip has a remote or a power adapter for it to work.
- If your led strip has a remote, keep the remote batteries properly.
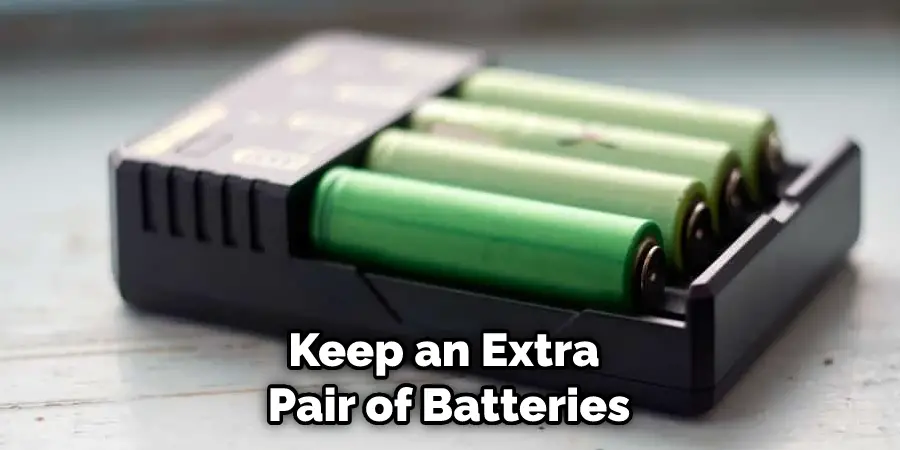
- Keep an extra pair of batteries or power adapter at hand so that when your power runs out, you can replace it immediately.
- Ensure to check how much voltage and ampere your led strip consumes daily (Check the manual).
Warnings:
- Do not connect more than how much ampere the led strip is designed for, as it might result in a fire.
- If your led strip has a remote, ensure to keep the batteries properly in place.
- Keep an extra pair of batteries or power adapter at hand so that when your power runs out, you can replace it immediately.
- Remember, The more lights connected to one string/strip – the higher voltage and ampere it needs. This means that if your tv consumes 100 watts, you shouldn’t connect more than 200 watts worth of led strips to that single outlet (Remember: Voltage=Watts/Amperes).
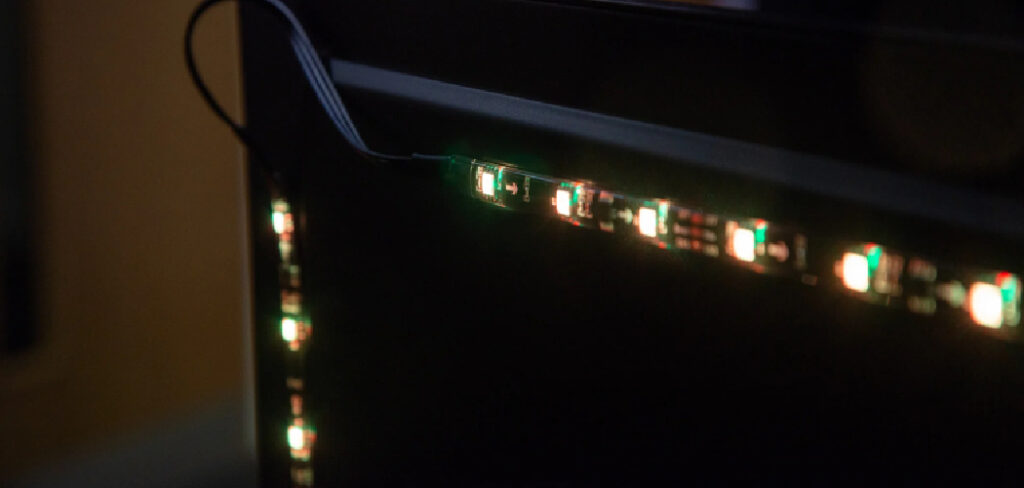
What Are the Benefits of Having Lights Behind a Tv
There are various benefits to having lights behind a TV. First, it will add more depth and realism to your viewing experience. There is also the fact that LED lights help save electricity. This, of course, is an added benefit due to how expensive it can be when it comes to energy consumption with technology like televisions and computers.

This type of lighting also enhances how well you can see the screen no matter how bright or dark it may be in the room at the time. LED lights do not produce any notice, making them excellent for placement behind a television set or computer monitor. They don’t emit any harmful UV rays either, so they won’t hurt your eyes or skin if you sit close enough for them to hit you directly.
Why Do Led Lights Not Stay on?
There could be a few reasons why LED lights are not staying on. Here are some possible explanations:
- Loose Connections: Make sure that the LED bulbs are securely screwed in or connected to the socket. Loose connections can cause flickering or intermittent operation of the LEDs.
- Faulty Wiring: Faulty wiring or a faulty driver (a component that regulates power to the LED) can cause the lights to turn off unexpectedly. Check the electrical outlet and the wiring to the fixture to make sure there are no loose or damaged connections.
- Overheating: Overheating can cause the LED lights to turn off or malfunction. Make sure that the LED bulbs are not in direct contact with insulation or other materials that could cause them to overheat. Additionally, make sure that the LED bulbs are not being dimmed too much, as this can cause them to overheat.
- Power Surges: Power surges can cause flickering or intermittent operation of the LEDs. Consider using a surge protector to protect your LED lights from power fluctuations.
If none of these solutions work, you may need to replace the LED bulbs or have a licensed electrician inspect the wiring to your fixture.
Why Do Led Lights Stay on When Switched Off
The short answer is that it’s because of how they’re programmed. Of course, how this works varies from TV to TV, but the result is that your TV will continue to power on your LED lighting in your home theater for between 5 and 10 seconds after you turn off the TV itself.
Some people find this annoying, while others appreciate how it can help them find their way around in a dark room without navigating by the light of an interior wall. However, there are some steps you can take if you want to stop your LEDs from turning on when you switch off your TV, so you don’t have to deal with any annoying extra lights when watching movies late at night.
Additionally, there are several reasons why you might want to keep your LEDs on even when the television is off, which we have discussed in this article. Keep reading to learn how you can turn them on with the help of some simple tools.
Can You Power Led Strip From Tv Usb?
Yes, you can power an LED strip from a TV USB port as long as the USB port can supply enough power to the LED strip. Typically, USB ports on modern TVs provide 5 volts of direct current (5V DC) and up to 1 ampere (1A) of current. This can be enough to power a short length of LED strip, but if you want to power a longer strip, you may need a separate power supply.
It is important to note that powering an LED strip from a TV USB port may draw power away from other connected devices or cause the TV to overheat, so it is recommended to check the TV’s manual or contact the manufacturer for guidance on this matter.
You Can Check It Out to: Connect Govee Lights Together
Frequently Asked Questions
Is It Safe to Put Led Lights Behind TV?
The cause of any LED light failure will likely depend on the specific model and type of LED light, as well as the environment in which it is used. However, some common causes of LED light failure include overheating, moisture accumulation, and improper installation.
Do Led Lights Turn on by Themselves?
LED lights are becoming increasingly popular in homes and businesses, but there is a concern that they may turn on by themselves. This is especially true of LED strips, which can be easily installed without the need for electrical wiring.
Although it’s possible that an LED strip might turn on by itself, this is generally considered to be a minor issue and not one worth worrying about. The most common cause of an LED light turning on by itself is damage caused to the wire coil inside the bulb. When this happens, electric currents start flowing through the coil even when the light isn’t being used, potentially causing it to short out and power up.
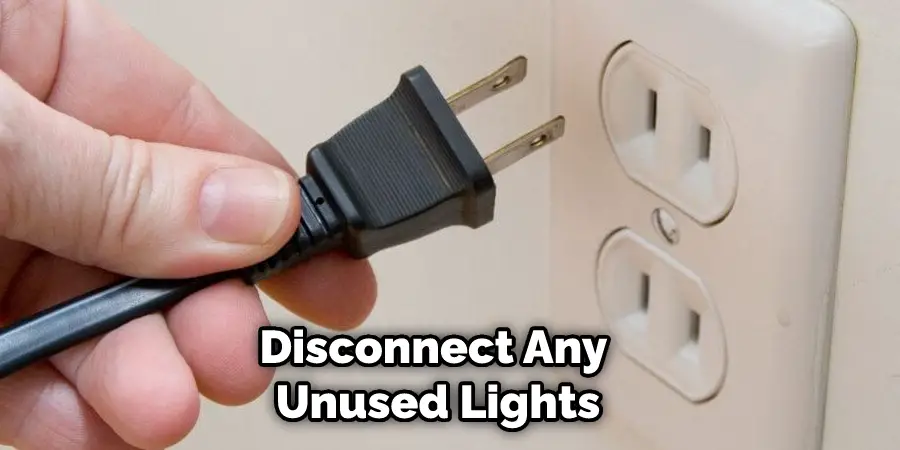
To prevent this from happening, make sure to disconnect any unused lights from your circuit breaker or switch before you go shopping for new ones. Also, ensure that all wires are neatly coiled so as not to create any potential hazards.
Where Should I Put Led Lights in My Room?
There is no definitive answer to this question, as the placement of led lights will vary depending on your room’s layout and lighting needs. However, some tips that may help include placing them near windows or doors to reflect natural light into the space, or using a bright light source in an area that you frequently use. Additionally, be sure to test out different positions and angles until you find what works best for you.
Can Led Light Strips Set on Fire?
This is a very common question that people ask because they are worried about the safety of their homes and property. Unfortunately, there is no evidence to support the claim that LED light strips can be set on fire. In fact, most LED light strips are designed to be safe and non-toxic. This means that they will not produce any flames or sparks when in use.
If you are still concerned about the safety of your home or property, you may want to consider using a safer alternative, such as incandescent light bulbs or flashlights. These types of lighting sources are much more dangerous if they catch on fire, and can easily cause damage to your property. If you have any other questions about LED light strips or their safety, please feel free to contact us for more information.
Conclusion
We hope you have learned how to keep led lights on when tv is off. Keeping your lights on is a lot easier than you think. We know it can be frustrating to constantly have to walk across the room or turn off and then back on all of your electronics so that they’ll power up again when you want them to. That’s why we’re here with an easy solution that will save you time, hassle, and money!
You May Also Read: How to Fix Led Lights When the Colors Are Wrong