
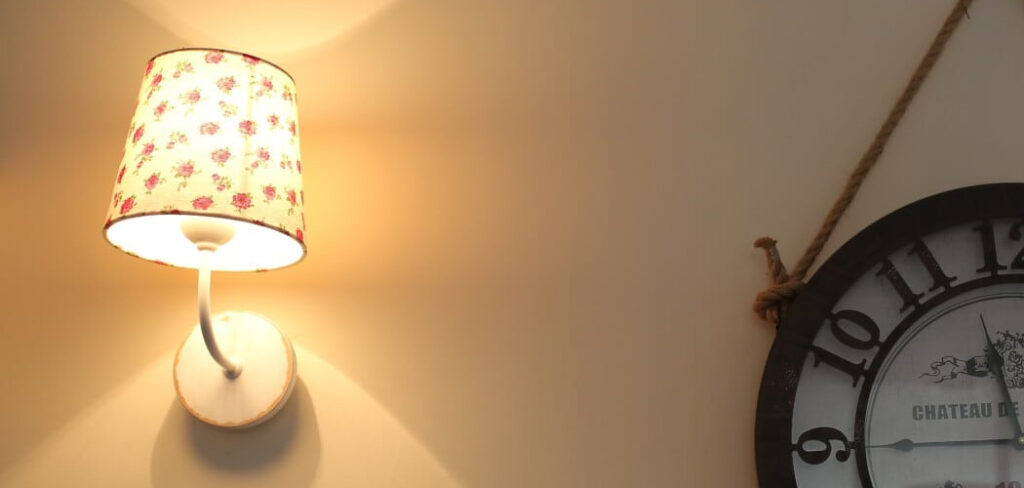
Consider using a clamp light if you’re looking for a simple, affordable way to add additional light to your photography or video setup. Clamp lights are easy to use and can be attached anywhere, making them a popular choice for small studios and tight spaces. This article will show you how to hang a clamp light and get the most out of it.
Summary: Hanging a clamp light is a versatile and practical solution for providing task lighting, accent lighting, or temporary illumination in various settings. Clamp lights feature an adjustable lamp head attached to a clamp, which can be easily secured to a wide range of surfaces, such as shelves, tables, or pipes. This allows for quick and convenient repositioning and adjustments as needed. The process of hanging a clamp light requires selecting a suitable location, attaching the clamp securely, and positioning the lamp head for optimal lighting.
To hang a clamp light, begin by identifying the desired location, ensuring that it is near a power source and has a stable, flat surface for the clamp to grip. Open the clamp and position it over the chosen surface, making sure the clamp’s jaws are fully in contact with the surface for a secure hold. Tighten the clamp, if necessary, to ensure a firm grip and prevent the light from slipping or falling.
Some clamp lights feature a locking mechanism, which should be engaged to further secure the clamp to the surface. With the clamp in place, adjust the lamp head to direct the light towards the desired area or object. Many clamp lights feature a flexible gooseneck or a swivel joint, allowing for easy repositioning and adjustments to achieve the ideal lighting angle.
Plug the clamp light into a nearby power source and switch it on to test its functionality and positioning. If necessary, make further adjustments to the lamp head or clamp to achieve the desired lighting effect. By following these simple steps, you can quickly and easily hang a clamp light to provide convenient and adjustable illumination in various situations, such as workshops, art studios, or reading nooks.
It’s not always easy to find a good place to put a light when you’re working on a project. But with a clamp light, you can easily attach it to any surface.
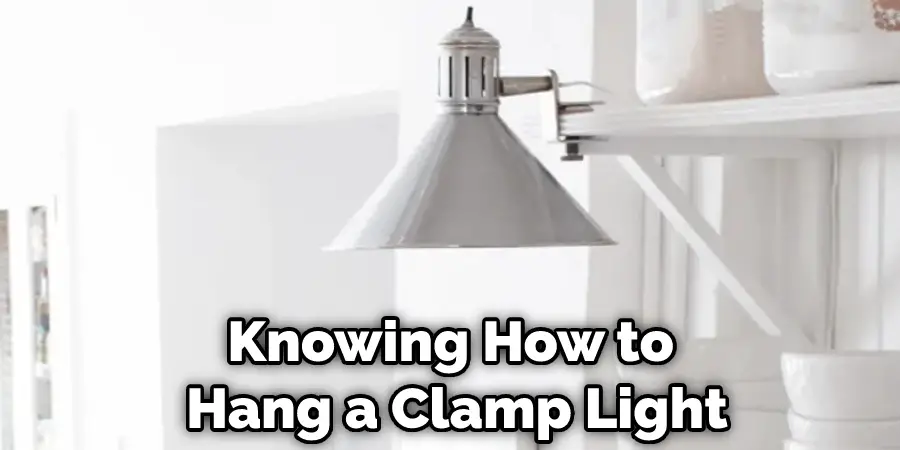
A Step by Step Guide on How to Hang a Clamp Light
Step 1: Determine Where You Want to Hang the Clamp Light.
Before you start hanging your clamp light, think about where you want to put it. Your plans for using the clamp light will usually affect where and how you hang it. For example, if you want to use it as a reading lamp, it would be best to hang it close to a tabletop or countertop, so you’ll have enough light for reading materials and other things on the surface.
If you need a task or work light, place the clamp light near your workspace. No matter what surface or tool you need to be illuminated, you will always have enough light.
Step 2: Choose How High to Position the Clamp.
If you want to use your clamp light for tasks around the house, position it lower. This will allow ample lighting directly in front of whatever surface or tool you need to be illuminated while still allowing for easy access and movement while working.
Step 3: The Screw Hook and Wire Cable Should Be Inserted Together Through the Clamp Hole.
The next step is to feed the wire cable and screw-hook through the center of the clamp. This will allow for much flexibility when hanging your clamp light because you can then move it around without worrying about disconnecting wires from lights from power sources.
Step 4: The Hook Should Be Placed Through the Screw Hole Open.
You need to feed the wire through the clamp so that the screw hook is on the end. Then, you need to carefully feed it through the curve or “U” section of the hook until it comes out at the other end. Make sure that you do not make the clamp too tight or too loose.
Step 5: Ensure That Your Wires Are Positioned Correctly.
Now that you have attached both ends of your wire cable to their respective holes in your clamp light fixture, you can adjust them so that they are positioned correctly. To do this, take each wire cable to the point where its hook meets the clamp light fixture and twist it around its hook to be securely in place.

Step 6: Slipping the Bolt Through the Hook.
Once you have adjusted your wire cables, it is time to attach them to their respective hooks on the clamp itself. How well this is done will determine whether or not your clamp light will be sturdy enough for you to use as a reading lamp, task light, etc.
How you position the wire cable and bulbs matters! To do this properly, first, take one of the wires from each cable and loop each end over its respective hook on the clamp fixture. Then, with both ends looped over their correct hook, twist them around their hooks securely in place.
Step 7: Screw the Bolts Into Their Respective Holes in the Fixture.
To attach your wire cable/wire and bulb to the clamp light fixture, take each wire where it meets its hook and fold it back around itself so that it is now appropriately attached. How The Wire Cable Is Attached To Your Clamp Light Fixture Matters!
Once these cables have been properly adjusted and securely attached to their correct hooks, you should tighten up each bolt with a screwdriver until enough pressure is put on them to keep them from slipping off. How Tightly You Attach Your Clamp Light Matters!
Step 8: Tightening the Screws.
Once you have adjusted your wire cables to be securely attached to their correct hooks, it is time to adjust how tightly each cable has been secured using the screws on your clamp fixture. Take each side of your clamp fixture and turn them in opposite directions with a screwdriver until enough pressure is applied onto these cables to keep them from slipping off when hanging the clamp light. How much tension should be put on each wire cable matters!
How much tension should be put on each wire cable matters! How much pressure should be placed on each wire cable matters! How much tension should be put on each wire cable matters! How tight the screws of each wire cable are tightened up matters!
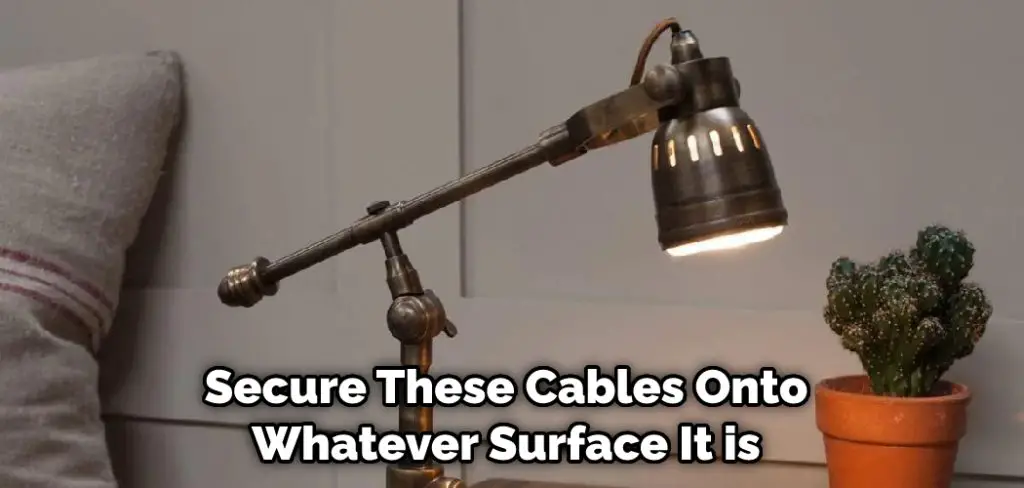
Step 9: Securing the Fixture to the Ceiling.
Once your tension is adjusted correctly and you can feel some resistance on your cables when hanging your clamp light, it’s time to secure these cables onto whatever surface it is that you decide to hang it on. How much tension should be put on each wire cable matters! How much tension should be placed on each wire cable matters!
How much tension should be put on each wire cable matters! How much tension should be placed on each wire cable matters! To do this properly, take the top bar of your clamp light fixture and slip it through whatever hook or support you are using to hang your light. How tight the screws of each wire cable are tightened up matters! How tight the screws of each wire How much tension should be put on each wire cable matter!
Step 10: Finish
Once your tension is adjusted correctly and you can feel some resistance on your cables when hanging your clamp light, it’s time to secure these cables onto whatever surface you decide to turn it. How tight are the screws of each wire cable are tightened up matters! How much tension should be put on each wire cable How much tension should be placed on each wire How tight the screws of each How much pressure should be applied onto the correct screw matters!
Precautions
- Before you begin, make sure that the socket of the clamp light is turned off.
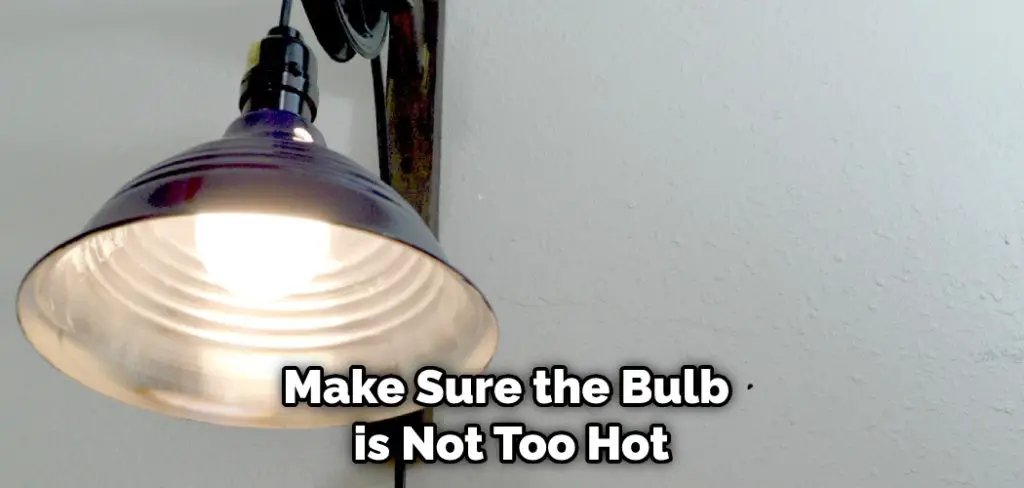
- Make sure the bulb is not too hot before touching it (usually after 1 minute).
- To prevent the power cord from being pulled out or loosened during use, do not place heavy objects on top of it. If this happens, do not use force to pull it back in. Instead, call your local electrician for assistance. Never attempt to fix it yourself, as this could cause an electrical shock or fire to break out, resulting in injury or even death!
- Do not touch the bulb with wet hands. If you do, wipe dry immediately.
- Do not use extension cords when using clamp lights. It can lead to overheating of wires due to the excess current flowing through them, which could cause a fire resulting in injury or even death!
What Is the Difference Between Hanging a Clamp Light and Mounting It on a Stand
When deciding whether you need a clamp light or a floor lamp, it is essential to understand their differences. In addition, how you use the light and where you want to put it will help determine if one of these lighting fixtures will best suit your needs.
If you are looking for a way to brighten up your room and cannot install lamps on your walls or ceilings, having a few different styles of lights can be helpful. Knowing how to hang a clamp light may be beneficial if this is the case.
First, let us describe what hanging a clamp light entails. This device has three metal arms that curl out from its base to grab onto whatever surface it is resting on.
A floor lamp has a tall, freestanding base that sits on the ground or top of another piece of furniture. Because these lamps do not stand straight up like clamp lights, they need to be plugged into an electrical outlet to provide you with the lighting you need. Floor lamps also have adjustable necks that allow them to be directed towards where it is most convenient for reading or other activities.
Frequently Asked Questions
Where Do You Put a Clamp Lamp?
However, some general tips that may be useful include:
1. Place a clamp lamp near the work area so that you can see what you’re doing easily.
2. Use a clamp lamp to hold objects in place while you’re working on them, or to hold materials in place during a filing or assembly process.
3. Use a clamp lamp to secure materials while you’re repairing or remodeling something.
What Is a Clamp Lamp?

A clamp lamp is a tool used by technicians and electricians to quickly diagnose electrical problems. It consists of two lenses that are separated by a transparent piece so that the problem area can be seen more clearly. The technician then uses the clamps to hold down one or both of the lenses, allowing him or her to view the problem more easily.
Clamp lamps are useful for identifying problems with globes, light fixtures, switches, receptacles, and other components in electrical systems. They can also be used to test circuit continuity and identify short circuits. By using this versatile tool correctly, you can save countless hours of troubleshooting time later on!
What Is a Lighting Truss?
A lighting truss is a type of construction that consists of two or more metal bars that are connected at the top and bottom by cross members. These bars provide support for wall-mounted lights, while also allowing them to be easily moved around. They are often used in commercial or industrial settings where space is limited, or when it is necessary to move fixtures quickly and efficiently.
The advantage of using a lighting truss over other types of construction is its modularity. This means that you can create different configurations tailored specifically to your needs without having to tear down and rebuild the entire system every time you make changes. In addition, this type of design allows for greater flexibility in terms of placement: fixtures can be hung above or below ground level, they can be oriented vertically or horizontally, and they can even span across three axes simultaneously.
So if you’re looking for an easy way to improve the look and function of your
commercial/industrial setting with minimal hassle, then a Lighting Truss may just be what you’re looking for!

Conclusion
So there you have it – everything you need to know about how to hang a clamp light. If you’re feeling confident, go ahead and try it yourself; if not, feel free to give us a call for help. Either way, check back soon for more helpful tips and tricks from the DIY experts.