If you’re looking to add some extra flair to your home or office, consider adding some LED strips. LED strips are a great way to make a space feel more inviting and stylish. And, best of all, they’re relatively affordable. This article will show you how to connect multiple LED strips to one power source. Read on for instructions!
Summary: If you have multiple led strips and want to connect them all to one power source, there are a few different methods you can use. The easiest way is to use a splitter cable. This cable has two connectors on either end, and will allow you to connect each strip to one connector. Another option is to use a power adapter. This will allow you to plug the power source into one end of the adapter, and then plug the adapter into another end of the strip.

Led strips are becoming increasingly popular for people who want to add a touch of style to their home or office space. They’re also relatively affordable, making them something that almost anyone can afford to install throughout their home.
What You’ll Need
- A wire cutter/stripper
- Power source (12V 5A power supply)
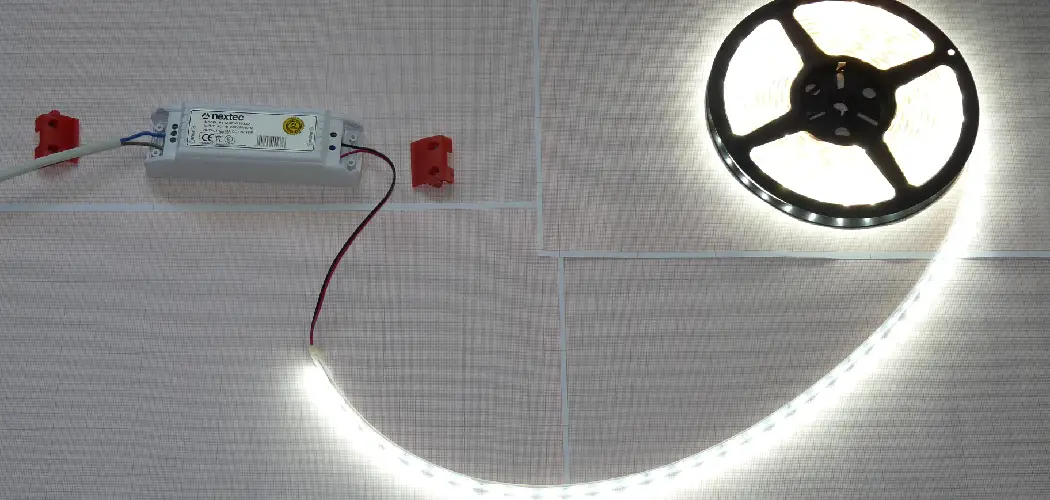
- LED Strip kit, including one or more LED strips, clips, and adhesive tape. Please ensure the strips are sealed well enough that water cannot enter them.
- Wire cutters/strippers
- Soldering Iron (optional)
A Step by Step Guide on How to Connect Multiple Led Strips to One Power Source
Step 1: Determine How Many Strips You Will Need
To determine how many light strips you will need, first consider the area you want to be lit and the power usage (amperage) of the light strip. The brightness of each LED bulb in the tape is determined by the amperage, so a brighter LED will use more power. Two 1-meter strips with 60 LEDs each may look about as bright as a single 3-meter strip with 30 LEDs, but they will use more power.
Step 2: Calculate LED Strip Wattage
After you’ve decided how many strips you need, calculate the wattage of all your strips to find a power source that can handle them. To do this, multiply the total length in feet of all your strips by the number of watts per foot on each strip. Then, add up these totals for each strip and divide the total by 1,000 to determine what size inverter will be required to provide adequate power. For example:
Total Length of Your Strips x Power Consumption Per Foot = How Many Watts You Require
2x .2 = 20 watts/feet
30 feet x 20 watts/ft = 600 Total Watts Required from Power
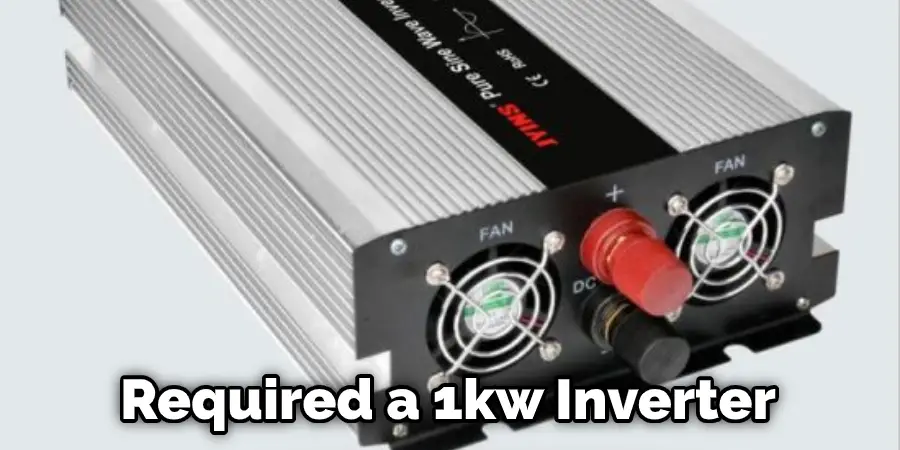
600 / 1000 = .6 kilowatt
So to provide 600 watts, you will need a power source that works with inverter sizes from .5kw up to 1.0kw, depending on the type of power it can draw from your environment. It is also recommended you round up to the next size more significant, as this will ensure good amps are available for each strip and allow for some safety in case one or more strips require a little more power than others due to requiring slightly brighter lights or because they may not be perfectly straight across their run.
Step 3: Compatible Power Supply
After you have determined the wattage of your strips, it is time to find a power source that can accommodate them. You will want to choose one with either an equal or more significant number of watts than what you calculated. For example, a power source that provides both 110v and 12v for compatibility.
We chose our 1000 watt solar power bank because it outputs 1kw of power at 110 volts and 12 volts, just like our 600-watt system. The only difference is that this system uses electricity from an outlet (or car if you buy the separate accessory) to charge itself, instead of sunlight.
By attaching this unit’s charging cable to a vehicle or other power source, it will store that electricity into the battery within the team, which you can then use later to power your LED strips.
Step 4: Connect Everything Together
Once you have found a compatible inverter and the appropriate strip length for your installation, all that is left is to connect everything safely. This can be done by using our tape-down zip-kits, pre-made harnesses with a male plug on one side and a female receptacle on the other. Our zip-kits provide a quick and easy way to attach two separate pieces of the LED strip to create custom lengths while staying organized when running cables around corners, through walls, etc.
Once plugged in, you can plug the male end into either side of your power source and plug the female end into any run of strips you wish to connect. The only limitation to this is that you can’t plug a male end into a male end, or a female end into a female end. You must have one male and one female side connected at all times.
Step 5: Connecting One Color LED Strip
Wiring a single color strip, meaning a tape comprised entirely of one LED bulb color, couldn’t be easier. You will plug the male end into any accessible female receptacle on your power supply and then connect the female end to the run of strips you wish to power with it (in this case, our orange LED strip).
The protective coating on the strip’s wire prevents electricity from running through it, protecting your system and allowing you to connect as many different colors LED strips or runs of them together as you like without fear of them shorting out.
Step 6: Connecting More Than One Color LED Strip
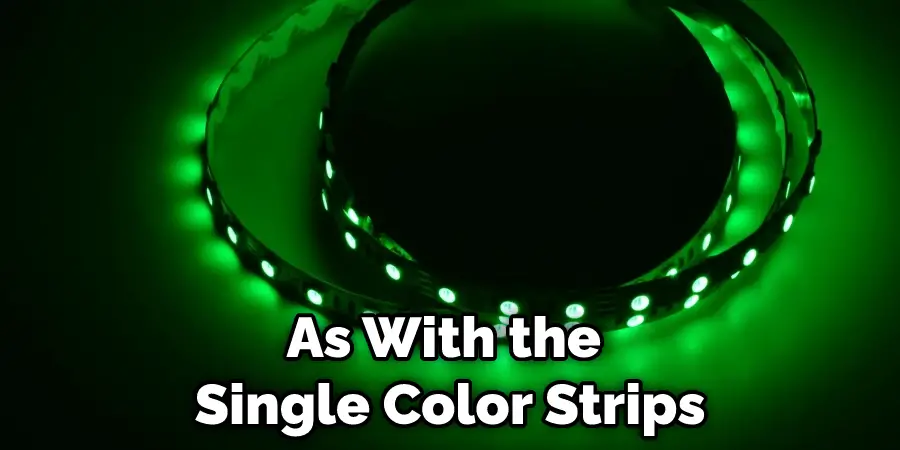
As with the single color strips, multiple wiring colors together is safe and easy. You will need to connect the female end of each strip or run of them to start with the strip furthest away from your power source (in this case, our blue LED water-resistant tape). As long as these strips are plugged into different female receptacles on your power supply, you can connect as many of them as possible without fear of shorting them out.
Once connected, you will notice a small gap between the two strips where they meet, and the protective coating has been removed. This is perfectly normal and necessary for allowing electricity to flow from one strip to another. If you are using the tape lighting system, it is best to make your connections in a zig-zag pattern like the pictures shown above (Note: For specific details about wiring tape lights, please refer to your installation manual in your package).
Step 7: RGB or Color Changing LED
Connecting an RGB or color-changing strip to your power supply is almost identical to the process we just finished explaining. However, instead of powering only one color at a time and by plugging and unplugging different strips together, this smaller type of LED strip requires an external controller box to change colors.
To connect these strips to your power supply, you will plug the male end into any open female receptacle on your power supply and connect the female end to a strip run. If you are using a tape lighting system, follow the same steps we did with our single color strip, which connected multiple runs in a zig-zag pattern. However, if you are using a tape lighting system without a built-in power supply, please refer to the instruction manual that came with your purchase.
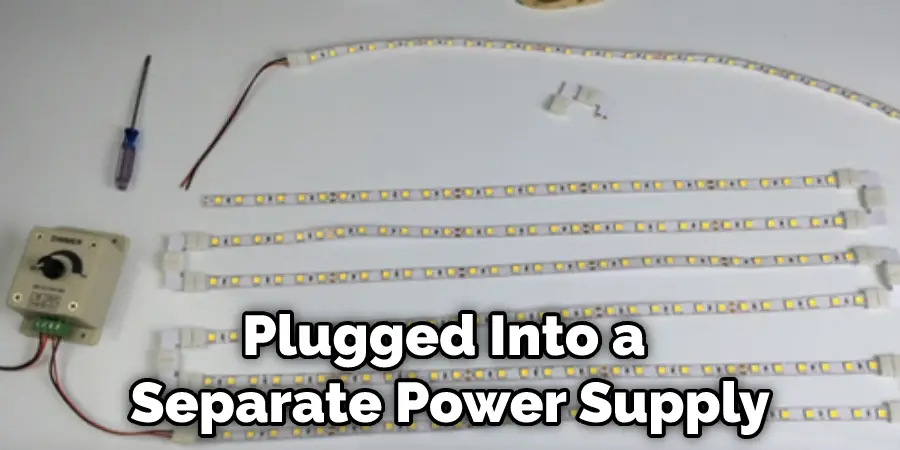
Step 8: Dimmable One Color LED
While the majority of our LED strips are not dimmable, certain types can be when plugged into a separate power supply (such as this one).
In this case, you will need to make sure that both strips are plugged into different female receptacles, or it may cause the LED’s color to shift from dimming. These steps will help in how to connect multiple led strips to one power source.
You Can Check It Out to: Get Led Light Strips Off the Wall
Precautions
- Before you begin, make sure that your power supply is a 12V 5A or higher power supply.
- Do not daisy chain more than 3 LED Strips. Daisy-chaining takes away from the 12V needed for each strip and will fail. If you wish to add more strips, make sure they are connected to one power source after another using an included adapter.
- Only use this product with enclosed LED Strips. Using it with an open or incomplete strip will damage your property and cause possible harm due to electrical shock.
- Keep this product away from water and moisture. Long-term exposure can result in corrosion to the circuit board and other electrical components.
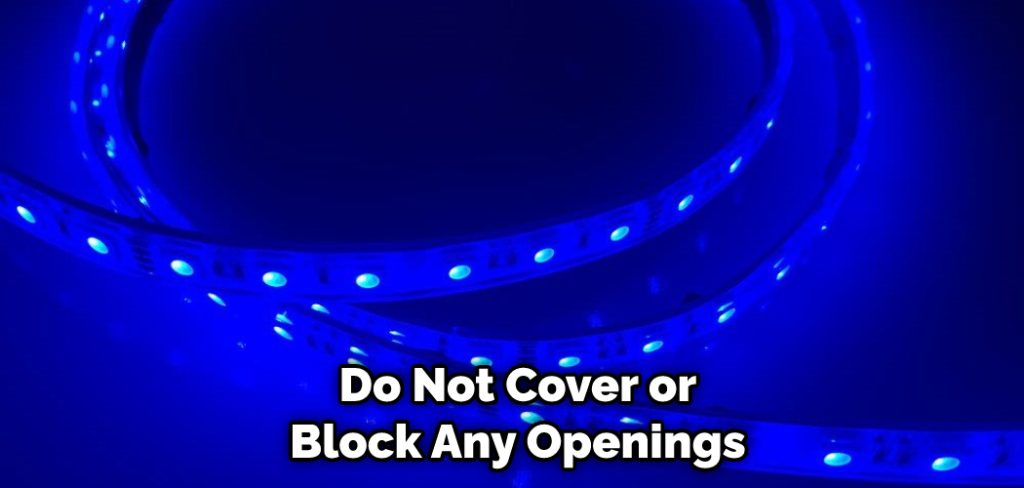
- Do not cover or block any openings on your LED Strip Light. This will cause excessive heat that may cause fire and damage the unit itself.
You Can Check It Out to: Fix Led Lights That Are Two Different Colors
Frequently Asked Questions
Should Led Strips Be Connected in Series or Parallel?
Generally, when it comes to electrical wiring, series connection is better than parallel connection. This is because a series circuit allows for more electricity to flow through the circuit at once which reduces the risk of overload or burning out components.
In addition, a schematic diagram will typically use a single letter designator such as “S” to represent a series circuit.
Parallel connections are sometimes used when two circuits need to share power (for example, an HVAC system and Christmas light string). However, this type of connection poses greater risks since there is no way for one component in the circuit to “breathe” and stop drawing power from another component if something goes wrong.
Can Led Strip Lights Be Daisy Chained?
Yes, LED strip lights can be daisy chained together. However, make sure that the lights are of the same voltage and amperage – otherwise, they may not work together properly.
Additionally, make sure that the wires are long enough to reach all of the lights without having to run cables across the room.
Can I Power Led Strips at Both Ends?
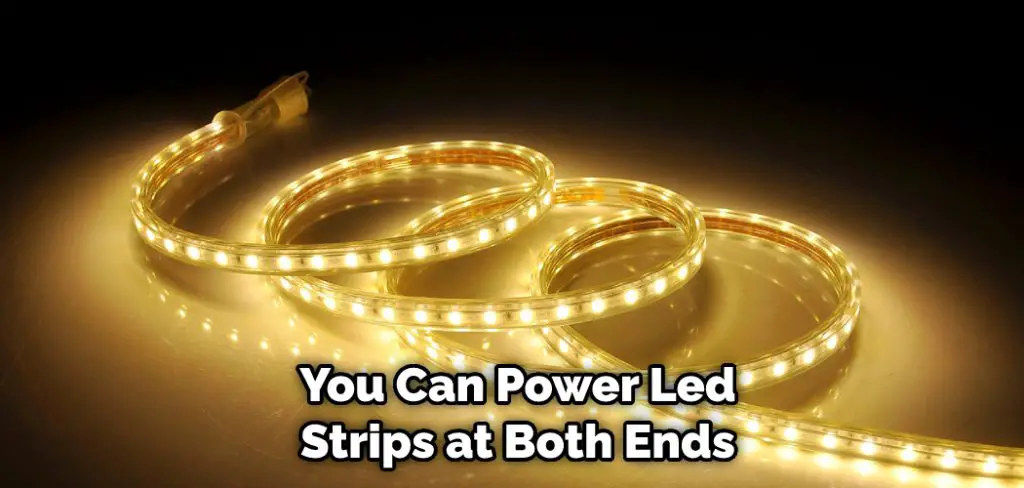
The short answer is yes, you can power LED strips at both ends. However, there are a few considerations that you will need to take into account when doing so. First of all, make sure that your power supply has the necessary amperage to handle the extra load. Secondly, be mindful of the voltage requirements for each strip; some may require a higher voltage than others.
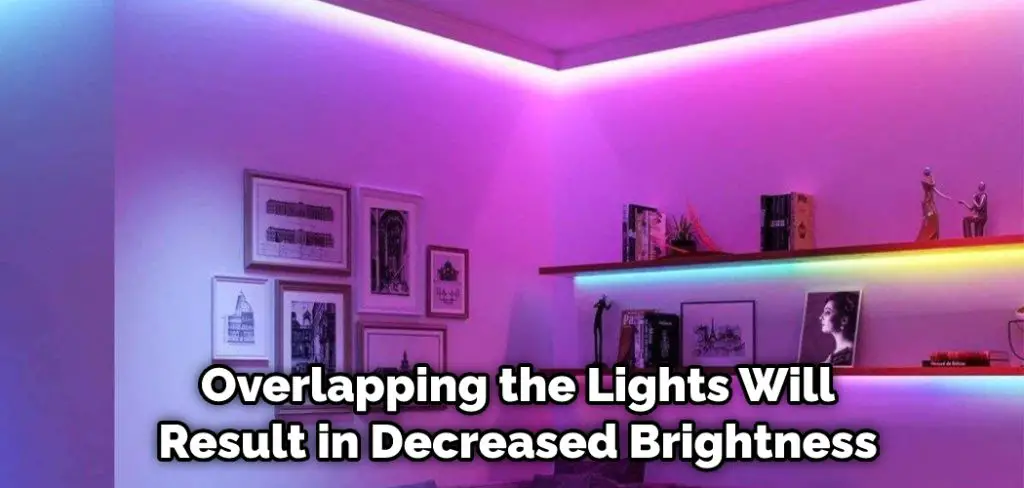
Can I Overlap Led Strip Lights?
You may be wondering if it’s okay to overlap LED strip lights. The answer to this question is a little bit complicated, as it depends on the specific LED strip lights you’re using and the specific lighting application you’re trying to achieve.
Generally speaking, if you’re using LED strip lights to light up a specific area of your home or business, it’s best to keep the lights confined to that area. Overlapping the lights will result in decreased brightness and potentially reduced visibility. Additionally, if you’re using LED strip lights to light up an entire room or space, it’s generally not a good idea to overlap them – doing so will create an unnatural and unsightly lighting effect.
Conclusion
If you’ve ever had to string together an odd number of LED strips, the instructions on how to connect multiple led strips to one power source above should help. However, having a power supply for each strip can get expensive quickly and require more time than necessary. On the other hand, you may be able to connect multiple led strips to one power source with some quick connections! This article will show you how it’s done in just three steps. So grab your tools, and let’s get started!