
If you’re looking for a touch of individuality in your lighting, battery-operated pendant lights are a great option. You can find them in various designs, making it easy to find one that matches your style. Plus, they’re easy to install, so you can have your new light up and running in no time. In this post, we’ll show you how to make a battery operated pendant light. Keep reading to learn more!
Summary: Creating a battery-operated pendant light is an excellent way to add a unique and versatile lighting element to your space without the need for hardwiring or electrical outlets. This type of light is perfect for areas where access to an electrical source is limited or for temporary installations, such as events or parties. To construct a battery-operated pendant light, you will need a pendant light fixture, a battery-operated LED light bulb, a compatible lamp socket, and a battery pack with a built-in switch.
Start by selecting a pendant light fixture that suits your design preferences and desired hanging location. Ensure that the fixture is lightweight and compatible with the battery-operated LED light bulb you plan to use.
Attach the lamp socket to the pendant fixture according to the manufacturer’s instructions, making sure it is secure and stable. Next, wire the lamp socket to the battery pack with a built-in switch, connecting the positive and negative terminals appropriately. For added safety, use wire nuts or electrical tape to insulate the connections.
Install the battery-operated LED light bulb into the lamp socket, and test the light to ensure proper functionality. Finally, hang the pendant light in the desired location, taking care to conceal the battery pack and switch as needed. The battery-operated pendant light is now ready to provide illumination without the need for a nearby power source.
Why Make a Battery Operated Pendant Light?
One reason to choose a battery-operated pendant light is that they’re easy to install. With just a few simple steps, you can have your new light up and running in no time. Plus, since they don’t require any wiring, they’re perfect for anyone who’s not comfortable with DIY projects.
Another reason to make a battery-operated pendant light is that they’re a great way to add personality to your home. With a wide variety of designs available, it’s easy to find a light that matches your style. So whether you’re looking for something simple and understated or more decorative, there’s sure to be a battery-operated pendant light that fits your needs.
Required Materials
To make a battery operated pendant light, you will need the following materials:
- Battery operated pendant light kit
- Drill
- Drill bit (sized to fit your kit)
- Pencil
- Level
- Measuring tape
- Scissors
- Wire cutters
How to Make a Battery Operated Pendant Light Step by Step Guide
Step 1: Gather Your Supplies
For this project, you will need a few basic supplies. You will need a battery operated pendant light kit, pliers, wire cutters, and a screwdriver.
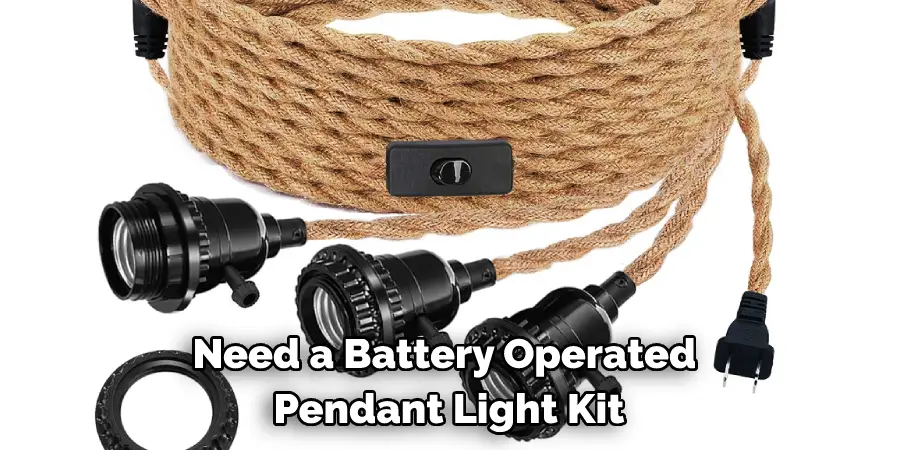
You can buy a battery-operated pendant light kit at most hardware stores. The kit will include everything you need to make the light, including the light fixture, cord, and batteries.
Step 2: Cut the Cord
Next, you’ll want to cut the cord. Be sure to leave plenty of extra cord to work with. Cut the cord in half and strip each end of the insulation. Twist each wire around a screwdriver to create a small loop. Do this for both wires.
Step 3: Prepare the Led Light Bulb
Now it is time to prepare the Led light bulb. First, cut the end of the cord off so that there is about 1 inch of wire left. Next, strip off the insulation from both ends of the wire using wire strippers. Next, twist the exposed strands of wire together and then twist on a connector. If you do not have a connector, you can twist the wire around.
Step 4: Connect the Parts
Now it’s time to connect the parts. First, take the light bulb and insert it into the top of the lamp. Next, twist the black cord around the metal post on the bottom of the lamp until it’s tight. Finally, twist the copper connector onto the end of the black cord.

If you’re using a CFL or LED bulb, you may need to screw it in tightly to make sure it makes good contact with the metal post.
Step 5: Assemble the Lamp
Now it’s time to put everything together! Start by threading the light cord through the hole in the bottom of the lampshade. If it’s a little too tight, you can use a pair of pliers to help pull it through.
Ensuite, enroulez le fil de cuivre autour de la douille de l’ampoule pour former une boucle. Cela permettra de s’assurer que le fil est serré contre la douille, de sorte qu’il ne se détache pas. Ensuite, vissez la douille dans l’abat-jour. Vous devrez peut-être utiliser une paire de pinces pour l’aider à démarrer. La dernière étape est de réinstaller le globe. Pour cela, utilisez une paire de pinces pour sécuriser le globe au-dessus de la douille et tournez-le jusqu’à ce qu’il soit en place.
Finally, screw the lightbulb into the socket. Be careful not to touch the glass with your fingers, as this can cause the bulb to break.
Step 6: Connect the Led Light Bulb to the Pendant Light Base
Now it is time to connect the led light bulb to the pendant light base. First, remove the silver cap on the top of the led light bulb. Then take out the black wire inside the led light bulb and twist it around one of the screws on the pendant light base. Do not tighten the screw all the way yet. Next, take the other end of the black wire and twist it around the other screw on the pendant light base. Now you can tighten both screws. Lastly, put the silver cap back on the top of the led light bulb.
Step 7: The Finishing Touches
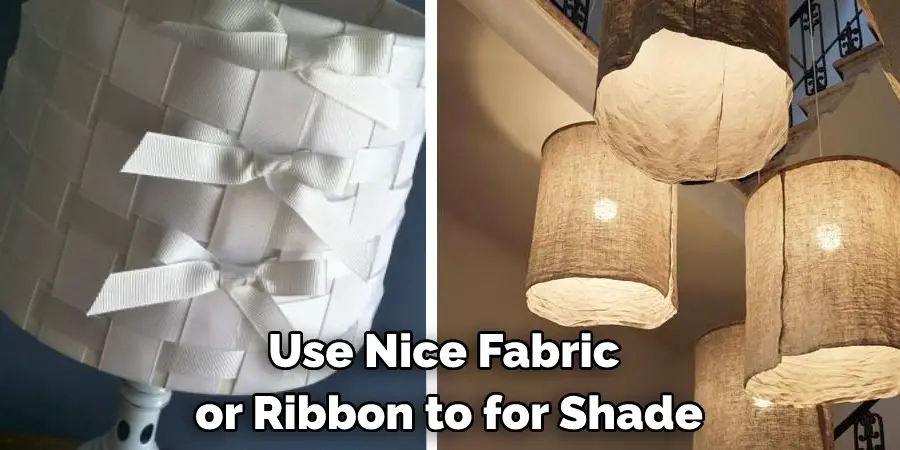
Now that the basic structure of your battery operated pendant light is complete, it’s time to add the finishing touches. First, pick out a nice fabric or ribbon to use as a shade. Next, wrap it around the wireframe and secure it with tape or glue. Then, add any decorations you like, such as beads, sequins, or even fake flowers. Once everything is in place, slip the batteries into the holder and screw on the light bulb.
Step 8: Hang Your New Light!
Now that your light is all finished, you’ll need to hang it up! Find the spot in your home where you want your new light to go and use the included screws to secure it in place. Put the batteries in once it’s up (if they aren’t already) and enjoy your new light!
One reason to choose a battery-operated pendant light is that they’re easy to install. With just a few simple steps, you can have your new light up and running in no time. Plus, since they don’t require any wiring, they’re perfect for anyone who’s not comfortable with DIY projects.
Solar & Battery Powered Pendant Lighting Ideas
There are many different ways you can create a solar or battery-powered pendant light. You can use a variety of materials, including wood, metal, and glass. To get you started, here are a few ideas:
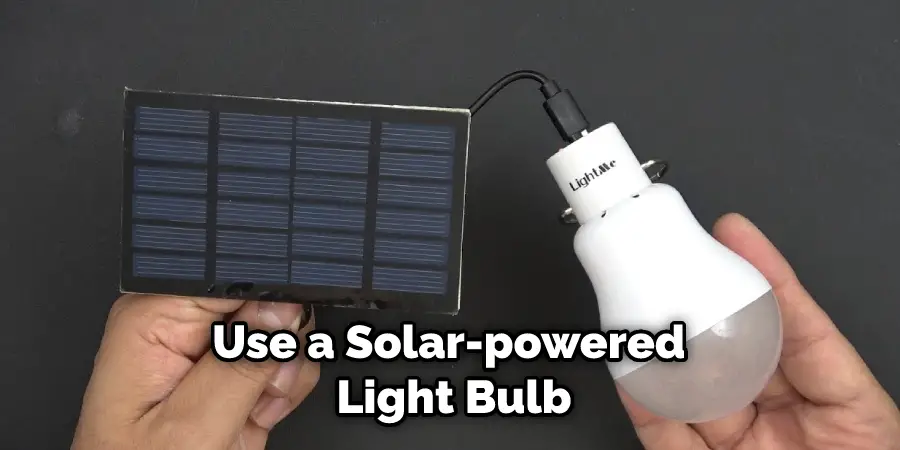
1. Use a solar-powered light bulb. This is a great option if you want to go completely off the grid and don’t want to have to worry about batteries. All you need is a sunny spot to place your light.
2. Use a battery-powered LED light. This is a great option if you want to be able to move your light around or if you don’t have access to direct sunlight.
3. Make a pendant light from a repurposed jar. This is a great option if you use recycled or upcycled material. You can use any jar, from a mason jar to a pickle jar.
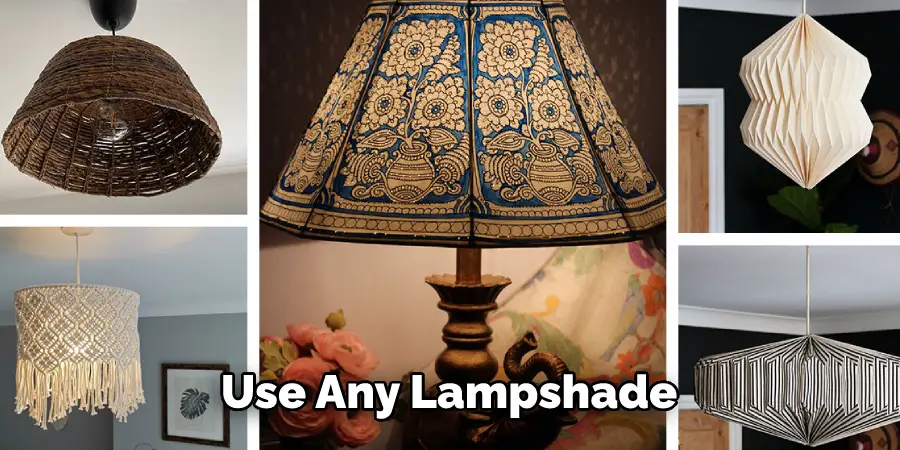
4. Making a pendant light from a repurposed lampshade. This is a great option if you want to give your light a unique look. You can use any lampshade, from table to floor lamps.
5. Use a solar-powered string of lights. This is a great option if you want to decorate your home for the holidays or add extra light to your outdoor living space. You can wrap the string of lights around a tree or hang them from your porch.
6. Use a battery-powered string of lights. This is a great option if you want to be able to move your lights around or if you don’t have access to direct sunlight. You can wrap the string of lights around a tree or hang them from your porch.
Will It Fit in My Outdoor Setting?
One great thing about battery operated pendant lights is that they can fit in any outdoor setting! Whether you’re looking for a light to accent your patio or deck, or you just want something simple and easy to use, these lights are perfect.
Ensuite, enroulez le fil de cuivre autour de la douille de l’ampoule pour former une boucle. Cela permettra de s’assurer que le fil est serré contre la douille, de sorte qu’il ne se détache pas. Ensuite, vissez la douille dans l’abat-jour. Vous devrez peut-être utiliser une paire de pinces pour l’aider à démarrer. La dernière étape est de réinstaller le globe. Pour cela, utilisez une paire de pinces pour sécuriser le globe au-dessus de la douille et tournez-le jusqu’à ce qu’il soit en place.
Consider to Buy a Weather-Resistant Outdoor Light?
Lorsque vous choisissez une lampe extérieure, il est important de considérer sa résistance aux intempéries. Si vous vivez dans une région aux conditions météorologiques extrêmes, comme des vents forts ou des pluies abondantes, vous devriez choisir une lampe qui soit conçue pour résister à ces conditions. De nombreuses lampes extérieures sont équipées d’un agent de protection contre les intempéries pour protéger la lampe de l’humidité et des autres éléments.
If you’re not sure whether a particular light is weather-resistant, check the manufacturer’s specifications before purchasing. Also, consider how you will mount the light. Some mounts are more weather-resistant than others, so be sure to choose a mount that will stand up to the elements in your area.
Frequently Asked Question
Is the Outside Light Weather-Resistant?
The answer to this question is yes. The outside light is weather-resistant to be used in any weather condition.
Can You Install Pendant Lights Yourself?
Yes, you can install pendant lights yourself with a little bit of know-how. The most important part is making sure that the electrical wiring can support the weight of the light.
Can You Install a Pendant Light without Junction Box?
Installez une nouvelle suspension en quelques étapes faciles ! Commencez par retirer l’ancien luminaire et débranchez les fils. Ensuite, torsadez les extrémités des fils ensemble et vissez un connecteur de fil. Attachez enfin le nouveau luminaire et rebranchez les fils.
Conclusion
So there you have it! Your very own battery operated pendant light. We hope you’ve found this tutorial helpful and that you will enjoy your new light fixture. Have any questions or comments? Be sure to let us know in the comments section below. Thanks for reading our post about how to make a battery operated pendant light.