A flashlight is a handy tool to have around in case of an emergency, but it’s not much good if the batteries are dead. Putting batteries in a flashlight is a simple process, but there are a few things you need to know before you get started. In this post, we’ll show you how to put batteries in flashlight. We’ll also give you some tips on how to care for your flashlight so that it lasts longer. Let’s get started!

Summary: In order to put batteries in a flashlight, first make sure the flashlight is unplugged. Next, take the batteries out of the flashlight and place them in a new battery-free flashlight. Now, plug the old flashlight into an outlet and the new flashlight into the new batteries.
What Kind of Batteries Does My Flashlight Use?
You first need to know what kind of batteries your flashlight uses. Most flashlights use either AA or AAA batteries, but some may use D or 9-volt batteries. Once you know what kind of batteries your flashlight uses, you can get started putting them in. If you’re not sure what kind of batteries your flashlight uses, check the owner’s manual or the manufacturer’s website.
Step by Step How to Put Batteries in Flashlight:
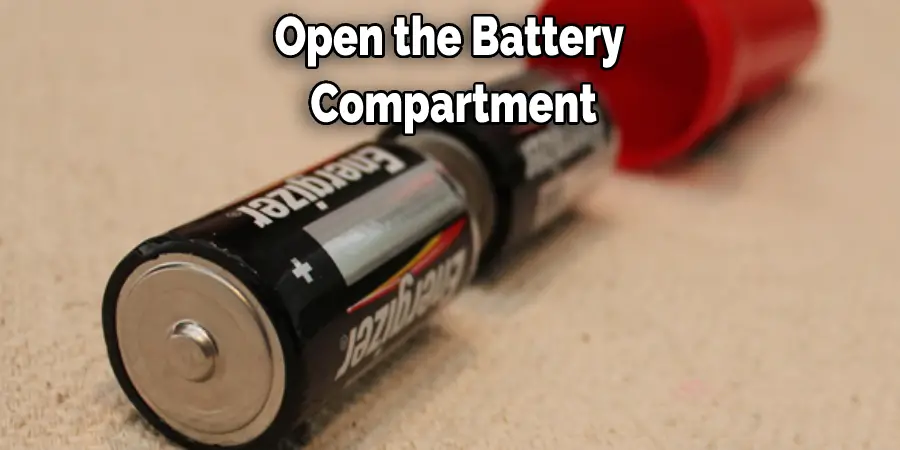
1. Open the Battery Compartment
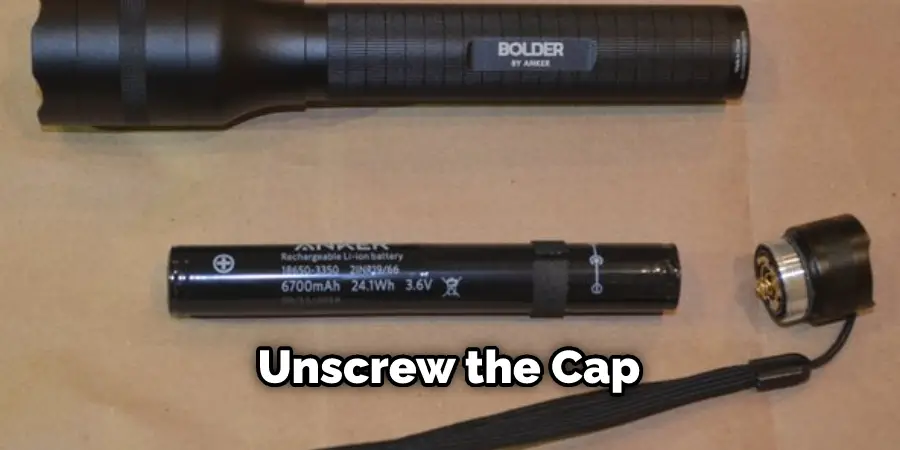
The first step is to open the battery compartment. This is because you need to access the area where the batteries go. On most flashlights, the battery compartment is located at the bottom of the flashlight. To open it, unscrew the cap or twist the knob to unlock it. Then, pull out the compartment so you can access the area where the batteries go. If your flashlight has a removable battery pack, take out the pack and set it aside.
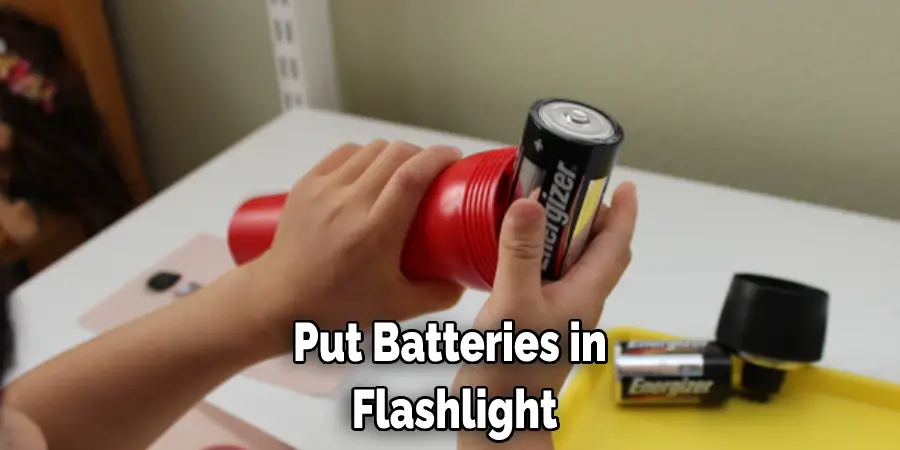
2. Insert the Batteries
Once you have opened the battery compartment, it’s time to insert the batteries. First, make sure you insert the batteries in the correct orientation. Most flashlights use AA or AAA batteries, but some may use other types of batteries. If you’re not sure which way the batteries go, consult the owner’s manual or look for a diagram inside the battery compartment. To insert the batteries, first, line them up with the contacts in the compartment. Then, gently push the batteries into the compartment until they click into place.
3. Close the Battery Compartment
After the batteries are inserted, you can close the battery compartment. Ensure the compartment is firmly closed, so the batteries don’t fall out. To close the compartment, first, align the batteries in the compartment. Then, push on the compartment until it clicks shut. If the compartment doesn’t click shut, the batteries may not make proper contact, and the flashlight may not work correctly.
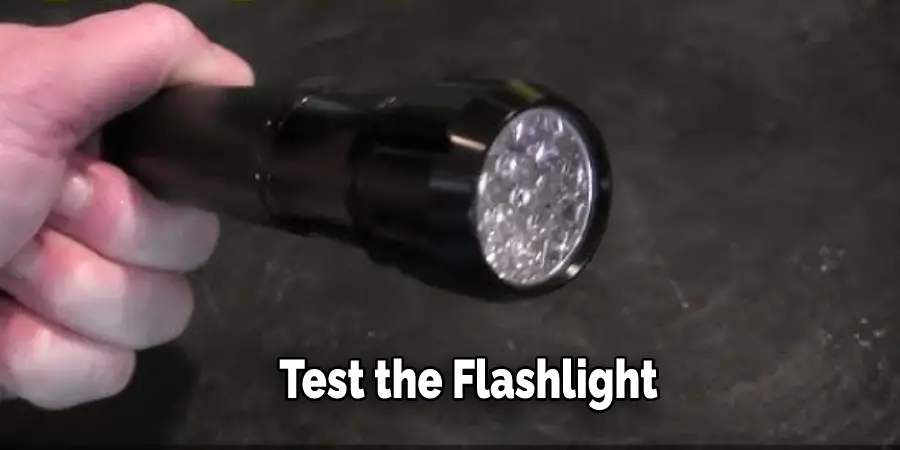
4. Test the Flashlight
After you have inserted the batteries and closed the compartment, it’s time to test the flashlight. To do this, first, turn on the flashlight by twisting the knob or pressing the switch. Then, point the flashlight at a dark area and observe the beam. If the beam is weak or flickering, it may signal that the batteries are low. If the beam is steady and bright, the batteries are good. Congratulations! You have successfully put batteries in your flashlight.
How to Put Batteries in a Maglite Flashlight
1. Unscrew the End Cap From the Maglite Flashlight
The first thing you need to do is unscrew the end cap from the Maglite flashlight. To do this, first, find the small notch near the base of the end cap. This is where you will insert a coin or flathead screwdriver to begin unscrewing the end cap. If the end cap is tight, you may need to use a little bit of force to get it started.
2. Remove the End Cap and O-Ring
Once the end cap is unscrewed, you can remove it from the flashlight. Be careful not to lose the small o-ring that is inside the end cap. This o-ring is important for keeping the flashlight water-resistant. First, remove the o-ring, and pull it out of the groove in the end cap. Then, use your fingers to stretch it over the outside of the end cap. If the o-ring is damaged, you can purchase a replacement from the flashlight manufacturer.
3. Insert the Batteries
Now it’s time to insert the batteries into the flashlight. There are two ways to do this, depending on your flashlight type. If you have a screw-top flashlight, unscrew the top and insert the batteries according to the diagram inside the flashlight. If you have a push-button flashlight, there is usually a screw on the side or bottom that you need to unscrew to open up the battery housing. Again, insert the batteries according to the diagram inside the flashlight. Once the batteries are in, screw or snap the housing back into place.
4. Replace the End Cap
The final step is to replace the end cap on the flashlight. First, make sure that the o-ring is still in place. If not, replace it and lubricate it with a small amount of silicone grease. Next, screw the end cap back on until it is snug.
Finally, test the flashlight to make sure it is working properly. If your flashlight uses AA or AAA batteries, you can use either alkaline or rechargeable batteries. If your flashlight uses a larger battery, such as a CR123A, you will need to use the specific type of battery specified by the manufacturer. Rechargeable batteries are a great option if you use your flashlight frequently. They will save you money in the long run and are better for the environment.
Tips and Warnings on How to Put Batteries in Flashlight
Tips:
1. Check the batteries when using a flashlight for the first time. Ensure they are not corroded and that the + and – symbols are in the correct positions.
2. If the batteries are corroded, clean them with a vinegar-soaked cotton swab before proceeding.
3. If the flashlight is new, unscrew the cap at the bottom to access the battery compartment.
4. Insert the batteries into the flashlight, ensuring that the + and – symbols match the corresponding symbols in the battery compartment.
5. Screw the cap back on tightly.
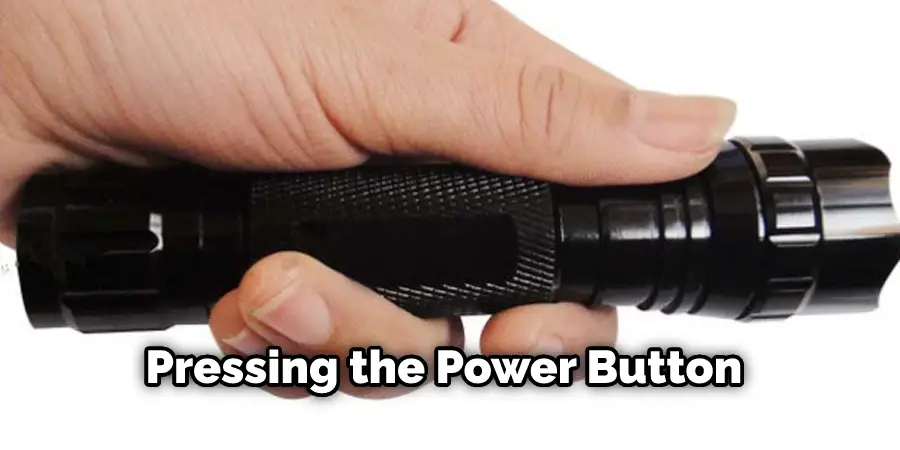
6. Test the flashlight by pressing the power button to turn it on.
Warnings:
1. Do not use damaged batteries.
2. Do not mix old and new batteries.
3. Do not mix different types of batteries.
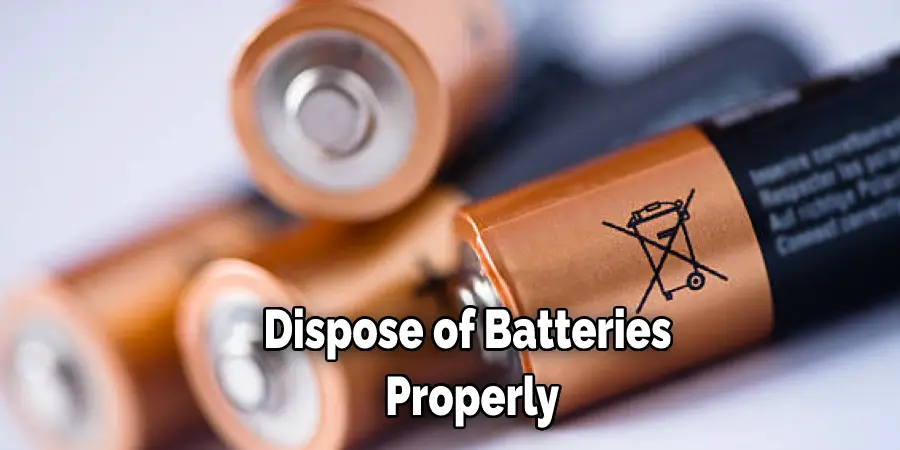
4. Dispose of batteries properly. Consult your local recycling center for proper disposal instructions.
5. Do not attempt to recharge non-rechargeable batteries. This could cause them to leak or explode.
6. Keep batteries away from children. If ingested, seek medical attention immediately.
7. Do not store batteries in extreme temperatures. This could cause them to leak or explode.
8. Never attempt to open a battery. This could cause injury or damage to the battery.
9. Never attempt to short circuit a battery. This could cause the battery to leak or explode.
10. Use caution when handling batteries. Dropping or mishandling them could cause them to leak or explode.
How to Prevent Battery Corrosion
1. Store Batteries in a Cool, Dry Place
If you live in a hot, humid climate, storing your batteries in a cool, dry place is especially important. Heat and moisture can hasten the corrosion process, so keeping your batteries in a temperature-controlled environment will help extend their life. Try storing them in a drawer or cabinet away from any heat sources, like your oven, dishwasher, or clothes dryer.
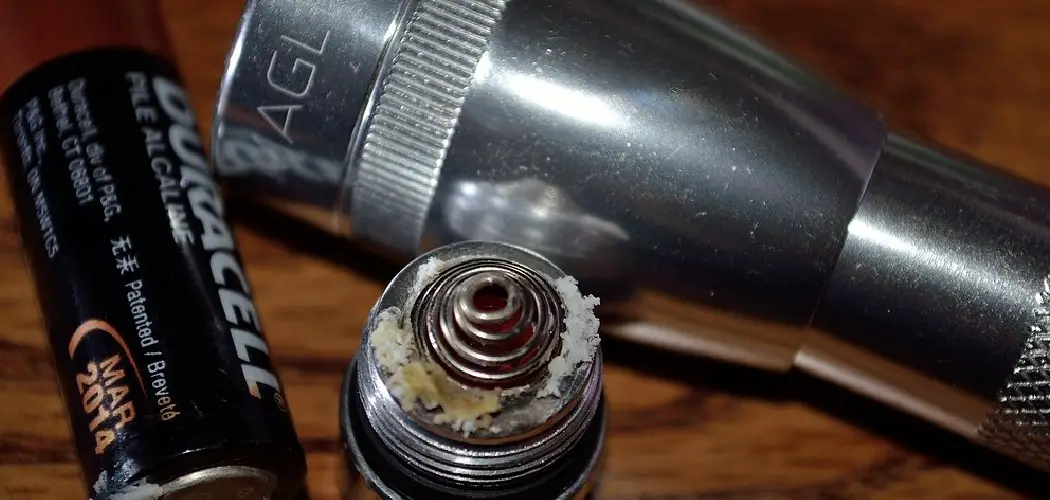
2. Inspect Batteries Regularly for Leaks
Check your batteries regularly for leaks, especially if they’re starting to get old. If you notice any corrosion around the battery terminals, that’s a sure sign that they’re leaking and need to be replaced. If you find batteries that are leaking, dispose of them immediately to avoid damage to your devices.
3. Use the Right Battery for the Job
Not all batteries are created equal. Some are better suited for high-drain devices like digital cameras, while others are better for low-drain devices like remote controls. Using the wrong type of battery in your device can lead to premature battery failure, so be sure to consult your owner’s manual or the manufacturer’s website to find out which type of battery is best for your device.
4. Keep Batteries Out of the Reach of Children
Batteries can be dangerous if they’re mishandled, so it’s important to keep them out of the reach of children. A child swallows a battery can cause serious internal damage, so it’s important to seek medical attention immediately.
5. Dispose of Batteries Properly
When batteries finally reach the end of their life, it’s important to dispose of them properly. Most batteries can be recycled, so check with your local recycling center to see if they accept batteries. If not, you can usually find special battery disposal bins at your local hardware or home improvement store. Never throw batteries in the trash, as this can harm both people and the environment.
With a few simple tips, you can extend the life of your batteries and prevent corrosion. by following these steps, and you can keep your batteries in top condition and avoid any potential problems.
Frequently Asked Questions
What is the Right Way to Put Batteries in?
The correct way to put batteries in may vary depending on the type of battery and its size. However, some tips that may help include:
- Use a battery holder – This is a small, enclosed device that you place batteries in so that they are evenly distributed and do not touch each other or other surfaces. This will help keep them safe and prevent them from becoming damaged.
- Use a battery tray – This is a larger device that you place batteries in so that they are more evenly spaced and can be accessed more easily.
- Make sure the terminals are clean – Dirt, dust, and other debris can build up on the terminals, which can cause problems with your battery. To clean them, use a wire brush or an alcohol swab. Make sure to do this regularly to keep your battery running smoothly!
Which Way Do You Install Aa Batteries?
Aaa batteries can be installed in a number of ways, depending on the type of battery and the location where it will be used. For lead-acid batteries, you should install them in pairs so that they are correctly wired together and cannot short out. This is also true for NiCd and NiMH rechargeable batteries.
For lithium ion cells, installation may vary depending on your device’s design or specific battery requirements. However, most devices accept standard polarity charges regardless of the cell type being charged. In general, simply connect the positive (+) terminal to the battery and then connect the negative (-) terminal to an electrical junction box or other suitable location.
Which is the Plus End of a Battery?
It depends on the type of battery. However, in general, the plus end of a battery is where positive ions are located. This means that this end will have a higher voltage than the negative side.
Do Batteries Go in the Same Way?
No, batteries do not go in the same way! That’s why it is important to know the difference between a battery and an AA or AAA battery. A battery is actually a set of three metal plates that are connected together by wires. The terminals on one side are designed to connect with the terminals on another side, which allows you to use the power contained within the battery.
AA and AAA batteries work in a similar fashion but have different dimensions (AAA has wider electrodes than AA). They both contain lead acid cells, though, so they can be used as replacements for each other if needed.
Conclusion
So there you have it, everything you need to know about how to put batteries in flashlight. By following these simple steps, you can ensure that your batteries are properly installed and prevent any potential problems. We hope you found this information helpful, and please feel free to share it with your friends or family if they could benefit from it. Thanks for reading!