
Imagine having light wherever you need it, without having to worry about batteries or cords. With a led bucket light, you can have just that! This blog post will show you how to make a led bucket light using a few simple supplies. So gather up those materials, and let’s get started!
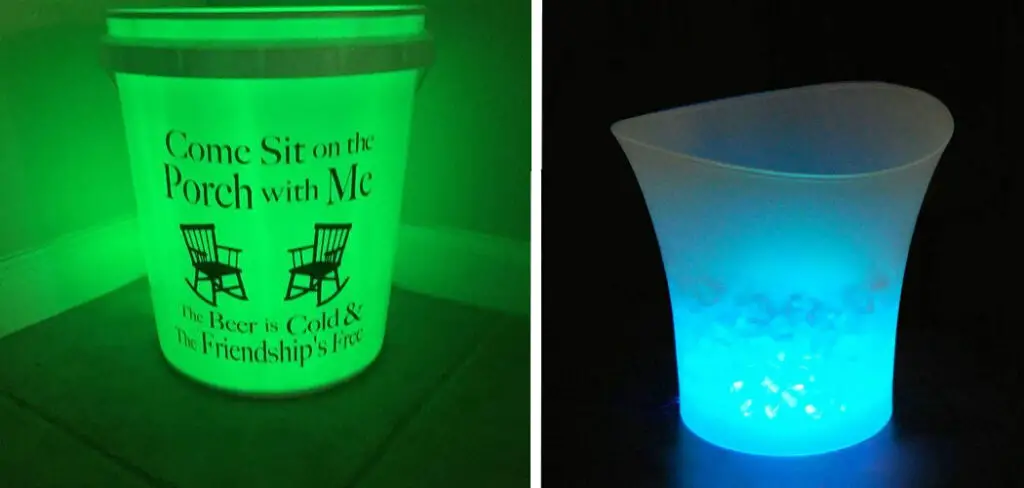
Summary: In this tutorial, you will learn how to make a simple led bucket light using a few supplies from around your house. First, gather a bucket, some LED lights, and a wire hanger. Next, attach the LED lights to the wire hanger, and hang the light up from the bucket. Finally, turn on the lights and enjoy your new Led Bucket Light!
Why Make a Led Bucket Light?
There are many reasons why you might want to make a led bucket light. Perhaps you need a light for a project but don’t have any batteries. Or maybe you’re looking for a sustainable light source that doesn’t require any wiring. No matter your reason, a led bucket light is a great solution!
Required Materials
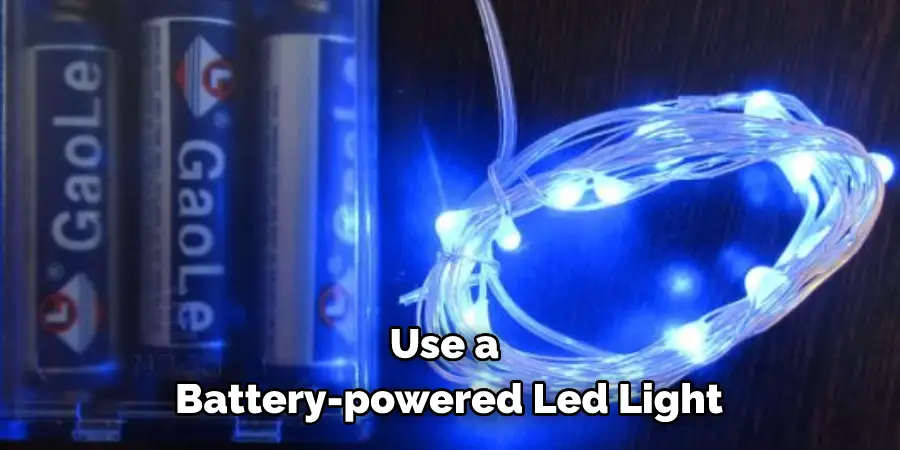
Here are the things you’ll need to make a led bucket light
- A power drill
- A saw
- A jigsaw
- Sandpaper
- Wire cutters
- Wire strippers
- a 5-gallon bucket
- a roll of duct tape
- a 9V battery
- a LED light strip
However, keep in mind that not all batteries are compatible (e.g., 9V and AA), so be sure to purchase one used for this specific project.
How to Make a Led Bucket Light Step by Step Guide
Step 1: Purchase Your Material
First, you need to purchase a 5-gallon bucket, and a 12-volt LED light strip. You will also need a 12-volt power supply and some wire to connect everything.
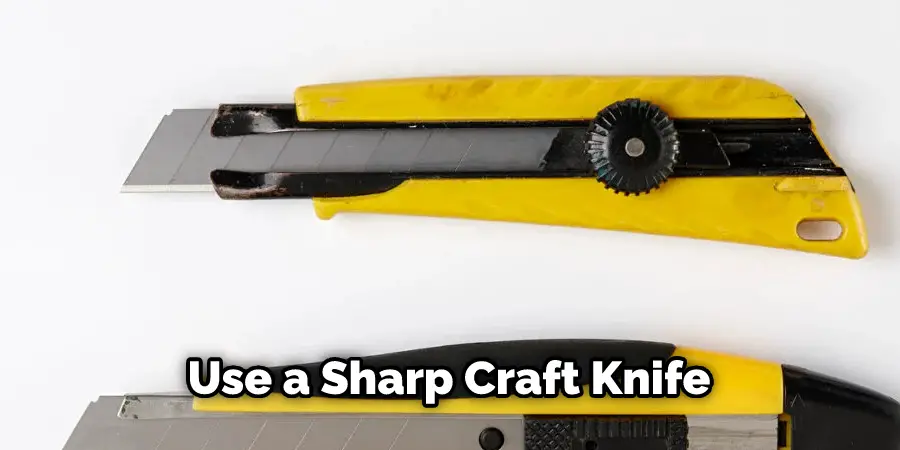
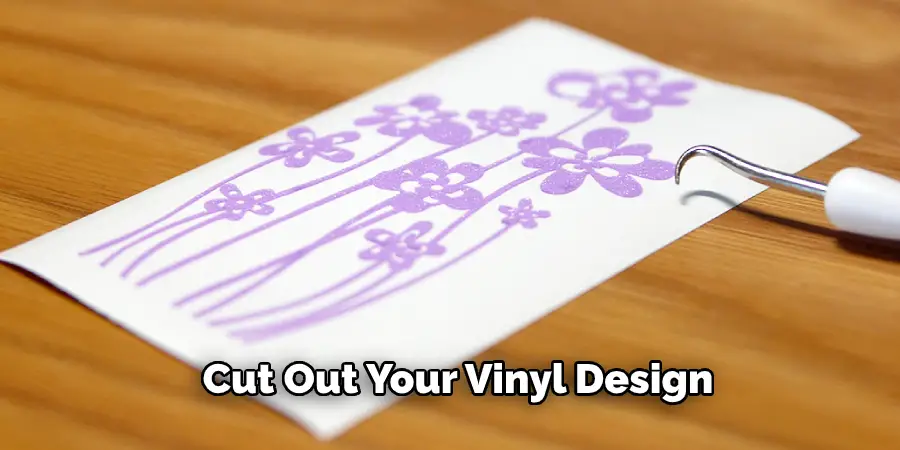
Step 2: Cut and Weed Vinyl Stencil
With your design laid out, it’s time to cut and weed the vinyl stencil. Load your vinyl into the machine and follow the manufacturer’s directions to cut out your design if you’re using a cutting machine. If you’re doing this by hand, use a sharp craft knife or utility knife to cut out your design carefully.
Next, use a weeding tool or your fingers to remove the excess vinyl from around your design. Be sure to weed out any small pieces that could clog up your paint sprayer.
Step 3: Apply Transfer Tape
Une fois que vous avez terminé de concevoir votre design, vous devez le placer sur une bande de transfert. Cela vous aidera à maintenir votre design en place lorsque vous appliquerez le vinyle sur le seau. Coupez une bande de transfert un peu plus grande que votre design.
- Peel the backing off the transfer tape and center it over your design.
- Use a credit card or other tool to gently smooth down the transfer tape, pressing it onto the vinyl.
Next, – Peel off the backing paper from the vinyl. If any pieces of vinyl come up with the backing paper, press them back down and smooth with your credit card again.
Step 4: Position Vinyl on Bucket
Once you have cut out your vinyl design, it is time to position it on the bucket. Ensure that the design is facing the right way before you begin adhering to the plastic. If you need to reposition it, make sure the adhesive is still wet.
Once it is in the correct place, use a credit card or ruler to smooth out any bubbles.
Step 5: Remove Vinyl Backing
Now it’s time to feed the electrical wire into the conduit. As before, be careful not to kink or damage the wire as you feed it through. Once the wire is fed through, you can connect it to your light fixture according to the manufacturer’s instructions.
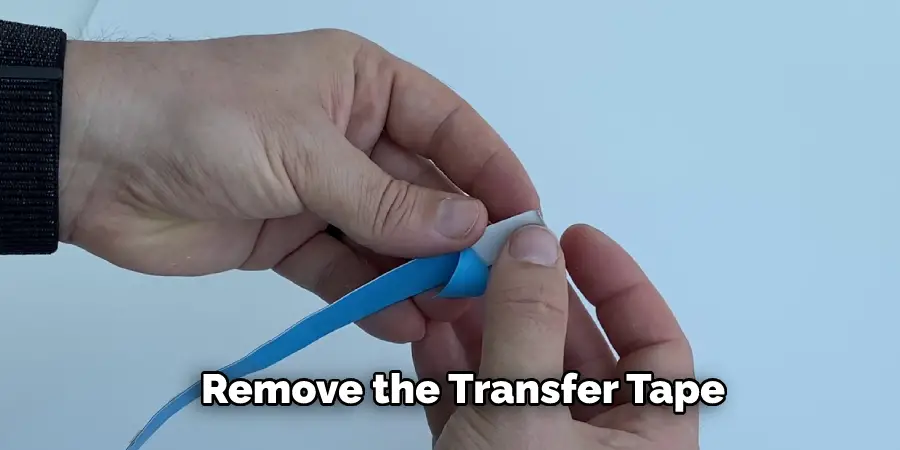
Step 6: Remove Transfer Tape
Once your design is complete, slowly and carefully remove the transfer tape. If any part of your design starts to come up with the tape, lay the tape back down and press firmly.
If you find that removing the transfer tape is difficult, try heating it with a hairdryer for a few seconds before attempting to remove it again.
Step 7: Cut Out Hole for Light
Now it’s time to feed the electrical wire into the conduit. As before, be careful not to kink or damage the wire as you feed it through. Once the wire is fed through, you can connect it to your light fixture according to the manufacturer’s instructions.
Step 8: Insert Light
Insert your light into the hole in the top of your bucket. If it is too big, you can use a washer to make it fit more snugly. If it is too small, you can use some electrical tape to make it bigger. Once your light is in place, screw the top back on.
Step 9: Test Your Light
Il est temps de voir comment votre lumière fonctionne! Connectez l’alimentation électrique à la bande LED, en vous assurant que le + et le – sont correctement connectés. Si vous avez un interrupteur, allumez-le. Si tout fonctionne correctement, votre lumière doit s’allumer.
If your light doesn’t come on, double check your connections to ensure they are all secure. If everything looks good, then your LED strip may be defective.
Now that you know how to make a LED bucket light, you can use this same technique to create fun and unique lighting projects! So get creative and have fun!
You Can Check It Out to Change a Halogen Light Bulb
Some Consideration Before Choose the Bucket
Buckets are often used for a variety of purposes while camping. They can be used to collect and store water, carry supplies, or even as a makeshift toilet. When it comes to choosing the right bucket for your needs, there are a few things you’ll want to keep in mind.
Si vous voulez un seau facile à transporter, choisissez-en un en plastique ou en aluminium. Si vous voulez un seau plus lourd qui puisse transporter plus de fournitures ou d’eau, choisissez-en un en métal.
Next, think about the size of the bucket. A small bucket is great for carrying and storing supplies, while a larger bucket can be used as a toilet or for collecting water.
Finally, consider the type of lid that comes with the bucket. A tight-fitting lid will keep things like bugs and dirt out of the bucket, while a loose-fitting lid can help pour liquids. Keep reading for more information about how to make a led bucket light.
How Do You Make a Glowing Bucket?
There are many ways you can make a glowing bucket, but one of the easiest is to use a battery-powered LED light.
To make your light-up bucket, start by drilling a hole in the bottom of the bucket. The size of the hole will depend on the size of your LED light but should be at least 2 mm in diameter.
Next, thread the LED light through the hole so that the battery pack is inside the bucket. If your LED light doesn’t have a battery pack, you can use a 9-volt battery to power it.
Now seal up the hole around the LED light with some hot glue or silicone sealant. Once the sealant is dry, your bucket light is ready to use!
To turn on the light, press the button on the LED light or battery pack. You can also add some decorations to the outside of the bucket, such as paint or stickers.
How Do You Make a Plastic Bucket Light for Camping?
- Cut a hole in the bottom of the bucket using a sharp knife. The hole should be big enough to fit the LED light snugly.
- Insert the LED light into the hole and secure it with Gorilla Glue or another strong adhesive.
- Cover the entire outside of the bucket with duct tape to seal the hole at the bottom completely.
- Drill a small hole in the top of the bucket and thread a wire through it.
- Connect the wire to an AA battery pack and turn on the light.
- Place the bucket in a sunny spot and enjoy your new light!
You can also use this same method to make a lantern out of a glass jar. Follow steps 1-3, place a light tea candle inside the jar and enjoy your new lantern.
Frequently Asked Question
What Are Camping Buckets Used For?
Camping buckets have a variety of uses. They can be used to store water, food, and other supplies. They can also be used as a makeshift toilet or sink.
Is Camping Bucket Light Expensive?
This is a question that is often asked by campers, and the answer is that it depends on how you go about making your light. If you purchase a pre-made LED camping bucket light, it will be more expensive than if you make your own from scratch. However, making your light does not have to be difficult or expensive.
Do I Need a Professional Help?
Installez une nouvelle suspension en quelques étapes faciles ! Commencez par retirer l’ancien luminaire et débranchez les fils. Ensuite, torsadez les extrémités des fils ensemble et vissez un connecteur de fil. Attachez enfin le nouveau luminaire et rebranchez les fils.
What Are Camping Buckets?
Camping buckets are a necessary part of any camping gear. They have many uses, from carrying water to collecting firewood. But one of the most popular uses for camping buckets is to use them as a light source.
Conclusion
So there you have it! You now know how to make a LED bucket light. This is a fun and easy project that can be completed in just a few hours. Experiment with different colors and brightness levels to find the perfect setup for your needs. Have fun and happy crafting!