
This tutorial will teach you how to make a light box sign. This type of sign is made out of translucent material and mounted in a frame so that it can be lit from behind. This makes the lettering or graphics on the sign visible even in bright sunlight.
There are many different ways to make a light box sign, but this tutorial will show you how to make one using a few simple materials. This blog post will explore the different types of light boxes available and provide tips on choosing the right one for your business. We’ll also discuss the benefits of using a light box sign and show you how easy it is to create one yourself. Let’s get started!
Summary: To make the sign, first cut out a rectangle of cardboard that is the same size as the light box. Then, tape the cardboard to the front of the light box. Next, take your artwork and place it on the taped-down cardboard. Finally, turn on the light box and enjoy your beautiful light box sign!

6 Benefits of Using Light Box Sign
1. Create a Uniform Look for Your Business:
A light box sign can help you create a uniform look for your business. If you have different signs for your locations, a light box sign can make them all look the same. This can help create a more professional appearance for your business. However, the signs all look different, making your business look disorganized. If you want to create a more uniform look for your business, using light box signs is a great way to do it.
2. Increased Visibility:
One of the main benefits of using light box signs is that they can help increase the visibility of your business. If your business is located in an area with little foot traffic, a light box sign can help draw attention to your business. The signs are also helpful if your business is located in an area with a lot of competition. A light box sign can help you stand out from the crowd and get noticed by potential customers.
3. Cost-Effective:
Another benefit of using light box signs is that they are cost-effective. The signs are relatively inexpensive to purchase and maintain. Additionally, the signs can last for many years with proper care. This makes them a very cost-effective solution for businesses looking for ways to promote their business. This is also helpful for businesses on a tight budget as the initial investment is relatively low.
4. Easy to Install:
Light box signs are also easy to install. The signs can be hung on walls or placed on stands. Additionally, the signs can be easily moved from one location to another. This makes them an ideal solution for businesses that need to change their advertising frequently.
5. Versatile:
Light box signs are versatile and can be used for various purposes. They can be used to advertise sales, promote products, or provide information to customers. Additionally, light box signs can be used indoors or outdoors, making them a versatile marketing tool.

6. Get More Exposure:
A light box sign is more likely to be seen than a traditional sign. This is because the signs are lit up and can be seen from a distance. Additionally, light box signs can be placed in high-traffic areas, such as near entrances or exits. This increased exposure can help you reach more potential customers.
You Can Check It Out To Make Led Rope Light
Required Tools & Supplies
- A4 size acrylic sheet or any other kind of thin translucent material
- Tape
- Scissors or a sharp knife
- LED lights (battery operated)
- Pencil and paper
- Ruler or a measuring tape
Step by Step Procedure: How to Make a Light Box Sign
Step 1: Choose the Right Size Frame
The first step in making a light box sign is to choose the right size. The size of the sign will depend on where it will be placed and what purpose it serves. For example, a smaller frame may be sufficient if the sign is for indoor use. However, if the sign is placed outdoors, a larger frame will be necessary to ensure that it is visible from a distance.
Step 2: Select the Right Type of Frame
The next step is selecting the right frame type for your lightbox sign. There are two main types of frames: metal and plastic. Metal frames are more durable and will last longer, but they are also more expensive. On the other hand, plastic frames are less expensive but not as durable and may not last as long. However, a plastic frame may be sufficient if your sign is for temporary use.
Step 3: Cut Frame Pieces to Size
Once you have decided on the right size and type of frame, the next step is to cut the frame pieces to size. If you are using a metal frame, it is important to use a hacksaw or other cutting tool designed for metal. If you are using a plastic frame, a utility knife will suffice. While cutting the frame, ensure the cuts are straight and even. If the cuts are not straight, the sign will not be level when hung.

Step 4: Cutting the Grooves Inside the Frame
After the frame pieces have been cut to size, the next step is to cut the grooves inside the frame. These grooves will house the light bulbs that will illuminate your sign. The width of the groove will depend on the type of light bulb you are using. A standard-size light bulb will require a wider groove than a miniature light bulb. Also, check if the light bulbs require a specialized socket or base. Some light bulbs come with bases, while others must be attached to a socket mounted inside the frame.
Step 5: Trim the Plywood or Plexiglass Backing
The next step is to trim the plywood or plexiglass backing to size. The backing must be slightly smaller than the frame to fit snugly inside. Once the backing has been cut to size, use sandpaper to smooth any rough edges.
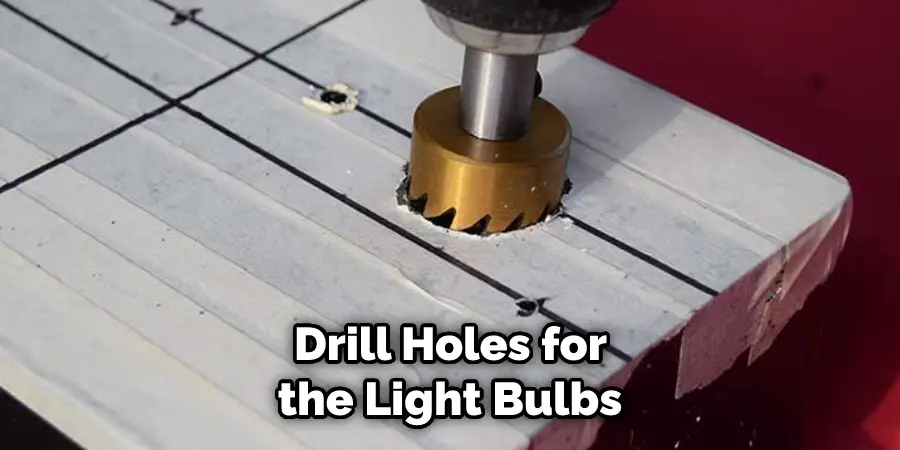
Step 6: Drilling the Holes for the Light Bulbs
After trimming the backing to size, the next step is to drill holes for the light bulbs. The number of holes you need will depend on your light bulbs. It is important to drill the holes slightly smaller than the light bulbs to ensure a snug fit.
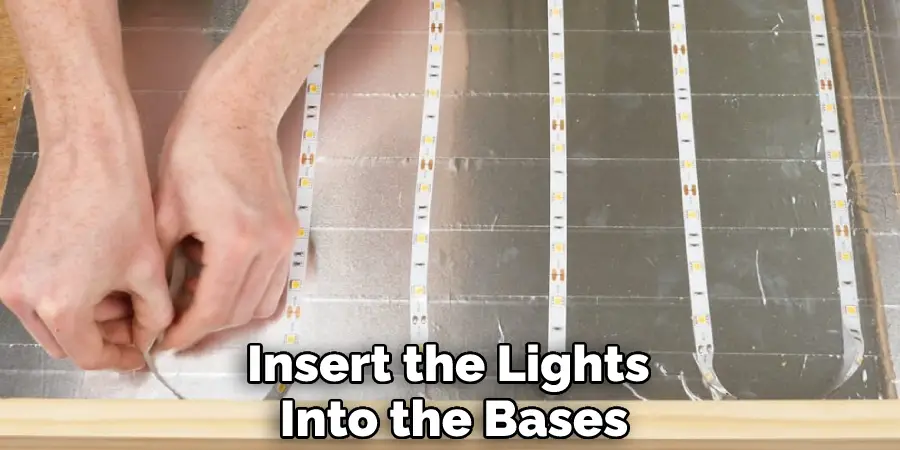
Step 7: Installing the Light Bulbs
The next step is to install the light bulbs inside the frame. Begin by inserting one end of the light bulb into the socket or base. If you use a standard-size light bulb, you may need to screw it in clockwise to tighten it. Next, connect the other end of the light bulb to the power source. You can do this by screwing it into the outlet or by plugging it into an extension cord. Finally, turn on the power switch to test the light bulb.
Step 8: Paint the Frame
After installing the light bulbs, the next step is to paint the frame. This will give your sign a finished look and protect the frame from weathering. Next, use a paintbrush or roller to apply an even coat of paint to the frame. Allow the paint to dry completely before proceeding to the next step.
Step 9: Assemble the Frame
Once you’ve painted the frame, the next thing you need to do is to assemble it. Begin by attaching the plywood or plexiglass backing to the frame using screws or nails. Next, insert the light bulbs into the sockets or bases. Finally, screw on the faceplate to complete the assembly. Ensure the faceplate is properly secured, so the light bulbs don’t come loose.
Step 10: Hang the Sign
The last step is to hang your sign. You can do this by screwing the sign into the wall or by using Command strips. Once your sign is hung, could you turn on the power switch to test it? Your lightbox sign is ready for use if everything is working properly! Ensure the cord is not visible and the sign is level.
Now that you know how to make a light box sign try making one yourself! This project is perfect for businesses, schools, or anyone who wants to make a custom sign. Follow the steps above, and you’ll have a professional-looking sign in no time!
You Can Check It Out To Change Dashboard Lights
Some Helpful Tips and Advice
- Trace your design onto the cardboard or poster board with a permanent marker.
- Cut out your design with a sharp knife or scissors.
- Make sure all the edges are smooth and even.
- Cover the back of your design with duct tape or another type of adhesive.
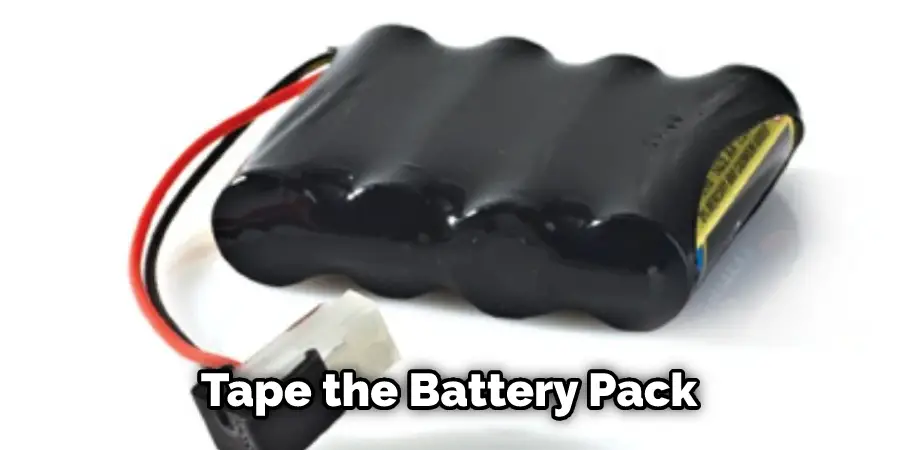
- Place the batteries in the battery pack, then attach the LED lights to the positive and negative terminals.
- Tape the battery pack to the back of your sign.
- Hang your sign in a window or other well-lit area.
Frequently Asked Questions
What Material Do You Use for a Light Box?
Many people use canvas to create light boxes, but there are other materials that can also be used. Some of the most popular options include wood, metal, and glass. Wood is a great option if you want a traditional light box look, while metal offers more versatility because it can be decorated with paint or graphics. Glasses make for an interesting option because they often have a Mirrorlike finish which gives your photos a three-dimensional effect.
Ultimately, the best choice depends on what type of photo collage you want to create and how creative you’re willing to get!
Can I Use Parchment Paper for Lightbox?
You can definitely use parchment paper for lightbox photos. The cool thing about it is that you can also create beautiful effects with your portraits by using a light box as an extra canvas. You just need to make sure that the portrait is placed on a flat surface and then trace around it with parchment paper before cutting out the shape with scissors or a kitchen knife. Then, simply place the photocopy over your regular photo backdrop and take pictures as usual!
What is on Parchment Paper?
Parchment Paper is a heavyweight paper that is used for high-quality printing and drafting. It is made from 100% cotton rag paper and has a smooth, glossy finish. Parchment Paper is perfect for creating professional-grade documents, photos, and artwork. It also has excellent tear and water resistance, making it a great choice for projects that involve water or wet elements.
Parchment Paper is ideal for printing documents that require a high degree of accuracy and clarity. It also makes a great choice for creating mockups or prototypes.
What Can Be Used Instead of Parchment Paper?
Parchment paper is often used to prevent food from sticking to the bottom of a pan or oven. However, there are many other options available that can be just as effective. Some popular alternatives include silicone baking sheets, foil liners, and non-stick cooking spray. Make sure that whatever you choose replaces parchment paper in your recipes completely so that no moisture or flavor is lost in the process.
Can Wax Paper Be Used Instead of Parchment Paper?
Yes, wax paper can be used instead of parchment paper. This is because wax does not stick to the food like parchment paper does. Additionally, wax is porous which means that it absorbs more moisture than parchment paper and therefore lasts longer without degrading in flavor or texture.
Conclusion
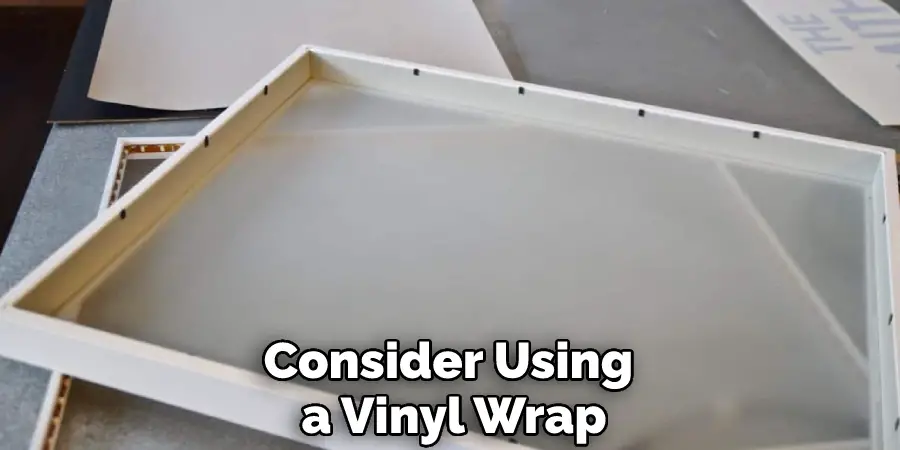
A light box sign is a great way to get your business noticed. They are easy to make and can be customized to fit your needs. If you are interested in making a light box sign for your business, follow the instructions in this blog post. You will be glad you did! If you want a way to make your lightbox sign look more polished and professional, consider using a vinyl wrap.
We hope this guide on how to make a light box sign has been helpful. You can create a custom light box sign with the right design that will perfectly represent your company. If you’ve any questions or want to know more, feel free to comment below!