
Noid lights are an essential tool for any auto mechanic. They’re used to test relays and switches and determine whether or not a circuit is complete. This blog post will show you how to make a noid light using a few simple supplies. So stay safe while working on your car by using this helpful DIY project!
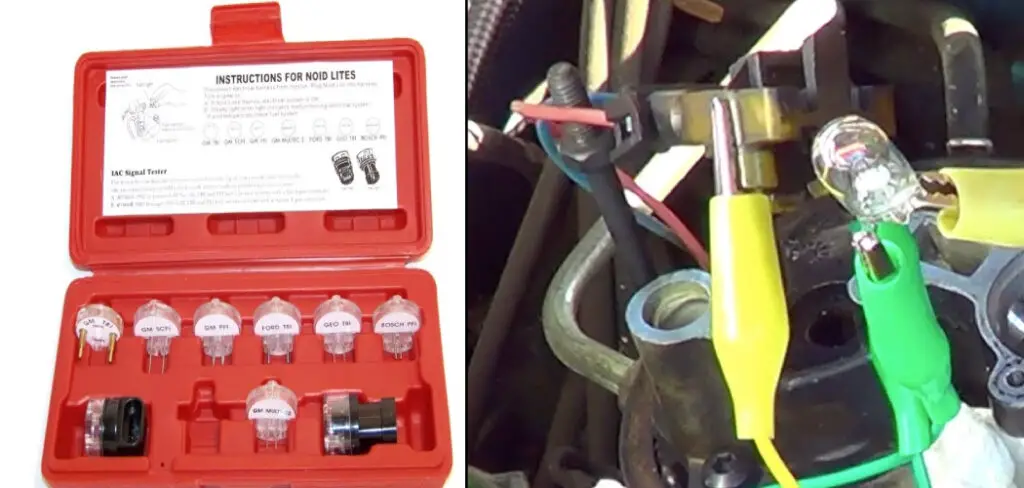
Summary: A noid light is a diagnostic tool used to test the electrical pulse signal sent to a fuel injector from an Electronic Control Module (ECM) in a vehicle. Making a noid light involves gathering the necessary materials and following a few steps to assemble the device. You will need an LED bulb, a resistor (approximately 220-ohm), a connector that matches your vehicle’s fuel injector harness, some electrical wire, heat shrink tubing, and a soldering iron.
To create the noid light, first, cut two pieces of electrical wire, each about 6 inches in length. Strip the insulation from both ends of the wires, exposing approximately 1/4 inch of bare wire. Solder one end of the resistor to the positive lead of the LED bulb, and the other end of the resistor to one of the stripped wire ends. Attach the other stripped wire end to the negative lead of the LED bulb. Use heat shrink tubing to insulate and protect the soldered connections.
Next, connect the free ends of the wires to the appropriate terminals within the fuel injector connector, ensuring proper polarity. Secure the connections with solder or crimp connectors, and insulate them with heat shrink tubing or electrical tape. Your homemade noid light is now ready for use. To test a fuel injector, plug the noid light into the vehicle’s injector harness and observe the LED while the engine is cranked. The LED should flash if the electrical signal from the ECM is functioning correctly.
Why Make Your Own Noid Light
There are a few reasons you might want to make your noid light. First, it can be cheaper than buying one from a store. Second, you can customize your noid light to fit your specific needs. Finally, it’s a great way to learn more about how circuits work!
Required Materials
- LED
- 9-volt battery
- Wire
- Alligator clips
- Resistor (470 ohms)
- Solder
- Shrink tubing
How to Make a Noid Light Step by Step Guide
Step 1: Get the Supplies You Need:
For this project, you will need a few basic supplies. You will need an LED light, some wire, a battery, and tape.
Step 2: Create the Lighting Circuit:
The next step is to create the lighting circuit. This will involve connecting the battery to the LED light and then connecting the LED light to the switch. Use a breadboard and jumper wires to create the circuit diagram.
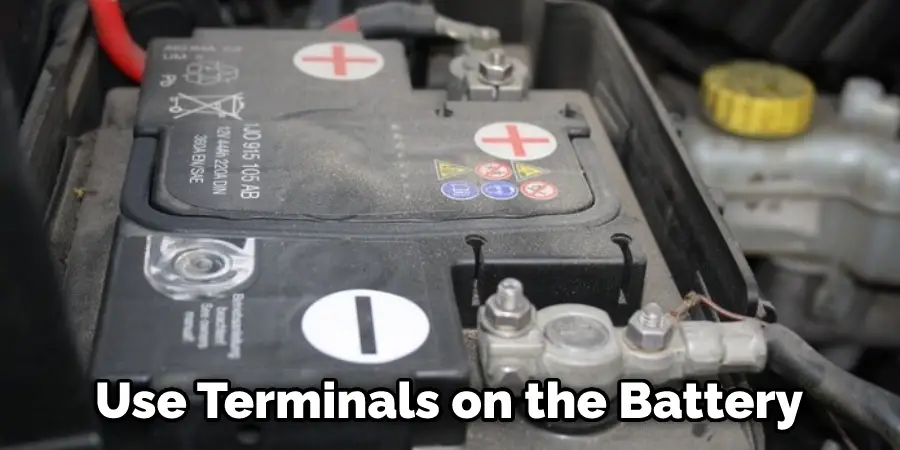
When creating the circuit, use positive (+) and negative (-) terminals on the battery and LED light. Also, make sure that the switch is in the “off” position before connecting the battery.
Step 3: Complete the Circuit:
It’s time to complete the circuit. First, take the battery holder and connect the red wire to the positive terminal and the black wire to the negative terminal. Then, take the LED light and connect the short leg (the flat end) to the black wire and the long leg to the red wire. Finally, take the Noid light and connect the two metal prongs to the red and black wires.
If everything is connected correctly, your Noid light should be working! Try it out by turning on the power switch and shaking the light up and down. You should see the LED light flashing inside the Noid light. Be sure to shake it up and down a few times to get the full effect.
Step 4: Open up The Noid Light:
Now that you have all the supplies ready, it’s time to open up The Noid Light. First, remove the screws from the back of the light using a Phillips head screwdriver. Once the screws are removed, gently lift off the light’s back panel.
Once the back panel is removed, you will see the electronic components of the light. The most important component is the light bulb, located in the center of the light. To remove the light bulb, twist it counter-clockwise and pull it out of the socket.
Step 5: Install the New Light Bulb:
The new light bulb is ready to be installed. To do this, twist the light bulb into the socket until it is tight. Be careful not to over-tighten the bulb, as this can cause damage and make it difficult to remove later.
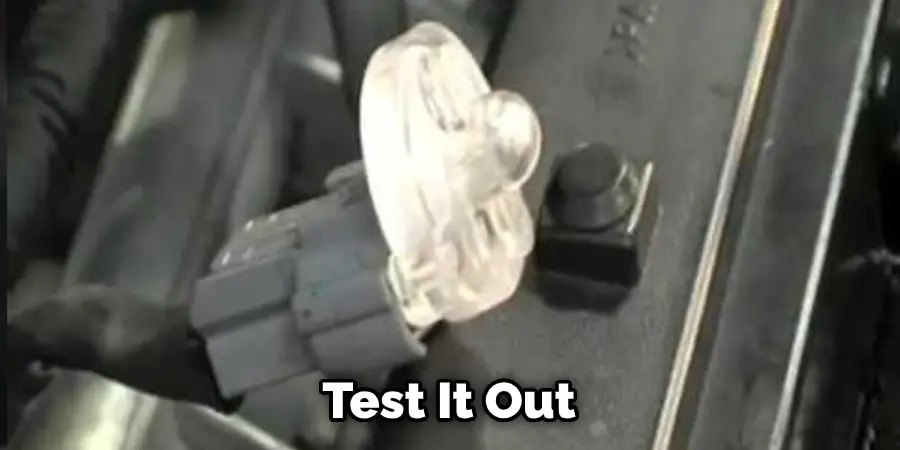
Once the light bulb is in place, it is time to test it out! First, turn on the light switch and see if the new bulb lights up. If it does, great job! If not, be sure to check the connections and try again.
Step 6: Put the Back Panel Back on:
After putting in a new lightbulb, put the back panel back on. Line up the clips and snaps on the back panel with the corresponding ones on the housing and push until they click into place.
Step 7: Enjoy Your New Noid Light!
Now your vehicle will be much more visible while driving at night, and you’ll be the envy of all your friends! So get out there and make some noid lights for everyone!
Now that you have your noid light use it safely while driving at night. Make sure to keep it pointed in the direction of oncoming traffic to ensure that you are as visible as possible. And be sure to share your new noid light with all your friends! If you want to know more about how to make a noid light keep reading.
Can You Use a Test Light to Check the Injector Pulse
A test light is a device used to check electrical circuits. It is battery-powered and plugs into the cigarette lighter or diagnostic port. There are two types of test lights, incandescent and LED. The incandescent has a small filament that glows when electricity flows through it. The LED has a small light, either on or off, depending on the amount of electricity flowing.
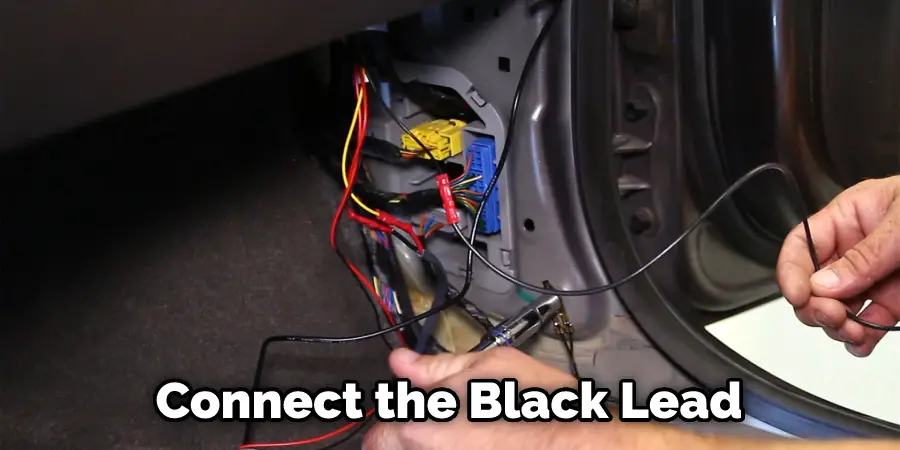
The test light can check the injector pulse on a fuel-injected engine. First, connect the black lead to the chassis ground and the red lead to the battery positive terminal. Next, crank the engine and touch the probe tip to each injector connector. The test light should flash when the probe tip is touched to the connector. The injector pulse is probably not reaching the injectors if it doesn’t. Keep reading for more information about how to make a noid light.
How To Use A Noid Light?
A noid light is a valuable tool for diagnosing issues related to a vehicle’s fuel injection system. This tool is designed to check if the fuel injector is receiving electrical signals. It is also useful for verifying if the electrical wiring that delivers fuel to the injector is damaged or faulty.
To use a noid light, it is important first to ensure that the correct tool is selected. This is because noid lights are specific to the type of fuel injection system used in your vehicle. Once the correct noid light is obtained, the next step is to locate the fuel injector harness, which is often located close to the fuel injectors themselves.
Disconnect the electrical harness connector from the fuel injector and connect the noid light to the connector. After that, power up the ignition by turning the vehicle’s ignition key to the “on” position without starting the engine. The noid light should start blinking, indicating that the injector is receiving electrical signals.
However, if the light does not indicate any blinking or does not light up, it is likely that the electrical circuit that delivers fuel to the injector is faulty. It is important to repeat the same process for each fuel injector to ensure that each one is receiving the correct electrical signals.
How Do I Make an Injector Pulse Test
The first step is to set up your injector pulse test equipment. This includes an oscilloscope, an injector, and a ground clip. The ground clip should be attached to the car’s chassis, and the injector should be plugged into the oscilloscope.
- Once everything is set up, start the engine and allow it to idle.
- Next, use the oscilloscope to find the injector’s switching frequency. This is typically around 5-15 kHz.
- Finally, pulse the injector at the switching frequency. You should see a spike on the oscilloscope screen. If you don’t see a spike, your injector is not functioning properly.
Frequently Asked Question
How Do Noid Lights Work?
Noid lights are used in traffic enforcement to detect the speed of oncoming cars. They work by bouncing a beam of light off the car and onto a photosensor. The photosensor then calculates the speed of the car by how long it took for the light to return. Noid lights are often used in speed traps, as they can accurately detect the speed of oncoming cars from a distance. This allows police to catch speeding drivers before they have a chance to slow down. Noid lights are also used in some automated traffic enforcement systems, such as red light cameras.
Does the Ecu Control the Fuel Injectors?
Noid lights are a great way to check if the ECU controls the fuel injectors on your car. You’ll need a 12V light bulb, some wire, and a connector to make one. First, cut a piece of wire about 18 inches long. Next, strip about 1/2 inch of insulation from each end of the wire. Finally, twist the strands of wire together to form a single conductor.
Next, cut a piece of heat shrink tubing about 1 inch long and slip it over one end of the wire. Now, use a lighter to shrink the tubing until it’s about 1/4 inch in diameter. Next, do the same thing to the other end of the wire.
Do Noid Lights Work on Diesel?
There is some debate about whether or not noid lights work on diesel engines. Some people say that the sparks from the light will ignite the fuel in the engine and cause it to run, while others say that this is not true. To date, there has been no definitive study on the matter. However, many people have had success using noid lights on diesel engines by following a few simple tips.
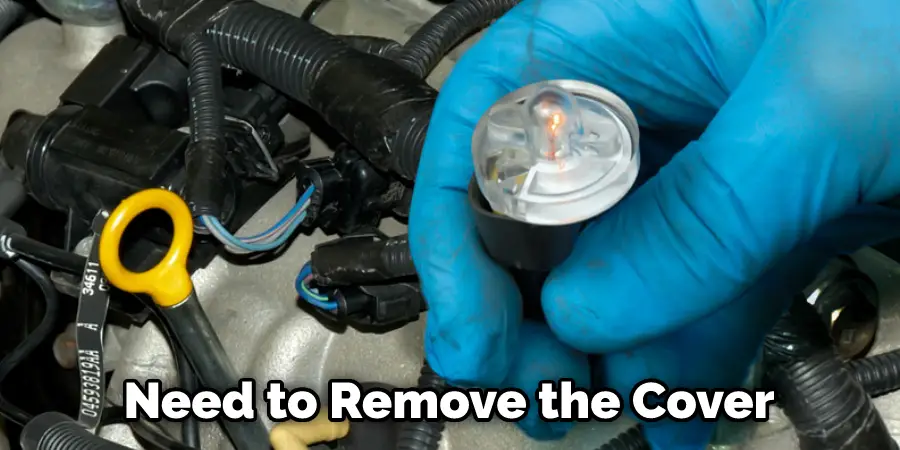
How Do You Check the Iac on A Noid Light?
To check the IAC on a noid light, you will need to remove the cover on the light. Once you have done that, you will need to locate the IAC. The IAC is typically located near the light bulb or in the middle of the light. You can then check the IAC by removing it and cleaning it or checking the resistance with a multimeter. If the IAC is not working, you can replace it with a new one.
It is also possible to test the IAC on a noid light without removing it from the light. To do this, you will need to locate the two wires coming out of the IAC.
What Does a Noid Light Test:
A Noid light aims to test the electrical connection between two terminals. It is named after its inventor, Tom Noid.
The Noid light has two metal probes that are inserted into a connector. A current is then applied, and the brightness of the light will indicate how good the connection is.
A Noid light is a simple and easy way to test a connector. It is a must-have tool for any electrician.
What Is the Advantage of Efi Over a Carburetor?
There are many advantages to using an EFI system over a carburetor. The main benefits include increased fuel economy, increased power, and easier starting.
How Do You Test a Fuel Injector with A Screwdriver?
If you have a fuel injector not functioning correctly, you can test it with a screwdriver. First, remove the injector from the engine. Second, use the screwdriver to probe the four pins on the injector.
If the injector is working correctly, three pins should produce a clicking sound when probed. If the injector is not working correctly, none of the pins will produce a clicking sound. Finally, reinstall the injector in the engine and test it for proper operation.
You Can Check It Out to: Make a Electric Fence Charger With a Light Bulb
Conclusion
Making your noid light is a fun and easy project that can be completed in just a few minutes. All you need is some basic supplies and a little bit of creativity. Once you’ve made your noid light, you can use it to add some extra flair to your car or truck. Be sure to share your photos with us on social media! Thanks for reading our post about how to make a noid light.