
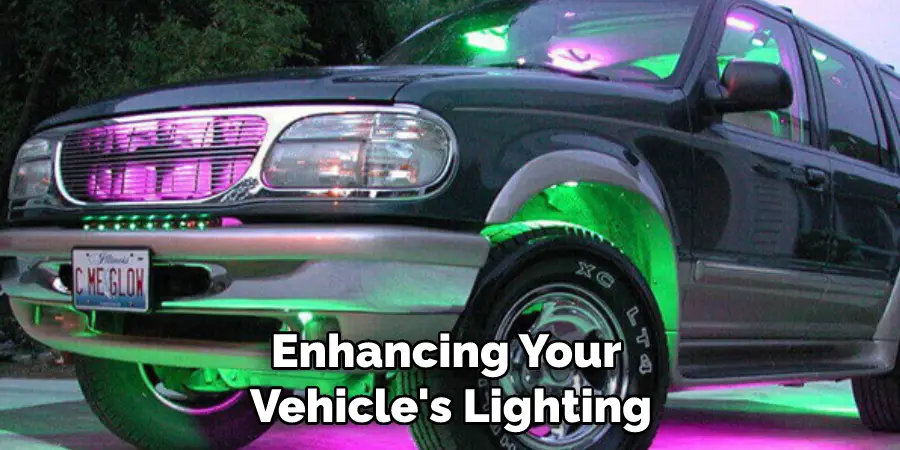
Do you remember when LED tail lights were first introduced? At the time they were a revolutionary change to car lighting, providing brighter, longer-lasting illumination. If you’re looking to improve the look and visibility of your vehicle while driving at night, one great way to do that is by making LED tail lights brighter. It is important to know how to make led tail lights brighter.
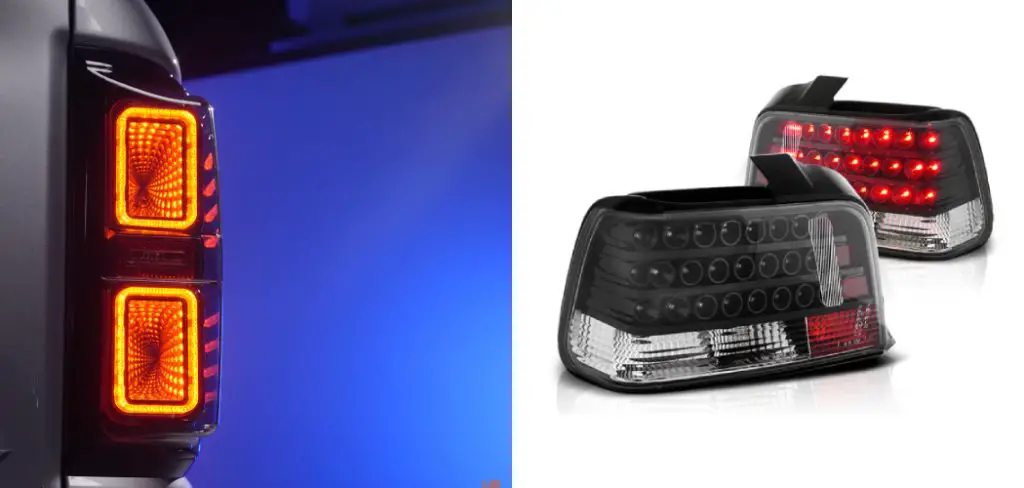
Not only will this modification enhance the look of your car, but it can also help increase safety for both you and other drivers on the road. Fast forward to now and LED tail lights are commonplace; however, many people still wish their LEDs provided an even brighter shine. With the right product and care, any driver can make sure their LED tail lights stay bright on both bright days and in darker driving conditions.
In this blog post, we’ll discuss how you can get started with this project step-by-step so that you can be confident when customizing your car’s lighting system. Read on for a detailed guide about adding supplemental LEDs, choosing strategies for wiring the lights properly, and testing to ensure everything works as it should.
Tools You Will Need
- Electrical tape
- Wire strippers
- Voltage meter
- Supplemental LEDs for tail lights (these plug into your existing wiring)
8 Steps Guide on How to Make Led Tail Lights Brighter
1. Purchasing a Set of Supplemental LEDs
Make sure they’re compatible with the make and model of your car so you don’t end up with any unnecessary surprises down the line. Enhancing your vehicle’s lighting can drastically improve visibility and safety on the roads. To help you achieve this, it’s important to start with a set of supplemental LEDs that are designed to fit into your existing wiring harness.
Make sure to check for compatibility with the make and model of your car, as installing incompatible lighting may result in further expenses down the line. Always double-check that the bulbs you have or will purchase meet or exceed all relevant standards and regulations to ensure a safe and legal user experience the first time around.
2. Use Electrical Tape to Secure
This will help ensure a better connection and cleaner installation in the long run. Electrical tape is a simple and economical way to secure supplemental LED wires in place. This type of insulation has adhesive on one side that adheres strongly to the wiring and helps it remain firmly in place for reliable performance.
By using electrical tape instead of wire ties, you can also easily unwrap the tapes if you need to get access to the interior wiring at any point. Using electrical tape will guarantee a better connection between the wires and prevent any problems from arising due to loose connections, helping make sure your LED lights run efficiently for a long time.
3. Install the Supplemental LEDs
Installing supplemental LEDs into an existing wiring harness can be a tricky task. You will want to make sure the process is done correctly and carefully to ensure that all of your supplemental lights are reliably connected. Start by determining what type of LEDs you will be using, as this will determine which components you need for installation.
After assembling the necessary parts and accessories, connect the corresponding lines on each device and mount them securely in their respective locations. Finally, double-check that all of your wires are connected, as this is essential for maximum output and optimal performance. With a little time and effort, you can confidently install your supplemental LED lights into any existing wiring harness!
4. Use Wire Strippers to Strip Off Any Excess Insulation
Preparing the wires of your electrical system is an important step in the wiring process. By using wire strippers to strip away any excess insulation on the wires, you can ensure that current flows uninterrupted and without interference. This helps to preserve the integrity of your vehicle’s electrical system and could help prevent issues down the road.
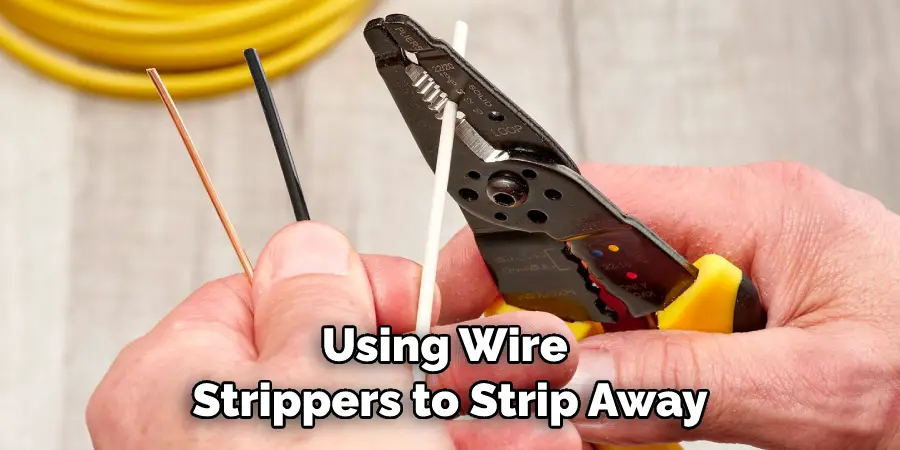
Stripping off any extra insulation also streamlines your wiring, making it easier to hook up components securely. Additionally, stripping wires also allows for easier soldering or heat shrink connection. Overall, taking just a few moments to strip the extra insulation is well worth it for optimal function and safety in your electric setup.
5. Test the Connections
Testing the connections of your electrical appliance with a voltage meter before completing an installation is essential. It helps to determine if the circuit is operating as it should, and can save you potentially costly repairs in the future. A voltage meter works by measuring the difference in electric potential between different points of the circuit.
You should have a very precise indication of how much energy is flowing through the circuit. When testing, ensure that you follow all safety guidelines, such as de-energizing the appliance before testing and avoiding any areas which may be wet. Doing this will ensure that your installation is completed safely and properly.
6. Reconnect the Battery Cable
Reconnecting the battery cable and turning on the headlights is an important step when checking to make sure that all parts of your vehicle are working properly. Doing this will allow you to check for any electrical issues, such as blown fuses or dead bulbs, that could potentially become bigger and more expensive problems in the future if left unchecked.
Additionally, this helps troubleshoot any other issues with the car that don’t necessarily involve the engine or other mechanical components before taking a trip to a repair shop. Taking the time to ensure your vehicle is functioning correctly is key not only for the safety of yourself and others but also for cost-efficient maintenance over time.
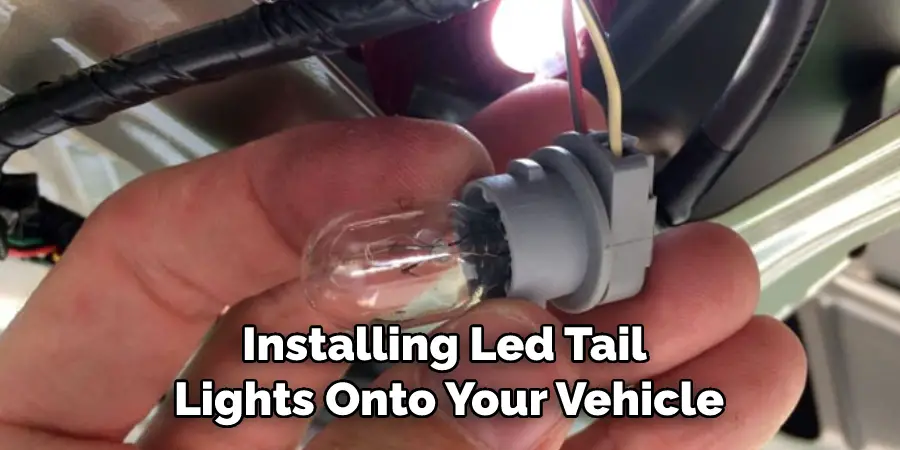
7. Turn on the Led Tail Lights
Installing LED tail lights onto your vehicle can help to keep you safe on the roads. It’s important to remember to always turn them on before taking a trip and to visually inspect them to make sure they are as bright as desired. A correctly functioning pair of LED tail lights not only help other vehicles spot you in poor visibility conditions.
But also gives you a sense of security knowing that they can detect your presence. Make sure to regularly check up on the functionality of your LED lights, as bright bulbs are key in keeping yourself and other drivers safe on the roads!
8. Test Your Setup at Night
Now that you’ve finished the installation of your new LEDs, you can rest assured that your tail lights will stay bright no matter what time of day or night it is. By following these simple steps and using quality materials, you can make sure your vehicle is always seen and at its best both on the road and off!
Happy driving!
Frequently Asked Questions
How to Choose the Right LED Tail Lights?
LEDs are rapidly becoming the preferred choice for tail lights due to their extended life, energy efficiency, and sleek styling. When selecting LED tail lights for your vehicle, consider factors like beam pattern, design, lumens output, and CCT (Correlated Color Temperature). It’s best to buy certified LEDs which offer a standardization of quality and performance.
Parts designed specifically for your vehicle can be expensive but are sure to fit seamlessly into place. Those seeking an attractive look with top-notch output should explore the features of higher-wattage setups. With so many options out there, you’re sure to find the perfect set of LED taillights that fit both your needs and budget.
How to Check if Your LED Tail Lights are Working Properly?
LED tail lights are an increasingly popular car accessory, helping to make your ride look sleeker and more modern. But if you’re not sure whether or not your LED tail lights are working properly, it’s important to check them regularly. To begin, you’ll want to turn off everything else on the vehicle that emits light, such as the headlights.
Then, get into the driver’s seat and start the engine. Before moving the car onto the road, observe how well your LED tail lights illuminate by raising each brake pedal in succession and watching for a bright signal on both sides. If they are functioning properly, they will emit a rich red light when braking either pedal.

If they don’t seem to be emitting enough light or appear to be a different color than normal, take your car immediately to a professional technician and have them examine it right away. With help from professionals and consistent inspection of your LED tail lights’ performance, you can ensure that your car is safe for navigation during nighttime driving.
Conclusion
There are a few ways to make your LED tail lights brighter. Changing the bulbs is the most common solution, but it’s not the only one. You can also adjust the reflectors and add extra light sources. If you’re not sure how to do any of these things, we suggest taking your car to a professional.
You should carefully determine how to make led tail lights brighter. With a little bit of work, you can have much brighter LED tail lights in no time. If you have any questions or need help, feel free to reach out to us. We’re always happy to help our customers get the most out of their products. Thanks for reading and we hope this was helpful!