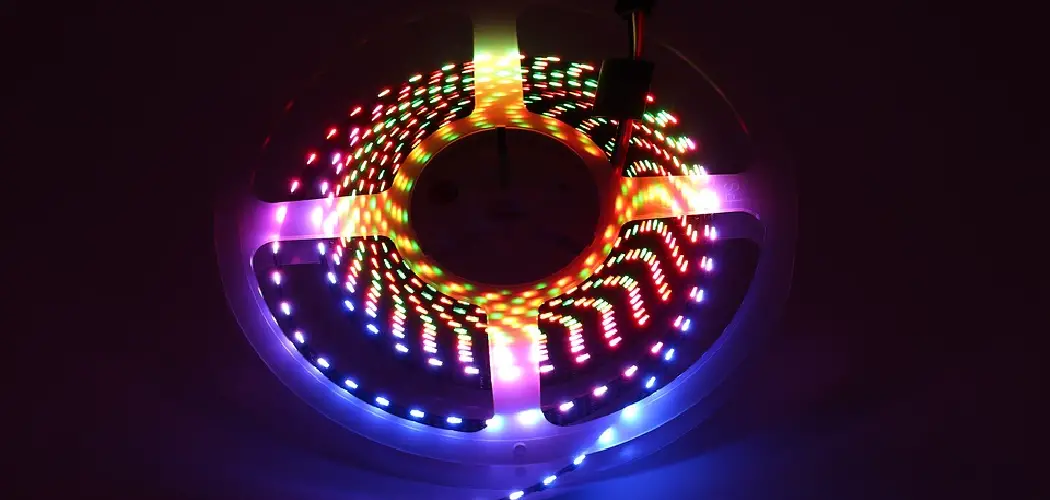
If you are looking for a way to fix led strip lights in different colors, you’re in luck! This article will show you how to fix led strip lights different colors. We will also provide some helpful tips on choosing the right color for your needs. So, whether you are looking for a simple solution or want to create a more complex design, we have you covered! Keep reading to learn more.

Led lights are typically made up of several light-emitting diodes (LEDs). These LEDs are color-coded according to the wavelength they emit. This can be frustrating for many people, especially when it’s not what you wanted. If you are experiencing led strip lights in different colors, read on to find out how to fix them.
Tools and Materials
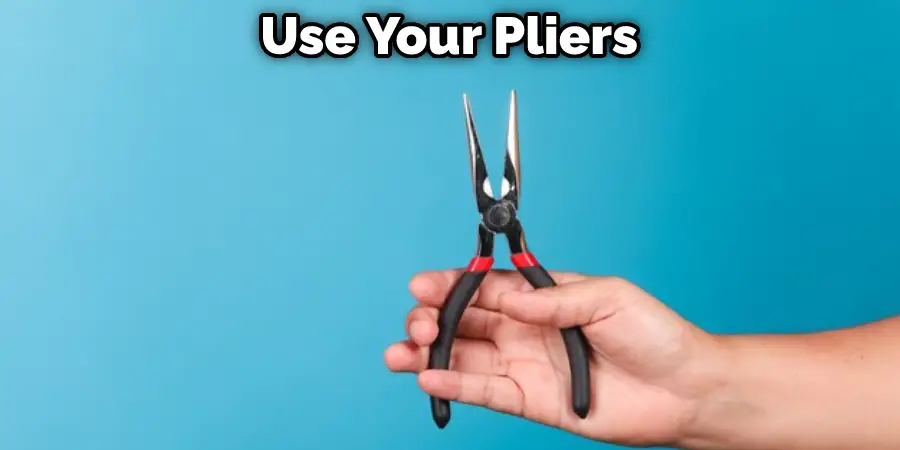
- Needle-nose pliers
- Phillips head screwdriver
- Utility knife/blade
- Thin blade or file
- Electrical tape or heat shrink tubing
- Soldering tool kit or wire nuts/wire caps
- Heat gun, lighter, or butane torch
- LED strip light
A Detailed Guide on How to Fix Led Strip Lights Different Colors
Step 1: Before You Start
The next step is deciding how many LEDs you want. Make sure your power supply can handle however many LED lights you plan on using at one time. You can start with a 20 watt or 40 watt supply and add more as needed if your LED strip doesn’t have enough power to run all of your lights from the power supply.
Next, identify which side of the light strip has the power input adapter. To do this, check the base of the connector where it meets the strip. There are two possible ways to tell:
When you plug in your lights, there should be a + sign indicating the positive connection. If there isn’t a + sign, then there will be an arrow pointing towards this edge to indicate its polarity.
Step 2: Determine the source of the problem.
You should check your new LED light for damage before using it. If there is any damage, you can return it for a new one.
Inspect the connectors on each end of your LED strip lights. You should see bare wires connected through a plug with four metal contacts inside, while on the other end, a thin cord connects to a much larger female connector with rows of teeth all around it, much like a USB port on a computer except smaller.
The bare wire end will be connected to your power supply and plugged into its designated port. The female connector side will be plugged into the destination of your strip lights, like beneath your kitchen cabinets or in a recessed cove. How to Cut LED Strip Lights It’s important to know that LED strip lights are made up of tiny LEDs. Most strips are built so they can be cut between certain LED nodes to allow the light to be divided into separate sections.
Step 3: Fix Broken Strip Lights
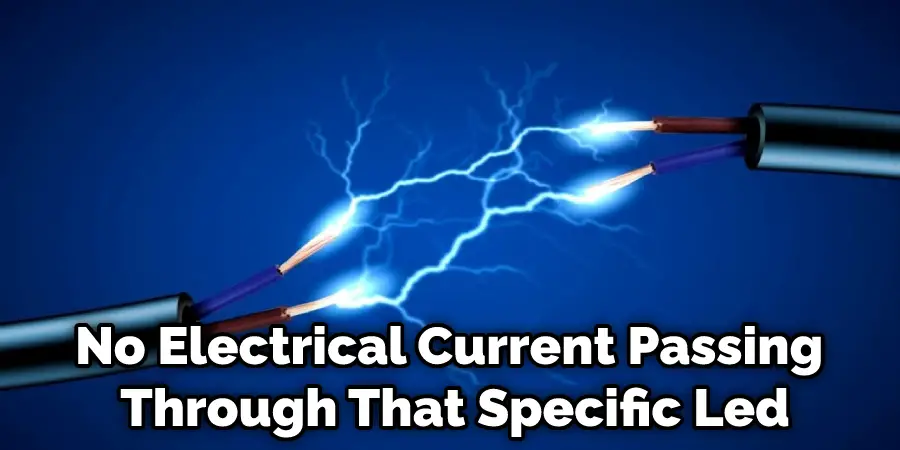
If you plugged in your LED strip lights and one or more strips remained unlit, the issue is most likely an open circuit. This means there is no electrical current passing through that specific LED for some reason, causing it to remain dormant. To fix this problem, follow these steps:
First, remove six inches of loose wire covering from each end of new strip lights with wire strippers or utility knife blades. Then take a thin blade like a file or utility knife and carefully pry apart the broken strip light case along its length while lightly pulling up on one side of the plastic tab at a time until it pops off. Next, carefully pull out all internal components by setting them aside on strips. If your LED strip lights are still not working, consider checking your power supply for signs of damage.
Step 4: Connect Strips Together
When repairing broken sections of LED strip lights, it is essential to keep track of which LEDs connect in series vs. in parallel, not to create a short circuit when you reassemble the strips. Each set of these LEDs needs to be connected by being soldered in series or inserted into plug-and-play wire nuts or crimp caps.
If you are soldering together an upgrade from a string of single-color LEDs to a more complex multi-color strand, the new LED strip lights will need to be connected in series. However, if you plan to add additional strips of lights onto your existing system, they run parallel and can be connected end-to-end with a plug-and-play connection.
Reassemble your broken section by inserting 2-3 LEDs back into their original plastic shell, ensuring that the left/right sides remain aligned. Test for any potential short circuits by plugging in the power supply while keeping one hand touching both metal contacts simultaneously throughout the process, preventing the connection between bare wires or solder joints when not necessary.
Once assembled, place them back inside the strip light outer casing and reattach any internal wires by crimping.
Step 5: Fix a String of Strip Lights That Are Only Connected in One Spot
You should check all the connections before you start but assuming no other fixing issues are going on, it may simply be that your LED strip lights have been plugged into the wrong plug altogether – that is, if one of them does not turn on when the rest do.
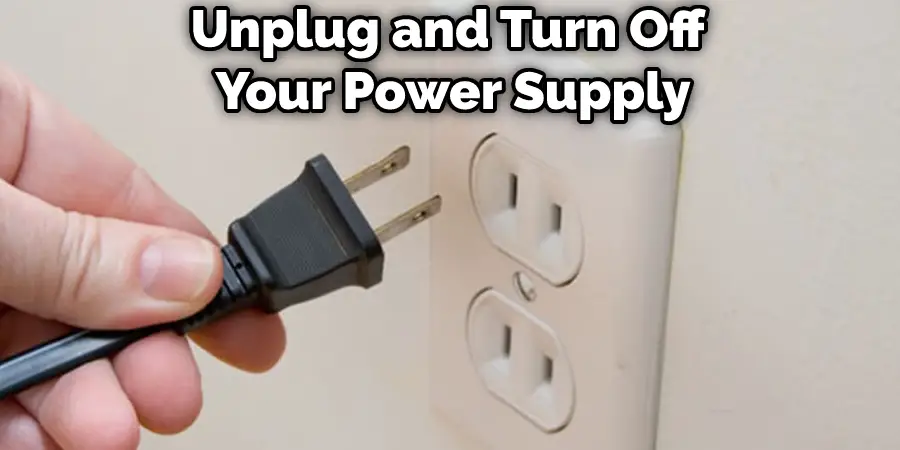
First, unplug and turn off your power supply so it can’t shock or electrocute you accidentally while working with live voltage. Then inspect each end of your LED strips to locate two metal contacts at each end. The one containing an arrow pointing towards the connection point is where the positive wire runs through. On the opposite end, make sure it is plugged into a female connector with teeth that look like USB ports on a computer.
If one of your LED strips has been plugged into another strip’s connector, this may prevent it from getting power, causing only the first strip to light up as expected. If so, unplug and move all but one of those attached pieces together to where they should be and plug them back in for continuous lighting across all sections.
Step 6: Use Color Filters
Using color filters with your LED strip lights requires you to do just that: apply color filters or gels onto each individual LED within its designated area for effect. This can be useful to create an atmosphere, whether it be soft moonlight in the background or footlights under a buffet table.
First, measure how much color is needed per LED strip lighting unit. Then cut out that size with regular scissors and place the color gel over each one by applying firm pressure to ensure contact between light source and filter. When putting gels onto LED strips housed within lights themselves, you may have to carefully pull back some of the plastic covering at their base to release them to fit around it without breaking anything off inside.

Step 7: Fix Led Strip Lights With Broken Segments
Broken pieces of your broken LED strip lights are usually caused by accidentally stepping on, cutting, or yanking them away from where they were initially placed, no matter how careful you were.
First, cut the wires on either side of where the break happened and remove that part out of its outer casing. Depending on your situation, you can either solder back together or stick back into a plug-and-play wire nut or crimp cap as mentioned in Step 3 . This could be the inner wires from within the LED strip lighting itself and those from its external wiring coming from behind.
Using pliers to grab onto each end piece, apply pressure until they fit tightly together again without any open wiring gaps to shorts or breaks in contact with one another for continuity once plugged back in.
Step 8: Fix Led Strip Lights With a Broken Power Connector
Broken power connectors are often standard on any LED strip light due to the number of times they’ve been plugged in and unplugged.
The first thing you should do is scrutinize the plug to ensure all wires are still intact, not frayed or broken off inside their housing. If so, carefully cut away at that plug’s casing around it until the plastic exterior ceases to exist.
Once cutting through that outer layer is complete, use your pliers or screwdriver set to pry open each metal end piece surrounding the plastic that was once covering them for easy access inside. Then disconnect each wire from its specific contact point by firmly pulling back and upwards while keeping a firm grip onto both ends until they come out.
To put it back together, start placing each wire into the bottom contact point within the plugged-in metal casing surrounding it. Then take your screwdriver or pliers and firmly push down on that top housing piece around the bottom one’s edges to snap it back together where they meet again.
This may require some effort but not enough to cause damage by breaking off either end piece since they are flexible in their construction for easy use. these steps will help fix led strip lights in different colors. These steps will help in how to fix led strip lights different colors.
You Can Check It Out to: Fix Skechers Light Up Shoes
Frequently Asked Questions
Why Are My Led Strip Lights Different Colours?
LED strip lights are often marketed as being energy-efficient and versatile, which is why they come in a variety of colors. However, this may not be the case if you’re using them for decorative purposes. If your LED strips are only emitting a single color, then they are considered to be cool white. When warm white LEDs (also known as incandescent light) are mixed with cool white LEDs, the result is an undesirable yellow hue that can give away your hiding place or distract from your message.
To get around this problem, many people choose to buy RGB LED strips instead. These allow you to control the coloration individually on each bulb so that it matches the style of décor in your home or office space perfectly!
Why Does My Lighting Look Yellow?
Over time, the light fixtures can start to lose color because of the way light reflects off objects in the room. This can cause colors to become distorted, and yellow is one of the colors that tend to be affected the most. Additionally, some types of light bulbs emit sunlight that is warmer than normal, and this can also cause colors to shift. All of these factors need to be considered when choosing the right type of lighting for your room.
Can Led Lights Be Left on 24 7?
Yes, led lights can be left on 24 7 as long as they are in a well-lighted area and are not creating a nuisance for others. If you’re looking to turn off all of your lights at night, then consider using an electronic timer or sensor light switch.
What Are the Problems With Led Lights?
First, LEDs are known for their short lifespan. They typically last around 50,000 hours, which is significantly less than the 100,000 to 1 million hours that traditional incandescent and halogen bulbs last. Second, LEDs emit a harsh blue light that may be difficult to work with. Third, LED bulbs are often more expensive than traditional bulbs of the same wattage. Finally, they require more maintenance than traditional bulbs – they may need to be replaced more frequently due to component failures.
Conclusion
LED strip lights are a great way to add color and pizzazz to your home or office, but what do you do when they start working improperly and displaying the wrong colors?