
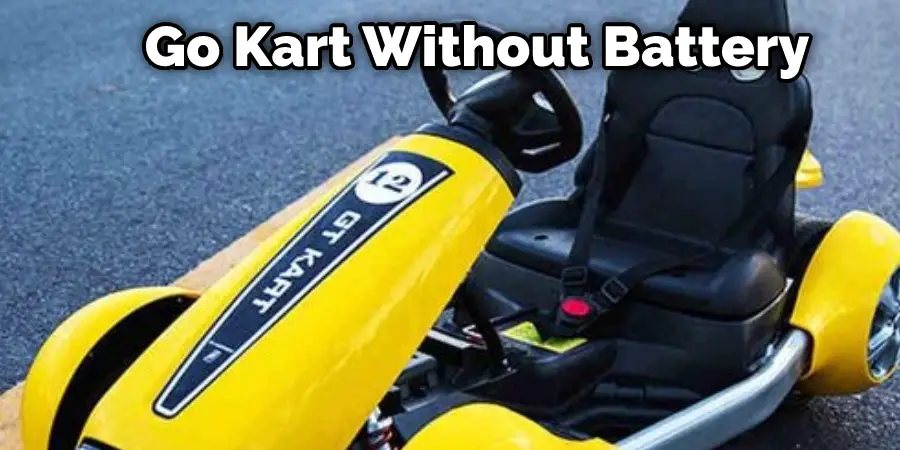
In this article, we will be discussing how to put lights on go kart without battery. You can save your battery life for when you need it most and run your lights safely and efficiently. Follow these simple steps, and you’ll be able to light up the track in no time!
Putting lights on a go-kart without a battery is easier than you may think. Though your go-kart was manufactured with a battery for powering the lights, there are several ways to do so without it. But I would like to remind you that all go-karts must be equipped with headlights and tail lights to run legally on the track.
Summary: Installing lights on a go-kart without a battery requires an alternative power source to provide the necessary electricity. One common approach is to use a small engine magneto or stator, which generates electricity as the engine runs. This method allows you to power the lights without the need for an additional battery, thus keeping the go-kart lightweight and maintaining its performance characteristics.
To put lights on a go-kart without a battery, first, determine if your go-kart engine has a magneto or stator capable of producing enough electricity to power the lights. Consult the engine’s user manual or contact the manufacturer for this information. If the engine can support the electrical load, you will need to acquire compatible LED lights designed for 12V DC power, as well as a voltage regulator to ensure stable and consistent power to the lights. Connect the lights to the magneto or stator output, routing the wiring safely and securely along the go-kart’s frame. Install the voltage regulator between the magneto or stator and the lights to prevent voltage fluctuations that could damage the lights or cause flickering. Once the lights are connected and installed, start the go-kart engine and verify that the lights function correctly. Always exercise caution when working with electrical components and consult a professional mechanic or electrician if you are unsure of any aspect of the installation process.
What is Go-Kart?
Go-kart, also written as go-cart, is a type of open-wheel car or vehicle used for racing. It was initially built in the 1960s by bringing together engines and chassis made for kart racing. The term “go-kart” may refer to both the vehicles themselves or a particular racing form.
There are two reasons people love driving go-carts. The first reason is that it’s a fun, adrenaline-pumping activity. The second reason is that it’s an affordable alternative to other motorized vehicles. Even if you can’t afford to own a car, you can still enjoy going on long drives with your family and friends by renting a go-cart. There are plenty of places, both inland and around the seaside, where you can rent out these vehicles.
A go-kart can also be modified for other purposes aside from racing, especially if an electric motor is added. Many people have purchased their electric go-karts to freely use them in any place without having to pay extra fees every time they use them.
Tools and Materials
- Tape measure
- Scissors
- Wirecutter/stripper
- Electrical tape or heat shrink tubing
- Soldering Iron (optional)
- Wire
A Detailed Guide on How to Put Lights on Go Kart Without Battery
Method 1:
1. Measure the tire’s diameter with a tape measure and cut a piece of wire to length.
2. Place the wire across the top of one tire so that there is approximately 1 cm excess on either side, then mark where it crosses over itself on both sides of the tire.
3. Use scissors to carefully cut notches into each side of the wire at each marked point, ensuring that you don’t cut through it, making your job more difficult later on!
4. Do this for both tires and trim any loose ends from around them as neatly as possible with some snips or a sharp knife before stripping about 5cm-8cm off each end of the bare wire.
5. Use your stripper or a sharp knife to carefully cut around the insulation within 5cm-8cm of each end of both pieces of wire, making sure not to damage any more wire than you have to in doing this.
6. Check that no loose strands are sticking out, which could potentially puncture anything, before wrapping one end tightly around the bottom part of each tire’s stem with some electrical tape or heat shrink tubing and soldering these if necessary for extra security and use a loop of cable tie at the top instead if you don’t think it’ll be safe enough!
7. Solder another length of wire onto each uninsulated wire plug at either side of the tire before trimming any excess length carefully with some snips, leaving enough bare wire to be able to bend it into another loop for cable ties or tape if necessary after stripping 5cm-8cm off either end of these new wires too.
8. Use a pair of pliers to create a little hook out of each piece of wire at the top, following their bend around the stem where they went under it so that you can hold them in place more effectively later on by hooking your fingers over the top.
9. Use heat shrink tubing or electrical tape to cover both soldered joints and this whole area (where the wires come up through the tire) as neatly as possible!
10. Use cable ties to secure each hook and finished joint, and you’re done here!
Method 2:
1. Measure the tire’s diameter with a tape measure, then cut two pieces of wire to this length.
2. Strip 5cm-8cm off either end of both pieces before threading one through each side of the tire’s stem carefully with some pliers (the thicker if possible!) before braiding together tightly on the other side at roughly halfway down this length, not forgetting to add another little loop for cable ties or tape if necessary when you do!
3. Braid together any excess strands from either end and trim these as neatly as possible before soldering them together neatly if necessary. Tape or heat shrink any loose strands to avoid them catching on to anything.
4. Solder another length of wire onto each uninsulated wire before striping 5cm-8cm off either end of these too and using your cable ties to secure the braided parts together in place with a bit of hook at the top if you need to make sure they’ll stay put!
5. Snap off any excess cable tie when satisfied that they’re in securely enough before checking over everything to be safe!
6. Finally, use your pliers to create a small hook near the top where you can grip it more easily when putting them on and take them off next time!
7. You can also use some tape to ensure they don’t get caught on anything when going around corners, although these shouldn’t be too sharp of turns according to your measurements!
Method 3:
1. Cut a length of wire to the circumference of your tire and strip 5cm-8cm off either end before threading one through each side of the tire stem carefully with some pliers (the thicker if possible!) before braiding together tightly on the other side at roughly halfway down this length, not forgetting to add another little loop for cable ties or tape as necessary when you do!
2. Braid together any excess strands from either end and trim these as neatly as possible before soldering them together neatly if necessary. Tape or heat shrink any loose strands to avoid them catching on anything!
3. Solder another length of wire onto each uninsulated wire before striping 5cm-8cm off either end of these too and using your cable ties to secure the braided parts together in place with a bit of hook at the top if you need to make sure they’ll stay put!
4. You can also use some tape to ensure they don’t get caught on anything when going around corners, although these shouldn’t be too sharp of turns according to your measurements!
5. Finally, use your pliers to create a small hook near the top where you can grip it more easily when putting them on and take them off next time!
6. Snap off any excess cable tie when satisfied that they’re in securely enough before checking over everything to be safe, so you know they’ll work!
7. When finished, use some tape to make sure they don’t get caught on anything when going around corners as these shouldn’t be too sharp of turns according to your measurements!
8. You can also use the pliers to create a small hook near the top where you can grip them more easily when putting them on and take them off next time before finishing off by snapping away any excess cable ties and checking over everything. For good measure, just in case!
9. Be sure to take care when using this method as if done wrong, there’s a chance you could electrocute yourself or others nearby, so take no risks with your safety either way while doing this if not overly confident of your abilities, even if it’s just your safety.
These methods will help in how to put lights on go kart without battery.
Additional Tips
- Keep in mind that you will need to be careful and take your time when working with the wiring. You also need to be sure that you are using the correct type of lights for your cart because different kinds of carts will require different configurations.
- It is important to remember that if you do not install this correctly, it can damage parts of your cart or even cause injury while riding on it. Therefore, please read all instructions before installation and understand them thoroughly before beginning any installation process.
- Also keep in mind that if one light does not work, you may have a problem elsewhere in the circuit. Therefore, it is best to check each connection carefully until you find where the problem lies, then fix it accordingly.
How Do You Power a Go Kart Light?
Lights allow you to drive your go-kart at night and improve visibility. You can power a go-kart light without a battery, as long as the motor is working and you have the right tools.
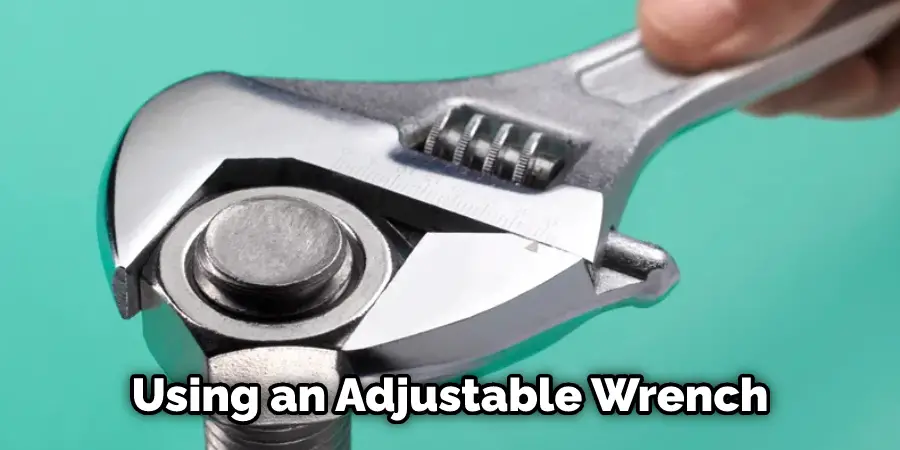
You will need two alligator clips with wire attached. Locate your go-kart motor’s positive and negative wires. Make sure that they are not connected to anything before attempting this project. Using an adjustable wrench or pliers, separate the end of each wire by about one inch. Place the red alligator clip onto the positive wire, and attach the black alligator clip to the negative one.
The light kit comes with a headlight, tail light, switch bracket, and rubber mounts for both lights to attach to your go-kart frame. The wires from the lights will extend to the vehicle’s rear through their small tube holes. If you are using bolt-on wheels on your go-kart, drill holes in them large enough for these tubes to fit into. Attach each end of the tubing at this time as well.
To mount the switch bracket, find the area on the top of the frame that is open. Drill two holes that are slightly smaller than the diameter of the alligator clips. Mount the bracket and attach an alligator clip to each wire. Attach one end of the wire to the switch bracket and the other end to either side of the battery (red positive, black negative).
Press down on each clip firmly but gently before testing if the light is working. Do this for both lights.
If you do not have a go-kart battery or motor with wires that can be removed from your frame, you will need to buy a 12-volt battery and rewire it yourself so that it attaches underneath your seat go-kart. If you do not have a wiring kit for this, contact a local mechanic or go-kart dealer to obtain one. How to Make a Go Kart with an Engine?
If you want to make a go-kart with an engine, the process is similar to the one above. However, you will need to purchase a 12-volt battery and a go-kart motor. You will also need to wire the battery to the motor so that it attaches underneath your seat go-kart. If you do not have a wiring kit for this, contact a local mechanic or go-kart dealer to obtain one.
How Does a Go Kart Speedometer Work?
A go-kart speedometer is a device that measures the speed of your ride. For example, it can measure how fast you are going or even what gear you are in if it has gears.
Typically, there are two different speeds on go-karts: real-time and gear indicator speed. The actual time speed is just the average speed that the vehicle is moving at any given moment. This reading will likely come from an electronic sensor directly connected to one of the tires on your kart. If you have gears, your kart may also have an indicator for each gear. Each shifter position will show up at a different speed on your speedometer.
This bar is usually between the rear axle and somewhere near the middle of the kart’s frame, either under the seat or off one side. It attaches to your wheels, usually at two points on each wheel as it passes through the center of its rotation around the tire. Inside this bar, some rollers touch both sides of a copper circuit.
The signal from these bars has no polarity, meaning if electricity flows in one direction, it will flow in reverse as well, with no real change in current flowing through it. This allows for an alternating current (AC) that can be used to power accessories like lights because it’s often. More efficient than direct current (DC). Some go-karts will have electronic speedometers that read the speed of your ride off of an internal computer chip.
You Can Check It Out to: Put Lights on A Vanity Mirror
What is the Top Speed of a 200cc Go-Kart?
Go-karting is an exciting and exhilarating experience for people of all ages. The top speed of a 200cc go-kart is a common question among karting enthusiasts, as speed is an essential feature of any karting experience. While the top speed of a 200cc go-kart varies depending on factors such as engine size, weight, and cargo, it typically ranges from 40 to 70mph. However, with higher permits and strategically planned tracks, racing enthusiasts can reach speeds of above 100mph with powerful engines.
Races are typically won through a combination of speed, skill, and strategy. Thus, being in control of a go-kart that can reach impressive speeds comes with a sense of thrill and fulfillment. However, it is important to note that go-karting can be dangerous, and prior safety education and regulation are encouraged before racing. Overall, a 200cc go-kart has an impressive top-speed range, allowing drivers to enjoy an adrenaline-filled experience that is both exhilarating and memorable.
Frequently Asked Questions
What Is Turn Signal Switch?
A turn signal switch is a device that allows drivers to change lanes without having to take their hands off the wheel. It works by activating an indicator light on the dashboard when you are about to make a left or right turn, and it automatically turns off after you have completed your maneuver.
There are two types of turn signals: manual and automatic. Manual switches require you to keep your hand on the wheel while turning; an automatic switch will activate the light as soon as you begin turning and then stay activated until you finish your turn. Both varieties have advantages and disadvantages, so it’s important to choose one that fits your needs best.
Manual switches may be easier for those who are new to driving because they don’t need focus on anything other than steering in order not hit any objects in front of them. However, they can be more dangerous because if something goes wrong while turning–for example, someone pulls out in front of you―you won’t know until it’s too late and there could be serious consequences (including vehicle damage or injuries).
Automatic switchers tend to be safer but can also distract drivers from their surroundings since they’re constantly aware of whether or not the system is working properly.
What Is the Fastest Go-kart?
If you’re looking for a high-speed thrill, then there is no better option than go-karts. And the fastest Go-kart out there is the Thunder Tiger Rapid Drive Kart! This machine can reach speeds of up to 210 mph and allows riders to experience jawdropping acceleration, tight corners, and extreme G forces. It’s also equipped with a state-of-the art safety system that prevents accidents from happening.
If you don’t want your adrenaline levels to get too high but still want an entertaining way to spend some time outdoors, then go for one of our electric karts instead. They are great for families or groups and usually offer a more leisurely ride compared to traditional race tracks.
Is Go-karting Worth It?
Ultimately, it depends on your interests and what type of go-karting you would be interested in experiencing. If you’re looking for high-speed action and excitement, then go-karting may not be the best option for you. On the other hand, if you’re looking for a social aspect to your karts racing
experience, then go-karting might be perfect for you. And finally, if you simply want to have some fun while exercising, then go ahead and try out any of the options available in your area!
Conclusion
The point of this article on how to put lights on go kart without battery is to show how you can install lights on your go-kart without a battery. This way, if the power goes out, at least you’ll still be able to see where you’re going and stay safe. It’s a straightforward process that will take less than an hour for most people with minimal handiwork and electronics work skills. However, if it seems like something you want to do, head down below, and we’ll get started!