
Bathroom light fixtures are one of a bathroom remodel most commonly overlooked parts. The cover or shade is often removed, and the new light fixture is installed without much thought. However, there are ways to remove a bathroom light cover that will leave your fixture looking new and shiny. This blog post will outline how to remove bathroom light cover – so you can choose the one that works best for you!
Summary: Removing the bathroom light cover can be a tedious task, but it’s necessary in order to clean the light fixtures. The cover is held on by screws and should be removed in the following order: top, right, left. Once the cover is off, use a Phillips head screwdriver to unscrew the light fixture’s bulb holder. Finally, remove the bulb.
What Causes Bathroom Light Fixtures to Look Old?
Bathroom light fixtures can develop several different problems that cause them to look old and outdated. The most common problem is mineral deposits. These can build up on the metal parts of the fixture and cause corrosion. Another common issue is that the finish on the fixture can wear away, exposing the underlying metal. This can happen due to several factors, including heat, humidity, and cleaning products.
Additionally, the glass or plastic parts of the fixture can become cracked or yellowed with age. The other major problem that can cause an old bathroom light fixture is simply a bad design. Lastly, some bathroom light fixtures are just old and outdated, no matter how well they’ve been maintained.
How to Remove Light Covers that Have a Screw
1. Get a Sturdy Step Ladder, Stool, etc.
The first step in removing your light cover is to make sure you have a stable platform to stand on. A step ladder, stool, or even a chair will work – make sure it’s sturdy and won’t wobble when you stand on it. To be extra safe, you can ask someone to hold the ladder for you while you’re working. If you don’t have anyone to help, you can try wedging the ladder against a wall or another piece of furniture.
2. Consider Wearing Gloves
The next step is to decide whether or not you want to wear gloves. This is purely a personal preference, but it’s worth considering since you’ll work with your hands close to the light bulb. If you decide to wear gloves, ensure they’re clean and dry so you don’t get fingerprints on the glass or metal. If you don’t wear gloves, be extra careful not to touch the light bulb with your bare hands.
3. Hold the Glass with One hand
The next step is to remove the glass shade or cover from the light fixture. To do this, first, make sure the light switch is in the “off” position. Then, use one hand to hold onto the glass while you unscrew the retaining ring with the other hand. The retaining ring is the metal piece that holds the glass in place. Once you’ve unscrewed it, you can gently pull the glass away from the fixture. If it’s stuck, you can try wiggling it back and forth until it comes loose.
4. Unscrew the Knob with Your Other Hand
The next step is to remove the knob from the light switch. To do this, first, unscrew the knob with one hand. Then, use your other hand to hold onto the switch, so it doesn’t come loose from the wall. Once the knob is removed, you can gently pull the switch away from the wall. If it’s stuck, you can try wiggling it back and forth until it comes loose.
5. Remove the Plate with Your Screwdriver
The next step is to remove the plate that covers the electrical box. To do this, unscrew the two screws that hold the plate in place with your screwdriver. Then, gently pull the plate away from the wall. If it’s stuck, you can try wiggling it back and forth until it comes loose.
6. Remove the Old Light Fixture
The final step is to remove the old light fixture from the electrical box. To do this, unscrew the two screws holding the fixture in place. Then, gently pull the fixture away from the wall. If it’s stuck, you can try wiggling it back and forth until it comes loose. Once the fixture is removed, you can dispose of it or recycle it as desired.
Step by Step Ways How to Remove Bathroom Light Cover
1. Gather the Right Tools
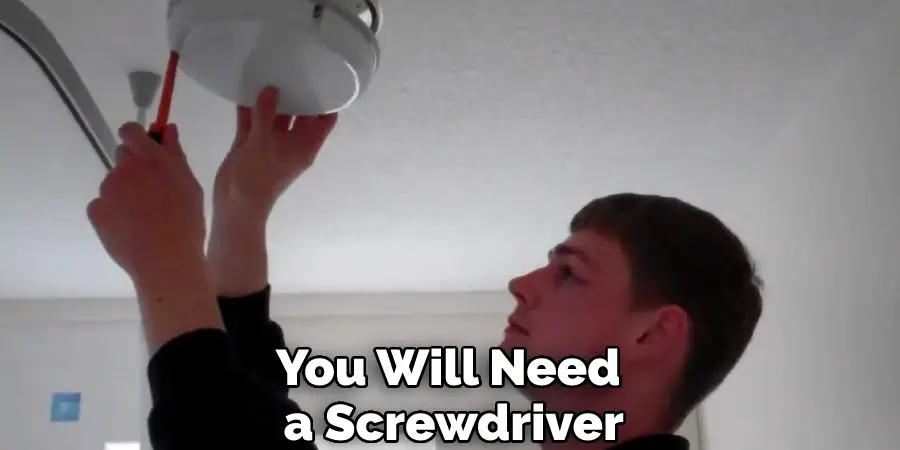
The first step to removing your bathroom light cover is to gather the right tools. You will need a screwdriver, a drill, and a hammer. If you do not have these tools, you can purchase them at your local hardware store. Gather these tools before you begin so that you do not have to stop in the middle of the project.
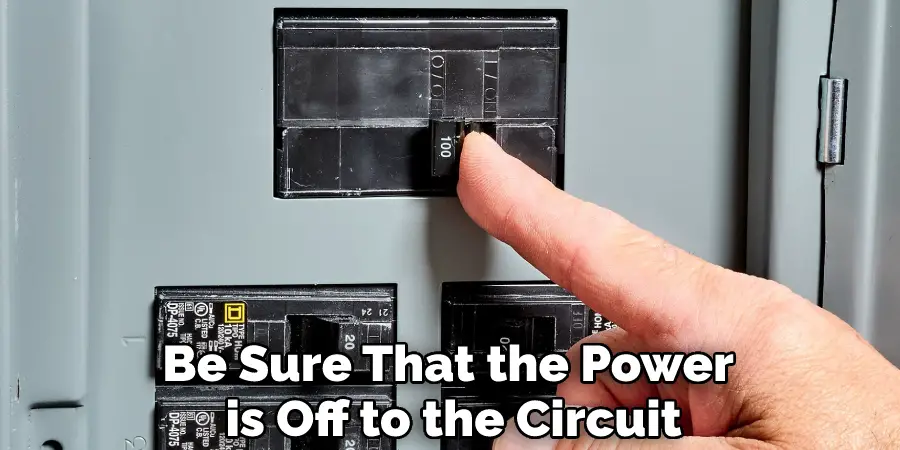
2. Turn Off the Power
The second step is to turn off the power to your bathroom light. You can do this by flipping the switch on the wall or unplugging the outlet’s light. Once the power is off, you will not have to worry about electrocution. Avoiding injury should be your top priority.
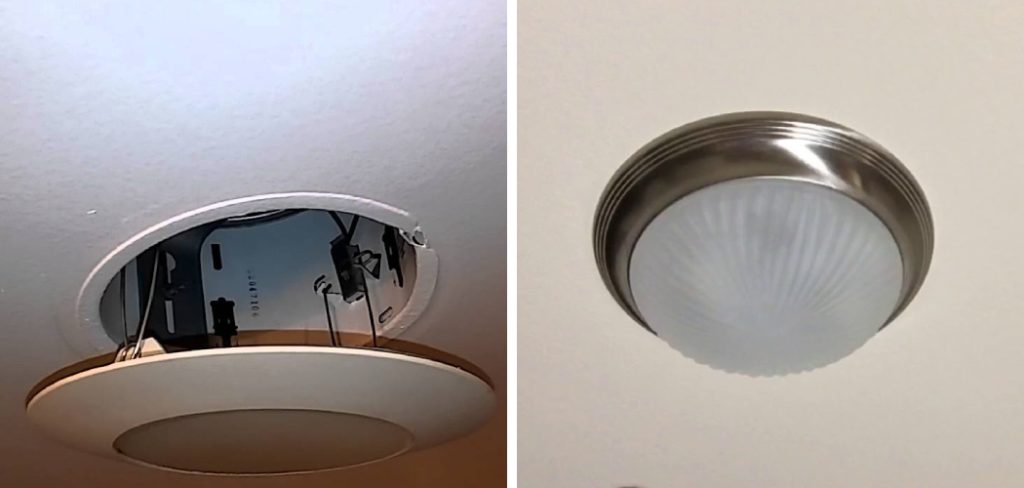
3. Locate the Light Cover
The third step is to locate the light cover. The cover is usually situated near the base of the light. If you cannot find it, consult your light’s manual. Once you have found the cover, proceed to the next step. Try not to touch the light bulb’s glass as it may be hot.
4. Unscrew the Light Cover
The fourth step is to unscrew the light cover. Use your screwdriver to remove the screws that are holding the cover in place. First, remove the small screws and then the large ones. You can use your drill to loosen the screws if the cover is stuck. Be careful not to damage the surrounding area. If the screws are difficult to remove, you can use your drill to make the job easier. Once the screws are removed, set them aside in a safe place.
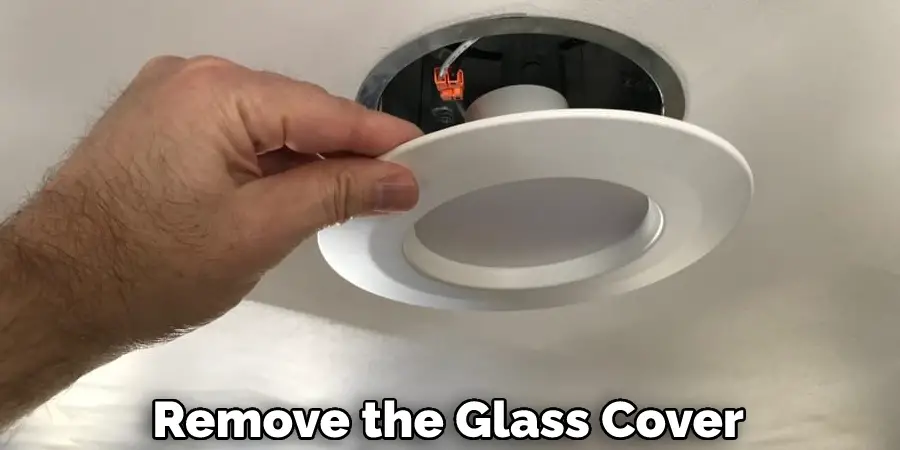
5. Remove the Light Cover
The fifth step is to remove the light cover. Carefully pull the cover off of the light. First, remove the small end and then the large end. Next, remove the side panels. Finally, remove the centerpiece. If the cover is difficult to remove, you can use your drill to make the job easier. You can use a hammer to tap it loose if it is stuck gently. Be careful not to damage the light bulb or the socket. Once the cover is removed, proceed to the next step.
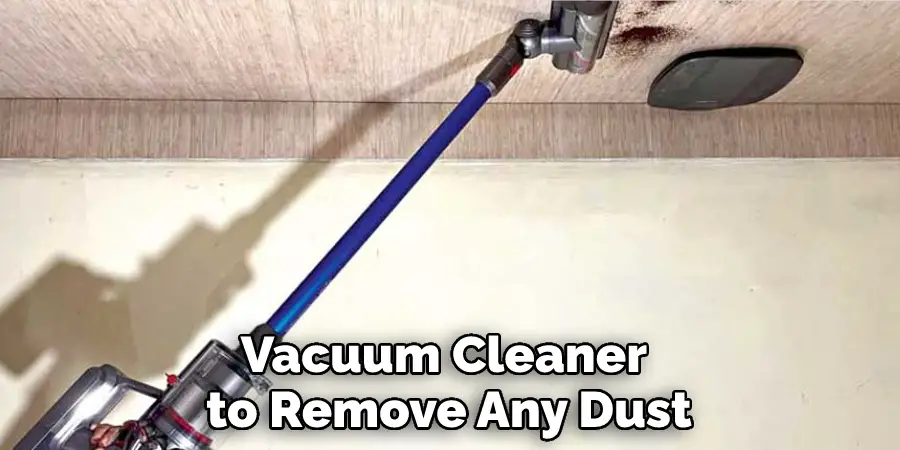
6. Clean the Area
The sixth step is to clean the area around the light. Use a dust cloth or vacuum cleaner to remove any dust or debris. First, dust the area around the light. Next, vacuum the area around the light. Finally, wipe down the area with a damp cloth. Make sure the area is clean before proceeding to the next step.
Tips and Warnings on How to Remove Bathroom Light Cover
Tips:
- Be sure to turn off the power to the circuit that the light is on before beginning any work. This will protect you from electrocution.
- Use a stepladder if necessary to reach the light.
- If the cover is screwed on, use a screwdriver to remove the screws. If the cover is held in place with clips or springs, gently release the clips or springs to remove the cover.
- Inspect the cover to see how it is attached. This will give you an idea of how to reattach it later.
- Clean the cover with a soft cloth and soapy water. Rinse and dry thoroughly.
- Inspect the socket for cracks or other damage. Replace the socket if necessary.
- Replace the light bulb with a new one.
- Reattach the cover to the light fixture. Be sure that it is securely in place.
- Turn on the power to the circuit and test the light to ensure it is working properly.
Warnings:
- Do not attempt to remove a bathroom light cover if you are not comfortable working with electricity.
- Do not touch the light bulb or socket with your bare hands. This could cause you to be electrocuted.
- Do not use any cleaners other than soapy water on the cover. Harsh chemicals can damage the finish of the cover.
- Do not overtighten the screws when attaching the cover. This could strip the threads or break the cover.
- Be sure that the power is off to the circuit before beginning any work. Failure to do so could result in electrocution.
Conclusion
So there you have it! Now you know how to remove bathroom light cover. Be sure to follow the tips and warnings listed above to avoid injury. With a little bit of effort, you can easily remove the cover and clean the area around your light. Thanks for reading!